
Win-X Launcher
Juega en PC con BlueStacks: la plataforma de juegos Android, en la que confían más de 500 millones de jugadores.
Página modificada el: 8 de agosto de 2020
Play Win-X Launcher on PC
When you open it for the first time, it will ask you for the permissions it needs to operate.
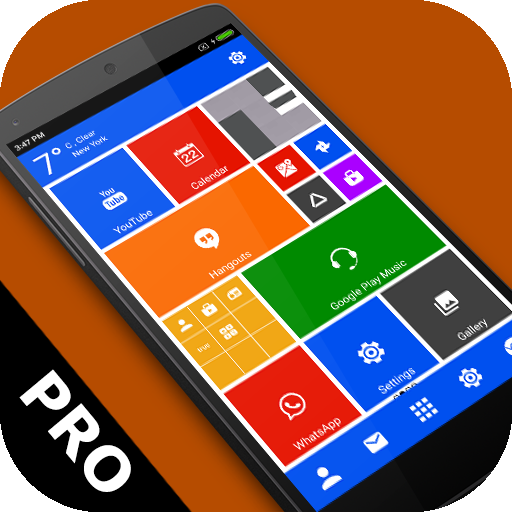
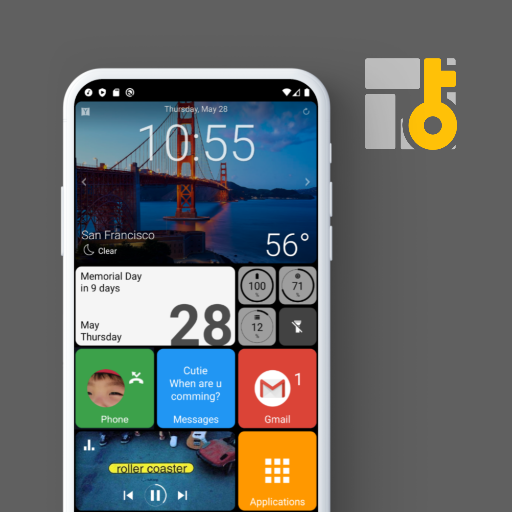
When you press the start button, you will see the list of currently installed apps. By touching and holding an app, context menu will show up, which will enable you to move the app to desktop. If you touch and hold an app which is already on the desktop, you can move the app around to your favorite place. It is also possible to move an app to a new desktop through the menu that will pop up when you hold an app on the desktop.
Critical apps, such as phone, messages, camera etc can be pinned right at the start panel, which will provide you a quick way to access these apps. Once you are done configuring your pinned apps, this feature can be locked via the personalize menu preventing accidental unpinning.
The search button enables you to search for any app or the web using some in built options such as google, Bing, Facebook, Youtube, or Appstore. Once you find an app that you were looking for, you can locate that app on the desktop using the associated context menu.
You can further personalize your view by changing the grid size to provide more space for apps or increase the size of apps on the desktop. You could also change the background of your screen.
The system tray also has controls for Wifi, volume, battery status, date and time for easy control.
You can also create folders, widgets or shortcuts on the desktop menu.
Unlike some other launchers, we have worked hard to integrate notification support into the launcher by providing app badges. It can be turned on from Notifications control panel under ‘More Options’.
Don’t forget to rate and leave great comments. If you feel that you need some other feature, please feel free to write us an email. Our contact details are inside ‘about page’.
Juega Win-X Launcher en la PC. Es fácil comenzar.
-
Descargue e instale BlueStacks en su PC
-
Complete el inicio de sesión de Google para acceder a Play Store, o hágalo más tarde
-
Busque Win-X Launcher en la barra de búsqueda en la esquina superior derecha
-
Haga clic para instalar Win-X Launcher desde los resultados de búsqueda
-
Complete el inicio de sesión de Google (si omitió el paso 2) para instalar Win-X Launcher
-
Haz clic en el ícono Win-X Launcher en la pantalla de inicio para comenzar a jugar


