
EMF Sensor
Play on PC with BlueStacks – the Android Gaming Platform, trusted by 500M+ gamers.
Page Modified on: February 8, 2017
Play EMF Sensor on PC
Instructions for use:
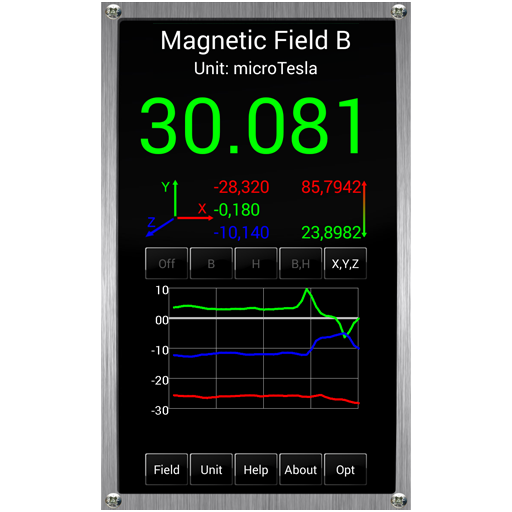
Preferences can be found by pressing the menu button. Many display options are available to customize what is on the screen.
The range on the meter can be changed in the options or by sliding your finger up or down on the screen. The left side of the screen adjusts the minimum, the right side adjusts the maximum. You can lock or unlock touch adjustments through the menu.
Auto Range Mode can be selected to affect the graph range, the graph and the UI range, or neither. It is suggested to select "Graph and Interface" to have fully automated range control.
Baseline Mode lets you set a baseline value that will be subtracted from the reading.
Custom color values can be set for the text and graph line. Sound can be enabled and customized in preferences, default is off. This will play a tone at a rate determined by the EMF reading, similar to a Geiger counter.
EVP Function:
Live audio data can be graphed and recorded. Once recorded, audio can be graphed and cut into clips and exported.
More detailed Instructions are available from the menu within the app.
This app was designed to be lightweight, fast, and free of gimmicks. Please email any questions, comments, concerns, or ideas. If you have any problems, please use email as this is the only way I will know how to reach you.
Play EMF Sensor on PC. It’s easy to get started.
-
Download and install BlueStacks on your PC
-
Complete Google sign-in to access the Play Store, or do it later
-
Look for EMF Sensor in the search bar at the top right corner
-
Click to install EMF Sensor from the search results
-
Complete Google sign-in (if you skipped step 2) to install EMF Sensor
-
Click the EMF Sensor icon on the home screen to start playing


