How To Survive Through the First Day In ARK: Survival Evolved (Part I)

The crafting and survival genres have garnered some interest in the gaming community of late, ever since Minecraft came out and jump-started both tropes back in 2011. In these games, players are usually dropped on an island or a vast world filled with dangerous animals and other hazards that they must weather in order to make it through the game. Speaking of weather, some of these games also make the player face some kind of environmental hazard, which they must address by creating and using appropriate clothing to protect themselves from the cold or heat.

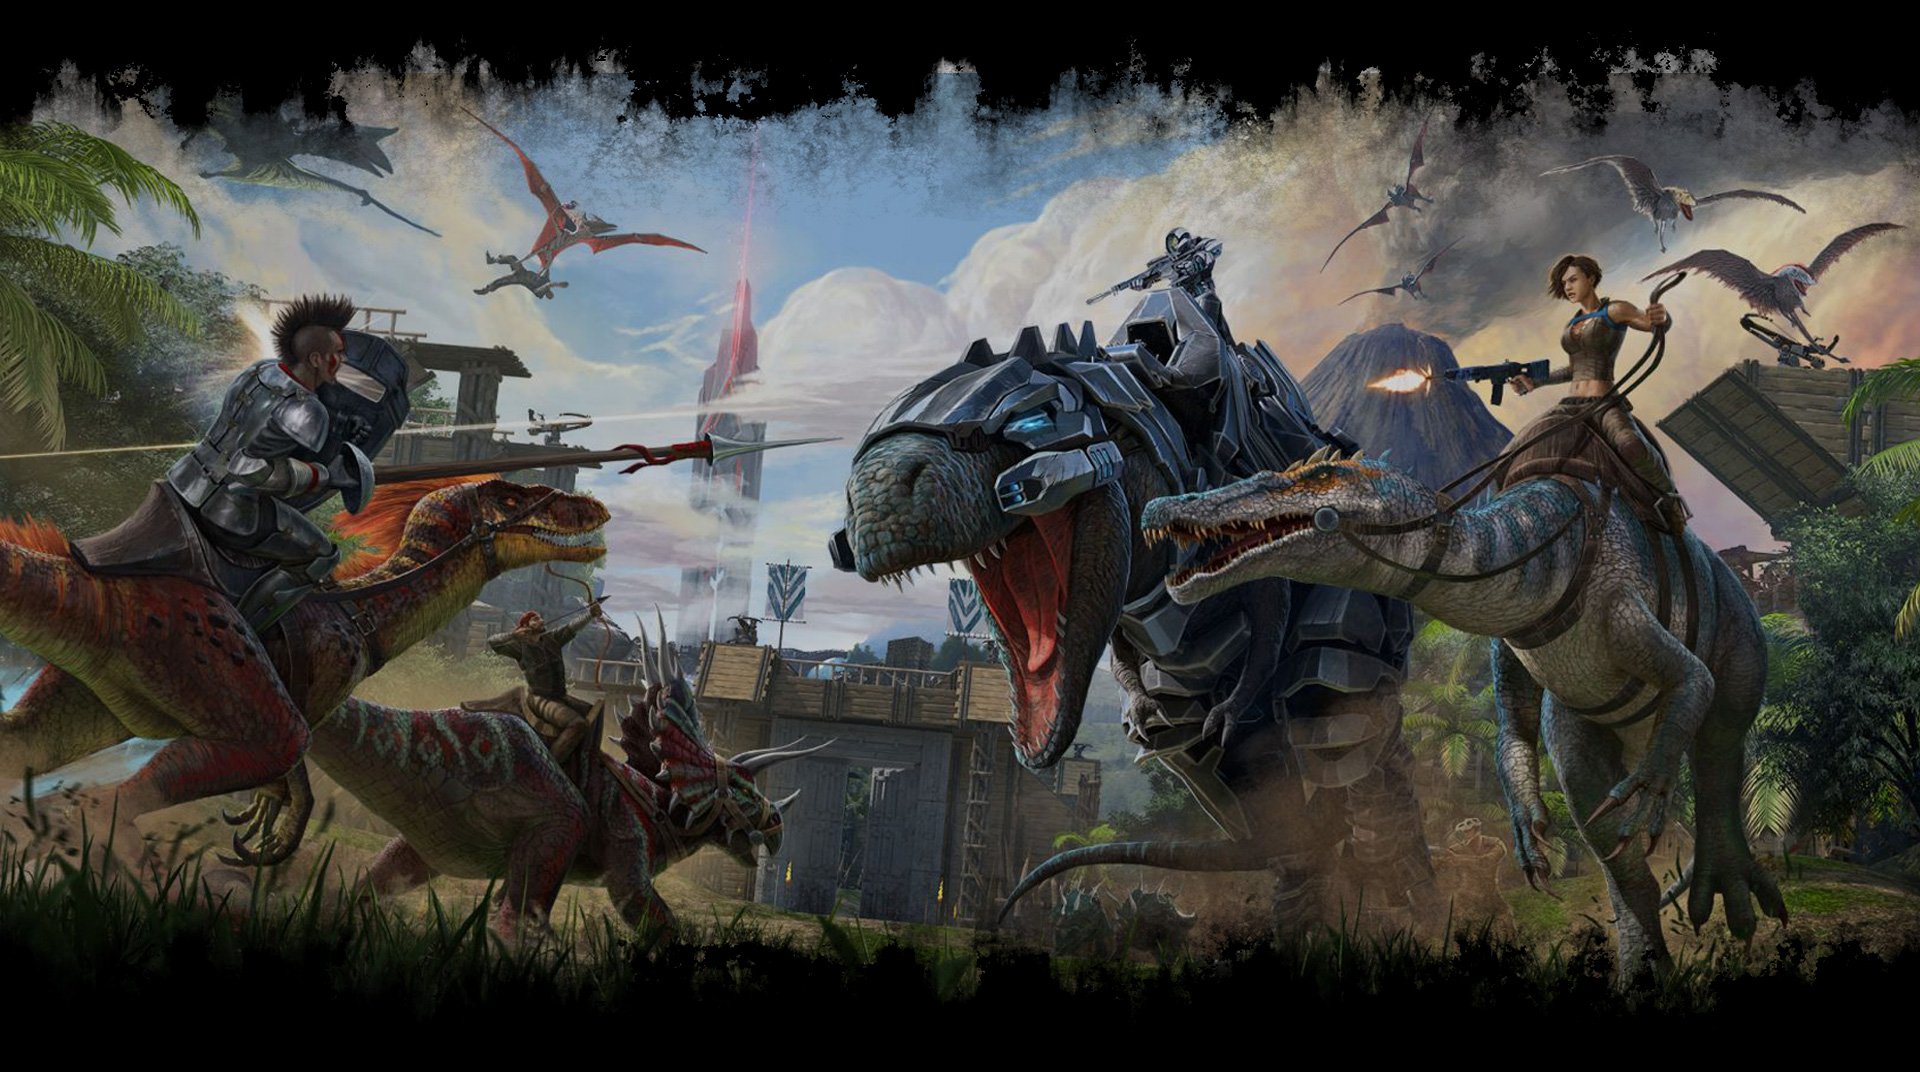
ARK is all the above mentioned, and much more, with its official description in the store stating the following: “Dive into the ultimate mobile dino-adventure with ARK: Survival Evolved! A massive game world combines with 80+ unique dinosaurs and primal creatures for you to capture and tame – making for a survival experience bar-none. Meet up with other players and friends in this Jurassic-era world, to form tribes and work together to build colonies of survivors. Based on the genre-defining adventure from PC and consoles, ARK: Survival Evolved challenges you to survive and thrive on a mysterious island, where you start out alone and unarmed. Gather resources and craft tools to build shelter and hunt. Expand your domain while capturing and taming dinosaurs to do your bidding. Make new friends online, form tribes, and build mighty structures to defend against man and mega-predators alike!”

Unfortunately, this game is not for everybody, especially due to its steep system requirements. It is only compatible with phones that have at least 3GB of RAM, and native Vulkan support. Luckily, the team of hardened engineers at BlueStacks is working hard to get the game running on BlueStacks, and it should be ready soon, so that everyone can enjoy this awesome game from the comfort of their PC, using our Android emulator.
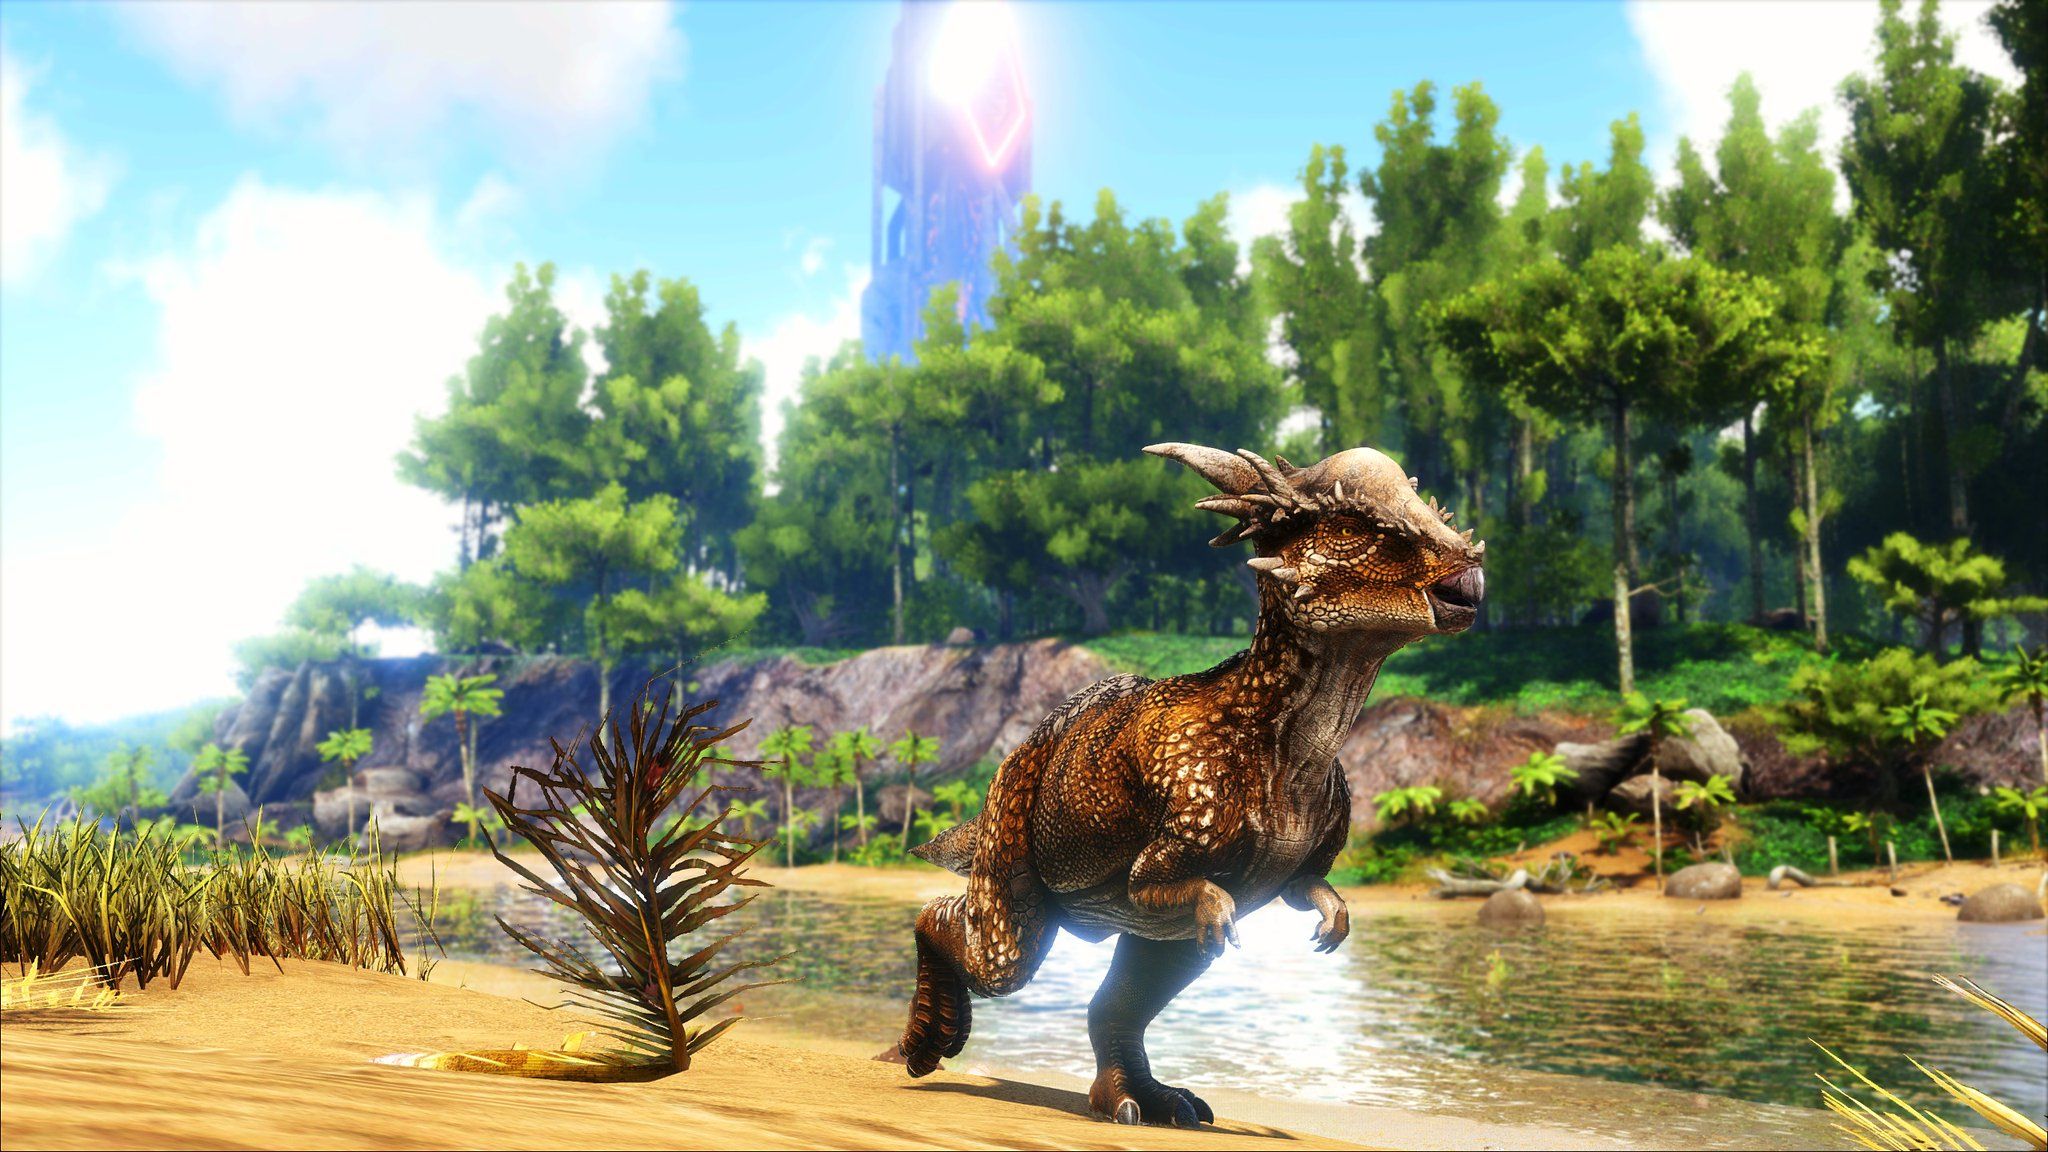
That being said, getting started in this amazing game is one of the most difficult endeavors, especially if you’re by yourself and have no one to guide you through the ropes. This is where this guide will come in handy so that you find out exactly what you need to spend your time on during your first days on the island in order to ensure your continued survival.
Your First Day On the Island
Before you get started, you’ll first need to choose a server and create a character. After you find a suitable one and create a character (there’s not much in the way of customization), it’s time to survive. Depending on where you choose to spawn, you may appear on a tranquil beach, or in a merciless Winterland that you are clearly not prepared to survive in at this point in time. That being said, you should always choose some of the eastern beaches for their relative tranquility, tropical climates, and readily-accessible materials that can be gathered nearby.
Your priority should be to immediately create some tools to accelerate the gathering process. To this end, you’ll need to create a Stone Pick first, which you can do by combining 1 Stone, 1 Wood, and 10 Thatch in your crafting menu. You can find stone by picking up any rocks that you find lying around on the beach. Furthermore, you may get wood and thatch by striking nearby trees with your bare fists; it’s not the best way to gather materials, but it’s all you have at this point.
While you’re gathering materials, be aware of your surroundings. Though you won’t find any of the more dangerous dinosaurs roaming around the beaches of the island, you may find a few Dilophosaurus, which can definitely kill you if they sneak up on you at this point since you have no weapons to defend yourself. Dilos can spit venom at you that blurs your vision and slows you down considerably for a few seconds. If they hit you at this point, you’re not likely to get away.

By the time you have created your first stone pick, you’ve likely already leveled up. Be sure to assign any attribute points in the character screen to increase your stats. We like to increase carry weight early on so that we don’t have to make so many trips between our shelters and the gathering points just to empty our pockets all the time. After you increase your attributes, you’ll be taken to the Engram screen, in which you can spend Engrams to learn new blueprints. At this point, you will need both the Stone Hatchet and the Campfire blueprints since they will be vital for gathering materials and for cooking the meat you harvest from nearby animals, respectively.
After finishing your stone pick, you’ll likely have plenty of daytime left for you to continue your foraging. With your new tool in hand, you can easily gather wood and thatch from trees without hurting yourself, and even gather stone and flint from the big rocks that are lying around. In order to create a Stone Hatchet, you’ll need wood, flint, and thatch, so chop down a few trees and chip some boulders with your pick until you’ve gathered the necessary materials. Upon creating your first hatchet, you’ll now have the two most important tools in the entire game: The stone pick can gather more thatch, flint, and raw meat, while the hatchet can harvest more wood, hide, and stone. Keep this in mind for when you’re looking for specific materials to fuel your quest for survival.
After completing these tools, your hunger and thirst meters are likely very low, so you’ll need to replenish them promptly. Your thirst meter can be easily refilled by simply jumping in the water; yes, the ocean water is safe for consumption, so don’t be afraid to take a dip every once in a while to sate your thirst. However, be mindful about roaming Mega Piranhas, they can make short work of you in a few seconds if they manage to catch you underwater. Getting food is a bit more complex, as it requires you to either forage an insane amount of berries from nearby plants or to kill wandering dodos and harvest their meat. The latter is, by far, the easiest alternative. Simply whack a dodo a few times with your pick and then harvest the corpse by striking it a few times, also with the pick.

After you’ve acquired enough raw meat, you’ll need to set a campfire with appropriate fuel to light a fire. Compatible fuel sources at this point are wood and thatch, though the former burns for longer than the latter. After lighting the fire, simply drop some raw meat into the fire’s inventory, and watch as cooked meat comes out. You’ll need about 4 cooked meat to replenish your hunger gauge completely. However, the hunger gauge won’t replenish completely after eating each piece of meat; it fills up slowly as your character digests the food, so give it some time.
Now that you know how to create your first tools, hunt for food, and address your hunger and thirst, you’re set to survive your first night on the island. When night comes, be sure to stay by your fire and don’t stray too far. If you run into a Dilophosaurus, you likely won’t even see them before they pounce on you, since they can usually blend into the shadows with their natural camouflage. Also, you may want to steer clear of the small Compys. Though usually docile, they tend to attack players when they are in packs of 3 or more. They can be easily outrun, though, but are dangerous if encountered in large numbers.

Stick around for part II of our guide, where we’ll elaborate on the other elements you’ll need to consider in order to survive on the island, as well as how to get started on your first shelter.
Do let us know what you think of this guide in the comments section. As always, we’ll keep you posted about latest news on the game.

