Castle Clash: Guild Royale on PC - How to Use Our BlueStacks Tools to Enhance Your Gameplay Experience

When it comes to getting the most out of your experience with Castle Clash: Guild Royale, you’d probably want to skip the struggle of dealing with a small phone screen, or with subpar touchscreen controls. Not to mention that, if you’re playing on your phone, you’ll also have to deal with issues like battery drainage, overheating, and speeding up the natural wear and tear of your device. For this and many other reasons, it’s strongly recommended that you play Castle Clash: Guild Royale on PC with BlueStacks, at least if you’re looking to get the absolute best experience with this awesome strategy mobile game.
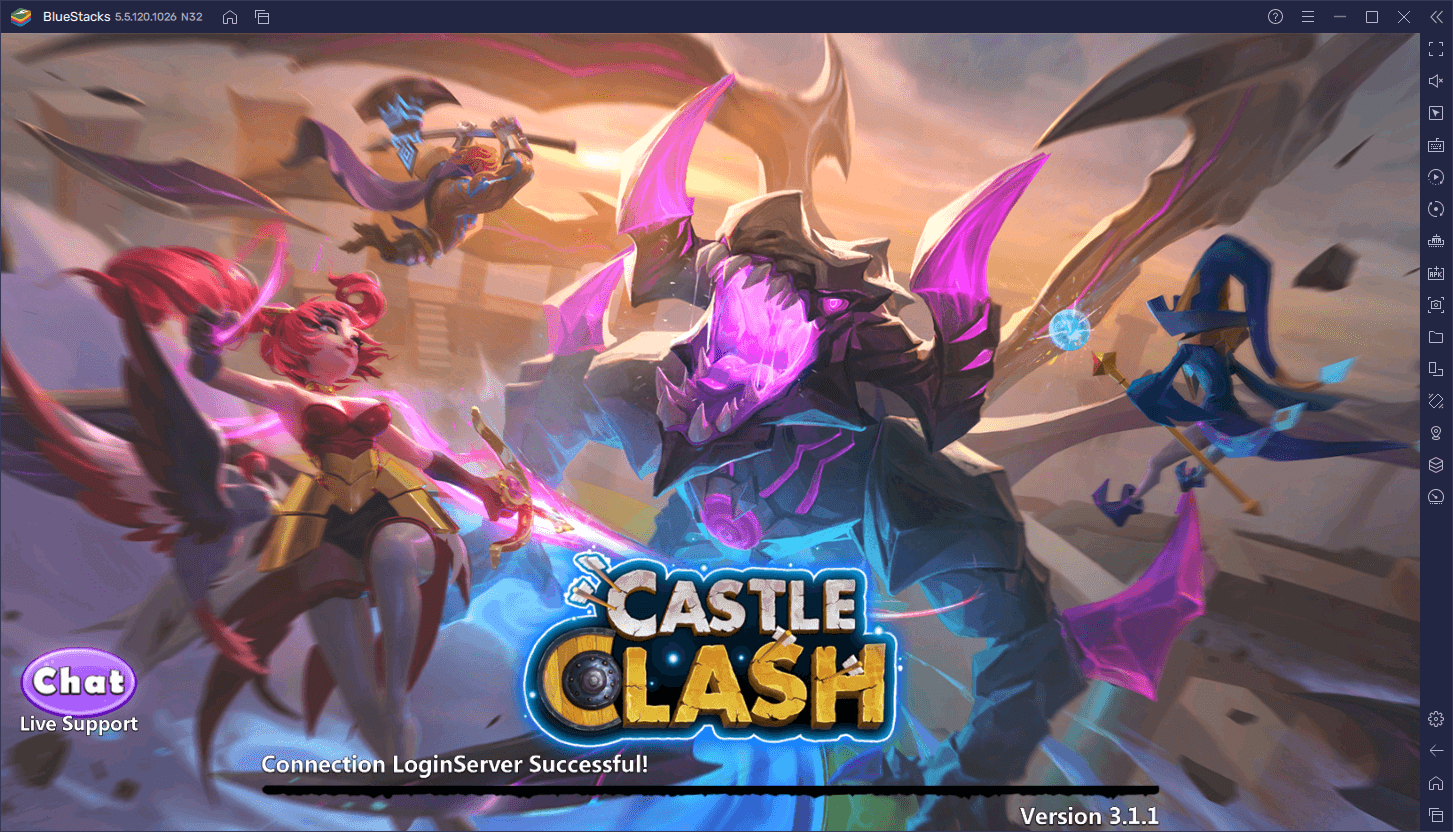
By playing Castle Clash on your computer, you not only circumvent the inherent restrictions of the mobile platform but also get to enjoy all the benefits that come from playing on PC. Case in point, not only do you get to play these games on your large computer monitor that gives you a much better view of the action at all times, but you can also use your computer’s superior hardware to get the best performance, even on the highest graphical settings. And as if that wasn’t enough, BlueStacks also has several tools that can help to further enhance your experience far beyond what even the best phones could provide.
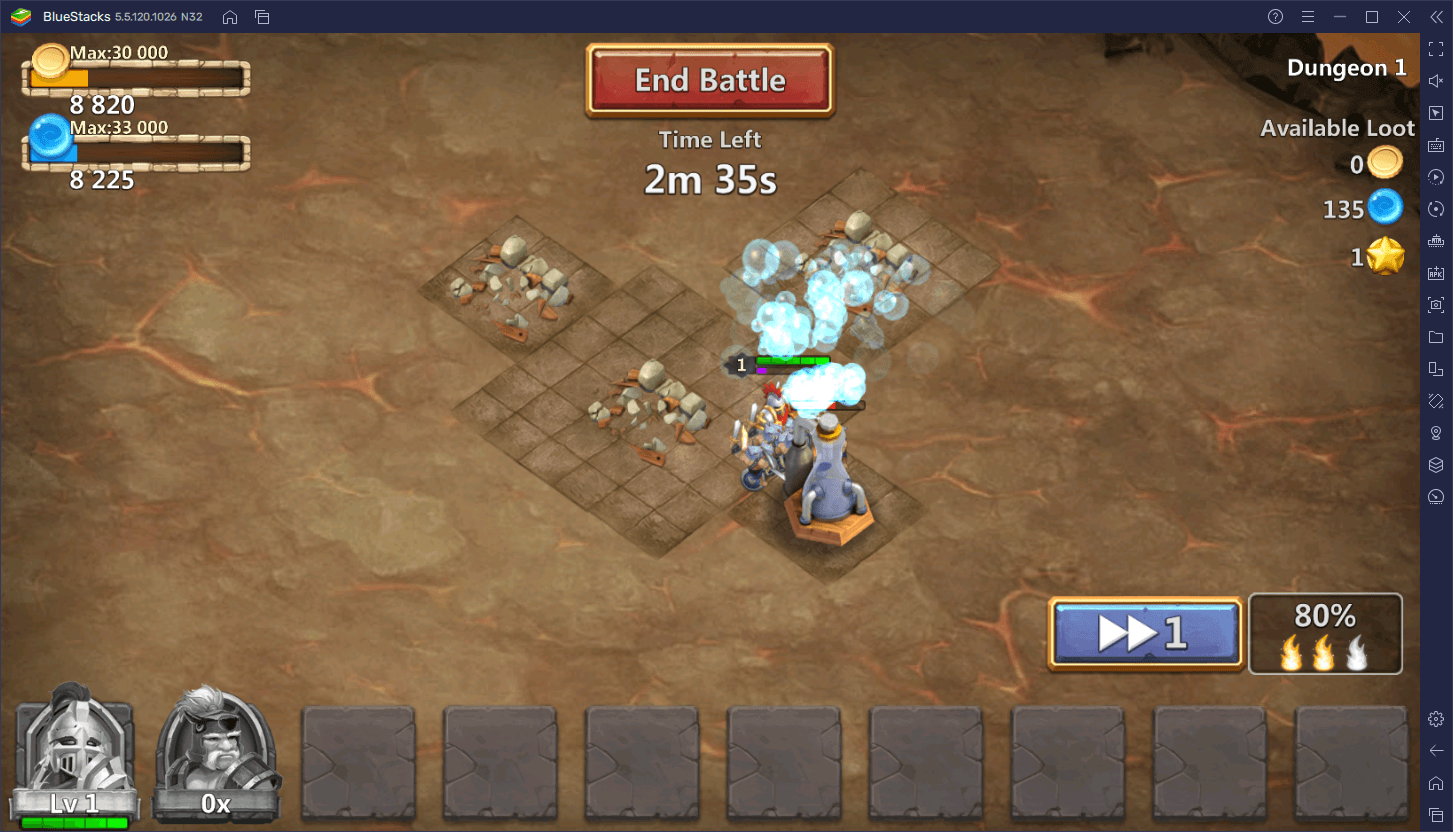
However, to enjoy everything that BlueStacks has to offer, you’ll have to configure or tweak some of its settings. In this sense, we’ve created this brief guide to show you how to configure your emulator to get the best experience with Castle Clash on PC.
Getting the Best Graphics and Performance
Despite its simplistic visual style, Castle Clash: Guild Royale can actually look very crisp as well as run at a silky smooth 60 FPS. However, in order to achieve this level of fidelity and smoothness, you’ll need to adjust some settings both in your emulator, as well as in-game. Here’s a quick breakdown of the process:
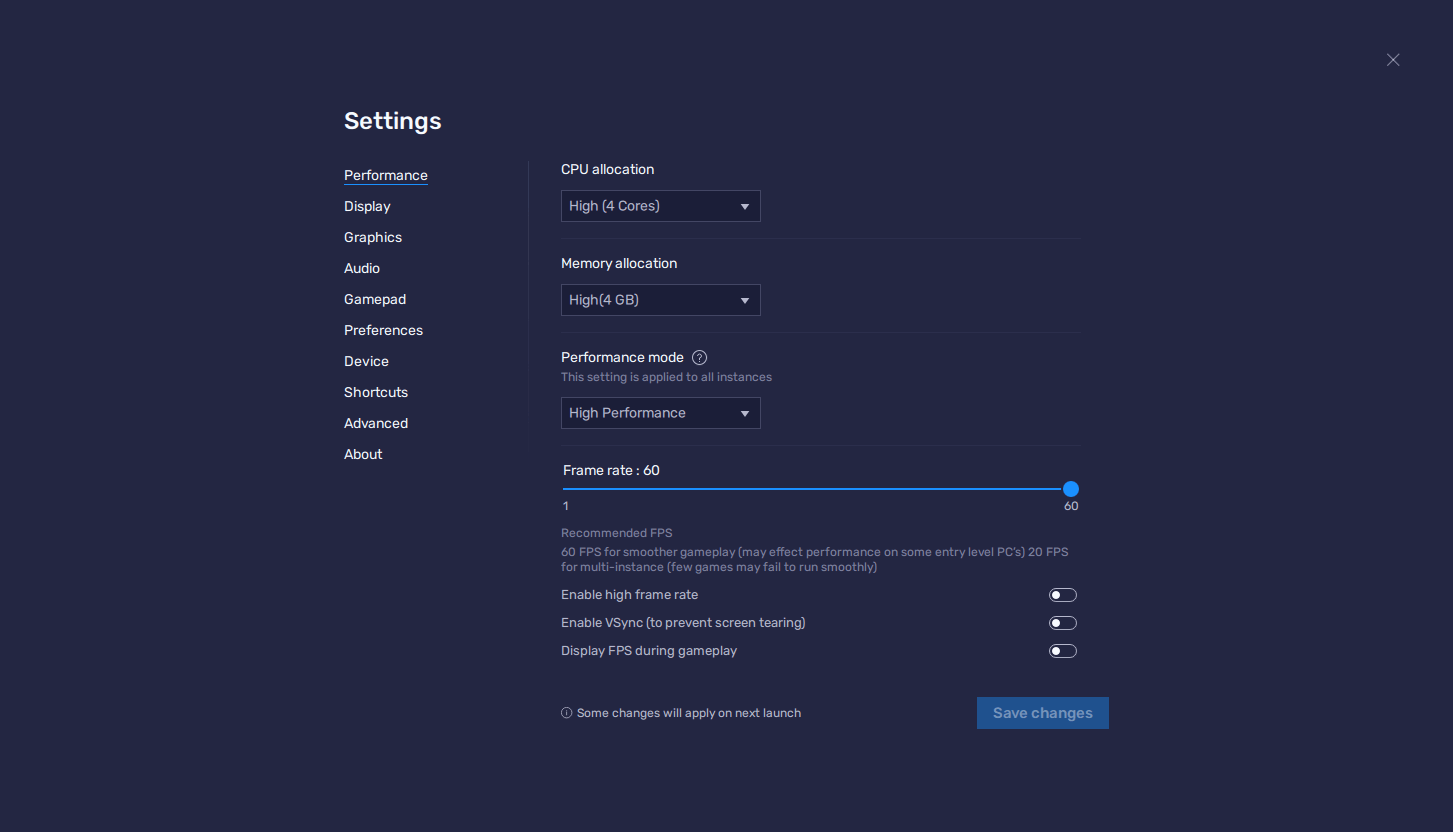
- Go to your BlueStacks settings by clicking on the burger button on the top right of the window.
- In the “Performance” section, make sure to assign 4 CPU cores and 4 GB of RAM to the emulator, set the “Performance Mode” to “High performance”, as well as configure the FPS slider to at least 60. Finish up by clicking on “Save changes” before closing this window.
- Launch the game and go to the settings by clicking on the gear icon on the lower left of the city screen.
- In the “Basic Settings” section, set your graphics to “High”.
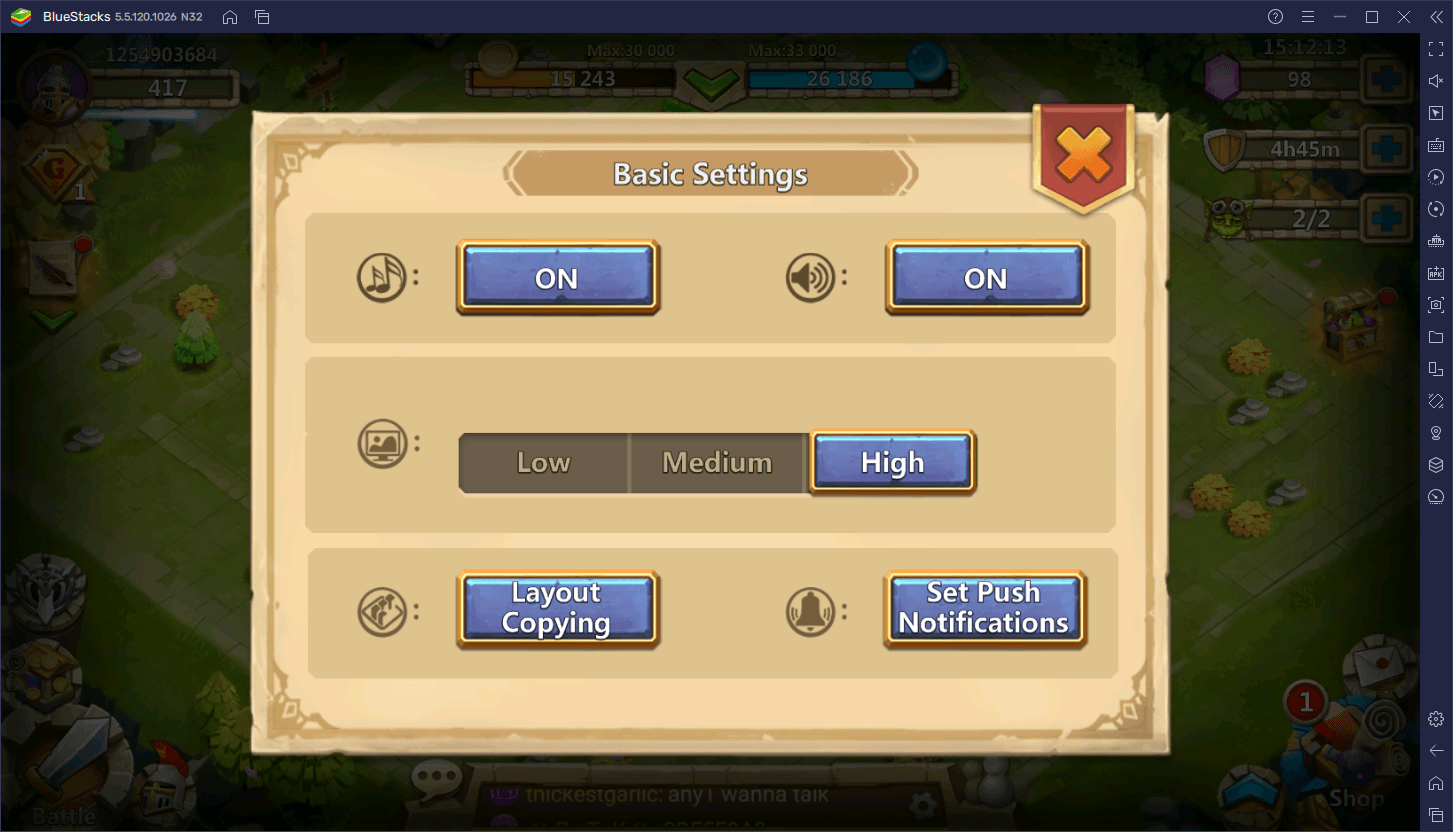
With these settings implemented, your game should look absolutely incredible, to the point where you could even play it on your computer in fullscreen mode, without losing any of the visual fidelity by stretching out the image to cover your entire screen. And all of this is while the game runs at a stable 60 FPS, further improving its visual appeal.
Play With the Best Keyboard and Mouse Controls
Graphics aside, games like Castle Clash are meant to be played casually and with an enjoyable and engaging control scheme. Sadly, playing on your phone can somewhat go against this objective, particularly since playing with touchscreen controls on a small phone screen doesn’t really translate to comfort and precision. However, if you play on BlueStacks, you not only get to use your mouse instead of having to tap and swipe with your fingers, but you also get access to the Keymapping Tool, which streamlines menu navigation by adding your keyboard to the mix.
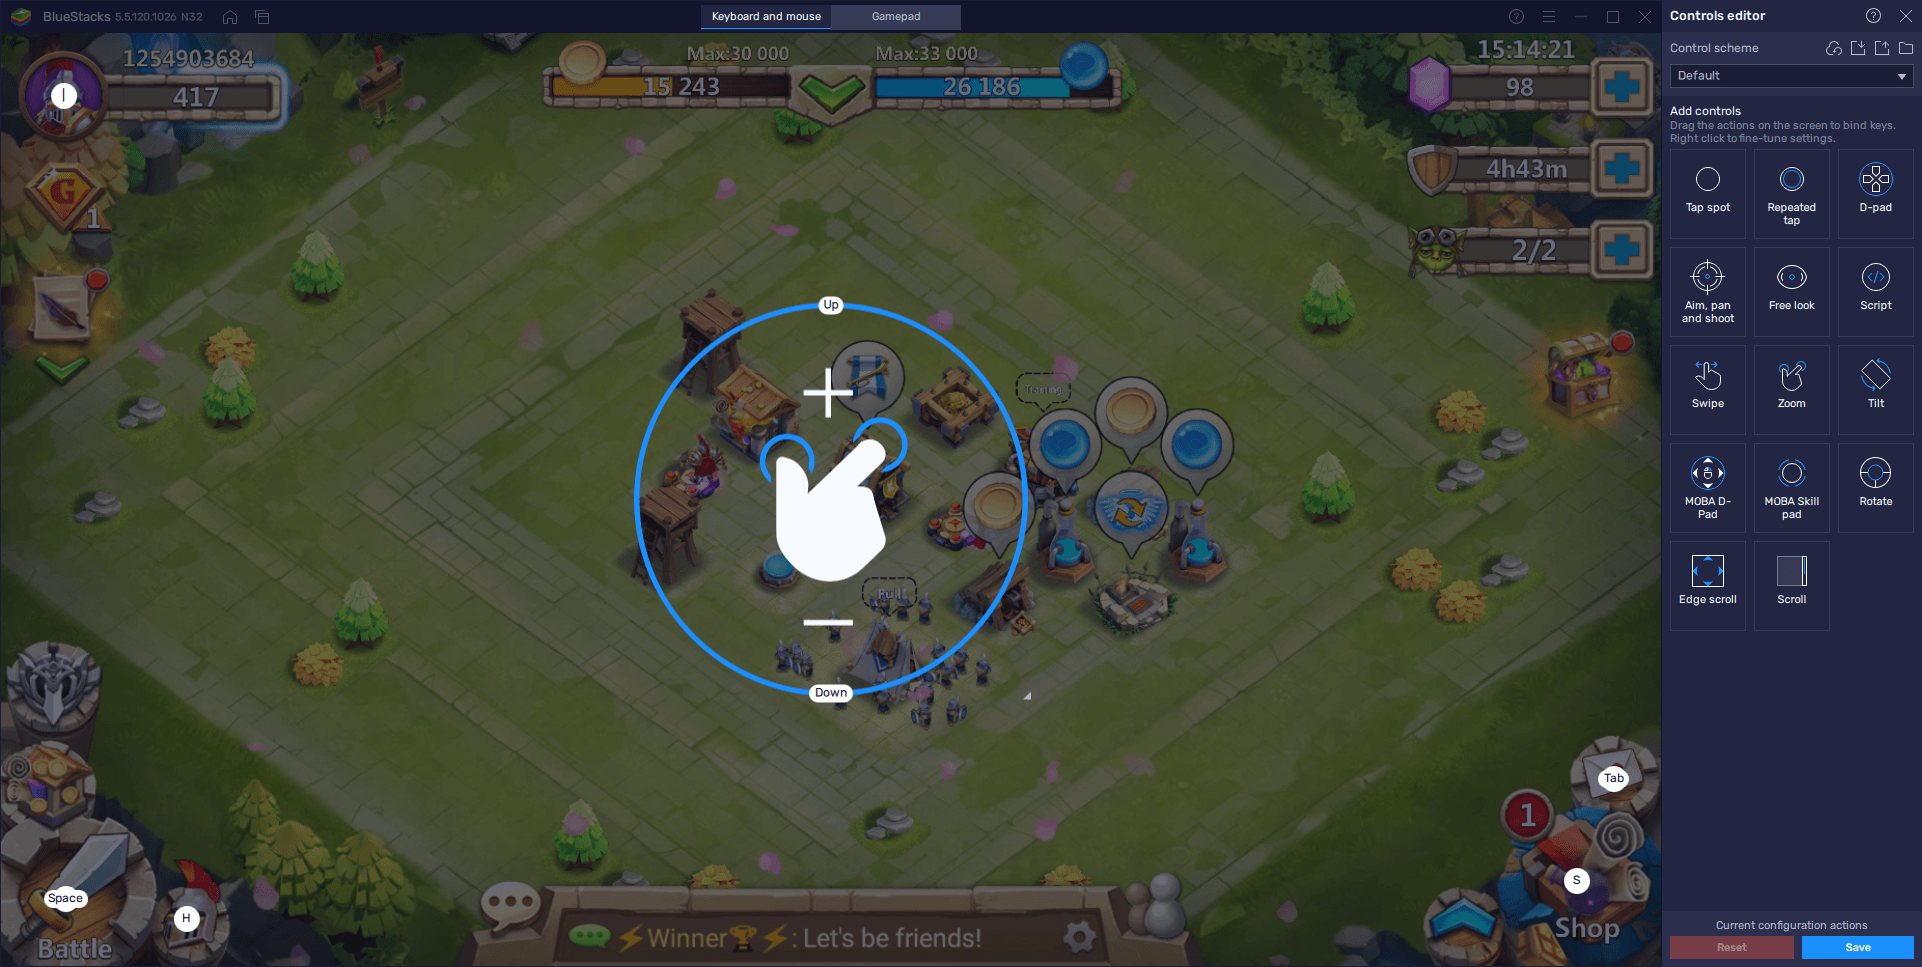
You can access the Keymapping Tool by pressing Ctrl + Shift + A while in-game. This new panel that opens is the Advanced Editor, in which you can view your current bindings, modify them, and even add new ones. To modify your controls, you simply need to click on the functions you wish to change, followed by pressing the new button you want to replace them with. Alternatively, to add new functions to the current control scheme, you can simply drag it from the menu on the right and drop it wherever you need it. Don’t forget to give it a key assignment afterward!
Once you’re done tweaking your controls, remember to click on “Save changes” to implement your tweaks.
Grow and Develop Multiple Cities at the Same Time
One of the main drawbacks of casual games like Castle Clash is that they often don’t have much to offer to those who enjoy playing for longer sessions—there’s just not enough to do, to the point where you can probably get everything done in a few minutes, and then close the game for a few hours until all your timers have finished and you can play some more. If this is happening to you in this game, you can easily and quickly extend your playtime by playing on multiple accounts at the same time.
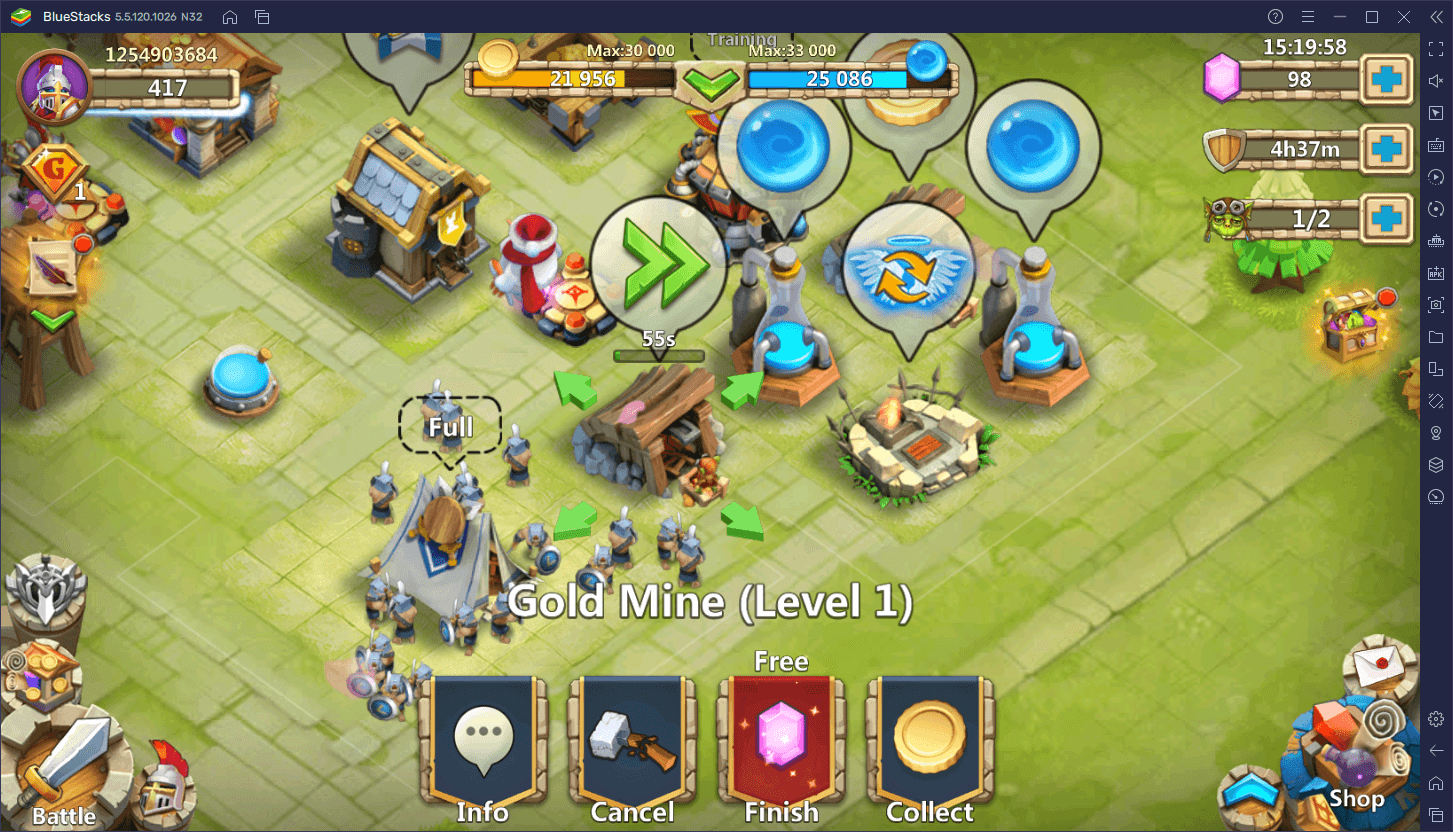
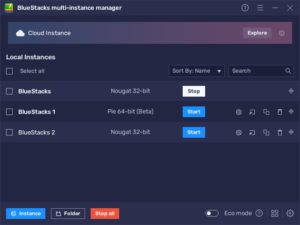
With the BlueStacks Instance Manager, you can play Castle Clash on multiple instances at the same time, which effectively lets you grow and develop several cities simultaneously. This can be used either to experiment with different team compositions and strategies since it’s very likely that you’ll unlock different units on each account or simply for extending your playtime. In this sense, whenever you’re done playing on one account, you can simply minimize the instance and switch to a new one with just a couple of clicks.
You can open the Instance Manager by pressing Ctrl + Shift + 8. By clicking on the “+ Instance” button, you can then follow the instructions to create as many instances as your PC can handle. Afterward, by linking a unique Google account to each, you can install Castle Clash: Guild Royale on each of these instances, letting you play with multiple cities at the same time.
BlueStacks gives you all the tools you need to enjoy Castle Clash on PC. With the tips mentioned in this guide, you’re ready to enjoy the best experience with this strategy mobile game on your computer.


