Optimizing Goddess Connect with BlueStacks’ Tools and Features

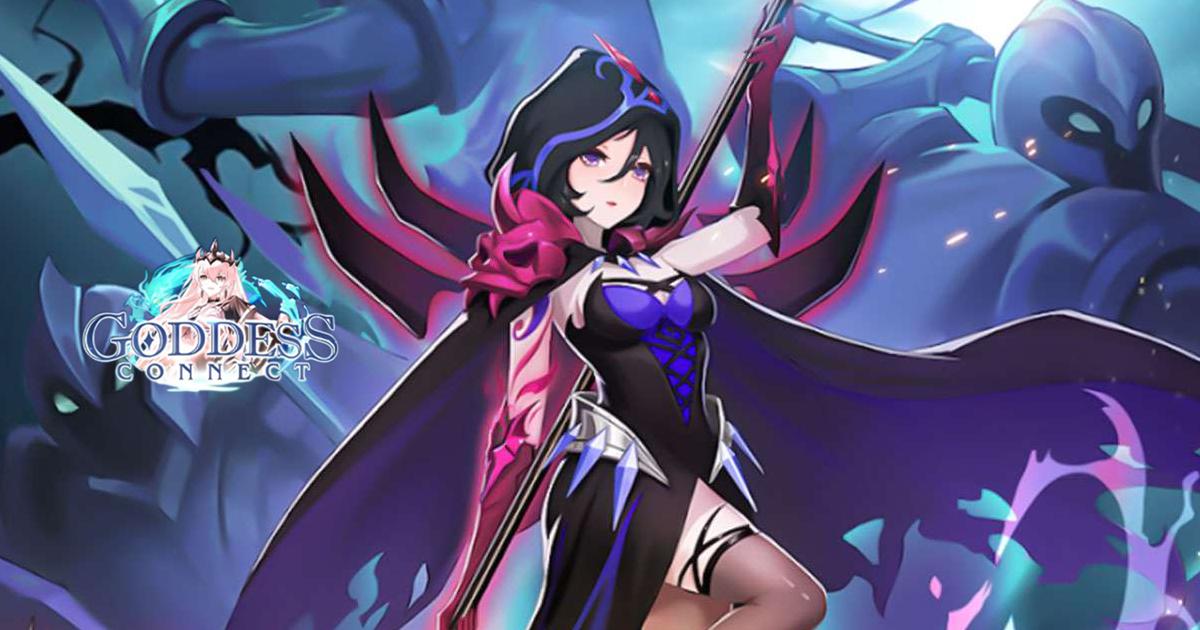
In the enchanting world of Goddess Connect, players embark on a quest filled with mythical heroes, tactical battles, and epic adventures. This captivating mobile game, published by Indofun Games, beckons players to gather heroes, confront formidable foes, and forge their legend.
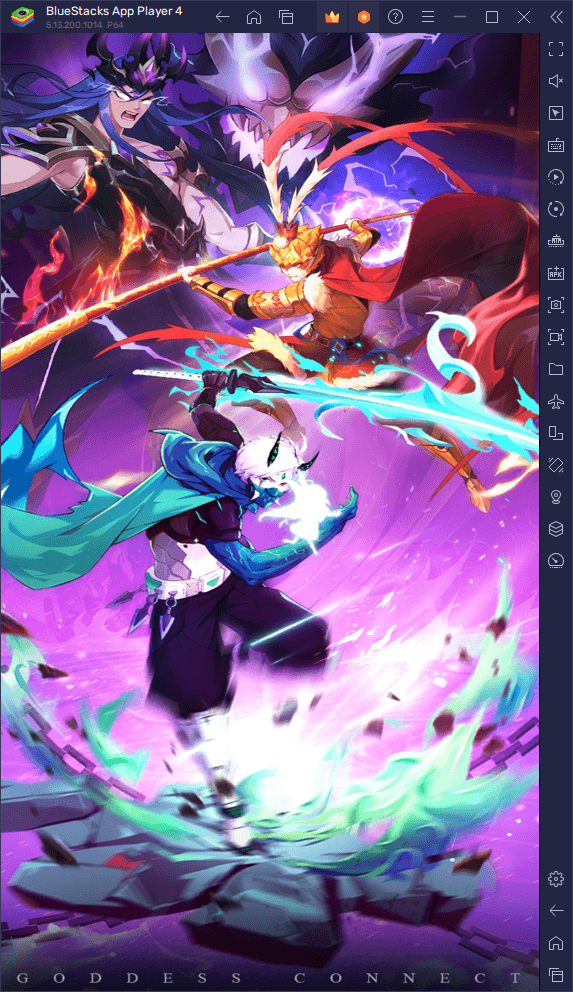
While the game’s allure is undeniable, there’s a secret that can elevate your Goddess Connect experience to new heights. The key lies in the power of BlueStacks, the Android app player designed for PC. With a suite of tools and features perfectly tailored for Goddess Connect, playing this game on your PC becomes the ultimate choice.
In this guide, we will dive deep into the mechanics of Goddess Connect, explore its gameplay, and unveil why harnessing the capabilities of BlueStacks is your ticket to conquering the game effortlessly. Are you ready to unleash the full potential of your heroes and become a legend in Goddess Connect? Let’s embark on this journey together.
Using Keymapping for Streamlined Gameplay in Goddess Connect
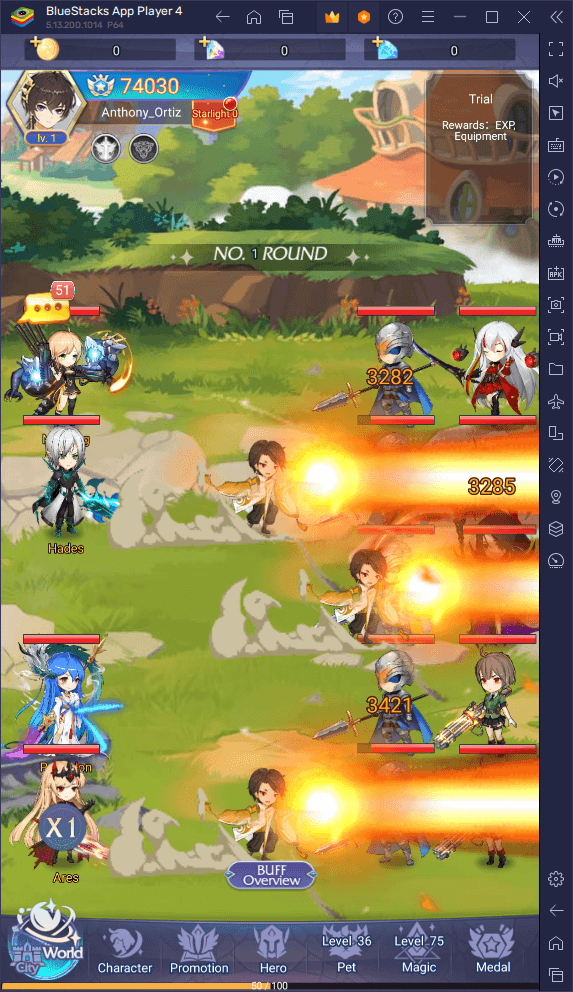
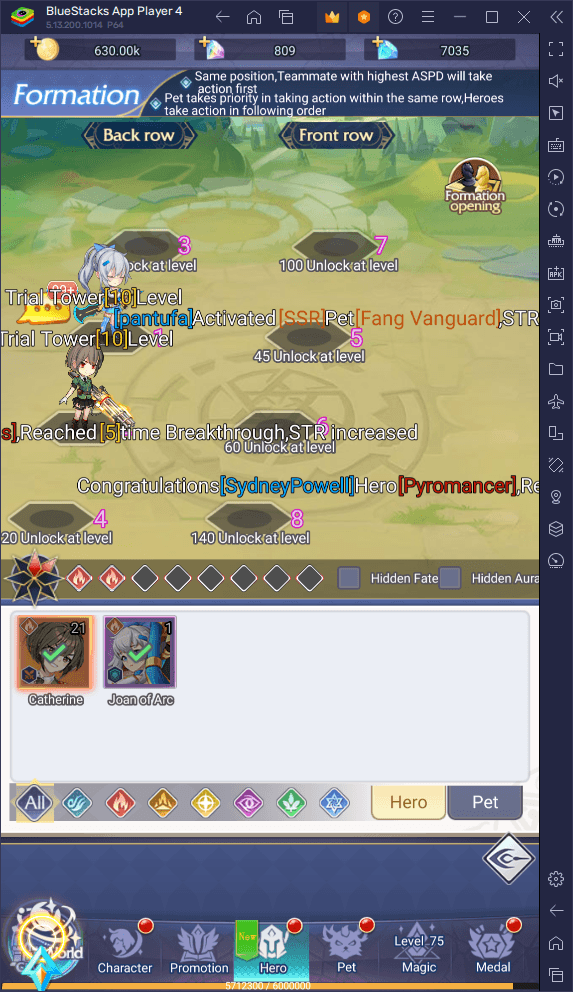
In Goddess Connect, where the bulk of your journey unfolds through menus and strategic squad management, efficiency is paramount. With the BlueStacks Keymapping Tool at your disposal, you can revolutionize your gameplay experience by introducing keyboard shortcuts to navigate menus seamlessly.
To unlock this powerful feature, press Ctrl + Shift + A while in-game. This key combination opens the Advanced Editor screen, your gateway to enhanced menu navigation. Within the Advanced Editor, you’ll find your current bindings displayed for your reference. Customize your control scheme by simply clicking on the function you want to modify and then pressing the desired keyboard key or combination to replace it.
Adding new functions to your control scheme is a breeze. Drag and drop functions from the panel on the right onto the screen where you need them, and assign them a binding. This flexibility allows you to create a control scheme that suits your playstyle perfectly. Once you’ve fine-tuned your control scheme to perfection, don’t forget to save your changes by clicking the “Save” button located in the lower right corner. Your tweaks will be implemented, and you’ll be ready to navigate Goddess Connect’s menus with ease.
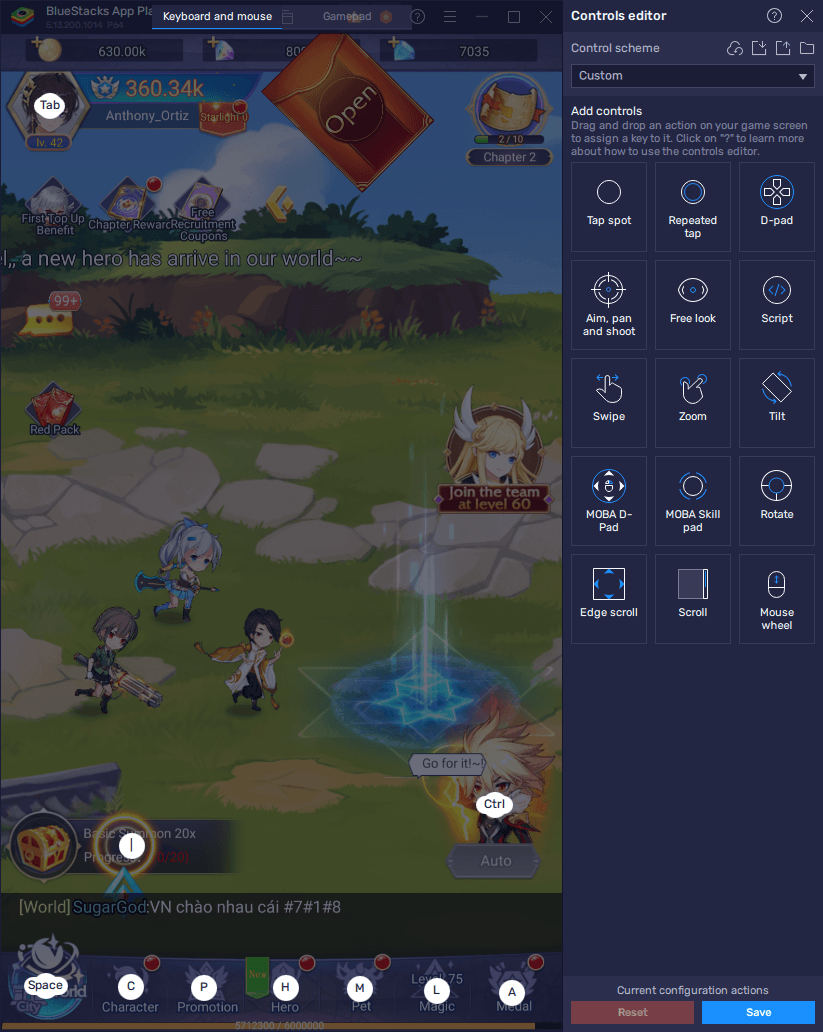
By harnessing the BlueStacks Keymapping Tool, you’ll gain a significant advantage in managing your characters, upgrading your heroes, and conquering battles efficiently. Say goodbye to cumbersome menu navigation and embrace a more streamlined and enjoyable Goddess Connect experience on your PC.
Unlocking Multi-Account Mastery with the Instance Manager in Goddess Connect
In Goddess Connect, strategy and squad composition are at the heart of your journey, and what better way to explore various setups and tactics than by managing multiple accounts simultaneously? Thanks to the BlueStacks Instance Manager, you can do just that, all while keeping your Goddess Connect adventures conveniently consolidated on a single screen.
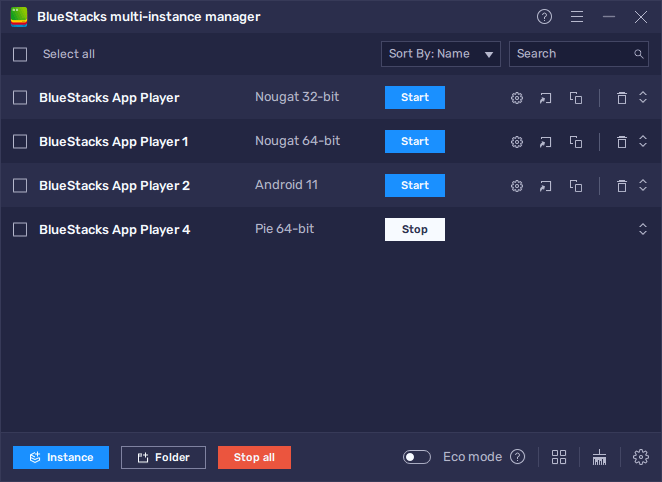
To venture into the world of multi-account mastery, press Ctrl + Shift + 8 while in BlueStacks. This key combination summons the instance panel, where you’ll find a list of your current instances awaiting your command.
The instance panel grants you full control. Launch and close instances with ease, all at your fingertips. If you want to fine-tune settings for a specific instance, click on the gear icon next to it. And for those instances that have served their purpose, feel free to delete them, keeping your virtual realm tidy and efficient.
Should the need arise for more instances to fuel your experimentation, click the “+ Instance” button situated in the lower left corner. Keep in mind the system’s RAM and CPU limitations as you create new instances to ensure smooth gameplay.
With all your instances up and running, simply follow the PC setup guide for Goddess Connect on each of them to install the game. From there, you can delve into the captivating world of Goddess Connect on multiple accounts simultaneously. Unleash your strategic prowess, explore diverse setups, and conquer battles like never before—all on one screen, thanks to BlueStacks Instance Manager.
Streamlining Gameplay with the Macro Recorder in Goddess Connect
In Goddess Connect, as with many RPGs, a fair share of the journey involves grinding through stages and progressing through the storyline. But what if there was a way to automate some of the grind, making your adventure more effortless? Enter the BlueStacks Macro Recorder, a game-changer for automating repetitive tasks, like progressing through the story.
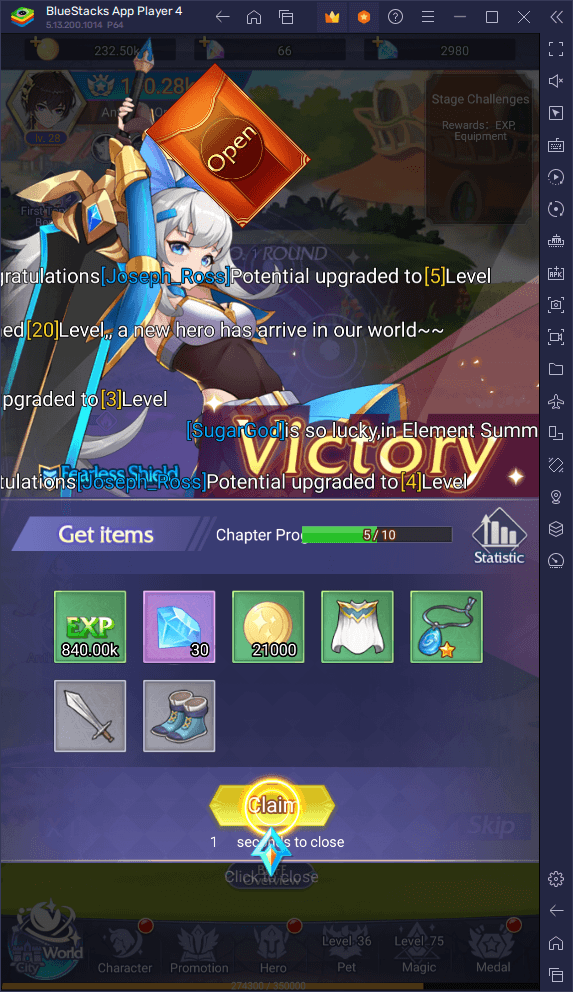
To tap into this automation prowess, simply press Ctrl + Shift + 7. This key combination summons the Macro Recorder interface, your gateway to simplifying your gameplay. Afterward, creating a macro is as easy as clicking “Record new macro” and then performing the actions you want to automate while the recorder is running. Whether it’s clicking through boss stages, farming resources, or managing your squad, the Macro Recorder captures your actions.
Once you’ve completed your automated sequence, stop the recorder and give your new macro a name and a key binding. With these settings in place, you have the power to trigger this automation whenever you press the corresponding button.
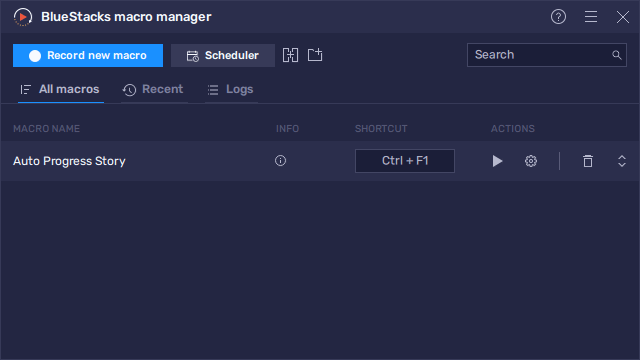
For instance, set your macro to loop indefinitely, and watch as the game automatically progresses through the story, sparing you the repetitive clicking. The Macro Recorder grants you the freedom to automate various tasks, transforming your gameplay into a more efficient and enjoyable experience, all while you can easily minimize your game to the background and do something else on your computer while BlueStacks plays for you.
In Goddess Connect, where time is of the essence and battles await, harness the Macro Recorder to conquer the grind effortlessly. Whether you’re embarking on the story or optimizing your squad, let BlueStacks streamline your adventure and elevate your Goddess Connect journey to legendary heights.

