Guide to Playing Into The Dead 2 on BlueStacks
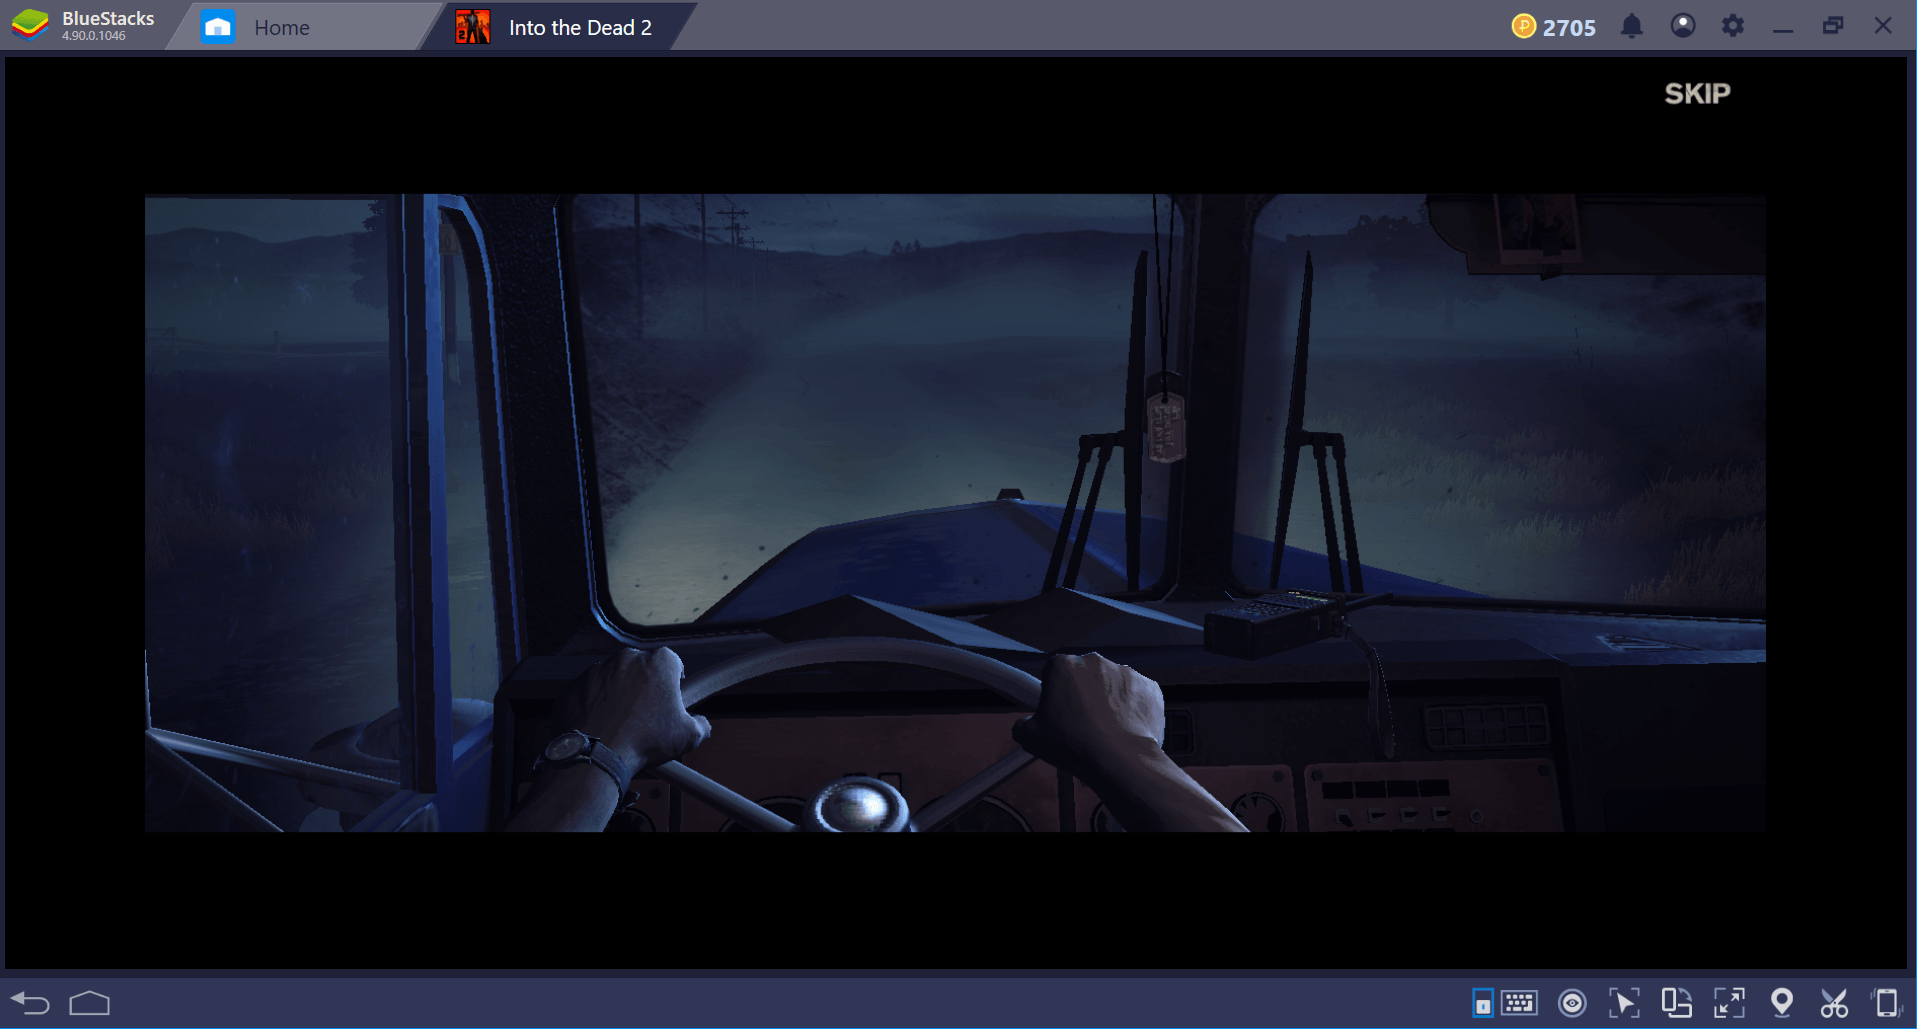
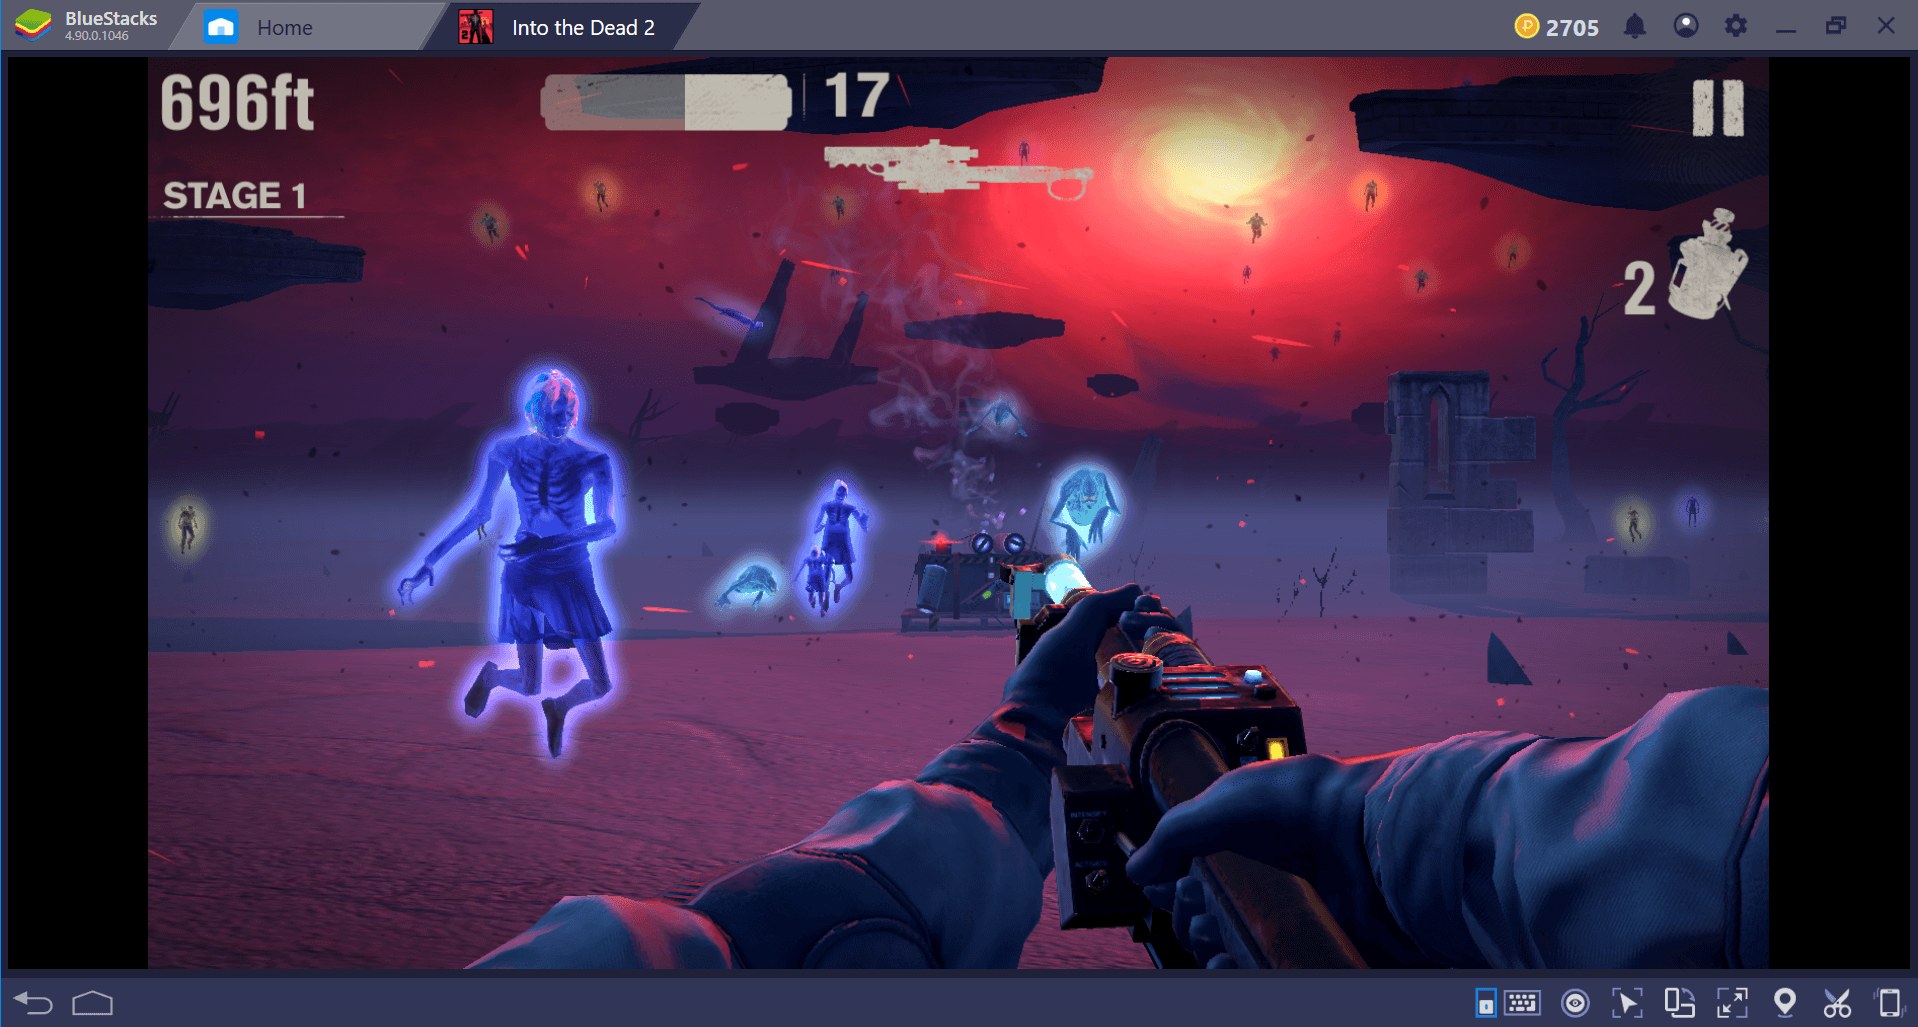
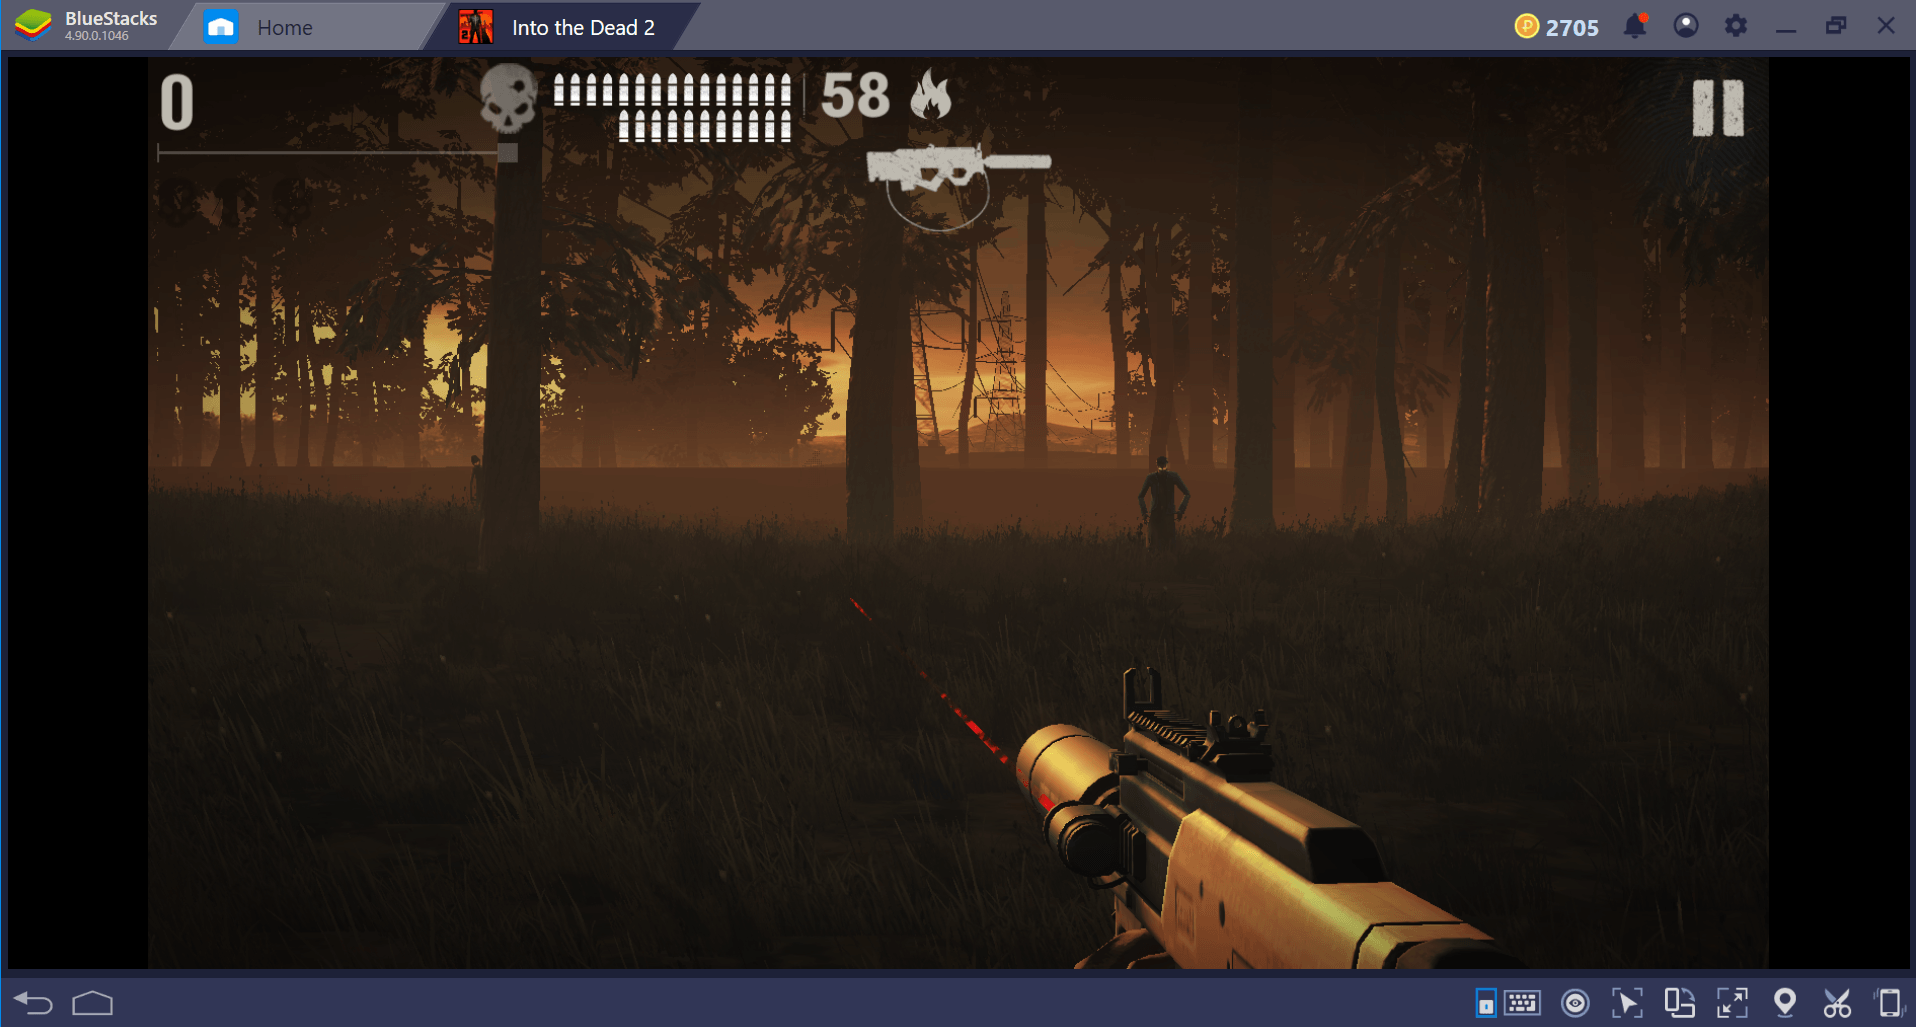
Into the Dead 2 is one of the best zombie shooters on the app store, and undoubtedly it has drawn crowds since its launch. If you didn’t know already, Into the Dead is a zombie game with a weapon upgrade system, dark, gritty graphics, and a thrilling story baked into the end of each level.
On the surface, Into the Dead 2 is a casual game, it may not be as action packed as something like Dead Trigger 2, but there are so many small elements that draw you in and engage you. Sure, it’s easy to get to grips with Into the Dead 2, but there’s a certain level of skill and strategy to play Into the Dead 2 effectively.

With BlueStacks, you can play Into the Dead 2 on a larger screen, with better performance, making it easier to time your swipes and conserve your ammo. You can be sure the shots you take will hit the zombies in front of you and you have more screen space to pay attention to the zombies, obstacles, and ammo boxes in each level.
At the beginning of the game, it doesn’t matter so much if you use up all your ammo and make mistakes, but if you aren’t more careful later on, you’ll really struggle to complete the levels. If you want to be competitive and make your way through the harder levels, BlueStacks can really help to improve your performance in-game.
Thankfully, it’s very easy to get setup with BlueStacks and setting your controls will take a few minutes. You can download BlueStacks for free and then download Into the Dead 2 from within the Play Store on BlueStacks.
Once you have installed BlueStacks and downloaded Into the Dead 2, it’s time to get set up with the controls. We’ll take you through the entire process below.
How to setup your controls on BlueStacks for Into the Dead 2
The control scheme in Into the Dead is very simple, which is perfect for BlueStacks because it means you can get your controls setup within minutes. And once setup, you can move, navigate the menu, and shoot with pinpoint precision.
The first thing to do is set your fire button. For most people, the mouse button will do fine. You won’t need to add an on-screen button – all you need to do is click on the right side of the screen when playing. If you do want a specific button, though, for example, space bar, you can click the ‘advanced game controls’ button on the toolbar at the bottom. From there, click and hold down your mouse on ‘Tap Spot’ and then drag it to the position shown below.
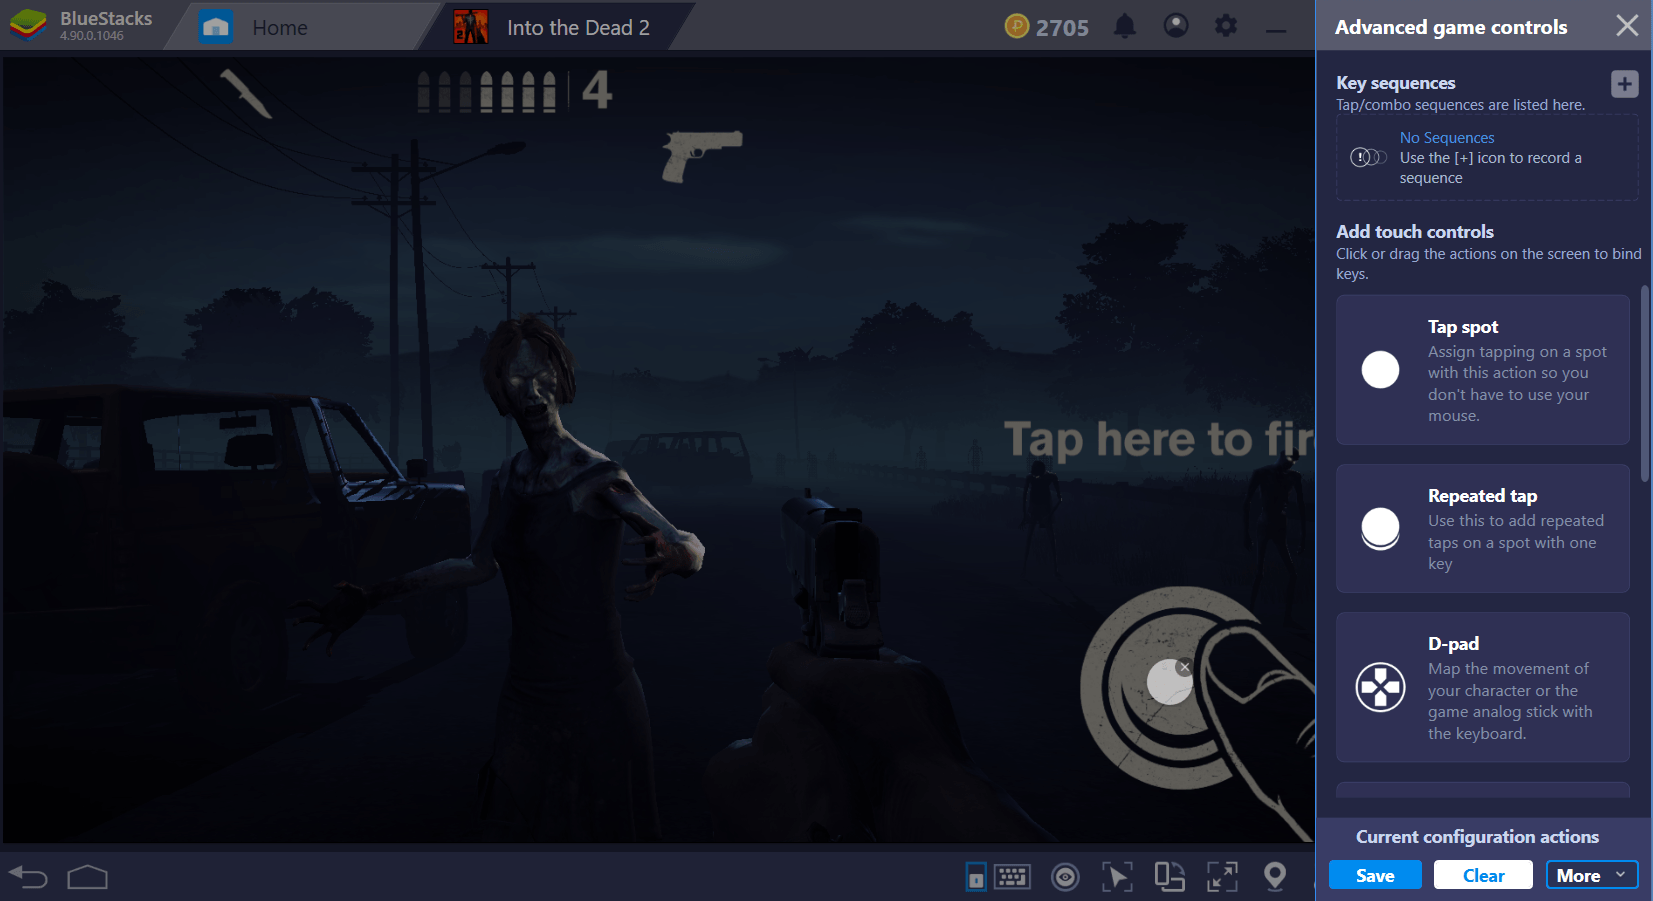
You can then press the key you’d like to shoot, for example, press space bar. After, click save.
If you’re familiar with the BlueStacks keymapping tool, you may think the next step will be to add a swipe control to the left side of the screen to control movement. Whilst the game even says to swipe, the swipe area is very small, so a D-Pad is better.
You can click and drag the ‘D-Pad’ option from the advanced game control panel on the right. If you closed it down, you can open it back up again by clicking the keyboard icon in the toolbar at the bottom. You should drag the D-Pad to the location shown below.
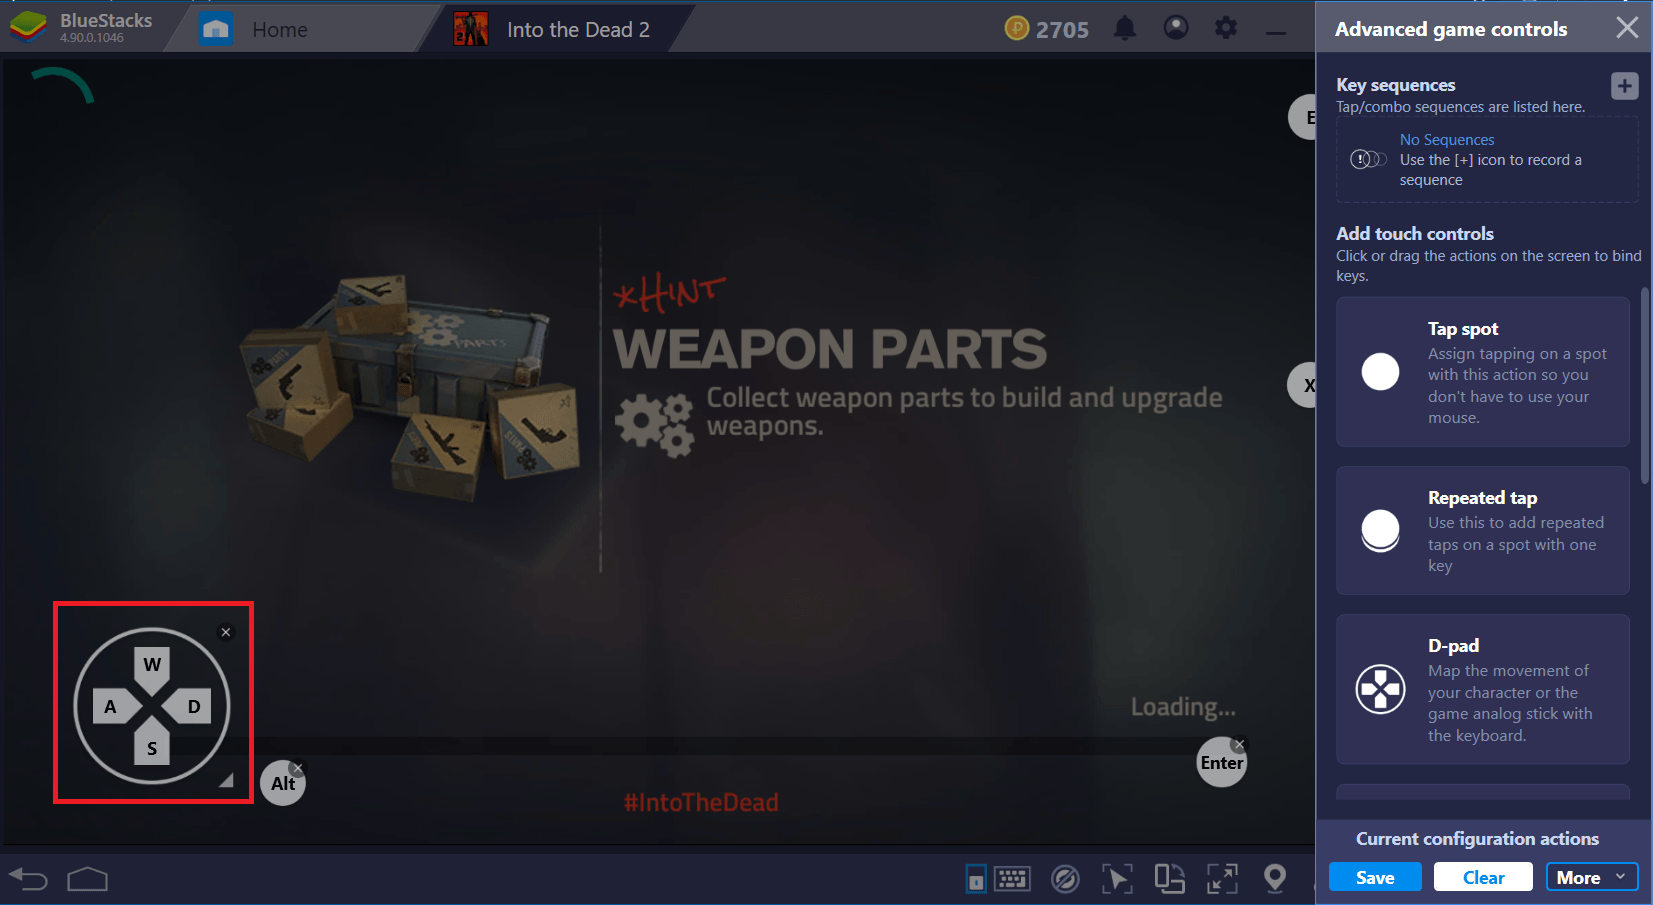
By default, the W, A, S, and D keys will be used for forward, left, backward, and right, respectively. There is no forward and backward movement in Into the Dead 2, so you’ll only need to use A and D to move left and right.
It’s now time to use another Tap Spot for one of the menu options. Click and drag the Tap Spot to the location shown below.
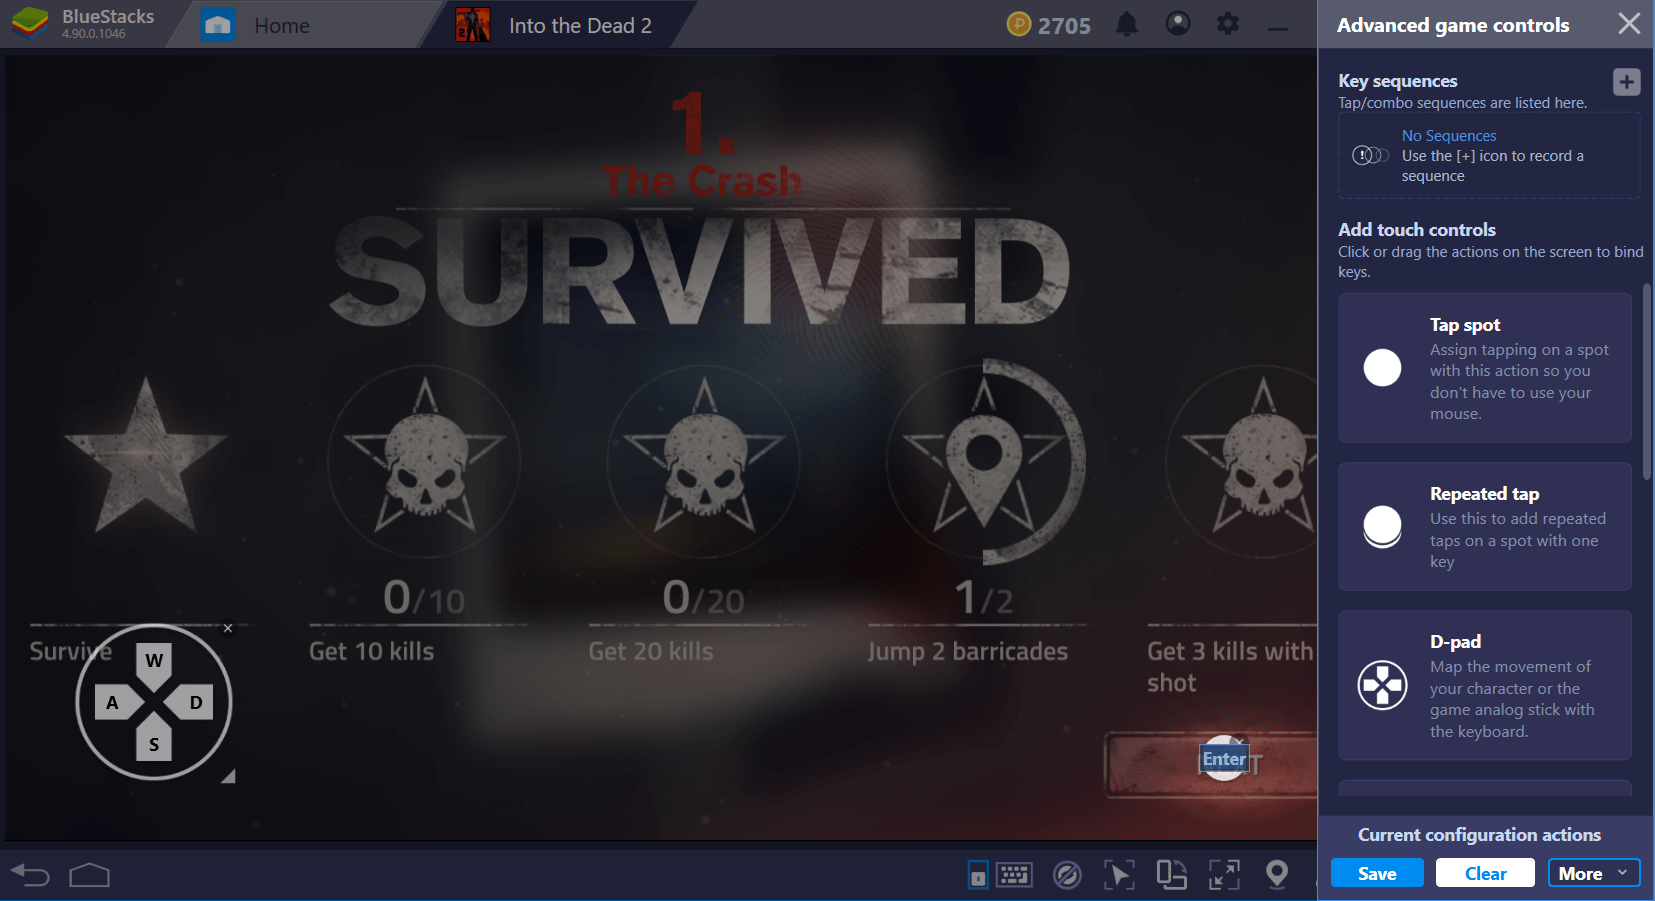
Play Into the Dead 2 on BlueStacks 4
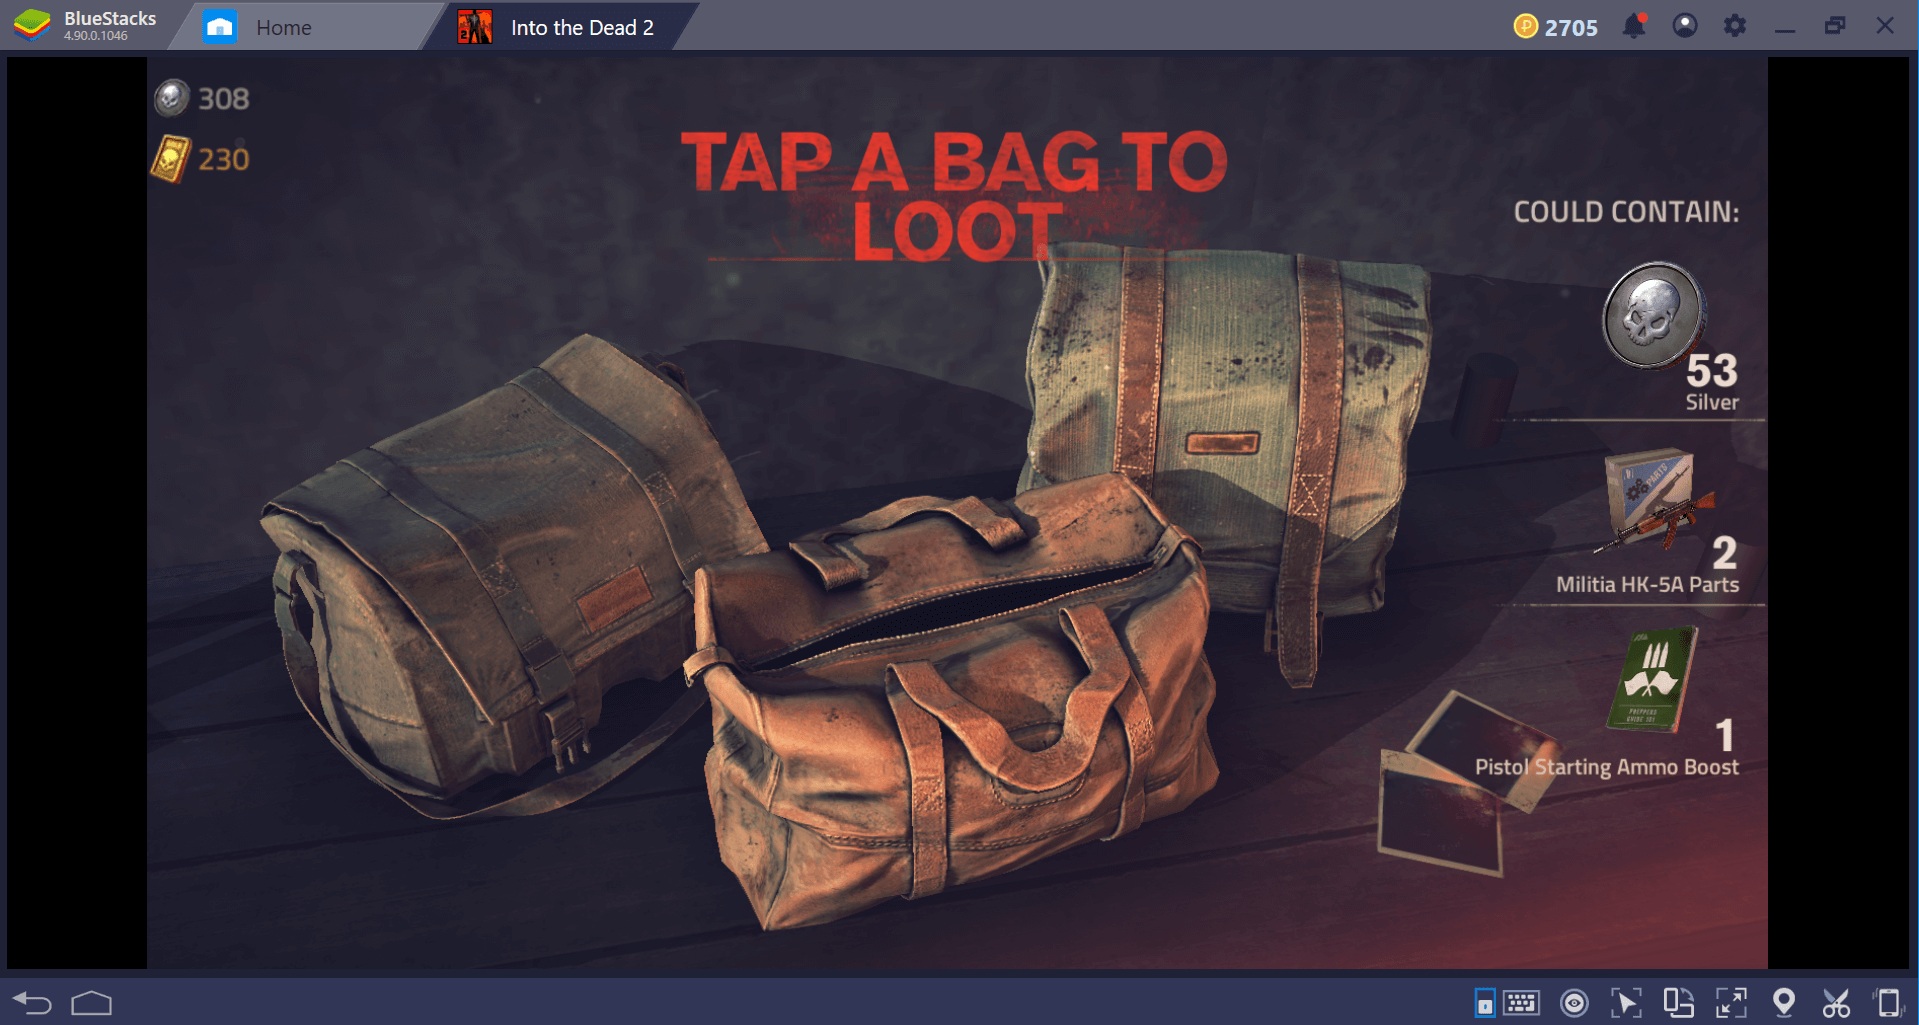
It’s up to you what key you use, but I find ‘enter’ to be useful. This spot will work for skipping the end of each level, for skipping confirmation messages, and passing by many other screens that pop up throughout the game. For most of the rest of the menu, it’s best to use your mouse to click. As you can see below, there will be some elements in the menu that have no UI icons. In these moments, just a mouse click anywhere on the screen will work.
We still need to add some more controls for in-game functionality. Next up we have the change weapon button. Click and drag a Tap Spot from the advanced control menu to the spot shown below.
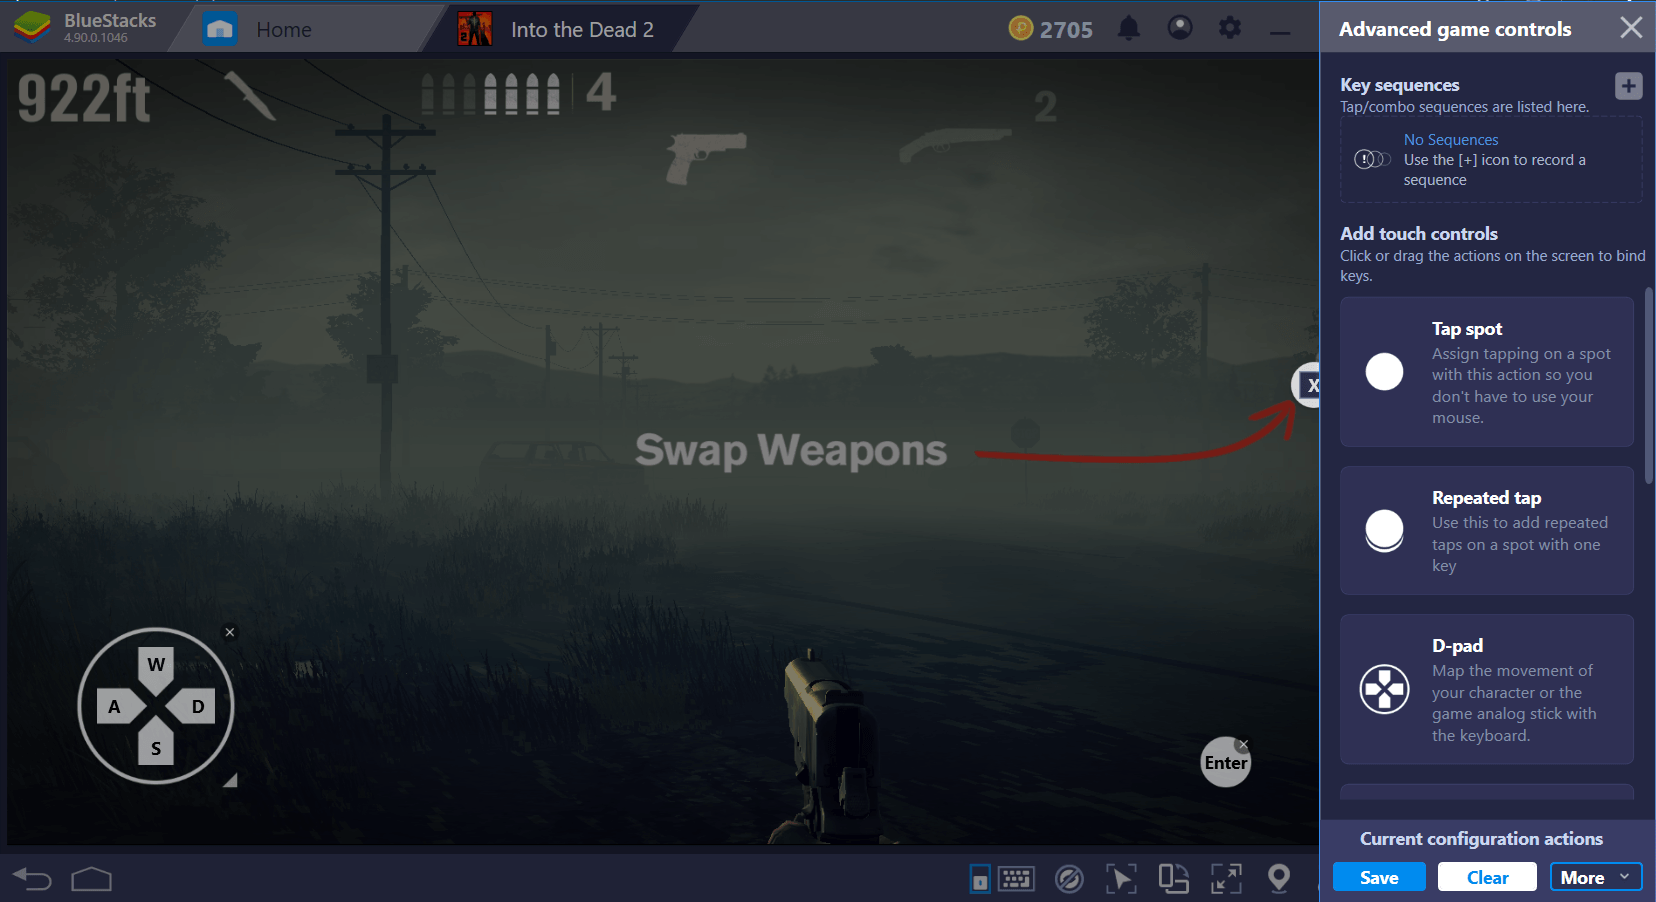
It’s up to you what key you use, but many first person shooter games use ‘X’ to swap weapons, so that’s what we have opted for here.
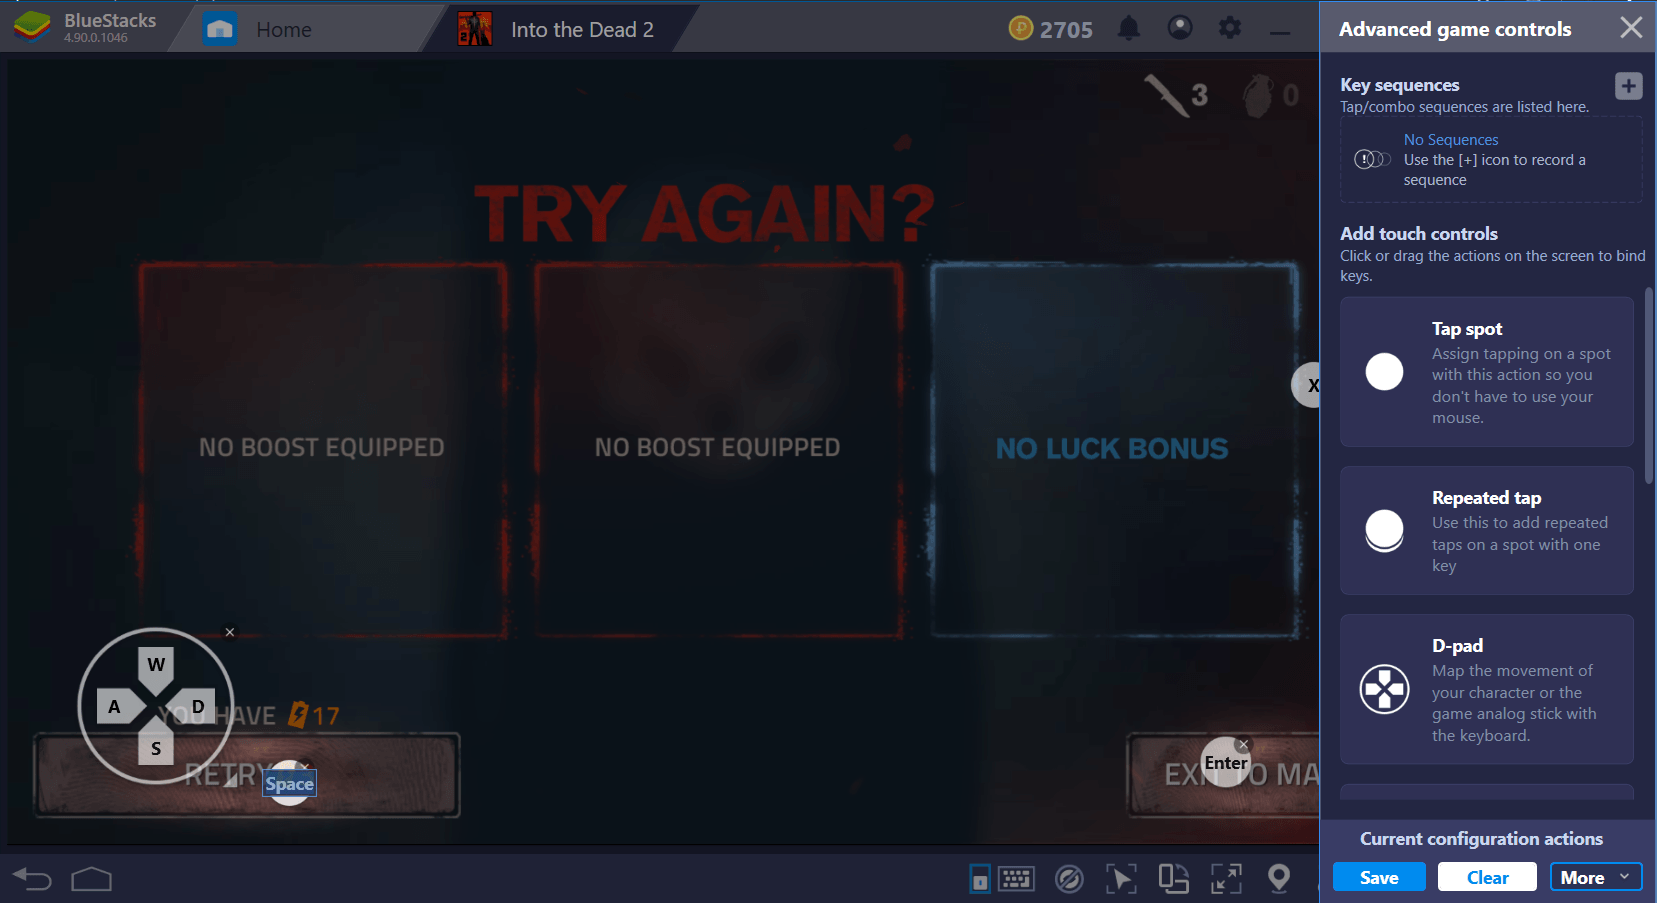
Next, we can add another menu button for ‘retry’. When you fail a level, you can spend points to retry it. I find that for me, personally, the space bar works better, but you can choose any key. You can always just click on it with your mouse, too. Below, I have shown where you need to place a new Tap Spot for the retry button.
Another important button to include is the pause button. I think that a good button to use is ‘E’ – it’s close to A and D, which means your hands don’t need to move much, and it’s a commonly used key for accessing menus and inventories in computer games. The image below shows where to place the pause key.
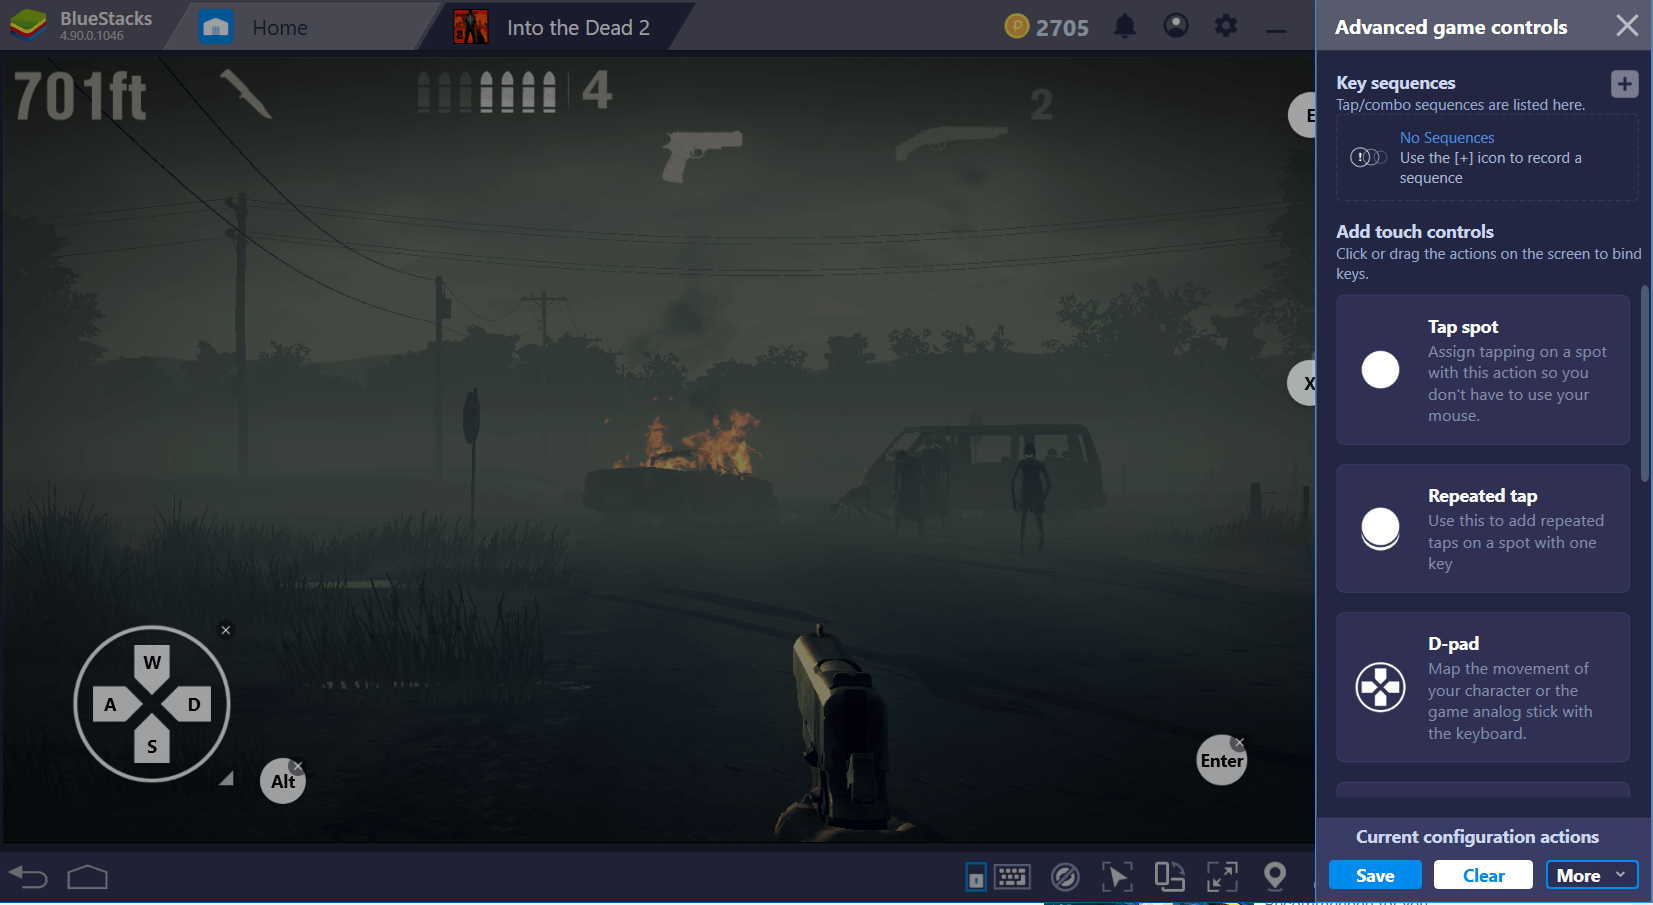
As you can see, it’s in the top right. If you need more space to move the buttons, you can click and drag the advanced game controls menu. It’s a pop-up window so it can be moved out of the way.
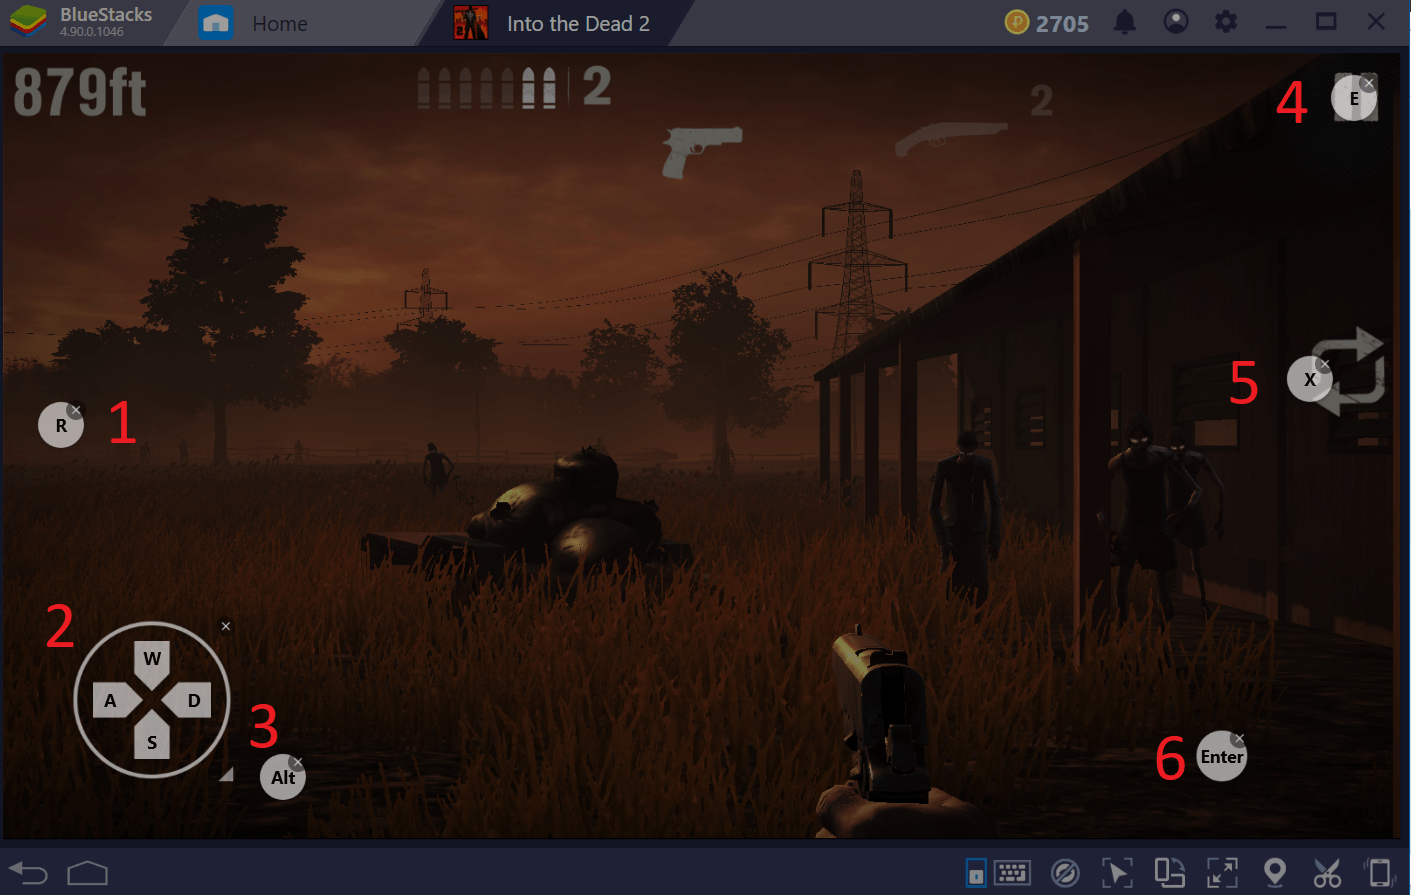
That’s almost the full control scheme for Into the Dead 2. The last item to add is ‘R’ for the reload button. You’ll just need another Tap Spot for this. Below, we have shown an overview so that you can see where the reload button is, and also to check that each button is in the right place. You can use this for a final reference in case your controls aren’t working as intended.
BlueStacks Into the Dead 2 keymapping guide:
- 1 – Tap Spot – use ‘R’ for reload
- 2 – D-Pad
- 3 – Tap Spot – Use a comfortable key like alt or spacebar for retrying missions
- 4 – Tap Spot – Use ‘E’ for pausing and accessing the menu
- 5 – Tap Spot – Use ‘X’ for swapping your weapon
- 6 – Tap Spot – Use ‘Enter’ for skipping menu elements after each level
So that summarizes our guide on playing Into the Dead 2 on BlueStacks. This control scheme will help you to play this game as effectively as possible. Now all you need to do is work on conserving your ammo and your success is almost guaranteed. Good luck out there!

