MARVEL Future Fight on PC- Account Switching Using BlueStacks
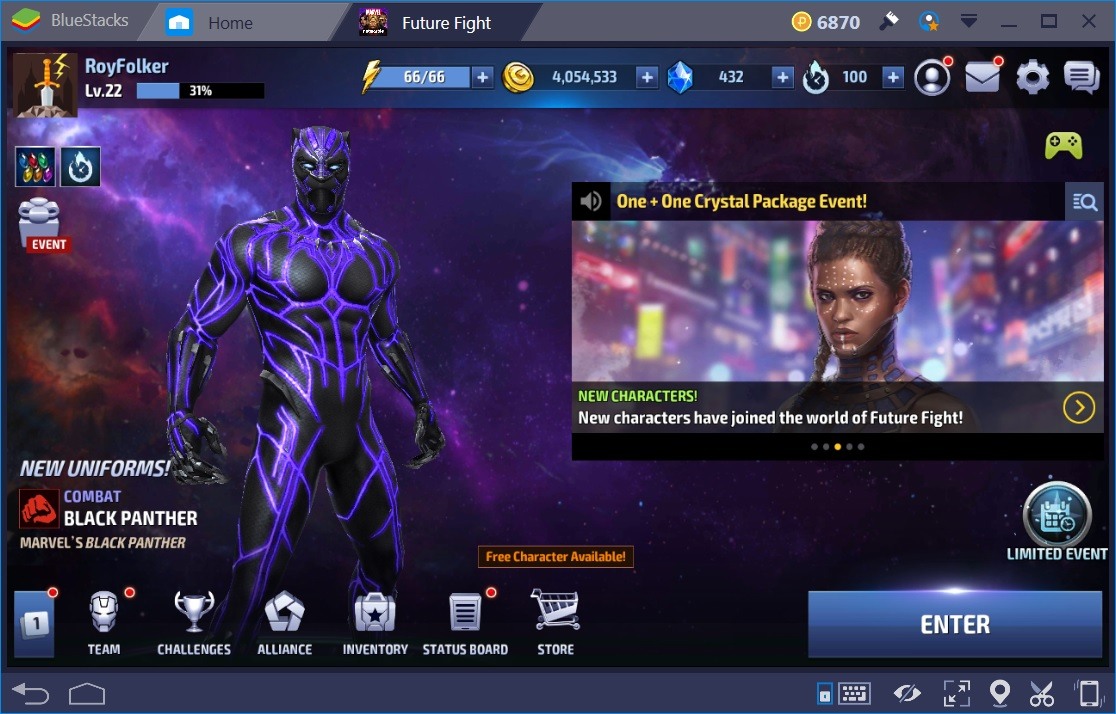
When you first start playing Marvel Future Fight, you’ll be given the option to connect to a Google account. That’s fine and dandy and you should connect a Google account to the game. You’d want to be able to keep your game data somewhere, somehow. But after just so much playing, you’ll eventually notice that it can become increasingly difficult to gain more characters. One such difficulty is caused by the lack of energy to be able to continue playing.
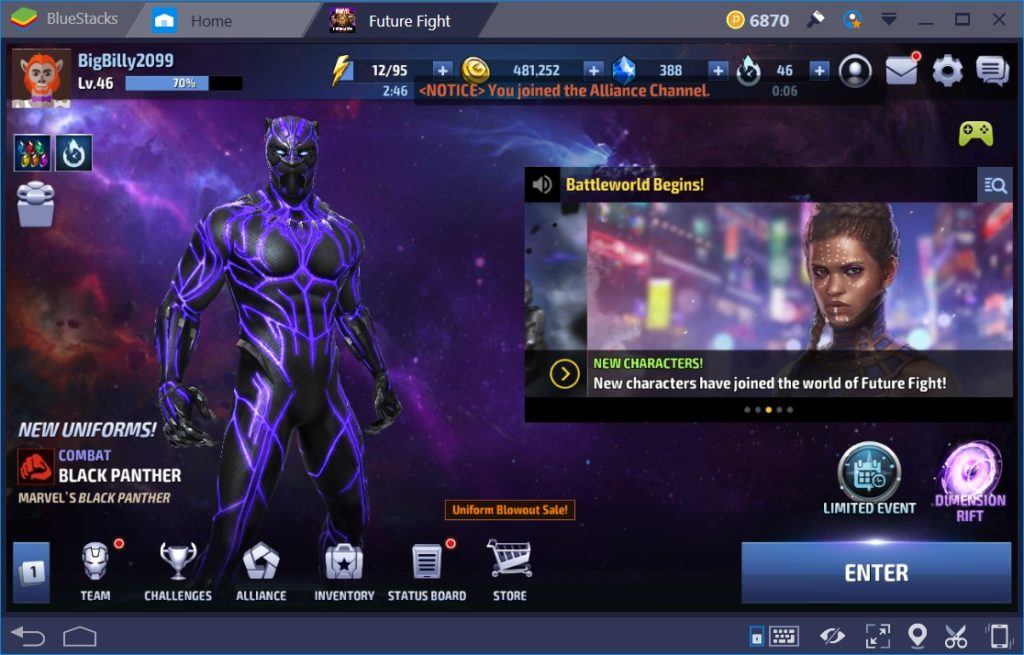
You can read the BlueStacks Energy Guide for MARVEL Future Fight to understand how best the energy problem can be countered.
Another common problem is literally first time accounts. Many players make the most mistakes with their first time accounts for most games. It wasn’t just Marvel Future Fight!!
So how do you overcome these problems?
Even though you have a Google account connected to Marvel Future Fight, that doesn’t mean you only have to have one!! This is where account switching comes in handy. Most gamers would know to have multiple Google accounts ready for their gaming purposes. It’s just common practice and it’s become common sense too!! The good news is that few can account switch pretty easily using a Facebook account. You just have to remember to disconnect from the Google account first. If you don’t, you WILL run into problems.
If everything went smoothly by switching to a Facebook account, you should be able to start over just fine. If not, which is the more common situation, or if you don’t want to use your Facebook account for whatever reason, you can follow these steps to switch accounts.
Switch accounts with only Google accounts
There will be times where if you just try to disconnect from your Google account and simply reconnect in the game Settings and select another account, you’ll be facing this problem.
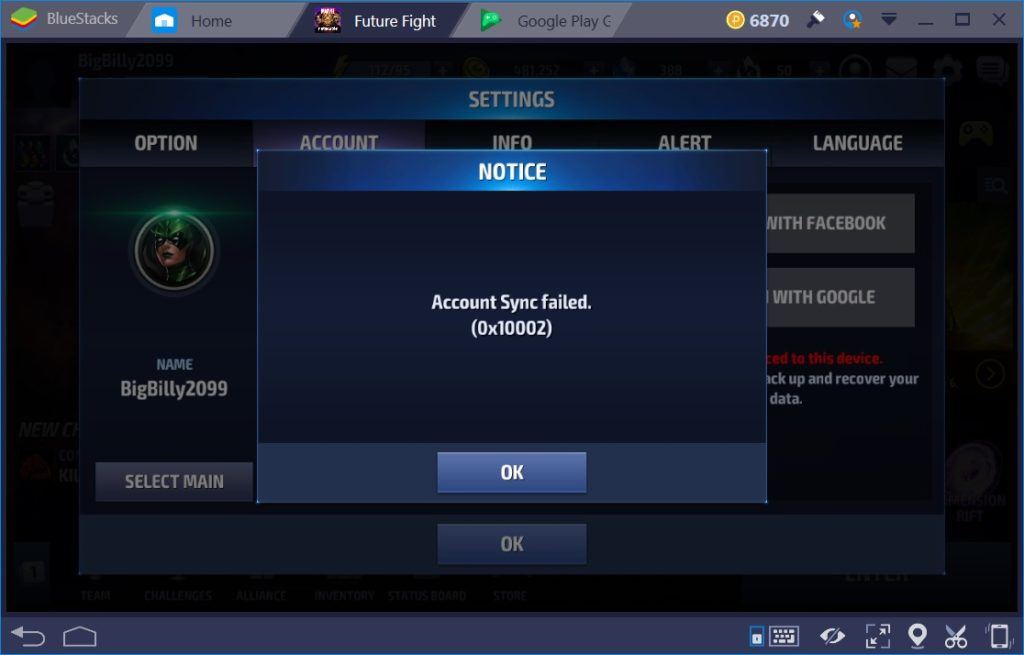
If you encounter this or a similar error, don’t panic, it’s not over for you just yet!! Click the Ok buttons until you’re back at the main game screen. You have to completely disconnect first.
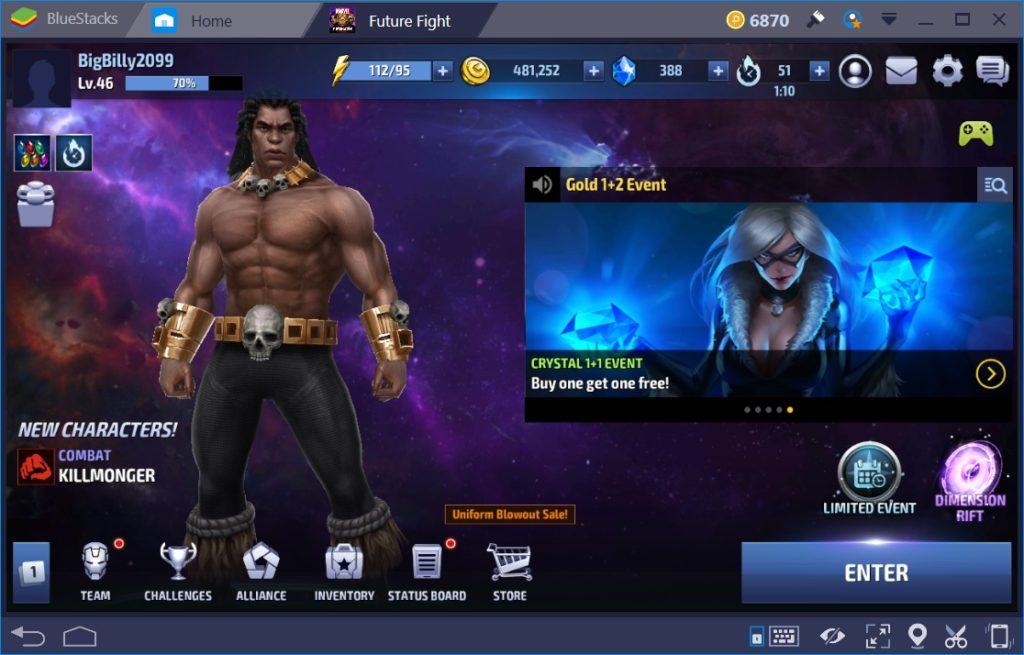
You can see you’re not fully logged in because your icon changed in the upper left corner. It doesn’t matter which icon is showing in the Settings of Marvel Future Fight.
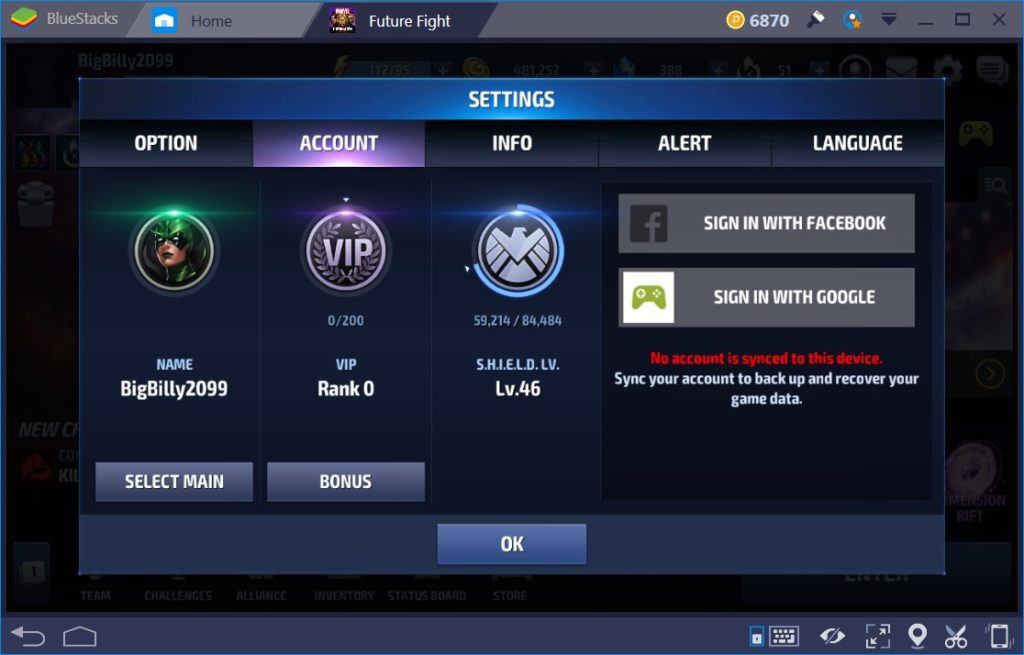
Now you need to get into the Settings for BlueStacks.
ALSO NOTE: This repair method can potentially help if you encounter sync problems but have a different number attached to the error message. This method might not work for everyone.
This repair method applies to BlueStacks 3 and BlueStacks +N. So whichever version you have installed, you should be just fine. This guide is based on Bluestacks +N.
Exit Marvel Future Fight from the main screen as showing above with the changed icon in the upper left corner. Open the Settings for BlueStacks.
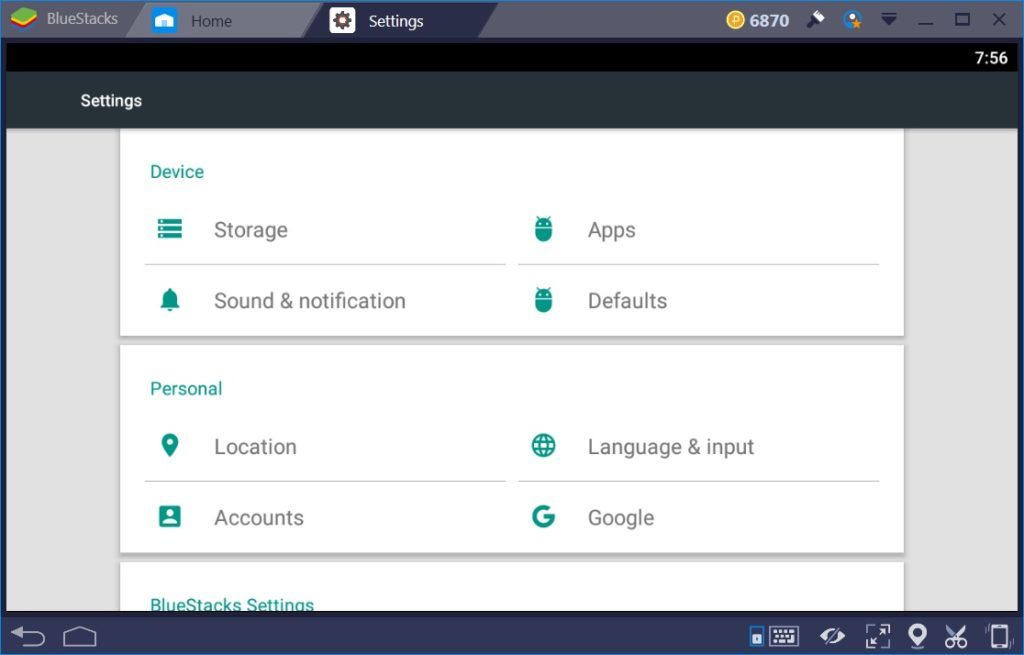
Click on Apps as showing above. You’ll have to reset the storage for Google Play Services and Google Play Games. Don’t worry, this won’t kill things!!
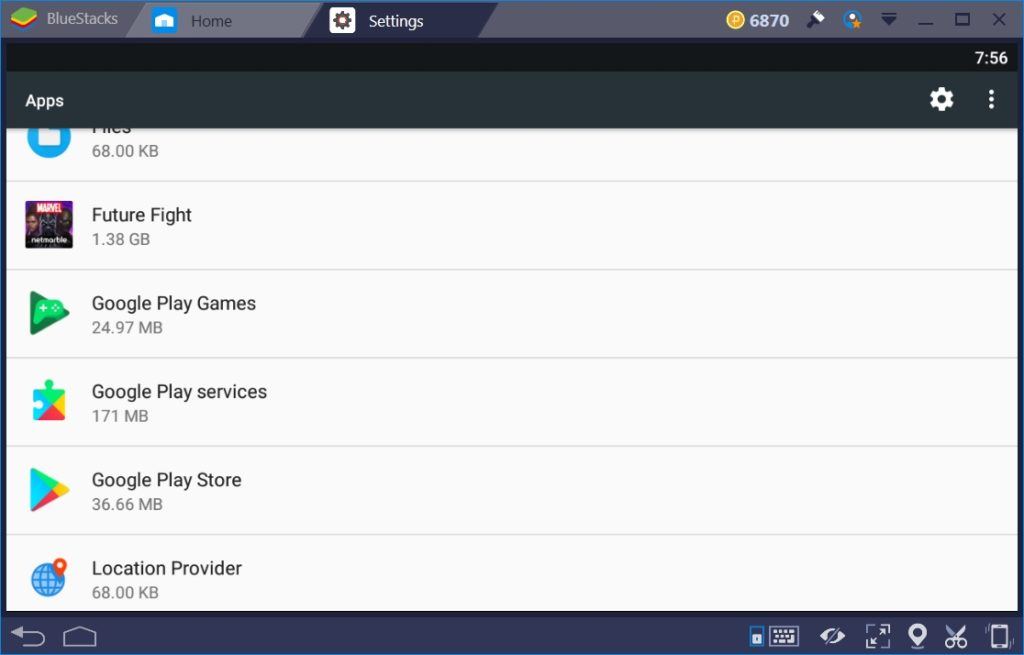
Do not enter Future Fight at this point. One by one, click on Google Play Games and then do the same for Google Play Services. Click on Storage once it shows an amount.
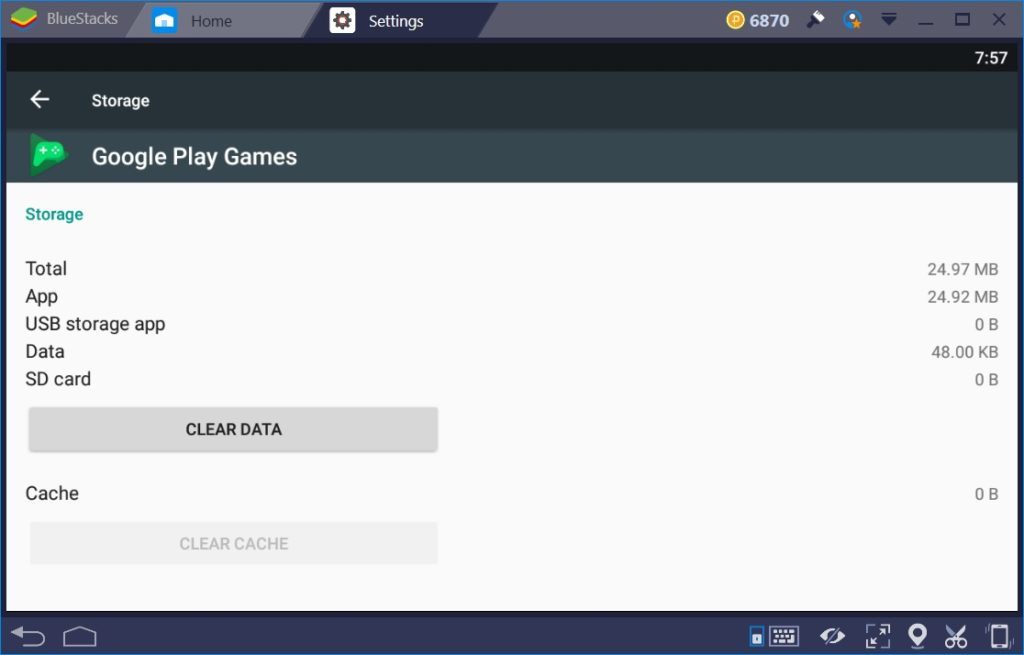
Click the Clear Data button and click the Back button.
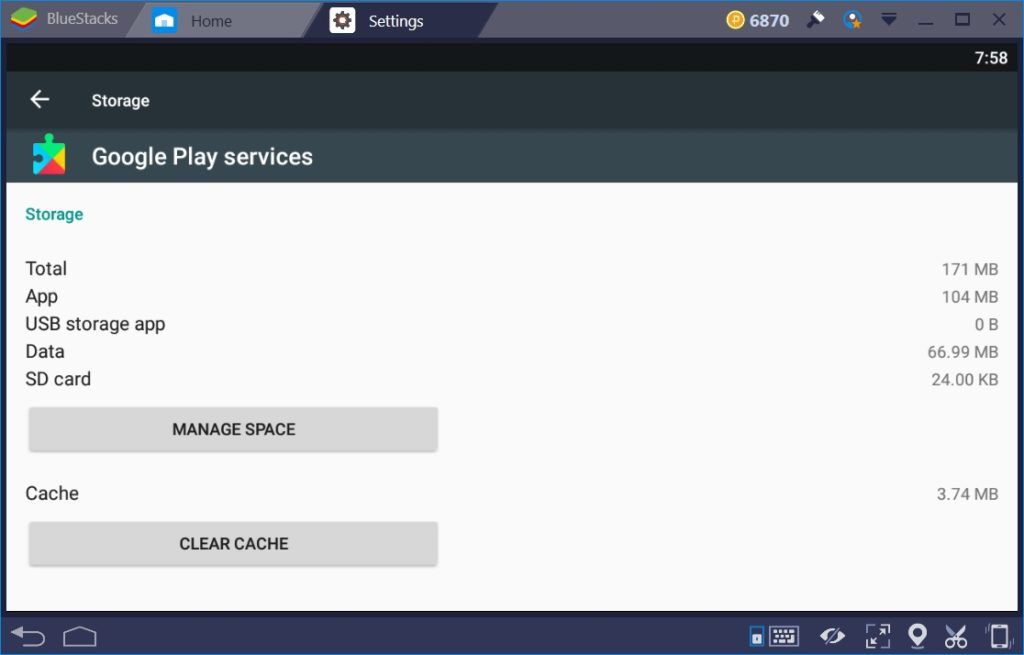
It’s the same idea for Google Play services but simply click Clear Cache instead when you’re in the Storage section.
Keep clicking on the Back buttons until you’re back to the BlueStacks Settings screen.
This time, click the Google button as showing in the lower right area of the above screen shot.
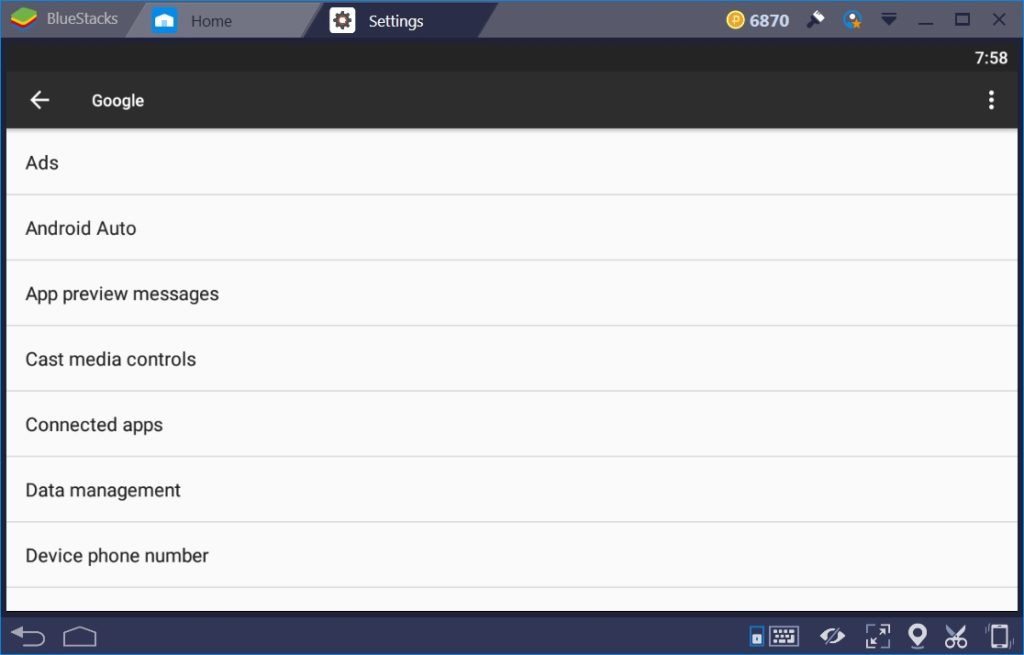
Scroll down a little until you find “Connected apps” and click on it. You have to disconnect any and all accounts from Marvel Future Fight.
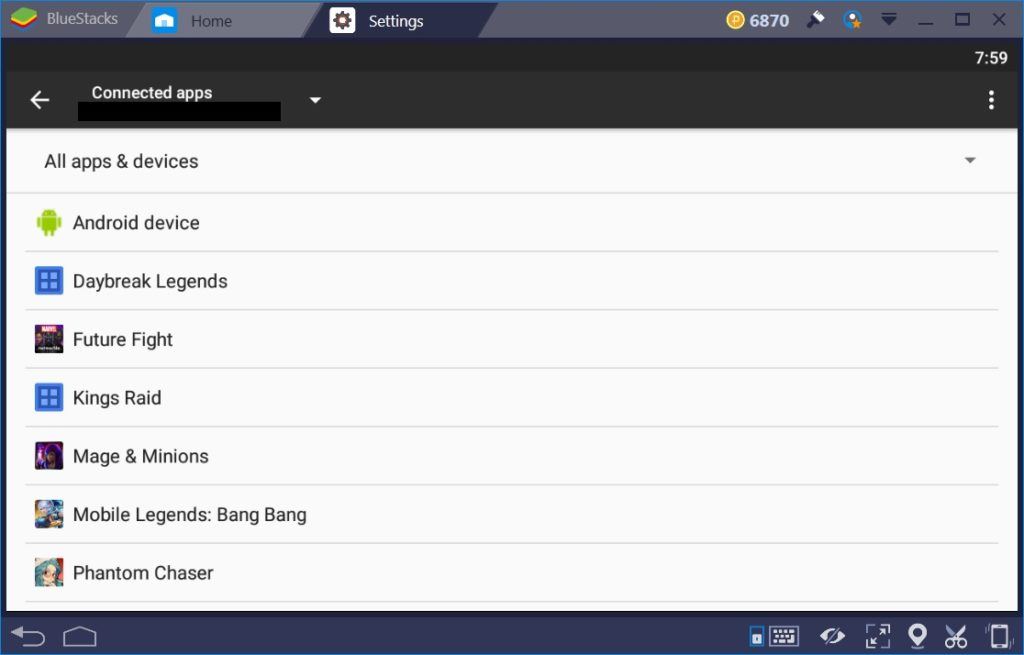
First, select the last used account from the upper left just under “Connected apps”. You’ll see everything that account has been used to play. Click on Future Fight and then click the Disconnect button.
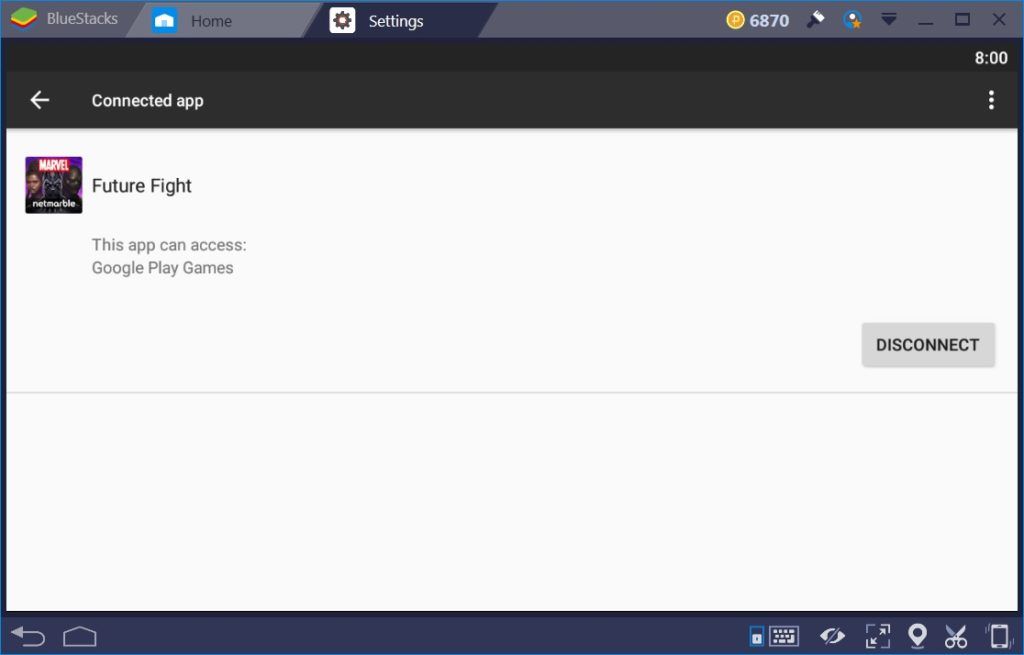
Once the last used account is disconnected, go back and do the same for each account you tried to use in Marvel Future Fight. This includes any accounts you tried to switch to which ended in an error. If there were none, then don’t worry about it!!
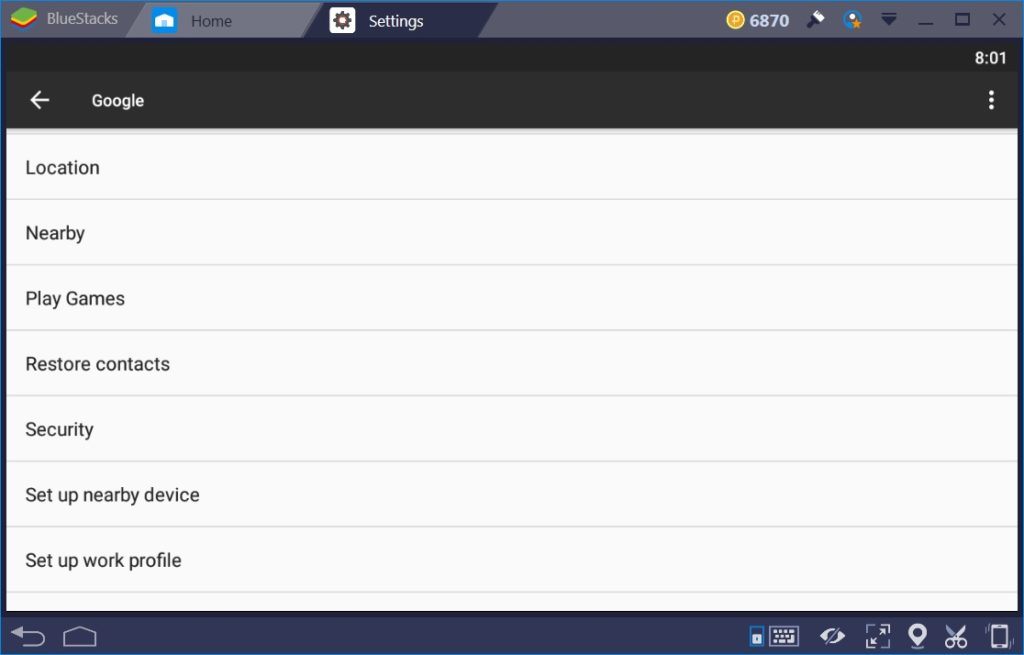
Once that’s done, click the back button to get back to the Google Settings screen. Scroll down until you see Play Games and click on it.
In the top left area, you can switch accounts just under “Settings”.
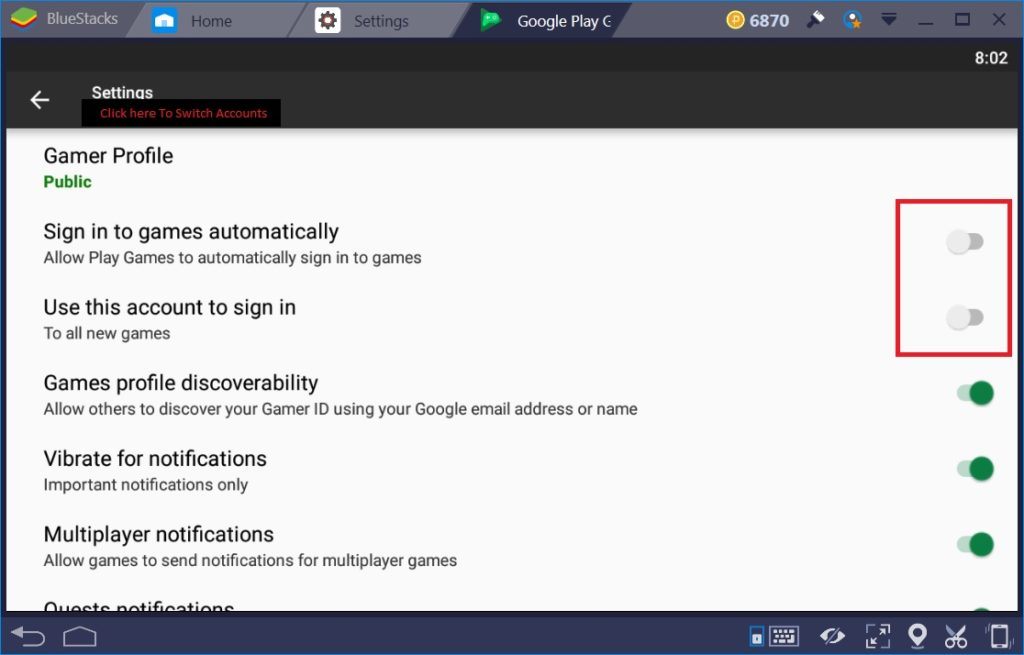
Start with the account that was last used. On the right, you’ll have 2 switches for signing in. Turn them both off as showing above. Now switch to the Google account you want to use in Marvel Future Fight.
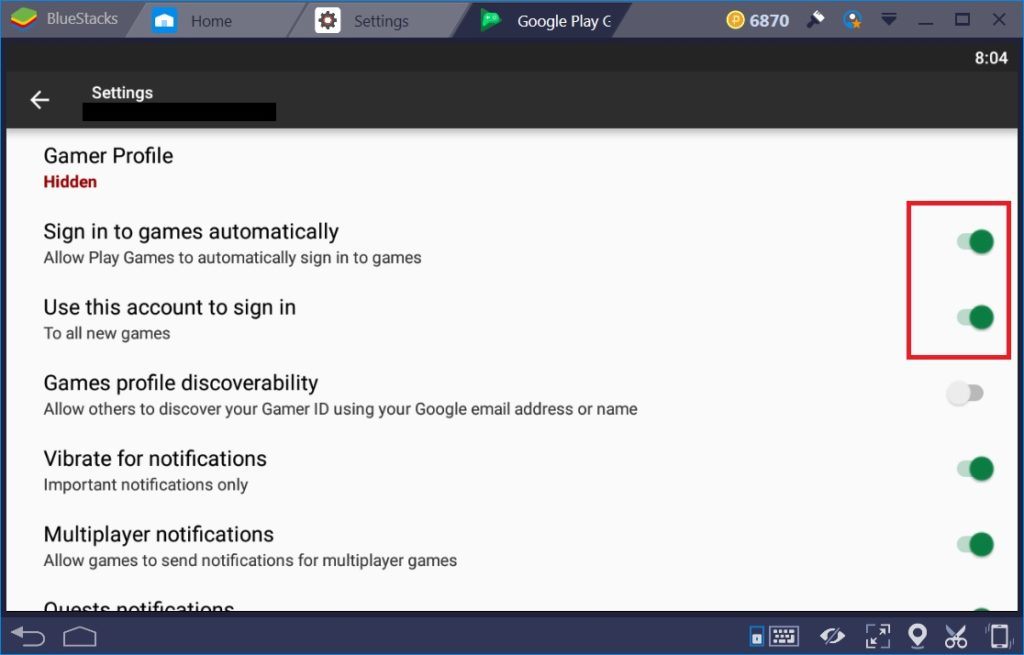
The same 2 switches you shut off for the other account have to be turned on in the soon to be used account. Once this is done, you can click the “X” for Google Play Games and Settings showing at the very top of the Bluestacks window.
Start Marvel Future Fight and click the Gear icon in the upper right of the game screen.
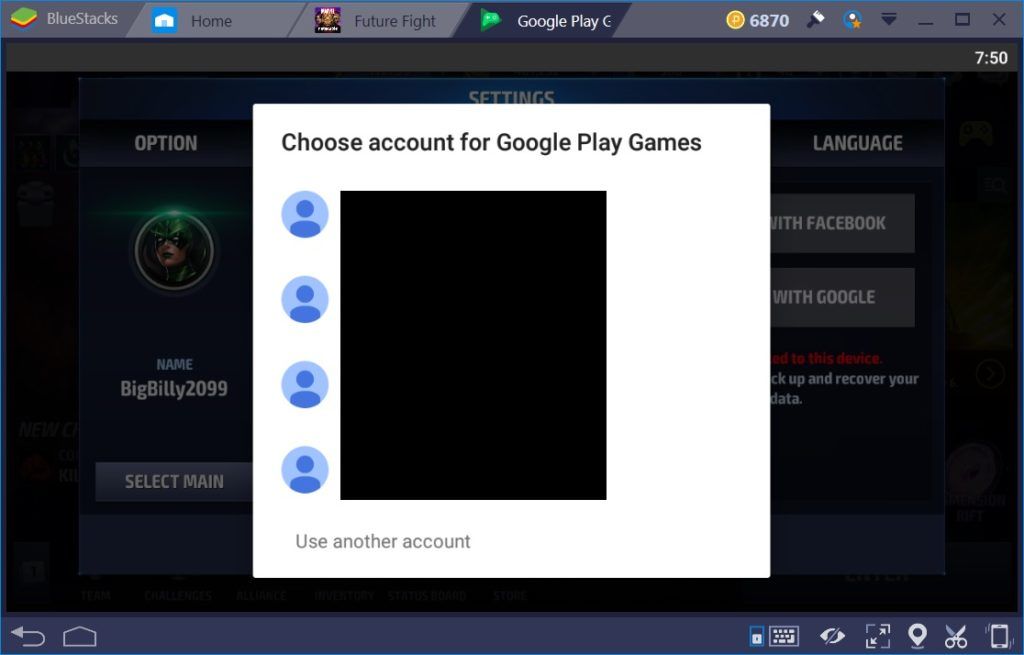
Click the Connect with Google Button and you should see the accounts that you added to Bluestacks. Select the Google account you setup for signing in automatically.
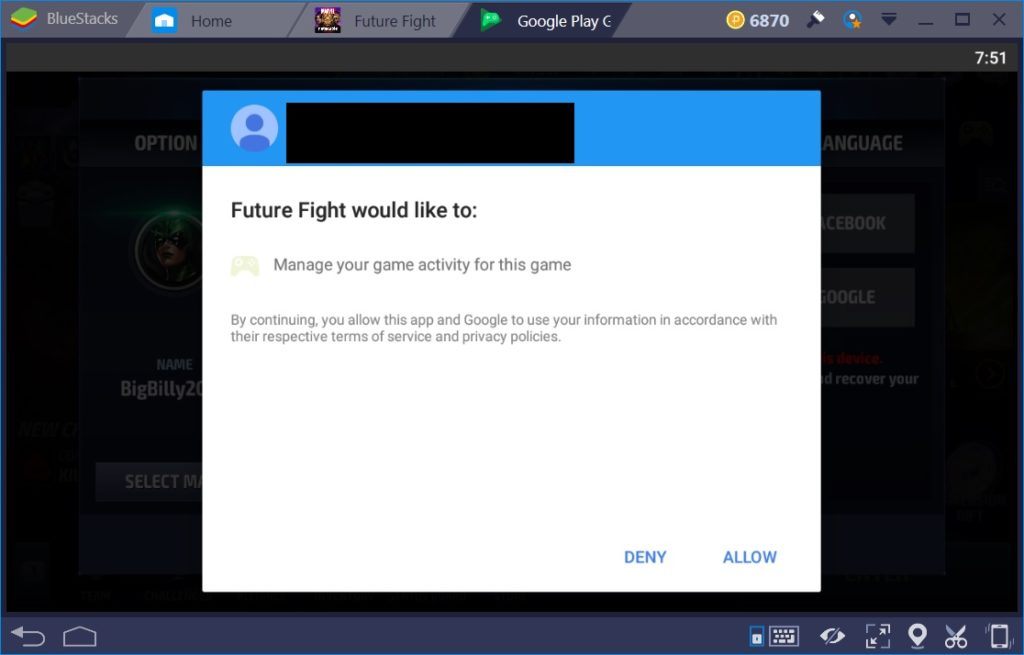
If you see the above screen shot, click Allow.
If everything went well with the above instructions, you’ll see the screens as showing below.
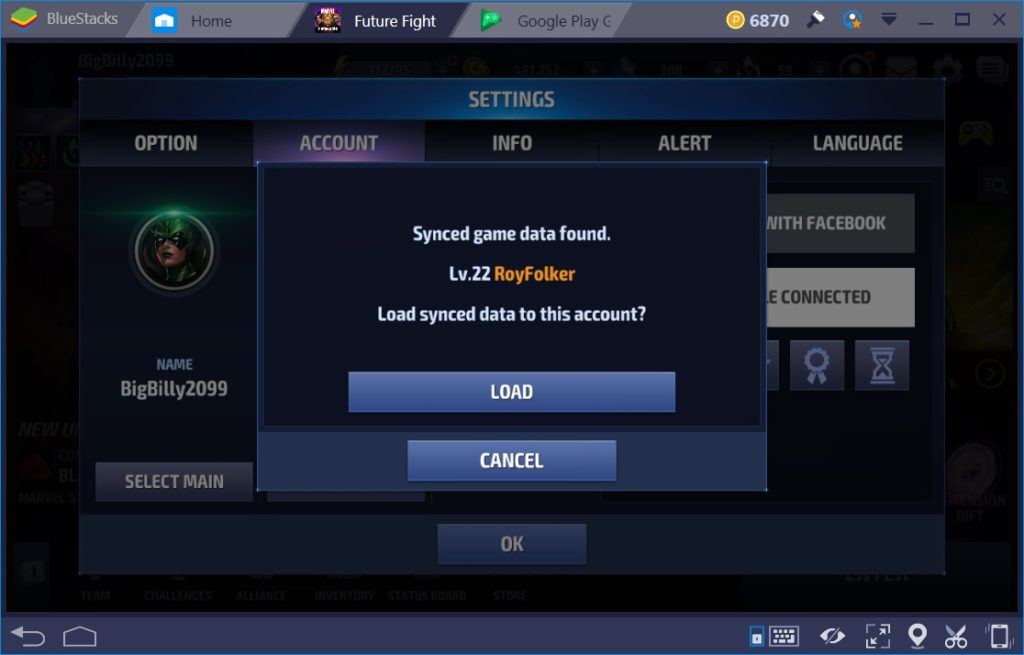
You’ll see the screen above for accounts that were already used. Otherwise, Marvel Future Fight will ask if you want to start a new account. Click the Ok button if it asks. Otherwise, click the Load button as showing above.
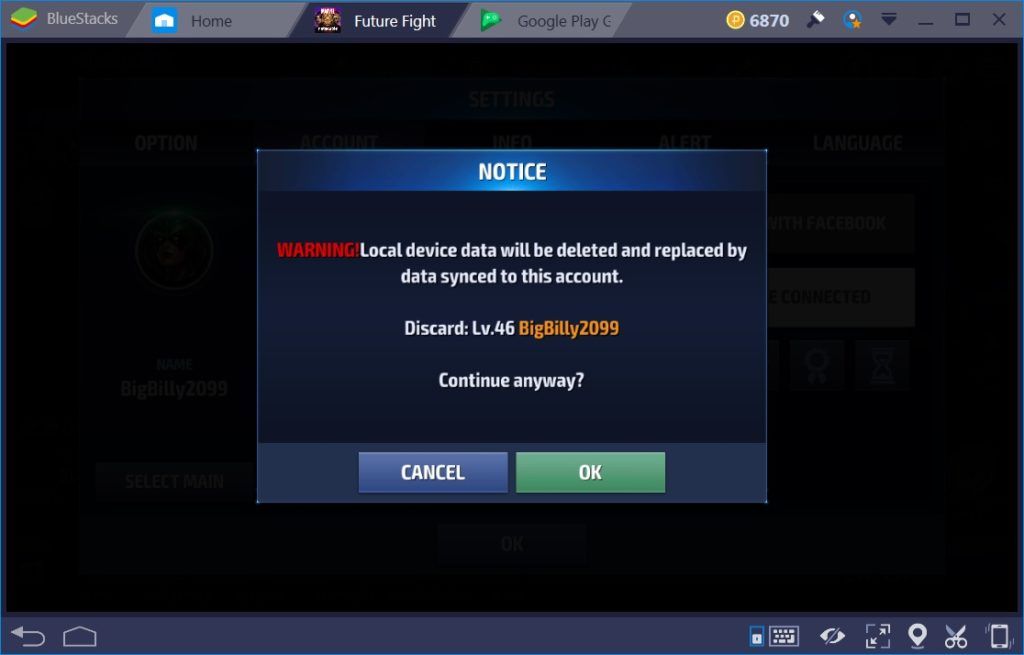
Just click the Ok button here.
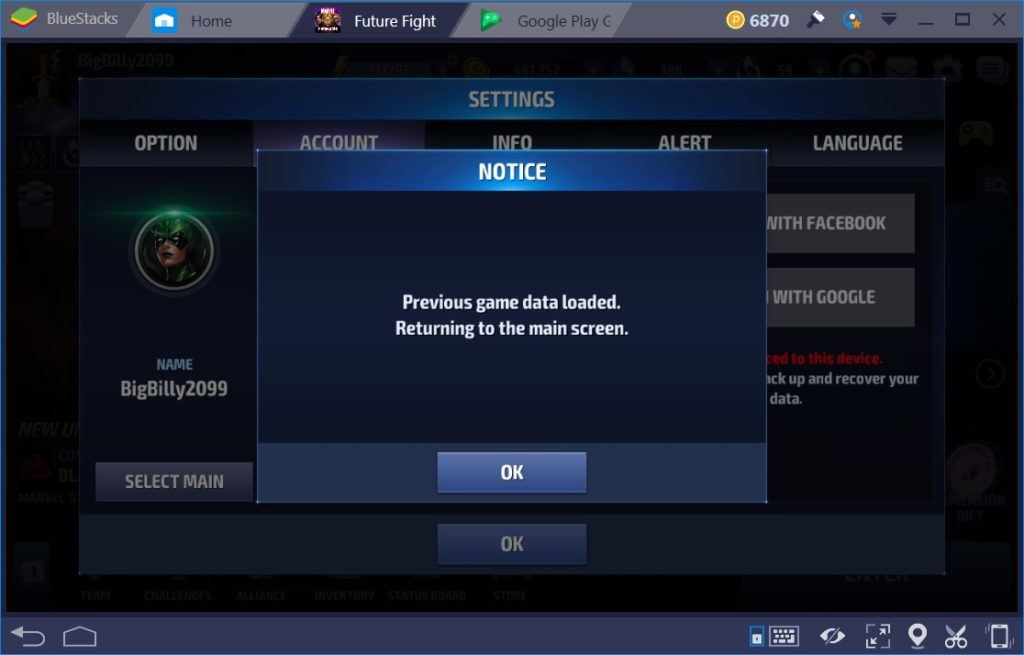
One more time with the Ok button!!
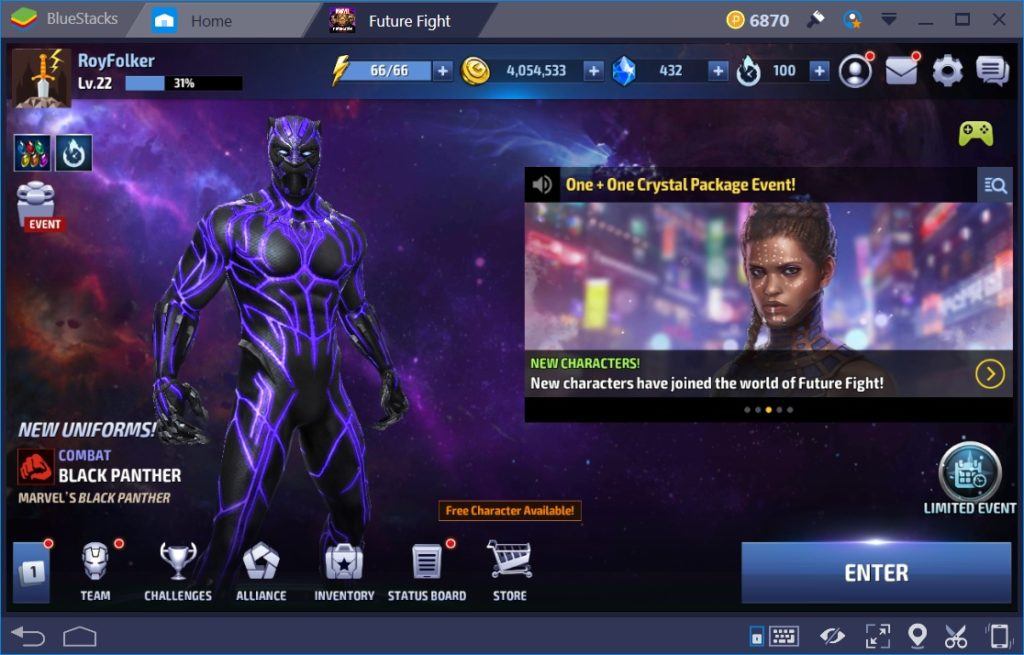
Once the game restarts, you’ll either have a new account to play with or a previously played Google account to continue with. Either way, you’re bound to have some extra fun!! Simply repeat the instructions above to switch back or to another account.
As it turns out, this is a great way to try out other characters and team setups. It’s because of the freebies give for new accounts. Anyone can simply select different characters to start out with. Like anything, it’s just a matter of getting used to it and then you can switch accounts at will with no problems at all.

