The Best Speed-Leveling Methods for Ragnarok M: Eternal Love
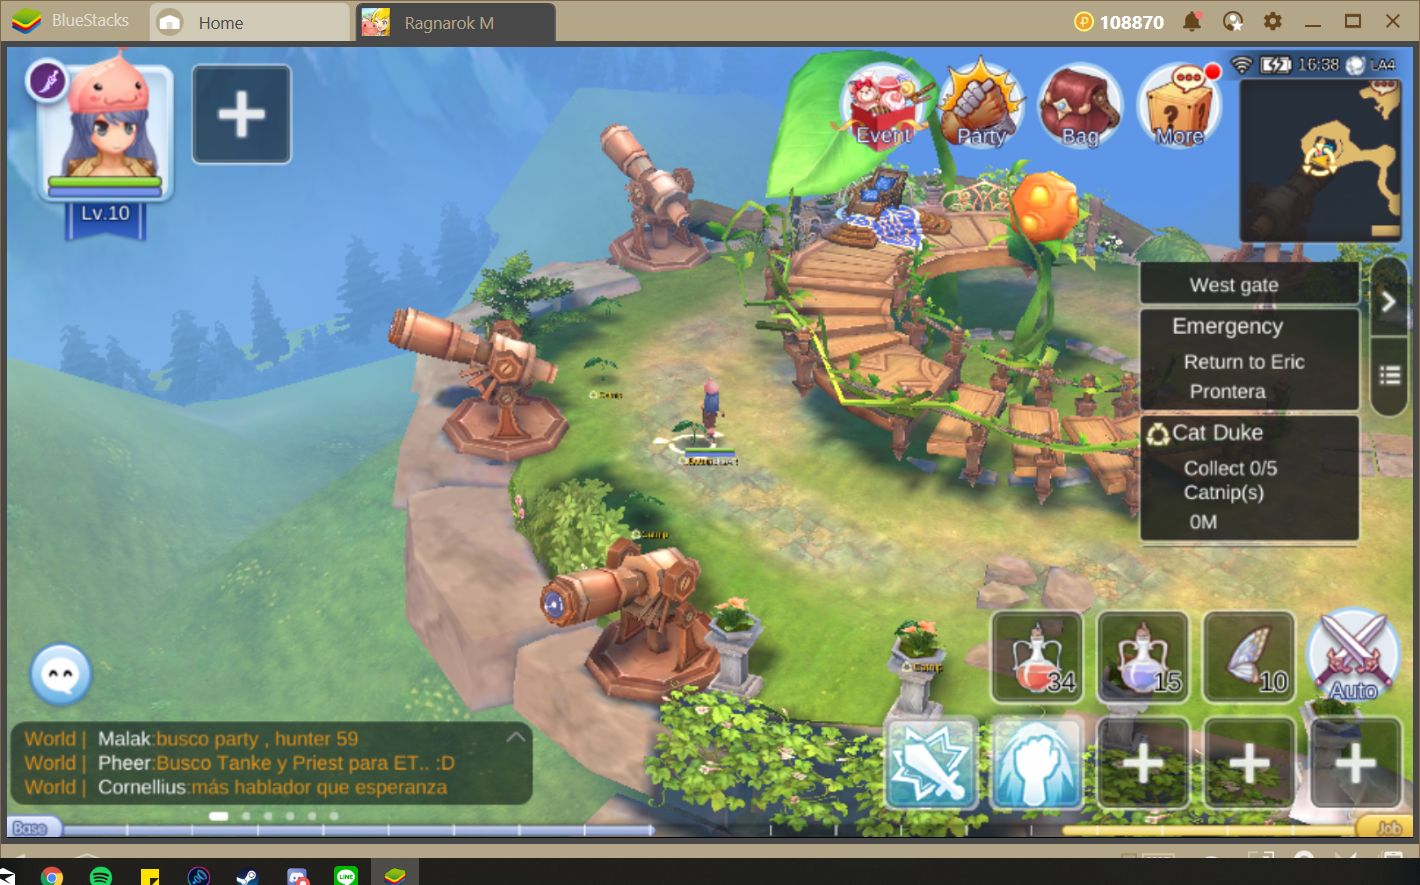
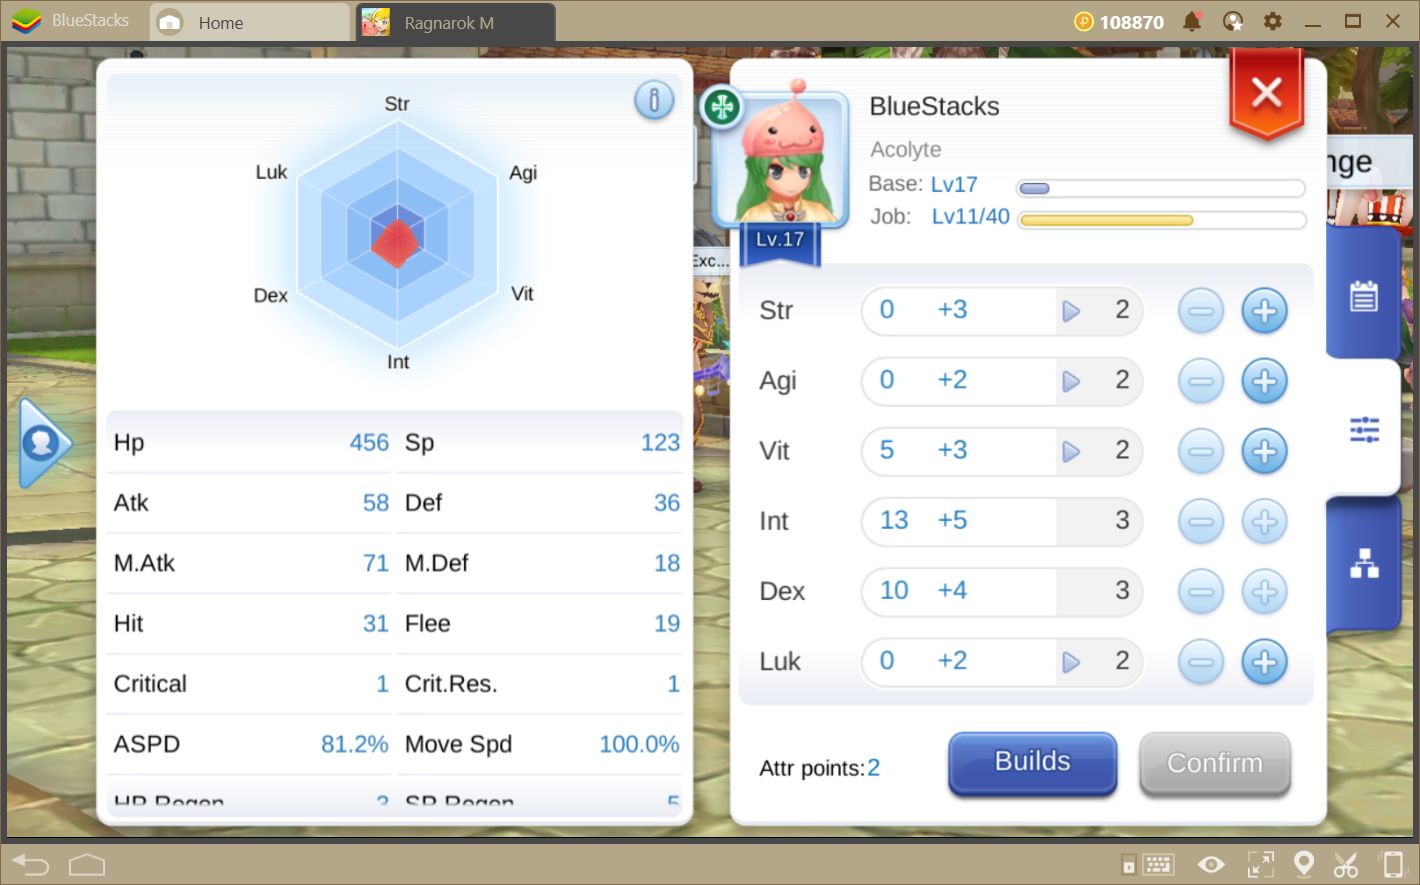
When talking about MMORPG progression systems, Ragnarok has always stayed faithful to its roots. Even in its most recent iteration, as we mentioned in our review about Ragnarok M: Eternal Love, the developers retained the same progression system in which your character has two types of levels: base level and job level. Each of these levels increases in the same manner, through earning experience from completing tasks in the world. The difference between these two level types, however, is that you will receive attribute points for increasing your base level, whereas you will receive skill points for increasing your job level.
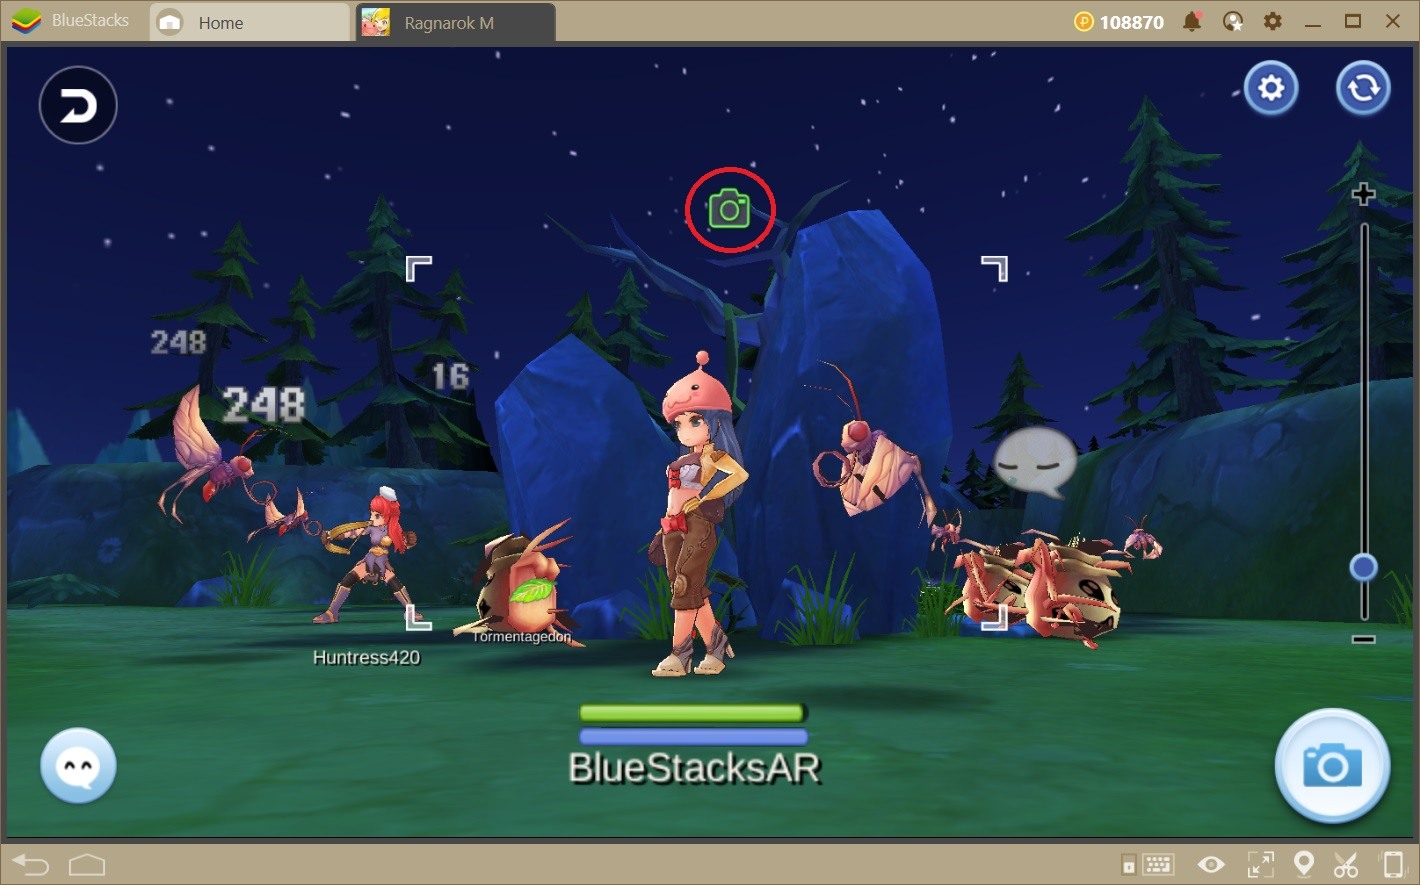
This system lends itself for a wide variety of character setups —or “builds”, as they are called in the gaming community—that offer interesting and varied results. However, the hardest thing about progressing in this game for us, especially because it’s been around 10 years since we last played a Ragnarok, is knowing how to level up in a timely manner.
Since we’re talking about a Korean game, progression revolves mostly around completing daily missions or grinding mobs on the map. However, the hard part comes from discerning which places are the best for grinding, or in finding the right tools that you’ll need to defeat the monsters that are roaming around.
Luckily, Ragnarok M offers many alternatives to speed up the leveling process. In this guide, we will discuss the most common methods to gather experience in this game.
NPC Missions
As soon as you begin your adventure, and especially if you chose a class that relies on spells to do damage, it will be a bit difficult to grind for experience. For this reason, you will rely mostly on completing missions to progress throughout the first few levels. Fortunately, there are many missions to do in this game, some of which offer more experience than others, but that all of them ultimately contribute to strengthening your avatar in the long run.
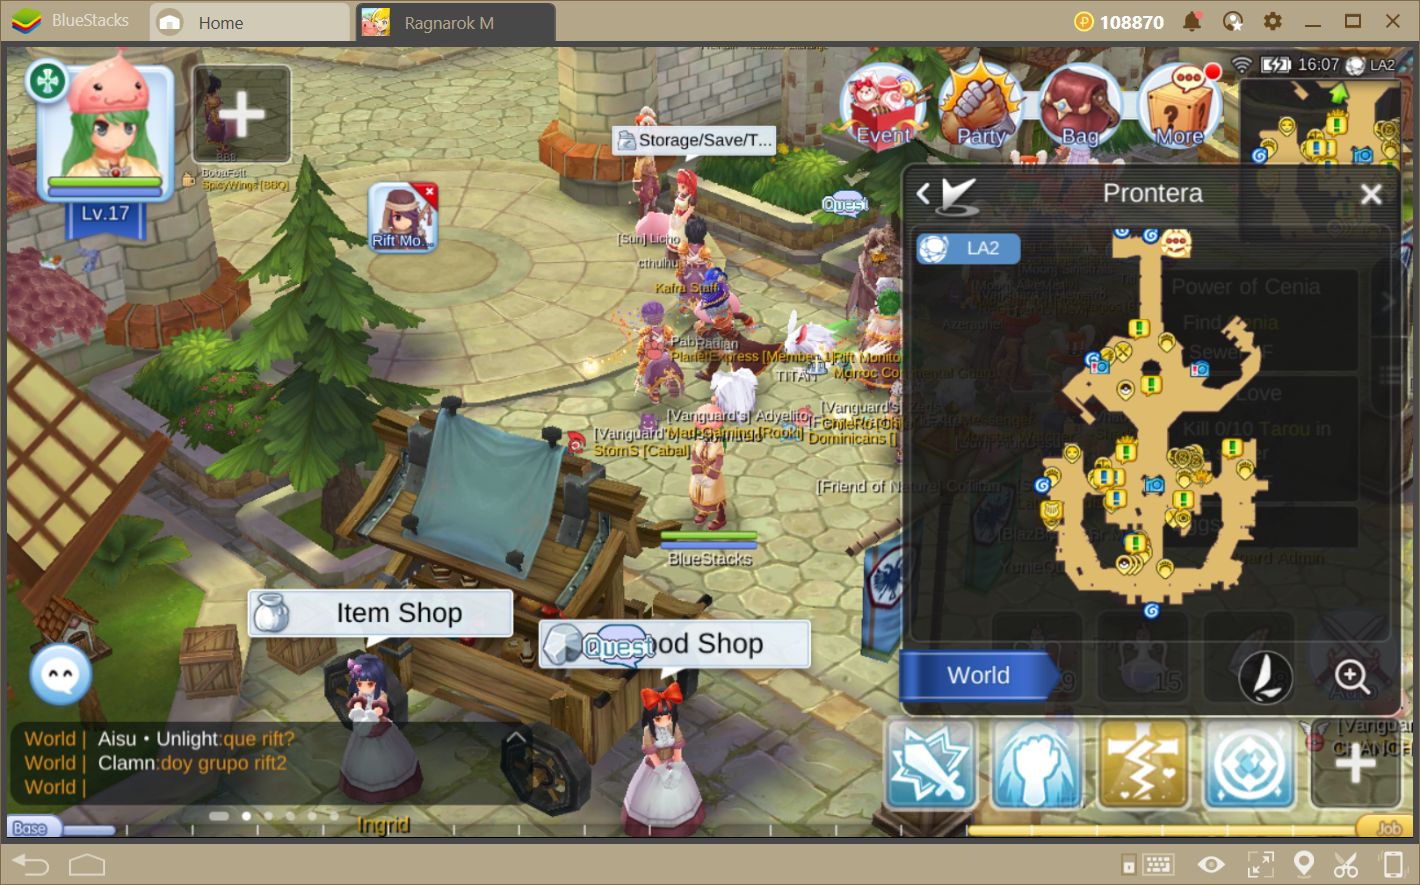
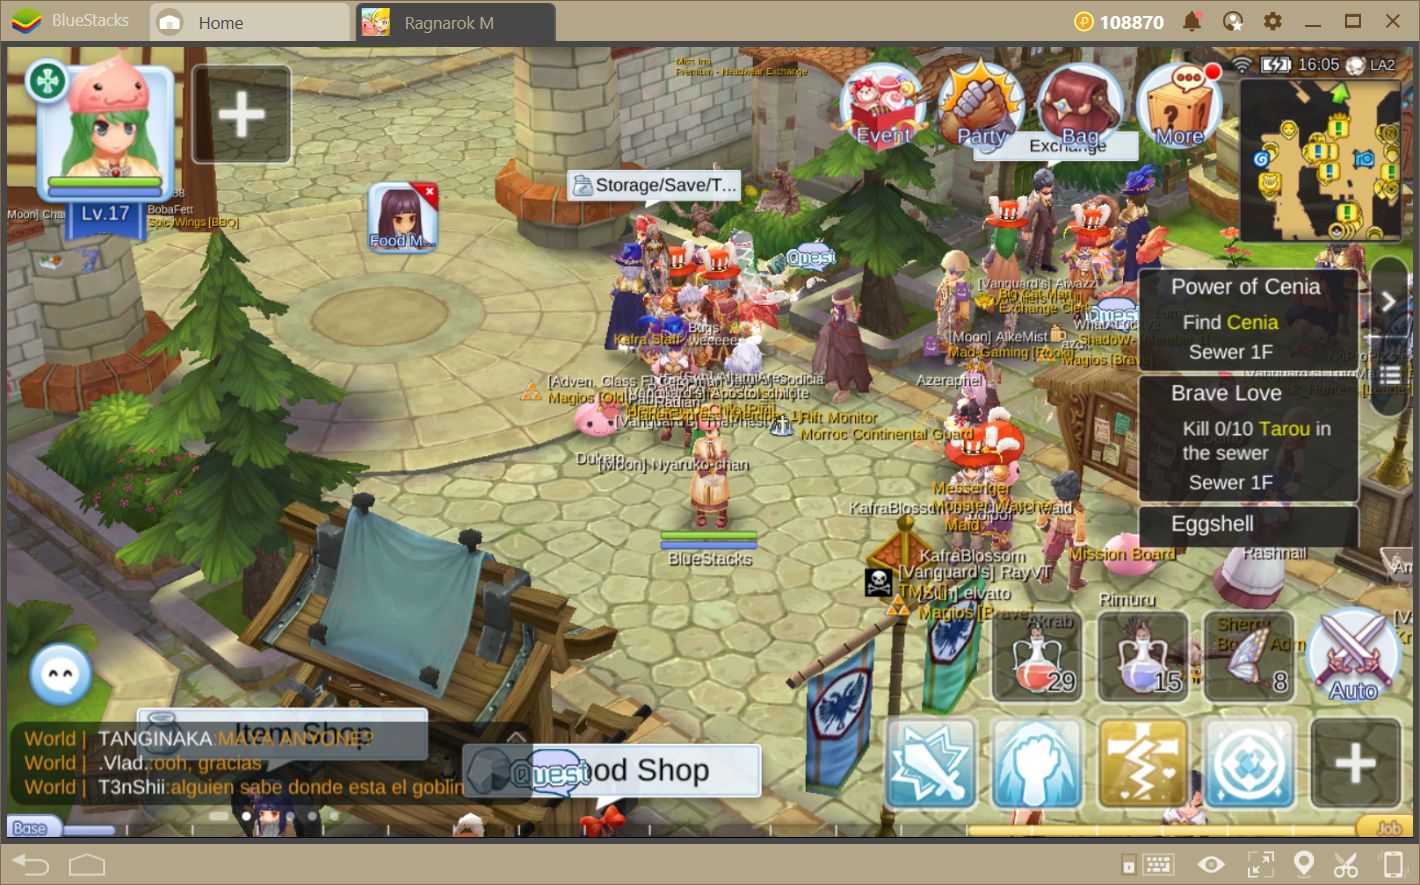
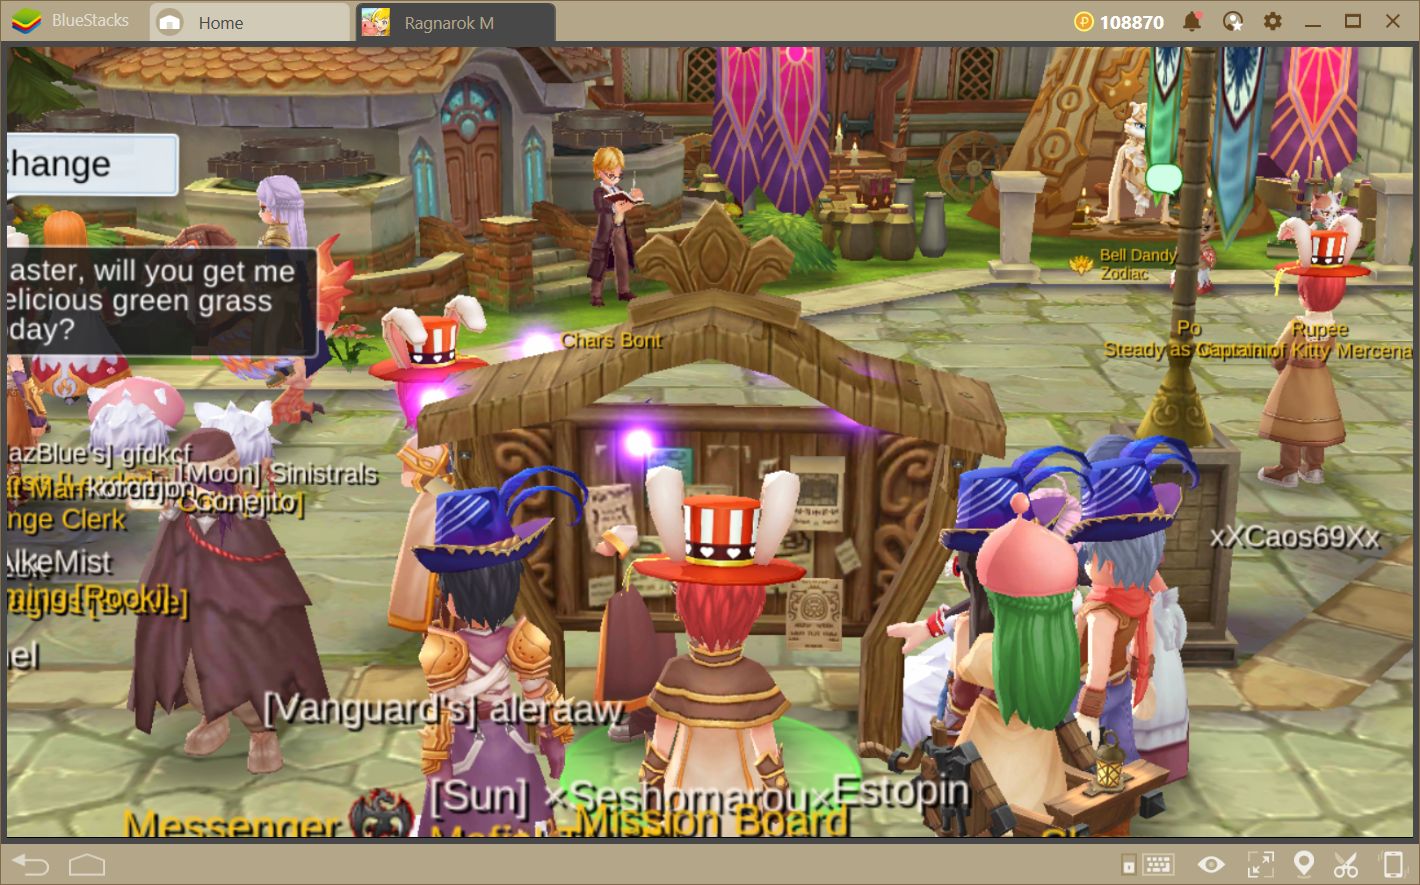
For starters, we suggest that you stick to the main story missions in the beginning: these are not only good because they give tons of experience, but they also unlock many features, including the hugely-important Mission Board, the bulletin board in Prontera through which you can pick up daily tasks and assignments that give tons of experience.
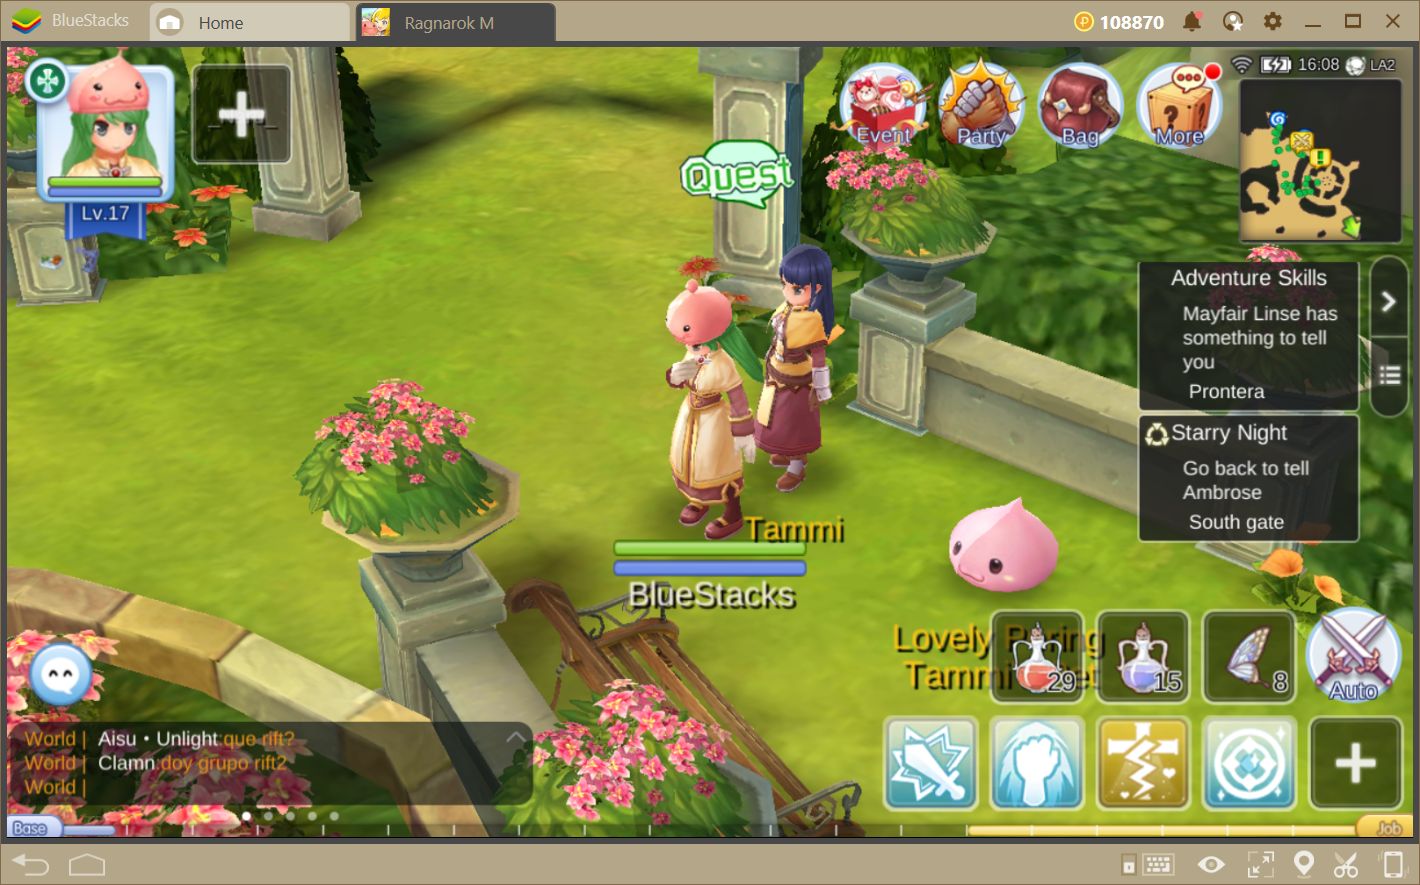
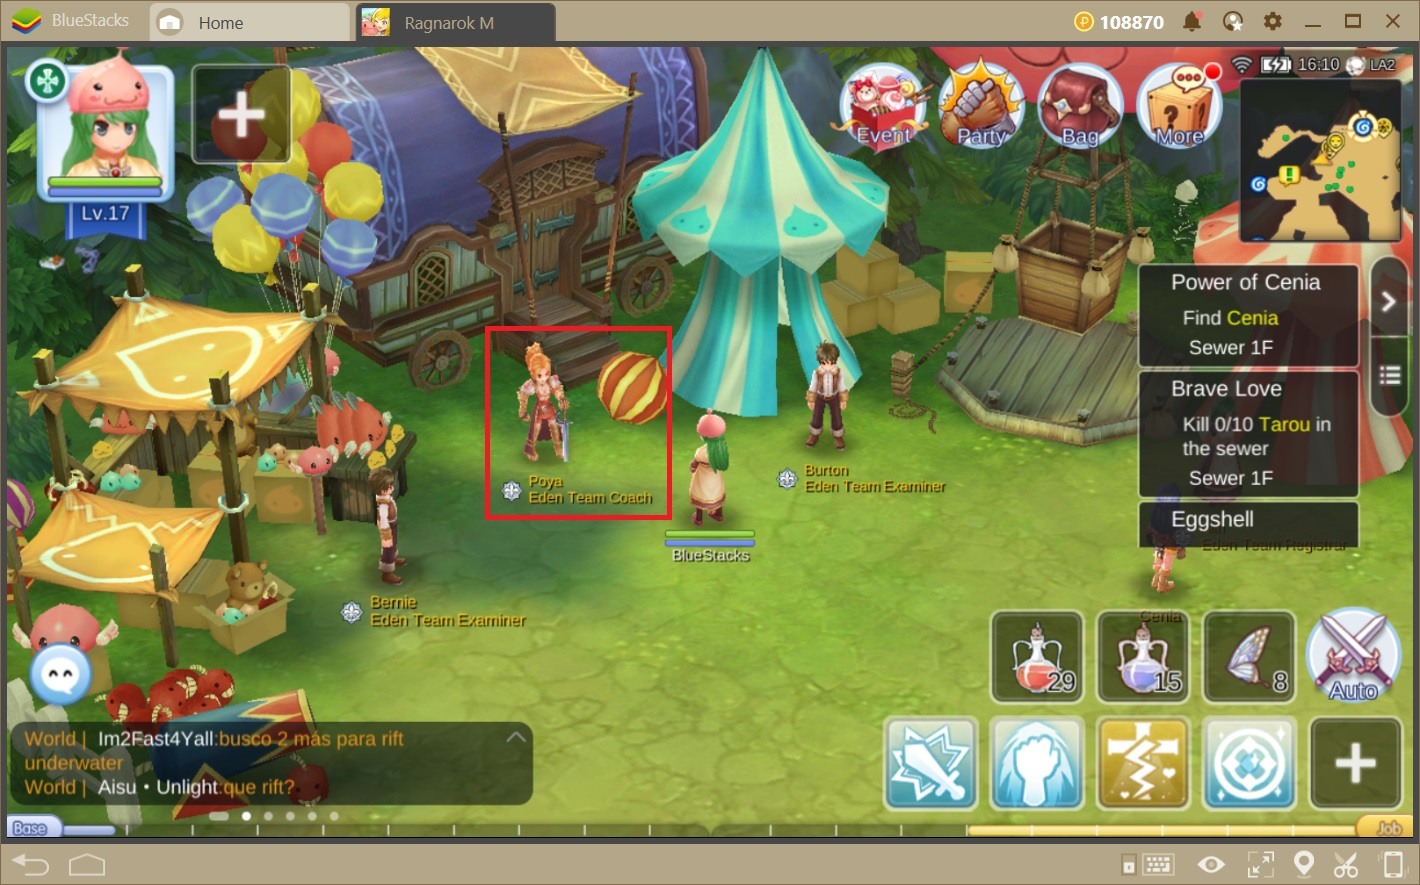
From level 1 to level 10, we suggest that you stay in Prontera South Gate, completing every single mission. Specifically, we recommend visiting Poya and completing all the tasks that she has in store for you, and which will eventually lead you to your first job change when you reach level 10. It’s important to remember that the missions marked by a green exclamation mark are optional sidequests—that sometimes unlock new stuff, while the quests marked by a brown exclamation mark represent story missions that usually give more experience and lead you to new areas.

In short, if you’re going to grind in any new zones, we recommend that you also run around and pick up all the missions that you can. In this manner, when you’re done grinding, you will also be able to turn missions in for some additional experience at the end of the day.
The Mission Board
As soon as you reach level 15 and advance far enough into the story in West Prontera, you will gain access to the Mission Board. On it, you will find a list of requests and tasks that refresh on a daily basis, and that range from defeating a specific number of enemies, gathering a fixed number of items and delivering them to an NPC to taking pictures in certain locations, among others. Furthermore, the rewards for completing these missions are usually better than those from advancing in the story. For this reason, the Mission Board quests will always take priority above any other daily tasks.
Play Ragnarok M: Eternal Love on BlueStacks!
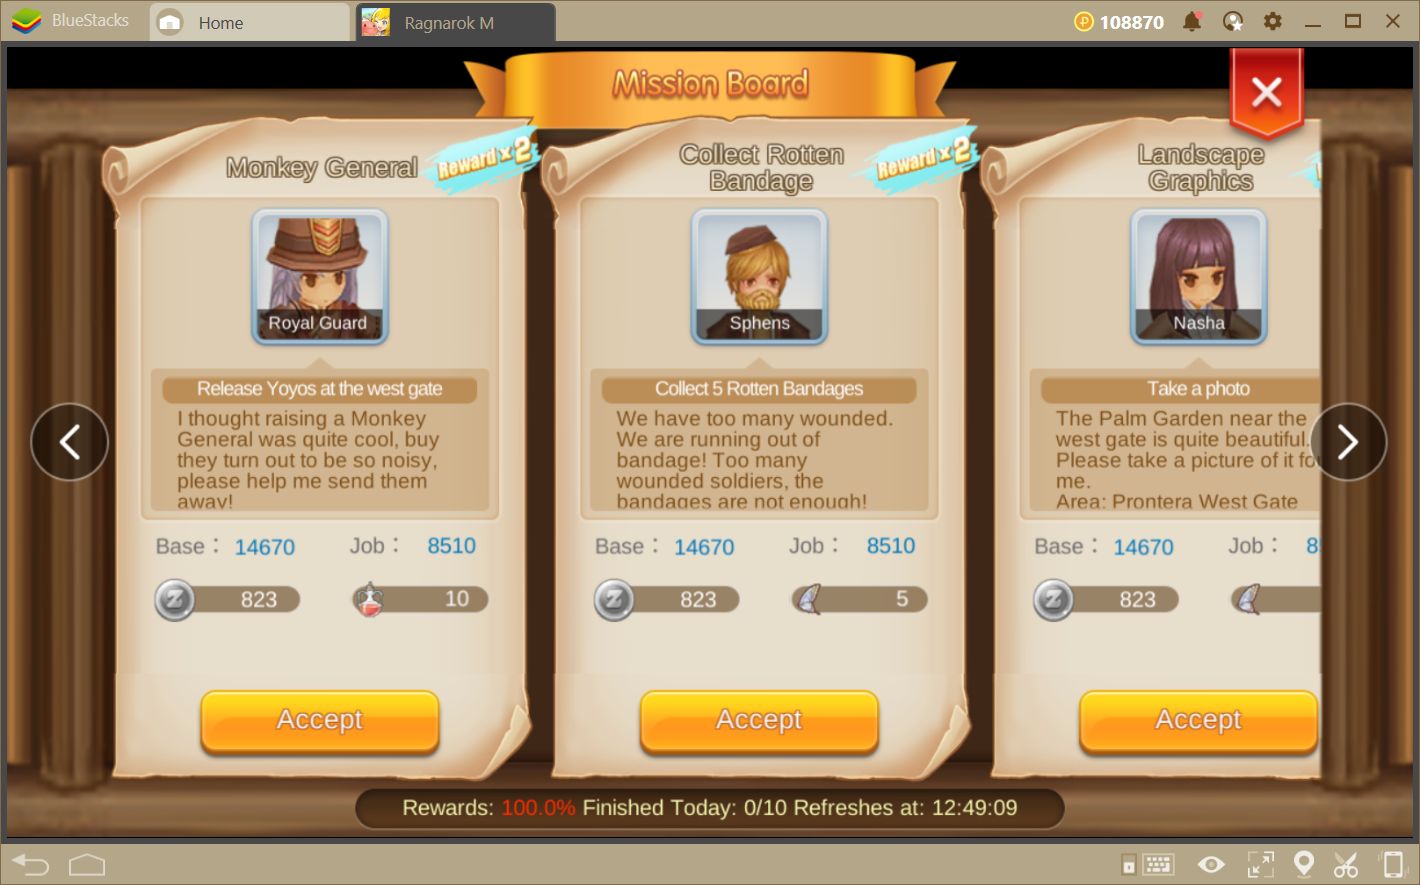
In other words, if you can only play for a short time, and want to maximize your daily progress, we recommend that you complete the daily missions and call it a day.
Rift Fixing
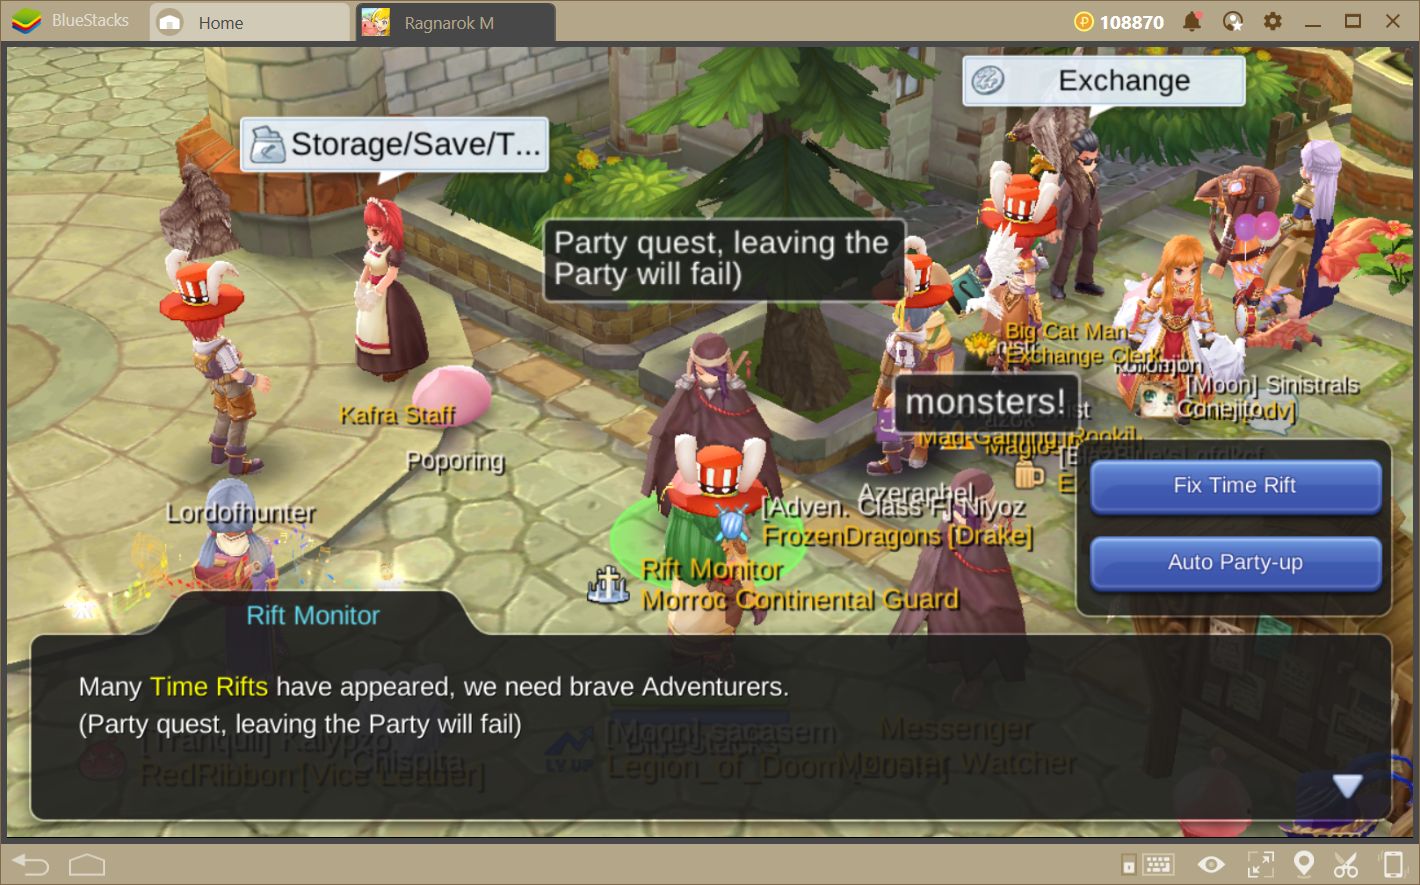
After you unlock the Mission Board, you will also gain access to the rift fixing missions, in which you may only participate with a party or group of adventurers. These missions revolve around tough challenges in which you need to defeat a number of enemies that spawn from a rift portal. The enemies that you need to defeat and the time you need to survive varies according to the difficulty of the rift. However, these missions give massive amounts of experience, as well as the opportunity to ear an exclusive rift accessory.
You may only participate in up to 5 rifts per day, though. Furthermore, they are very difficult to complete, so only attempt them if you have a group of seasoned adventurers.
Grinding Tips
If you have already completed all your daily missions and would like to continue gaining experience, then we recommend that you search for a good place to stay for a couple of hours and start killing monsters to gain some levels. However, in order to optimize your efforts, you need to keep in mind several things.
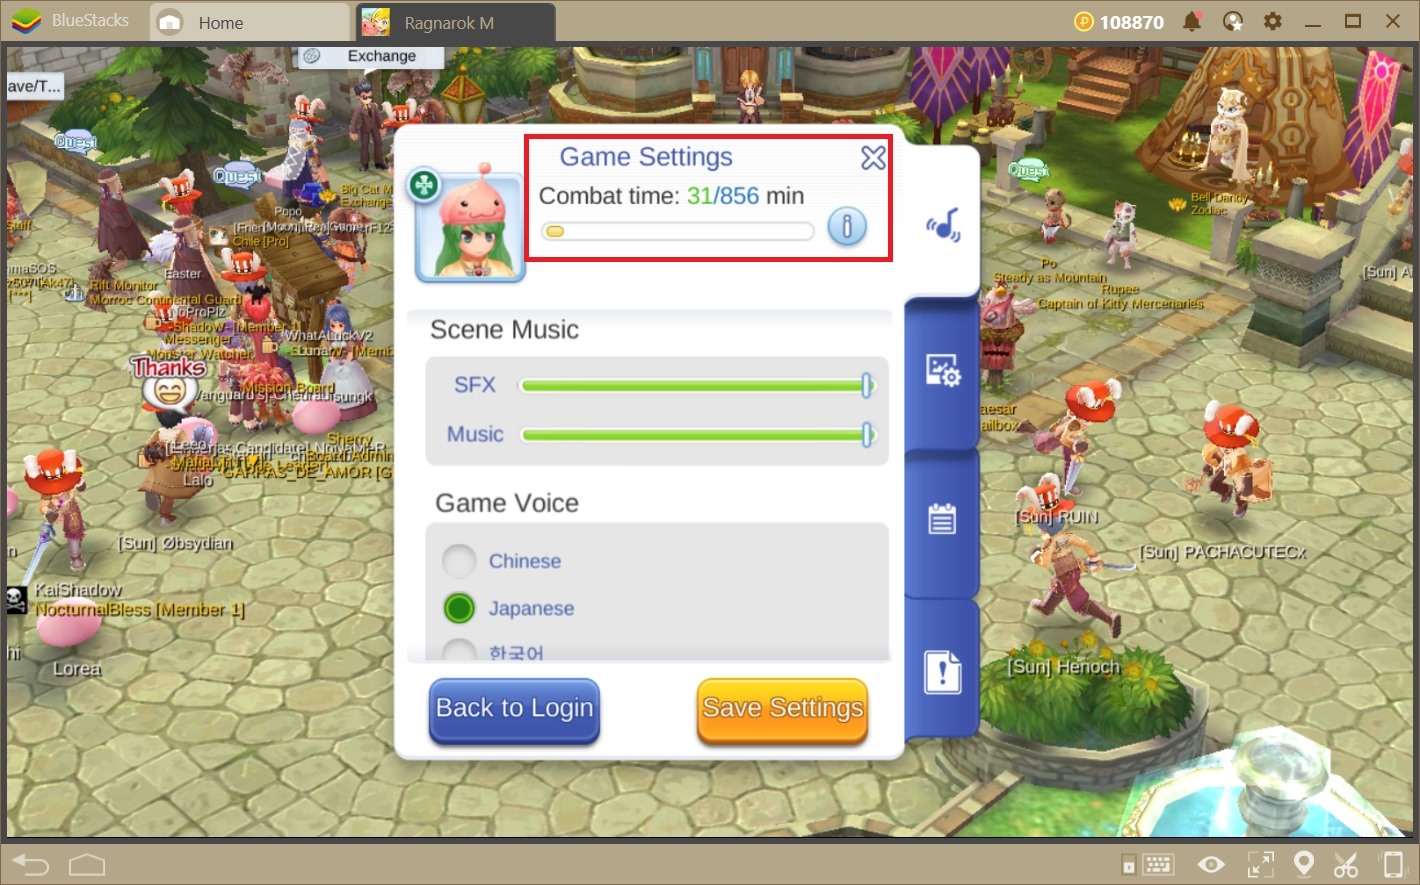
For starters, in order for the grinding process to work properly, you must have enough stamina available. As you play and defeat monsters, your character will begin to become fatigued and, when he becomes completely tired, the experience you receive from killing monsters is reduced considerably. In this manner, if you’re going to grind, we recommend that you only do so if you have enough stamina.
Your character recovers 300 minutes of stamina every day, which can accumulate to a maximum of 600 minutes. Furthermore, if you obtain stamina from an external source, such as from quests or other items, you can accumulate 300 extra minutes, up to a maximum of 900 minutes of stamina. It is not possible to have more stamina than this upper limit. Remember that you always consult your available stamina in the “More > Settings” menu.
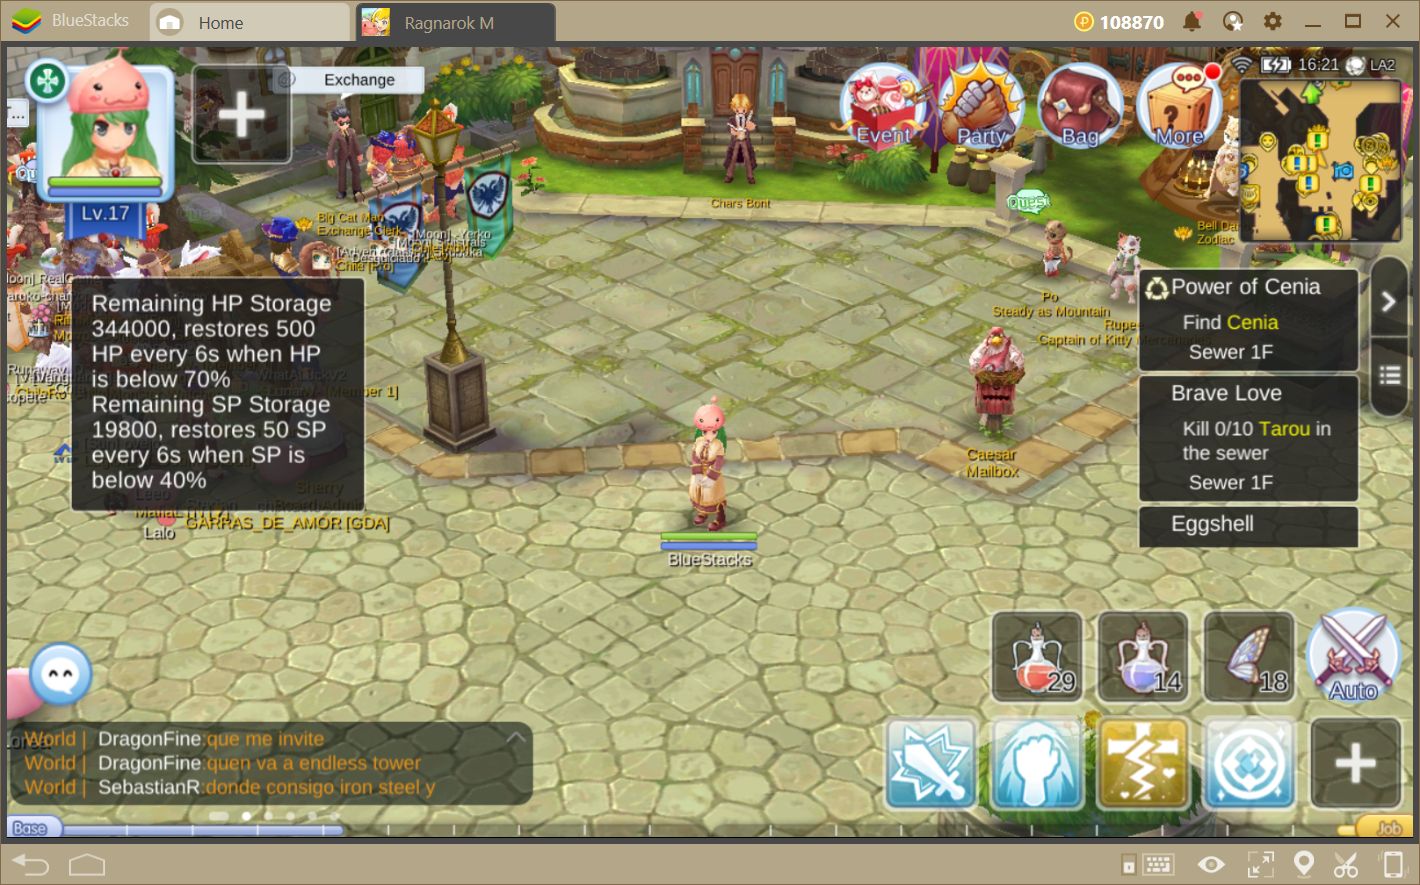
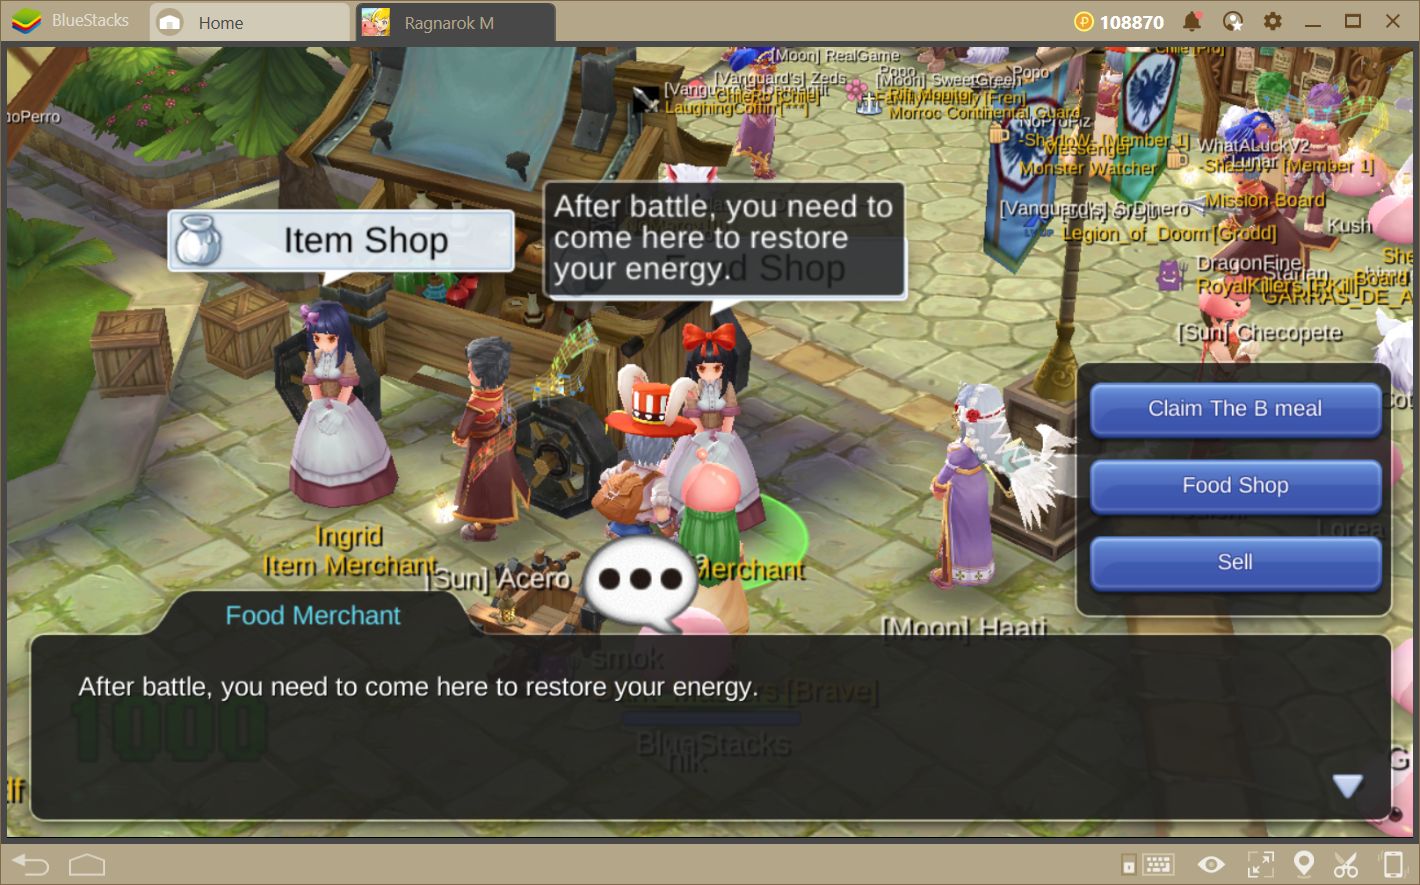
Every time you go out to grind, and especially when you’re using the auto-combat function, it’s possible to run into monsters that could give you a hard time. Because of this, it’s important that you always eat a meal before heading out. In this game, food allows you to recover HP and SP gradually at an accelerated pace every time these two stats drop below 70% and 40%, respectively. In this manner, you can stay healthy and charged up while your characters dish out the damage, and reduce the probability of losing experience due to an untimely death.
You can pick up a dish of free food every day in the Food Shop in Prontera. Each dish recharges a fixed amount of HP and SP, after which the effect fades away.
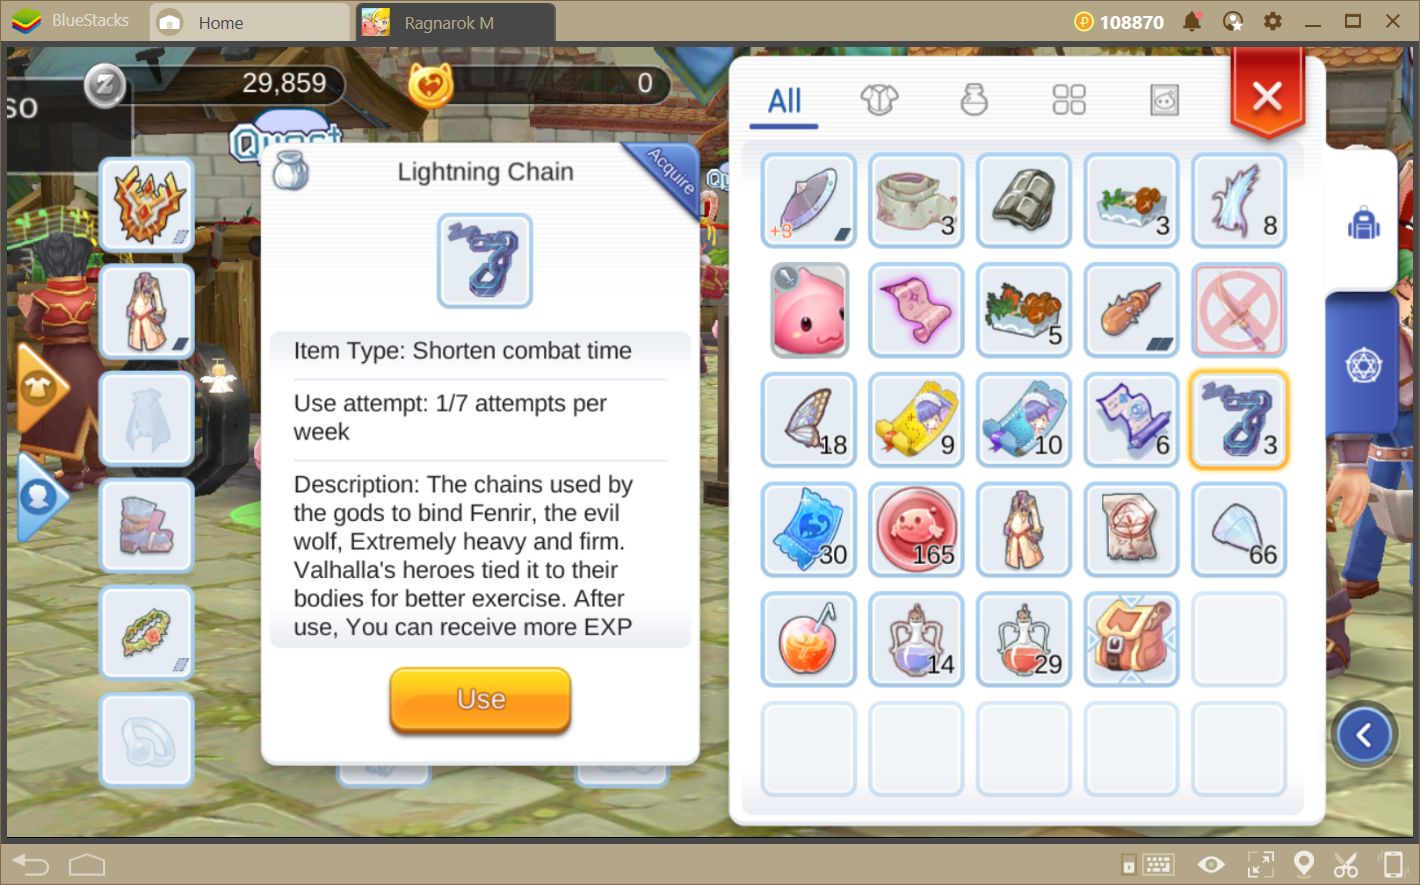
Last but not least, the Lightning Chains are excellent tools to speed up the grinding process, but only if you have enough stamina. In short, what this item does is consume your stamina at twice the speed, and grants you double experience per mob defeated, as well as a higher chance of obtaining valuable drops during that time. Each Chain lasts for 60 minutes, and you’re limited to 7 of them per week. Furthermore, you can obtain them through several means, including completing certain missions.
The leveling process in Ragnarok M: Eternal Love can get a bit hectic if you don’t know what you’re doing. Luckily, you have this guide, as well as other articles in our blog to assist you in your adventures throughout Rune-Midgard. Specifically, we recommend you take a look at our BlueStacks usage guide for this game so that you can enjoy all it has to offer with the comfort of using your mouse and keyboard.

