Rocket League Sideswipe on PC - How to Optimize Your Experience on BlueStacks
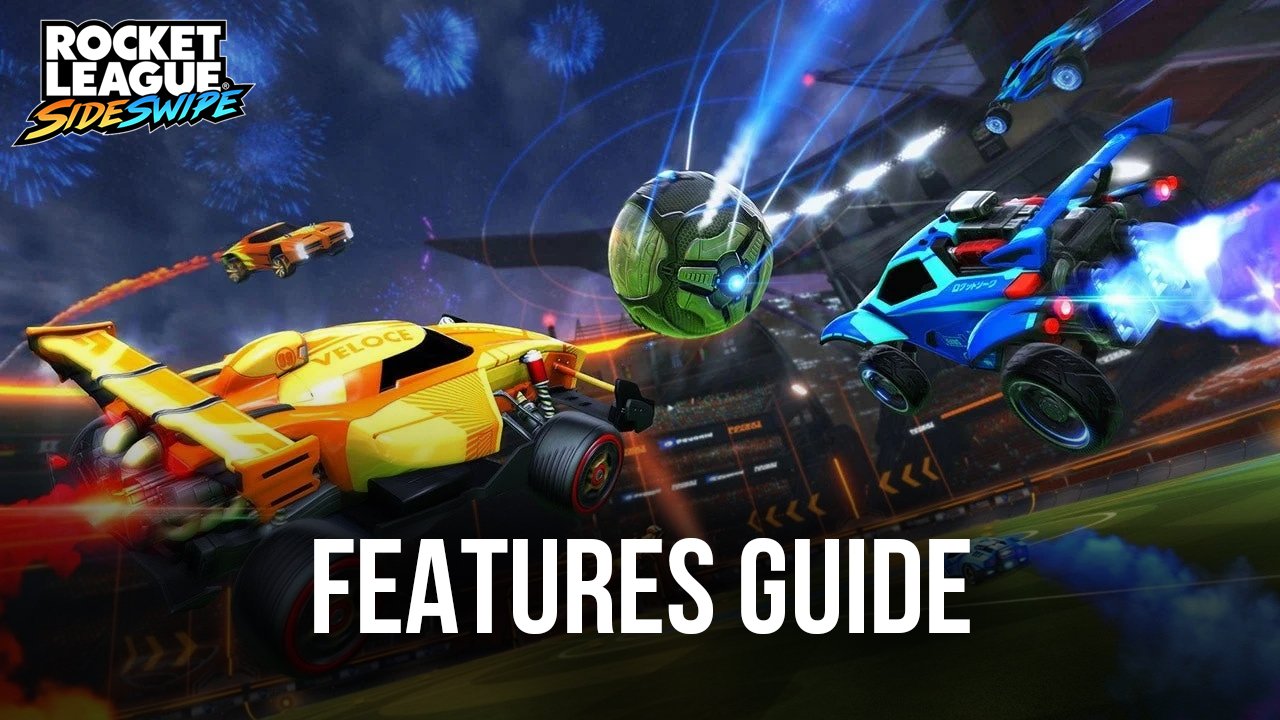
On PC and consoles, Rocket League is some of the most fun that you could ever have with a competitive game that revolves around rocket-powered cars playing soccer like it’s a version of polo but on steroids. And just like in regular soccer, the objective of Rocket League is to fight for the ball and try to launch it into the enemy’s goal. What sets it apart from the rest, however, is its physics-based gameplay, which makes this game very easy to pick up and have fun with, but also exceedingly difficult to master as players must dominate the movement of their cars as they boost, flip, and fly across the field to both score goals, as well as to defend from enemy attacks.
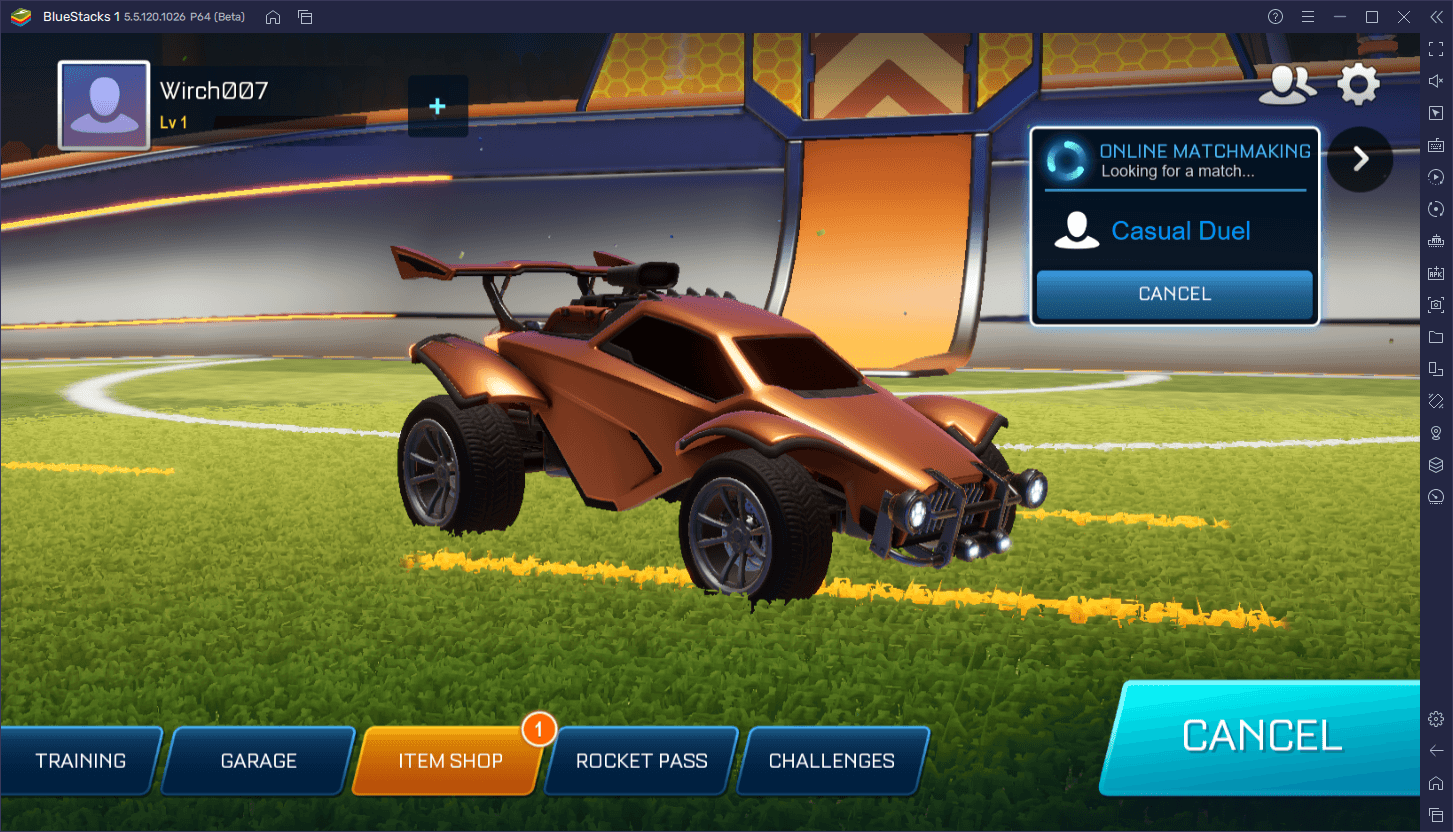
Its mobile counterpart, Rocket League Sideswipe which launched late last year, brings the fun and excitement of the original RL to the mobile platform, with a few key differences. Case in point, the biggest distinction is that, instead of the matches playing out in fields with full 3D freedom, Sideswipe offers gameplay that plays out in a 2.5D side-scrolling perspective. In this sense, while the maps are much smaller and restricted, there is still tons of potential for high-skilled plays by properly mastering the jumping, boosting, and physics-based aspects of the game.
Nevertheless, if you want to get good at Rocket League Sideswipe, you’ll definitely need the best tools. And for this reason, you should definitely consider playing Rocket League Sideswipe on PC with BlueStacks, particularly since our Android app player will give you the chance to enjoy this game on your large computer monitor, as well as with the best performance, and access to better control schemes using your keyboard or even your gamepad.
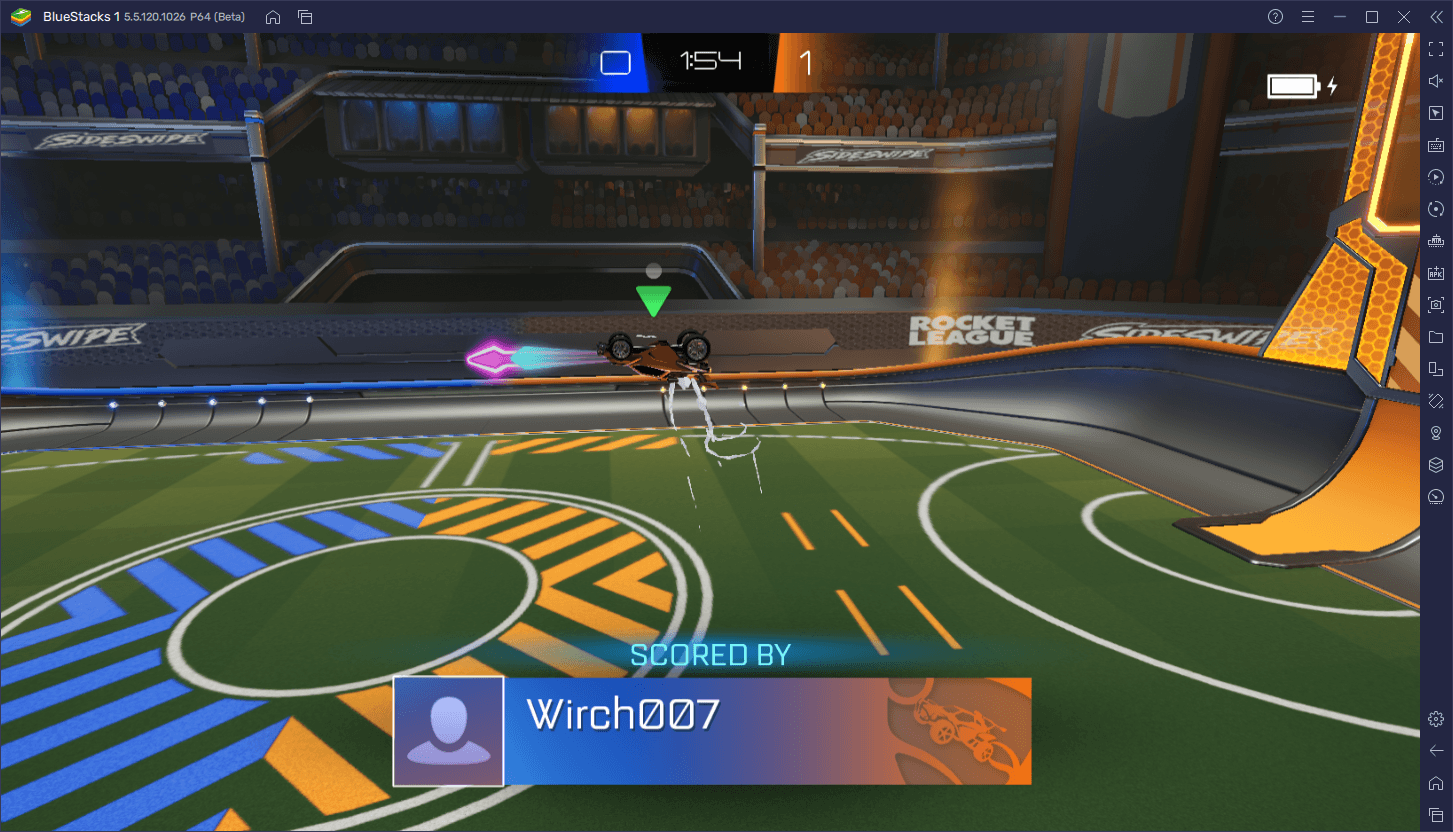
In this guide, we’re going to show you how to properly use BlueStacks to enhance your experience with this game. However, we recommend first taking a look at our PC setup guide for Rocket League Sideswipe if you haven’t already.
Master Your Vehicle Movement With the Keymapping Tool
It’s no secret that, for competitive titles like this one, your controls are one of the most important elements that you must optimize before you actually hit the field. In this regard, BlueStacks has you completely covered, as our emulator not only offers powerful keyboard support, but also lets you use your gamepad to control the action, thanks to the Keymapping Tool.
To configure your controls, you simply need to press Ctrl + Shift + A while in-game to open the Keymapping Tool. In this new screen, you can check your current controls, as well as modify or add new ones. If you’re on BlueStacks, you will find that most of the important game controls are covered by default, letting you move your vehicle with the WASD keys, boost with Shift, and jump with the Spacebar. However, you can modify these bindings by clicking on them, as well as add new functions by dragging and dropping them from the panel on the right.
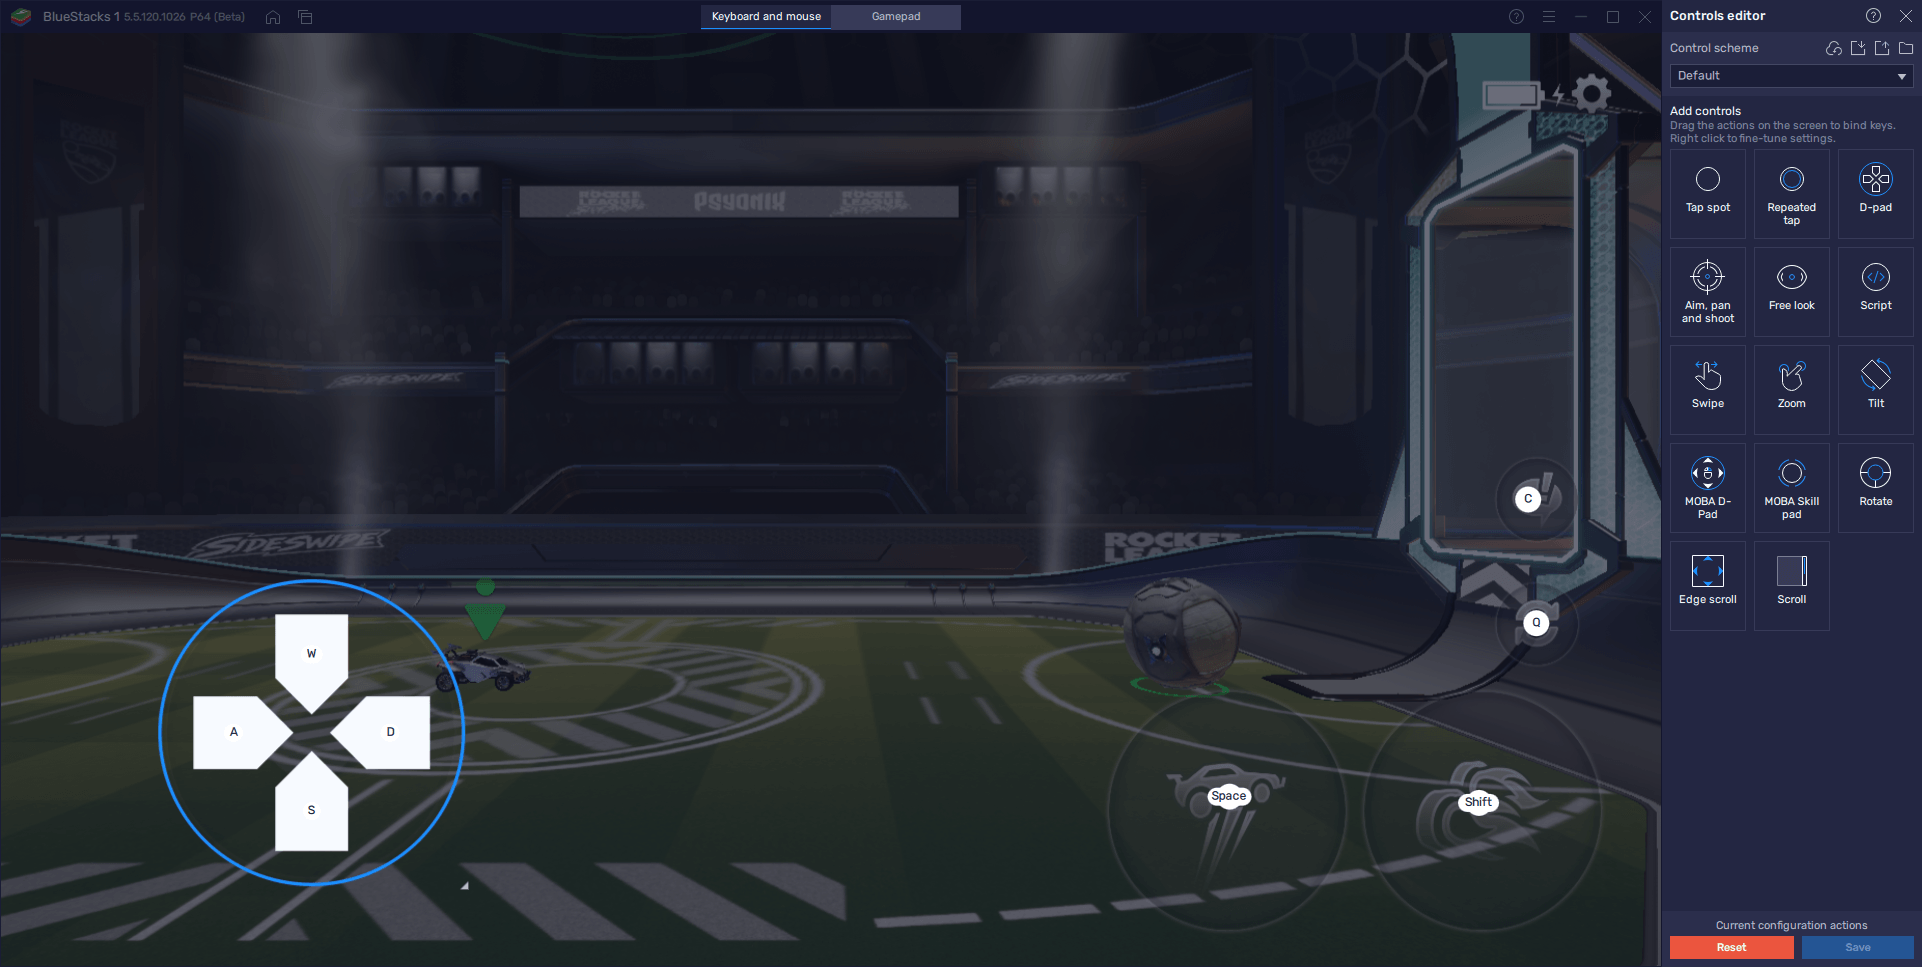
After you’re done tweaking your controls, remember to click on “Save changes” on the bottom right to implement your changes.
Enhance Your Control With Gamepad Support
As we mentioned just now, BlueStacks lets you play Rocket League Sideswipe both with your keyboard, as well as with a gamepad.
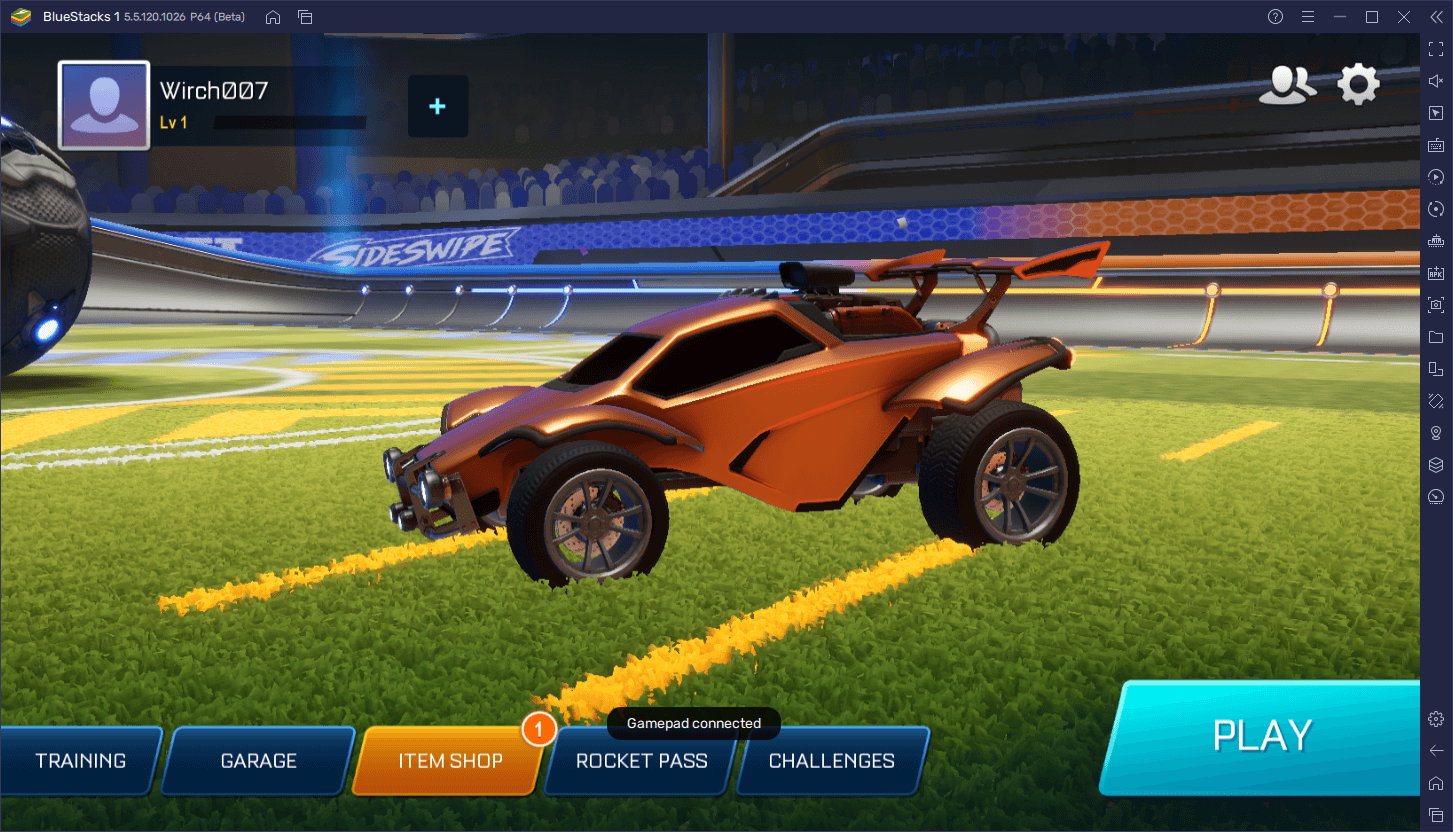
The process to configure your gamepad for this game is just as easy as with your keyboard controls; simply connect your controller to your PC via USB, and BlueStacks should pick it up immediately. After, press Ctrl + Shift + A to open the Keymapping Tool, and click on the “Gamepad” button at the top to switch to the alternate control scheme.
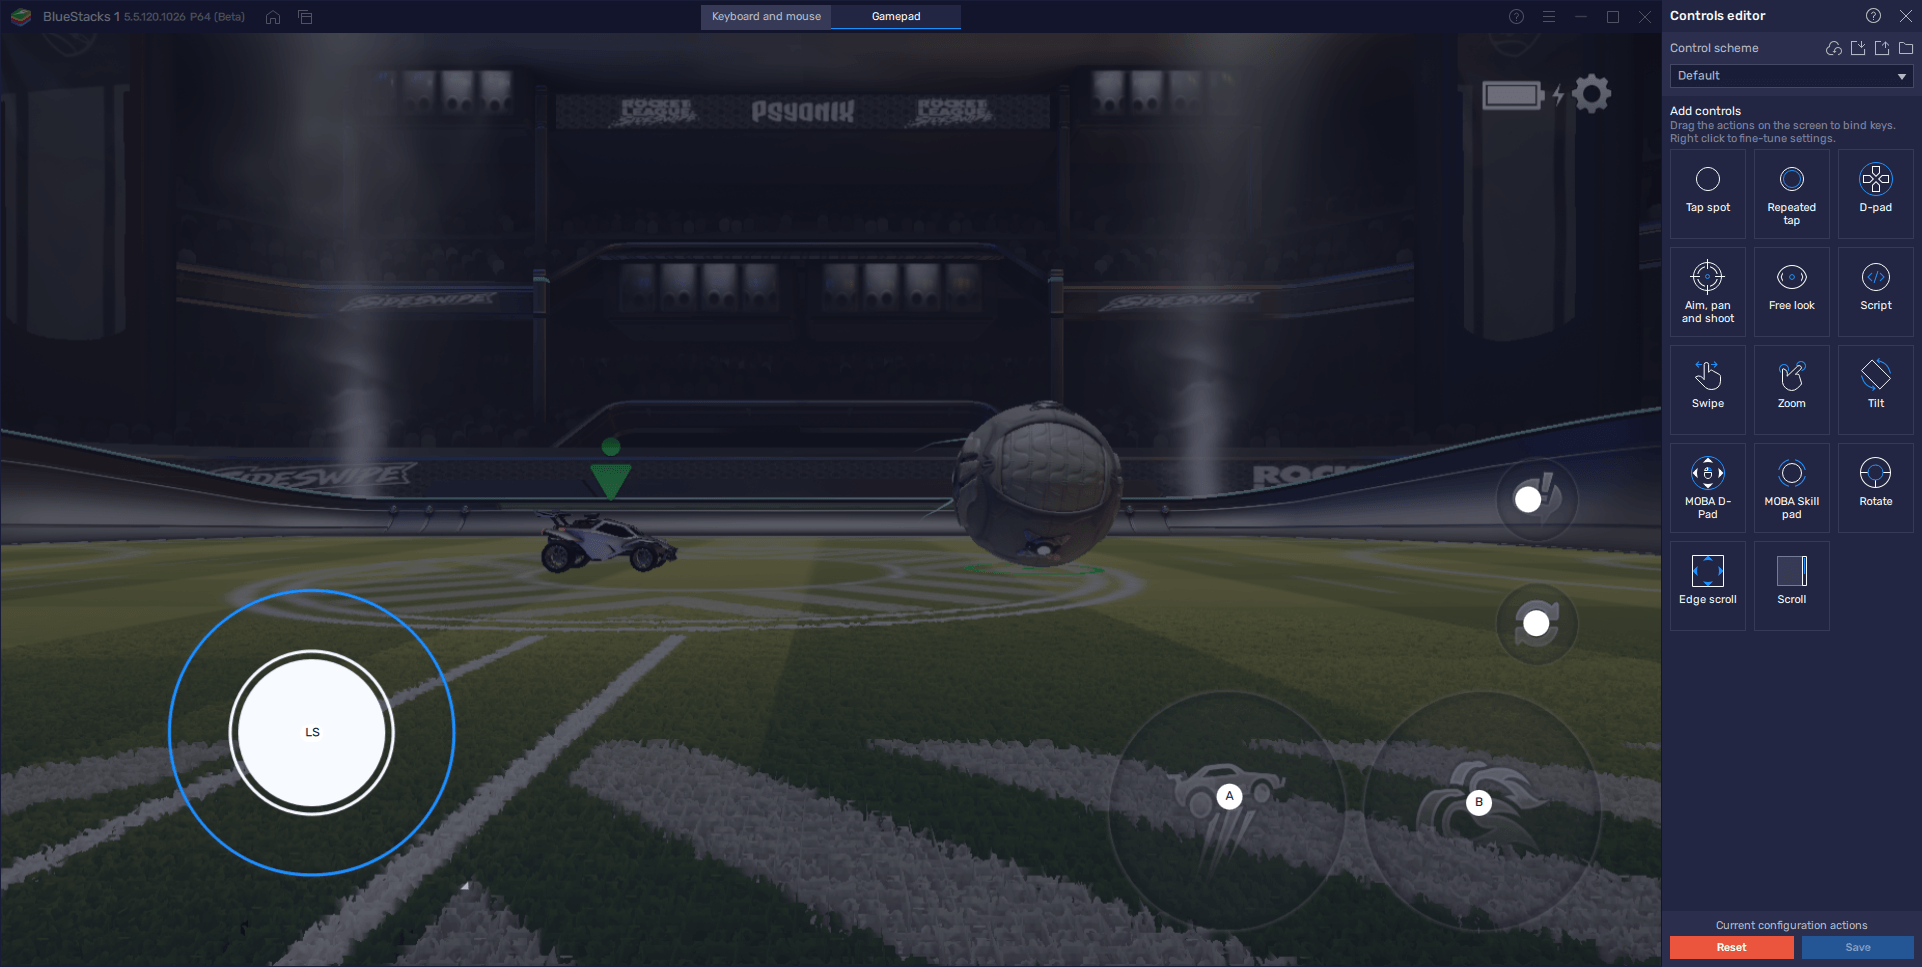
Unlike keyboard controls, however, you will actually need to configure your gamepad controls for this game. To do so, simply click on the gear icon on the “Dpad” control to assign movement to your controller, and then click on the other functions to assign them to the buttons on your controller. And as before, remember to click on “Save changes” to implement your tweaks.
Play With the Best Graphics and Performance
For competitive esports titles with very high skill ceilings like this one, players need to bring their A-game if they want to outplay all the competition. However, despite enjoying great controls when playing Sideswipe, this would be rendered moot if your game is lagging and chopping up, since this will likely make you miss important shots, or make mistakes defending your goal against the opposing team. Fortunately, if you’re playing on BlueStacks, our Android app player can give you the absolute best performance and graphics, and you don’t even need to spend excessive money on purchasing an expensive phone.
Just like with setting up your keyboard and gamepad controls, however, you might need to tweak some settings in your emulator, as well as in-game, in order to achieve the best performance. Luckily, we’ve broken down this process into a few simple steps that you can complete in a few seconds, after which you’ll be enjoying Rocket League Sideswipe at a silky smooth 60 FPS:
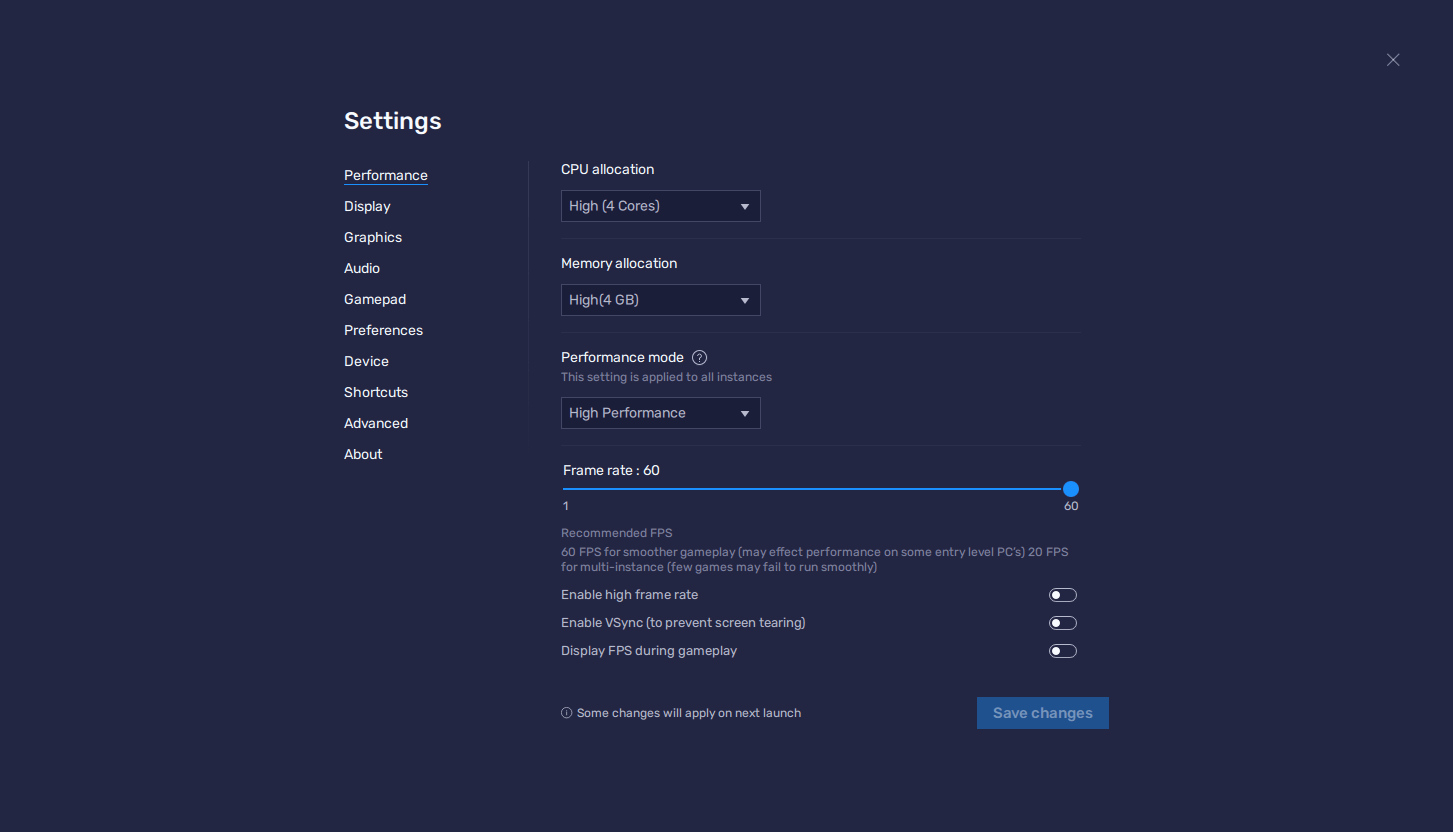
- Open Your BlueStacks settings and go to the “Performance” tab.
- Configure your emulator so that it has 4 GB of RAM, 4 CPU cores, the Performance mode on “High performance”, and the FPS slider on 60 FPS. Click on “Save changes” when you’re done.
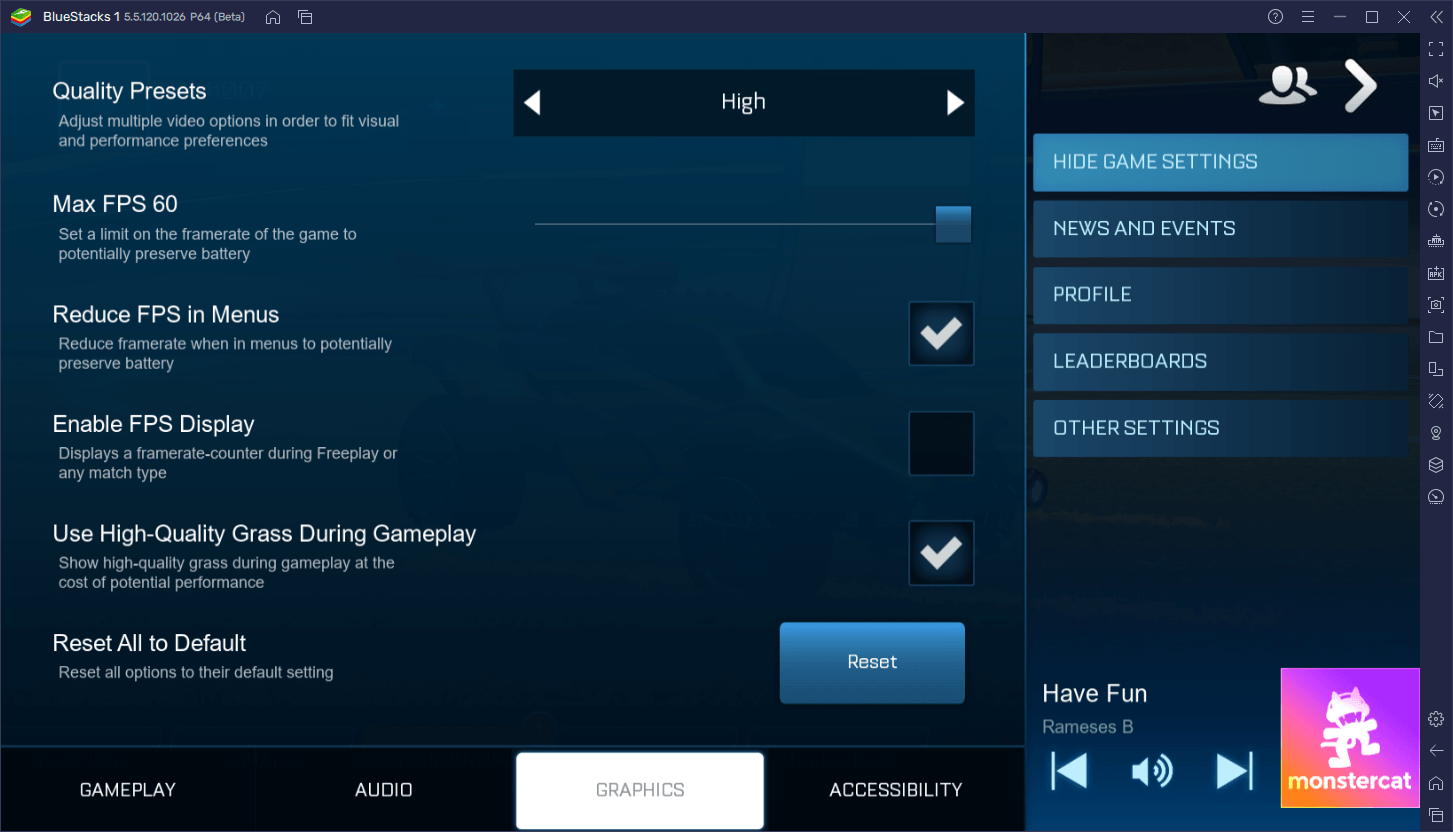
- Launch the game and go into the in-game graphics settings.
- Set the Graphics preset on “High” and make sure to set the Max FPS to 60.
And that’s it. With these settings, you’ll be playing Rocket League Sideswipe with the best graphics and performance, as well as on your large PC monitor to get a better view of the field. Add to this our gamepad and keyboard support, and you’ll have all the tools needed to completely outplay your competition and win all your matches.

