How to Download and Install BlueStacks X on PC
For those who are constantly on the lookout to get the best Android gaming experience on PC, we’ve come to present you with the ultimate solution to your search: BlueStacks X.
Got questions about guilds, gaming, or our product? Join our Discord for discussions and support!
Powered by the revolutionary AI-based Hybrid Cloud, BlueStacks X brings you all the comfort and convenience of the PC gaming experience we all know and love, but empowers it even further with our cloud gaming technology. The result is an Android App player intelligently designed to determine the best platform to enjoy any of the 2+ million games in its library: either locally on your PC via the traditional BlueStacks app player, or remotely by streaming it from the cloud. In this sense, you will always get the absolute best performance, frame rate, and graphics, regardless of the specifications of your machine.
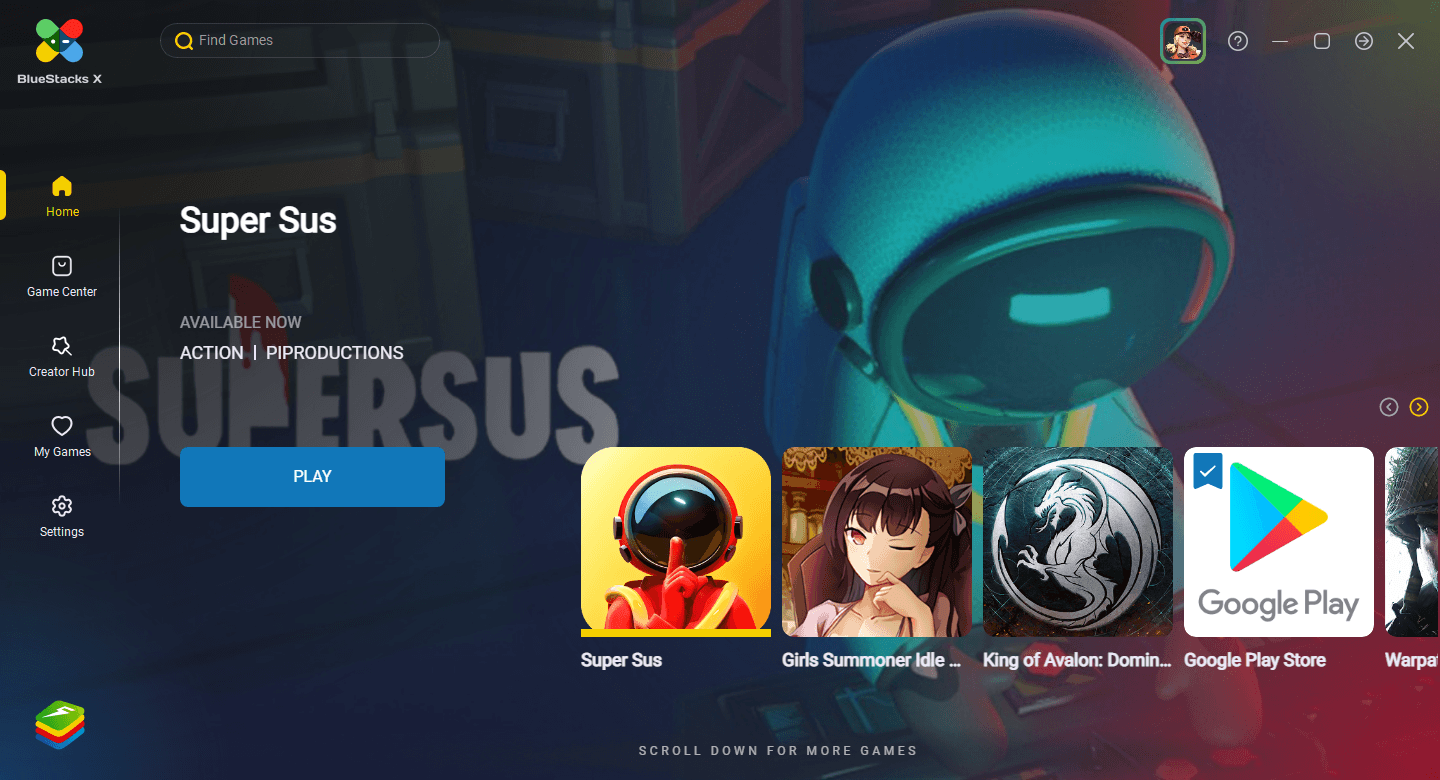
While the prospect of being able to play ANY mobile game on your PC without having to take up any resources like CPU or RAM is a very enticing one, this is far from being the only benefit of playing on BlueStacks X. This is because our innovative app player also has the brand new Mobile Game Modding feature which, through the Creator Studio, lets users create their own modded versions of their favorite games by adding their own unique visual and sound effects, as well as a variety of filters. And once they’re done, anyone can share their unique creations on the Creator Hub for everyone else to view and download.
There’s a lot to enjoy when it comes to Android gaming on PC with BlueStacks X. And the best part is that installing is very simple and takes only a few easy steps:
- Go to our official website and download the latest version of BlueStacks X by clicking on the corresponding download button.
- Run the installer and let it finish.
- Once it’s finished, BlueStacks X should launch automatically. Afterward, playing games is as easy as clicking on the one you want from the catalog and letting the app player handle the rest.
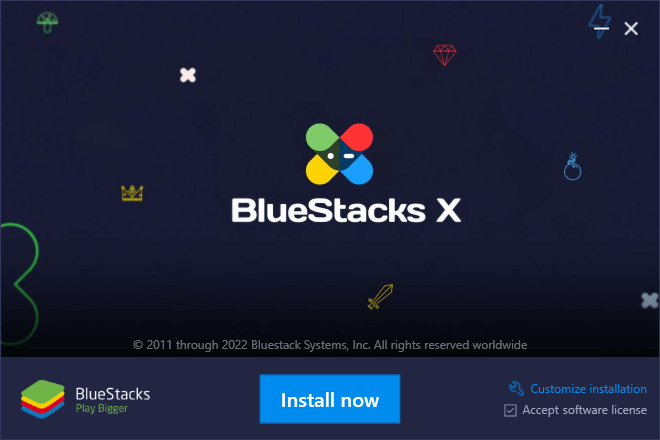
Whenever you launch a game on BlueStacks X, our Android app player will automatically find the best way to play the specific title on your system; whether locally by using the regular BlueStacks App player, or by streaming it from the cloud. Regardless of the method, all you have to do is click on the game and wait a few seconds for it to launch on whichever platform.
BlueStacks X System Requirements
While the regular BlueStacks app player has a few system requirements to run with the best possible performance, BlueStacks X technically has no requirements at all, unless you count at least 2GB of RAM, and have at least Windows 7 Service Pack 1, as requirements. This is because our platform is intelligently-designed so that, if your PC is on the lower end of the hardware spectrum, the games will run remotely on the cloud. In other words, as long as you have a stable internet connection, you will be able to play on BlueStacks X on literally any machine.
On the other hand, if your PC is good enough, and meets the recommended requirements for running BlueStacks, the games might run mostly locally on your machine.
Downloading BlueStacks X
While installing BlueStacks X is as simple as following the steps we mentioned above, we’ll go a bit more into detail in these next sections.
Downloading BlueStacks X is as easy as with our regular BlueStacks client; all you need to do is visit our website and download the corresponding installer. This installer is a very small file since most of the important data is automatically downloaded during the installation process itself—all you have to do is sit back and let it work its magic.
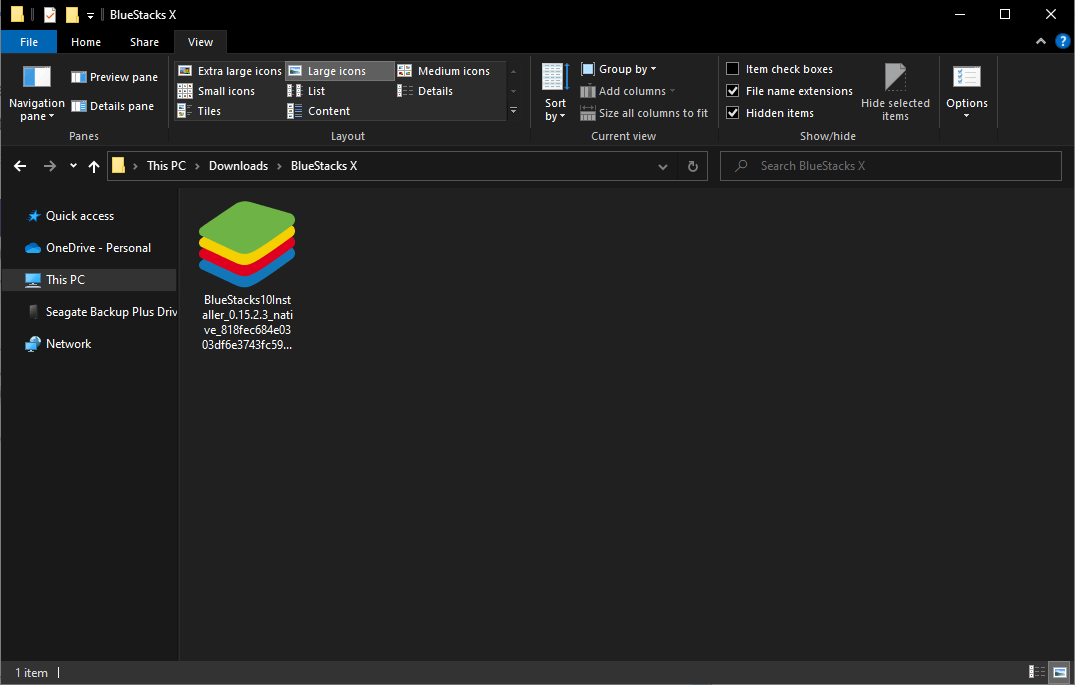
Once you’ve downloaded the installer, simply browse to where you saved it, and double click on it to start the installation process. Make sure that, when it comes to installing or updating any of our BlueStacks products, always procure them from our official website and never from any third-party sources. We can only ensure the safety of your PC and data when you acquire our products from legitimate sources, and can’t answer for the ones downloaded from elsewhere.
Installing BlueStacks X
As mentioned just now, installing BlueStacks X is as simple as running the installer and letting it work.
However, while BlueStacks X installs automatically to the “Program Files” directory in your C drive, you can freely customize the install directory by clicking on the “Customize Installation” button of the installer. To do so, simply click here, and then on the “Change Folder” button to choose a new directory. If the chosen directory does not exist, the installer will attempt to create a new folder there before proceeding with the installation.
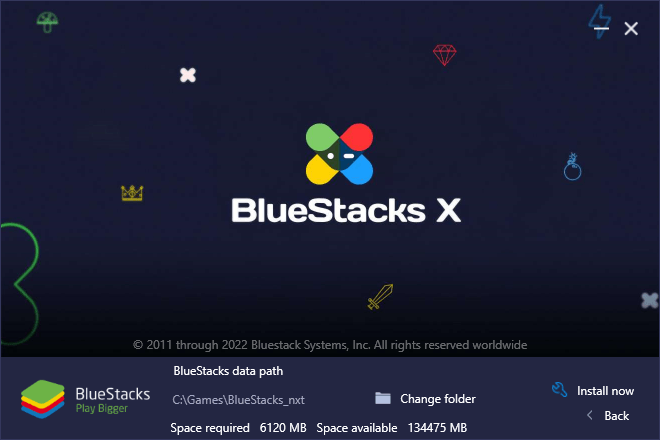
Keep in mind that if you already have BlueStacks X installed, running the installer will give you the “Update” option instead of the regular install. The process is even more straightforward here as the installer will automatically locate your BlueStacks X directory, and you just have to click on the blue “Update” button to start the process.
Saving Your Progress While Gaming on the Cloud
While playing on BlueStacks X remotely on the Hybrid Cloud is as easy as simply clicking on the game you want to play, you might wonder how you can save your progress in these games, considering that you’re playing a streaming version rather than a localized version. The answer to this question is simple: While your progress in most mobile games is saved locally when you play as a Guest, you can bind your progress to a variety of accounts to safeguard your progress, regardless of the platform or device on which you’re playing.
In this sense, whenever you’re playing on BlueStacks X, all you have to do to load your progress is log in with your Google account, or with the respective account where your progress is usually saved. Sometimes, this platform can be Facebook, Line, or a platform-specific to the publisher or developer. Whichever the case, whenever you punch in your credentials on BlueStacks X, you’ll be able to continue where you left off, and even synchronize your progress on any device.

