How to Keep a Clean Controller and Sanitize Your Gaming Gear
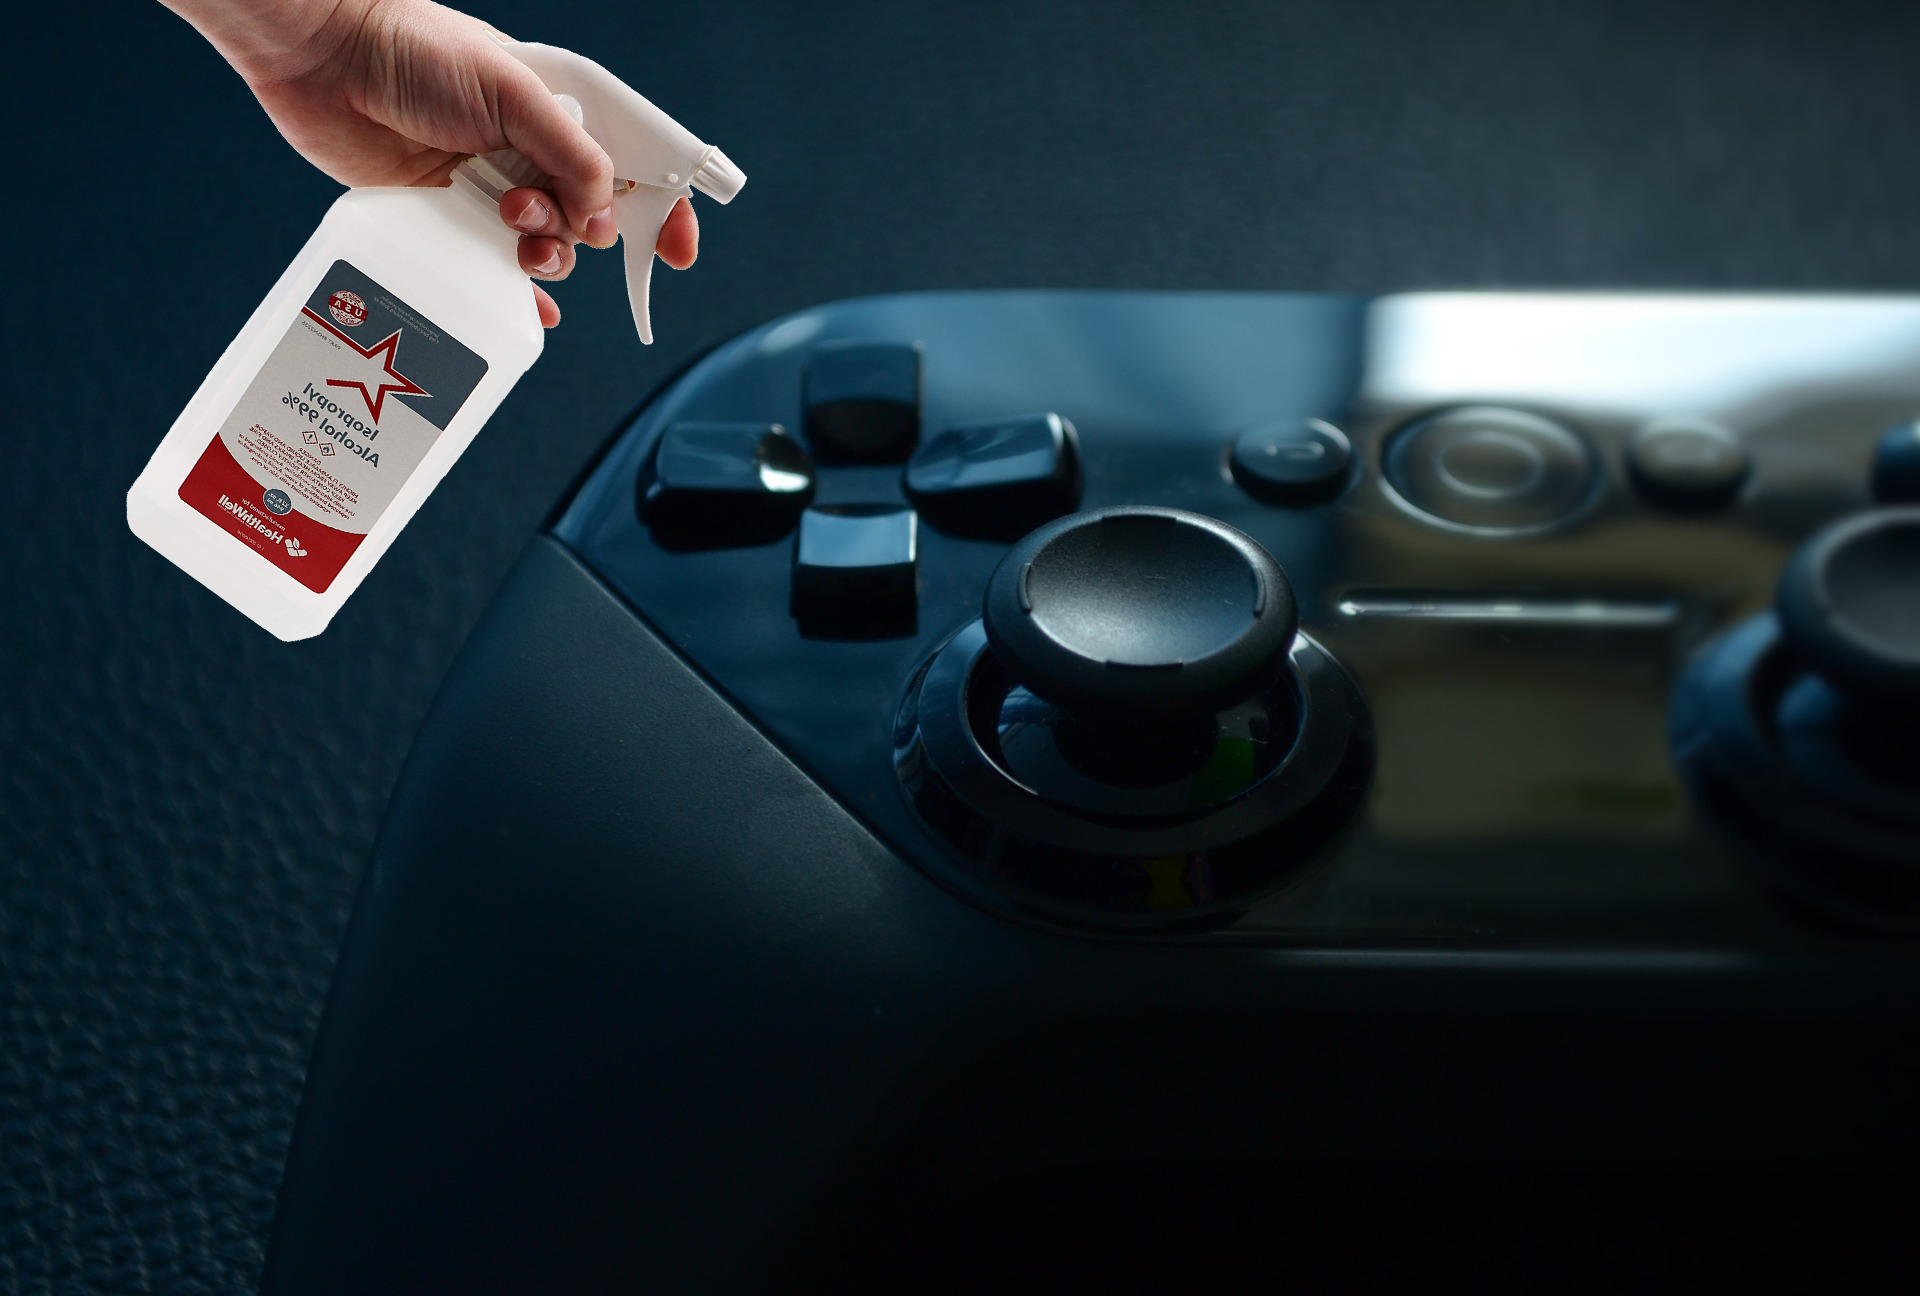
If these recent trying times have taught us something, it’s that hygiene and safety are no jokes, especially when interacting with dirty and contaminated objects could lead to contagion at worst, or to simply playing with other people’s germs at best. Especially when it comes to sharing gaming gear, cleanliness is vital since these are objects we usually interact with for extended periods of time, which makes them ideal breeding grounds and hotspots for germs. Did you know your average keyboard can have more germs than your toilet? Well, now you do. If you value your health and hygiene, you’re going to want to give your gaming gear a good scrubbing regularly.
While it’s easy to simply wipe down everything you touch on a daily basis—and admittedly, this is more than enough if you do it consistently—there are additional methods you will need to use on those occasions where your controllers and keyboards are particularly full of gunk and filth. In this article, we aim to share some tips on how to keep your controllers, as well as your other gaming gear, clean and relatively germ-free.
What You’ll Need
When it comes to cleaning electronics, your best bet is to use rubbing alcohol. This liquid not only cleans out everything and kills almost 100% of germs on any surface, but it also evaporates very quickly and doesn’t require any drying, especially when using it to clean electronics. However, if you want to clean delicate surfaces, you will need to create a solution with a ratio of 30:70 of distilled water and isopropyl alcohol. Hence the name 70% isopropyl alcohol. Please note that 99% alcohol is said to be not as effective against this virus. The reason why we need this solution is that pure alcohol can damage some electronics, and regular tap water can also leave a residue that damages the screen, defeating the purpose.
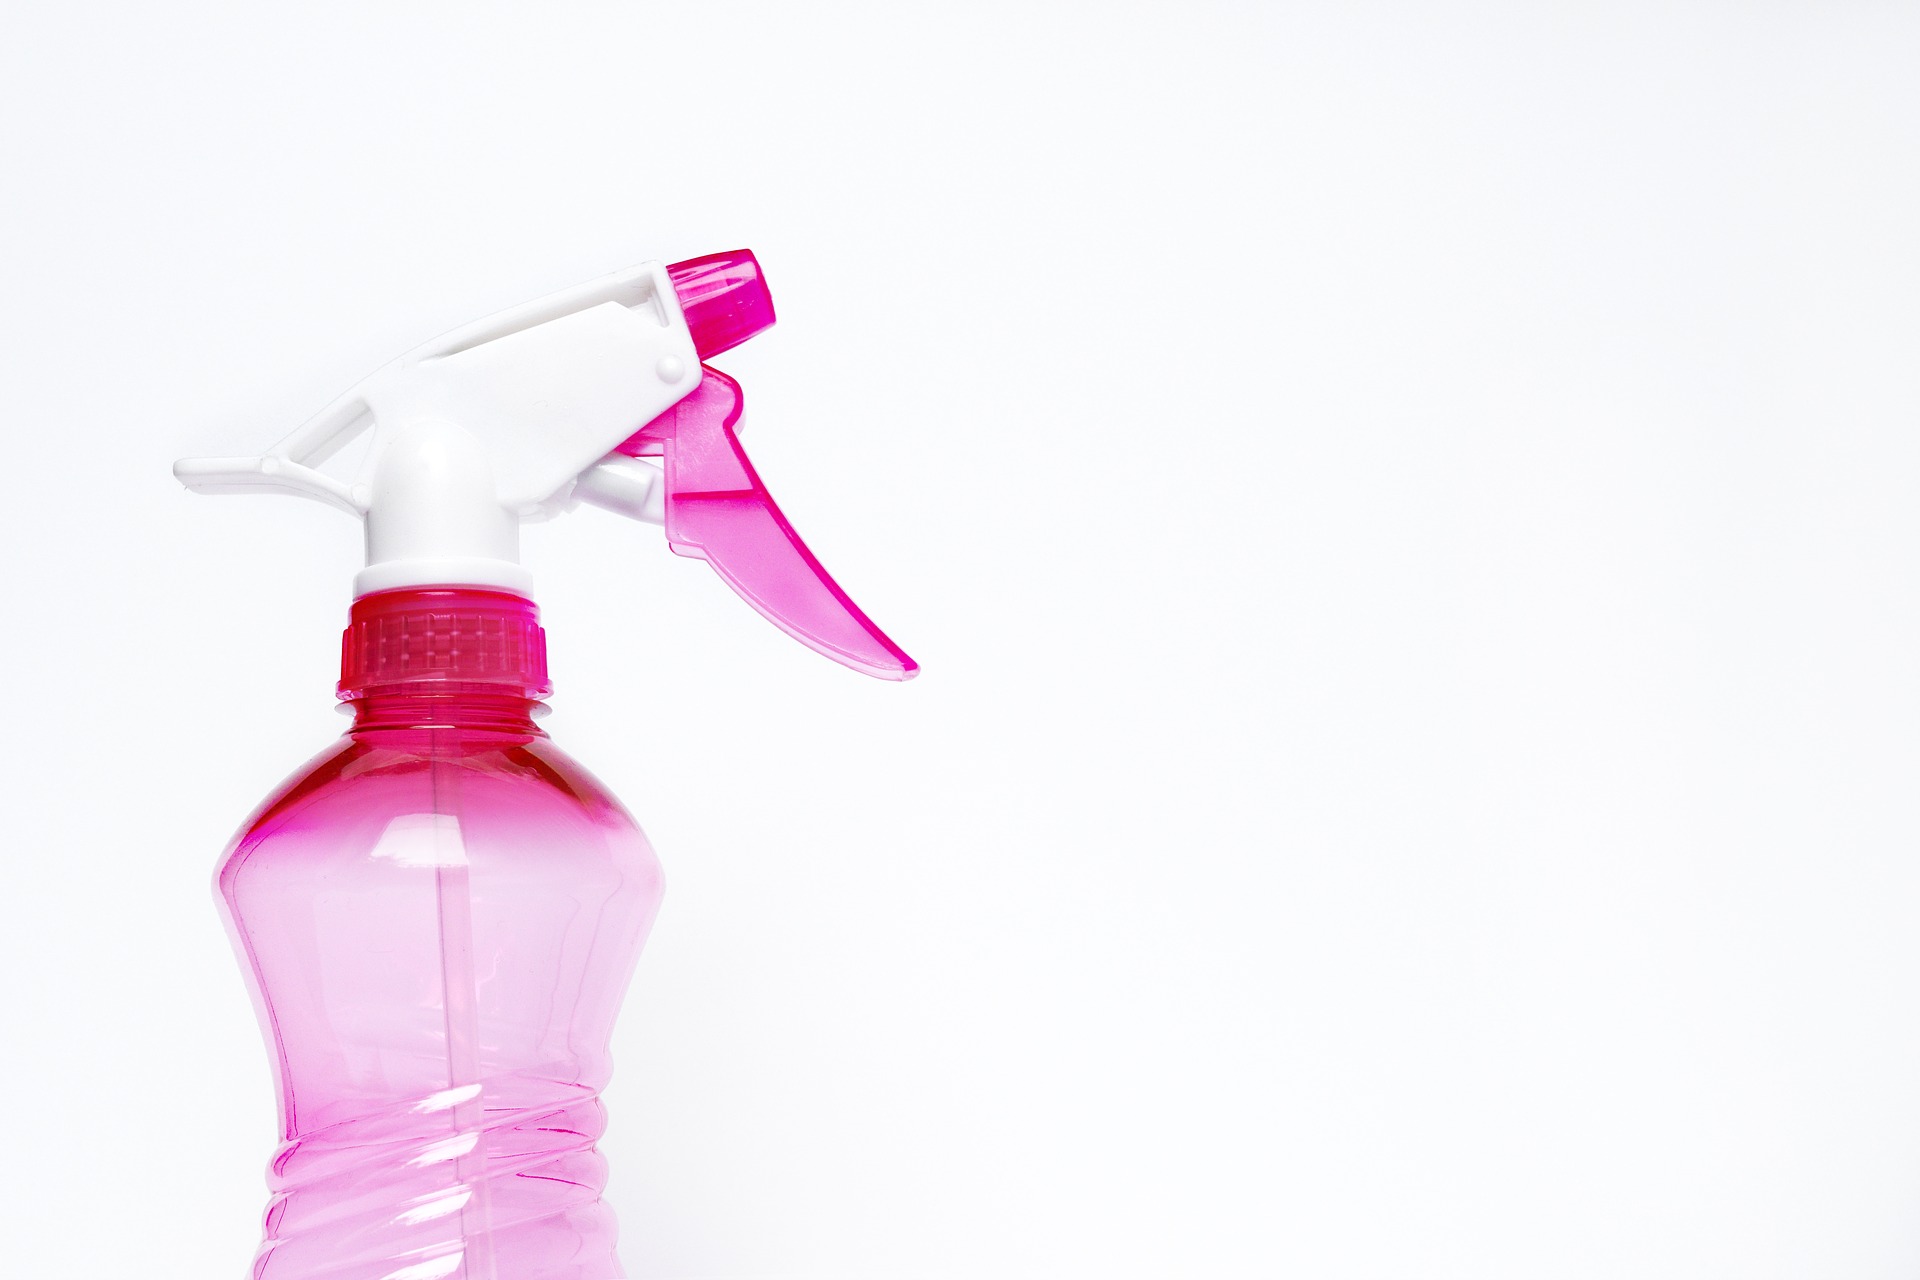
In a nutshell, here’s all you need to giving your gaming gear a nice cleaning:
- Rubbing alcohol (the purer, the better).
- Distilled water.
- A toothpick or other similar small object with pointy tips.
- A microfiber cloth or a similar non-abrasive cleaning cloth.
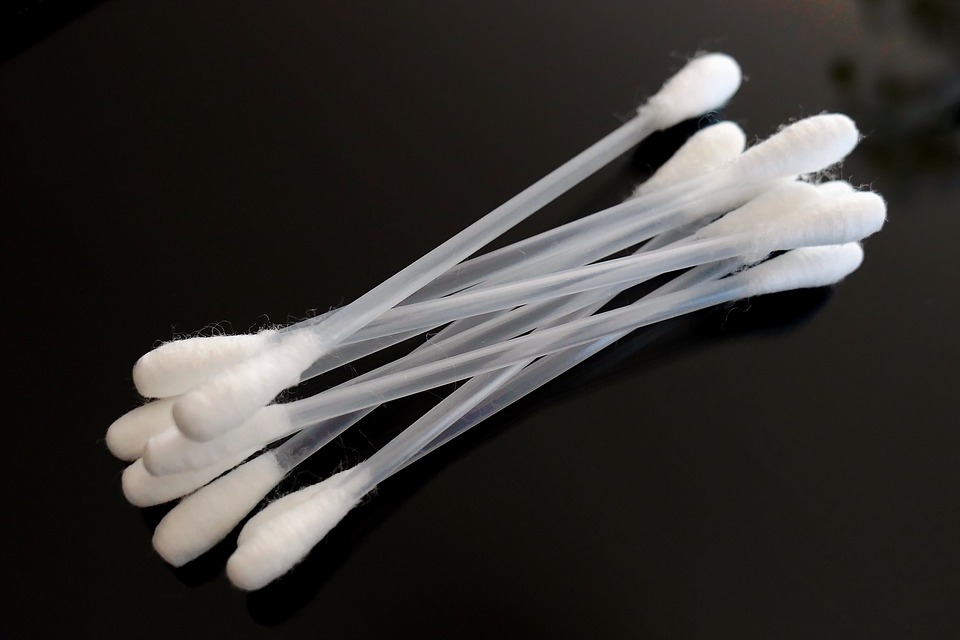
- Q-tips.
- A small paintbrush.
Cleaning Your Keyboard
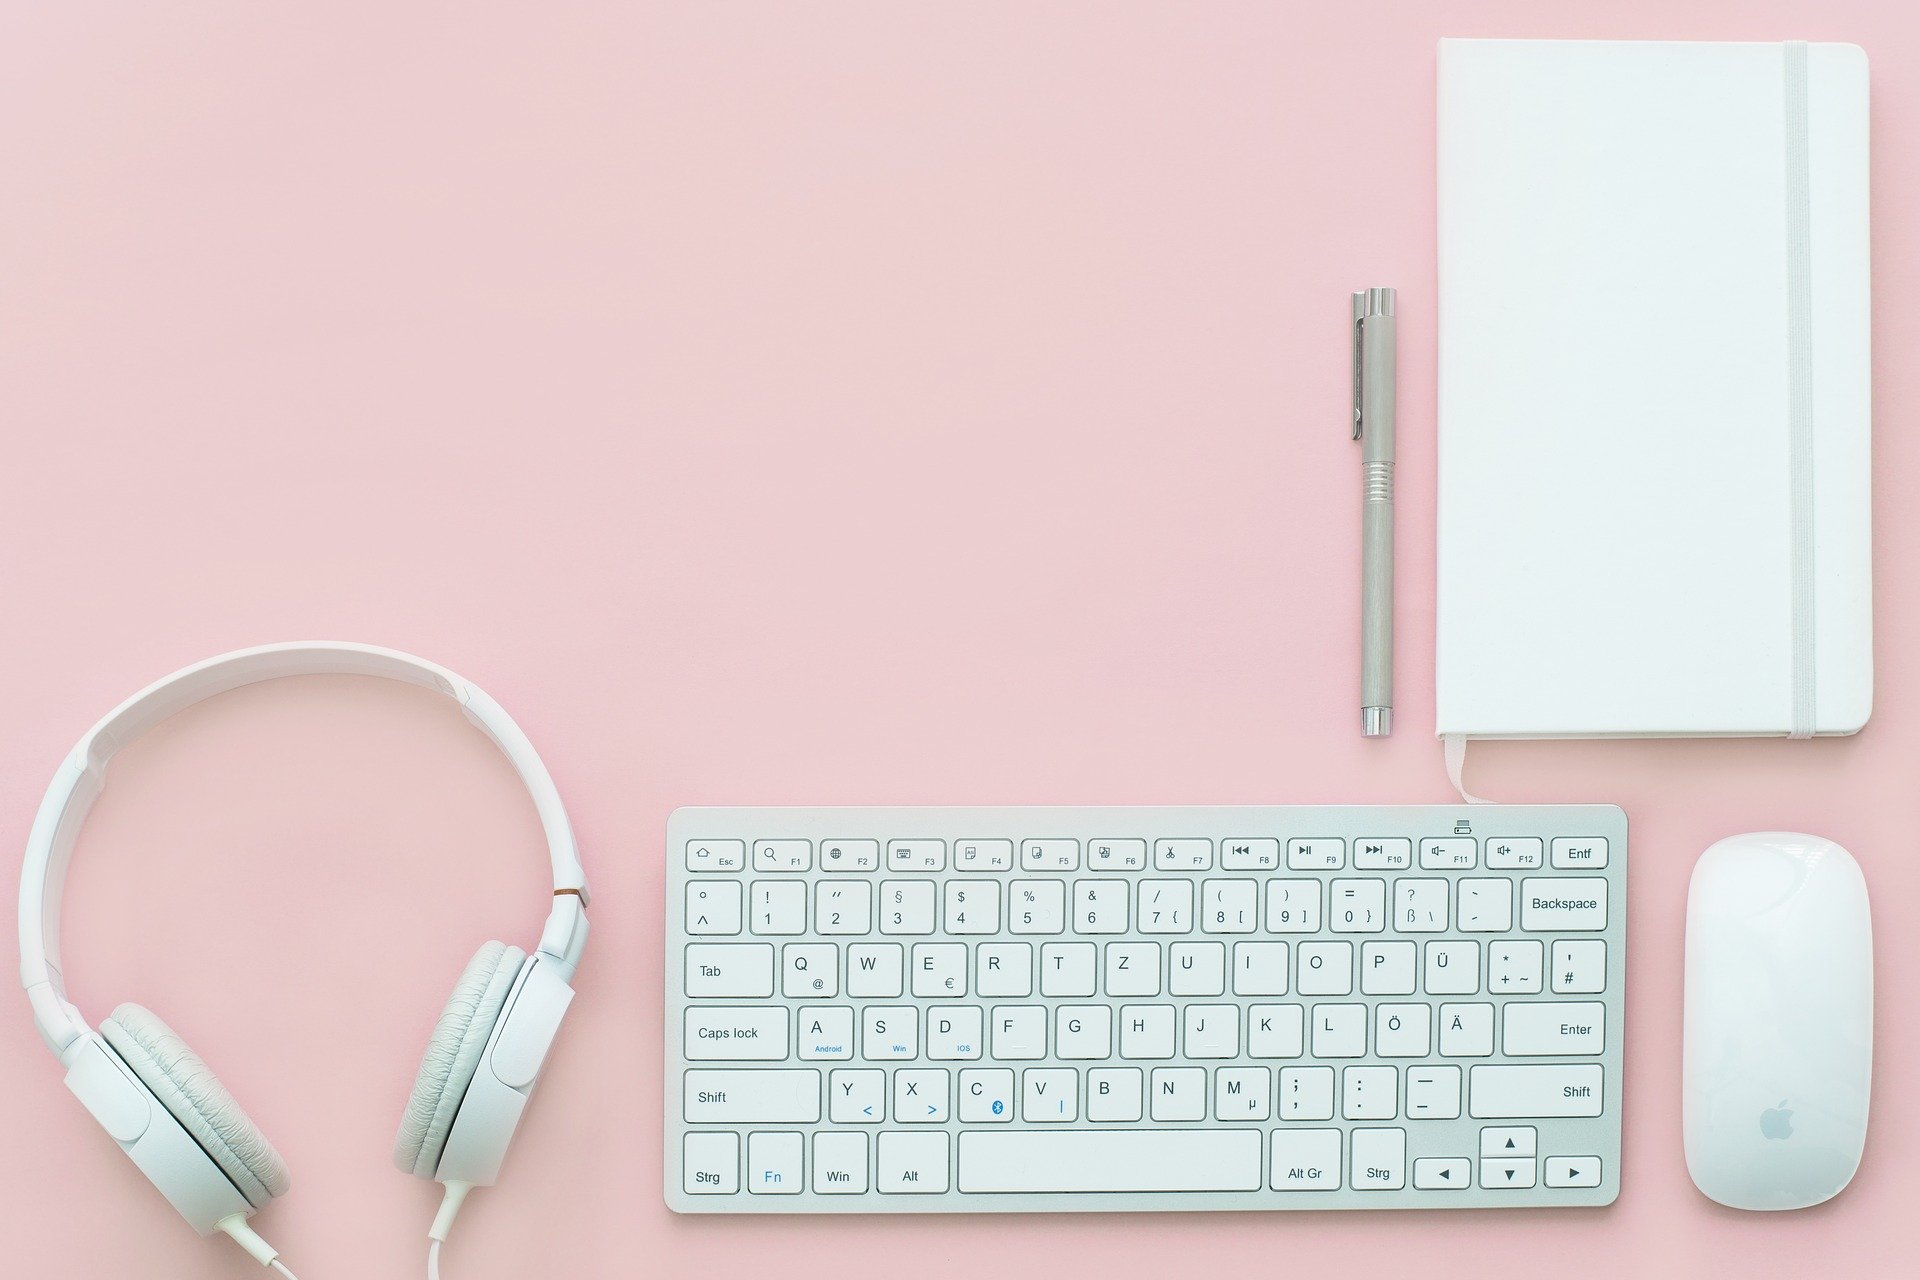
The method for cleaning these peripherals varies slightly according to your type of keyboard. Specifically, the process of disassembling your keyboard for cleaning differs depending on whether you use a mechanical or a membrane keyboard. Many gamers will have mechanical keyboards, which are far easier to clean than their membrane counterparts since the keycaps simply slide on top of the switches and can be pulled out individually without taking the keyboard apart.
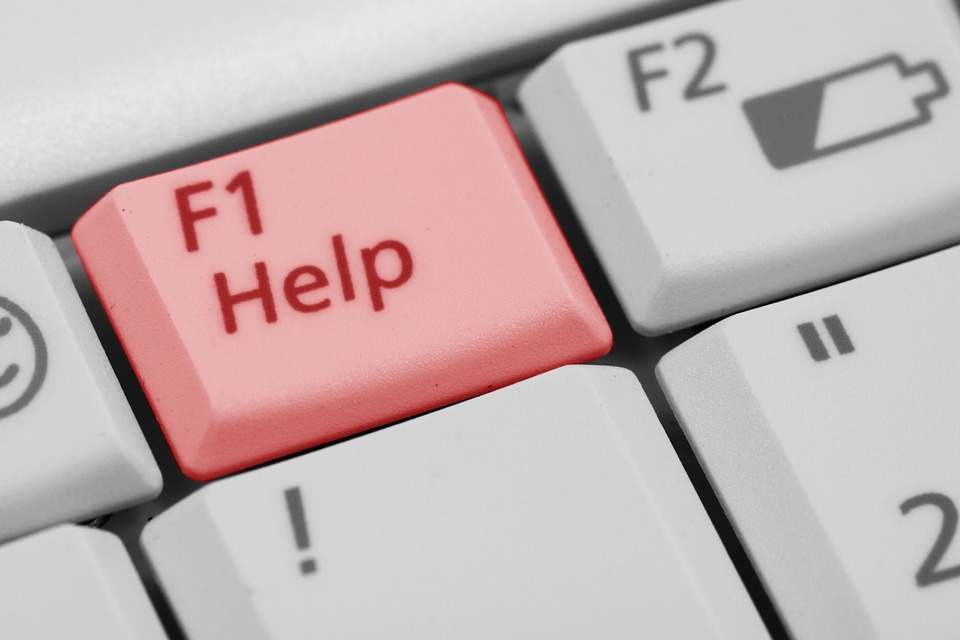
Whatever your type of keyboard, the idea is to first remove all the keycaps so you can access the lower panel. Once removed, feel free to dip the keycaps in a solution consisting of water and alcohol to kill the bacterium. While the caps chill in their cleaning solution, you will need to give the keyboard itself a good wiping using some more of this liquid. But first, use your brush to remove any hair, flakes, or other types of loose debris from your keyboard When it comes to wiping the keyboard itself, make sure to apply the liquid on the cloth you’re using so that it is only slightly moist—excess moisture can damage any electronic.
After you have finished wiping your keyboard, and the keycaps are clean and completely dry, all that’s left is to reassemble your peripheral and relish in the fact that you’re using a germ-free keyboard.
Cleaning Your Mouse
Your mouse is littered with small nooks and crannies where bacteria could grow and reproduce. However, unlike your keyboard, taking apart a mouse is difficult, if not impossible, and would likely cause more harm than good. Fortunately, this doesn’t mean that you can’t give it a good cleaning.
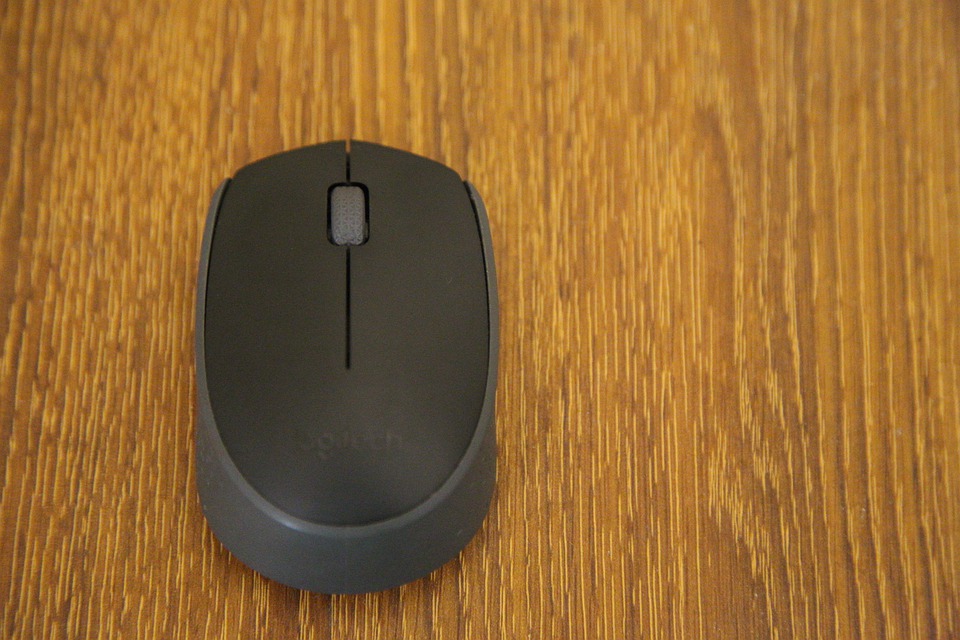
Most of the gunk on your gaming mouse accumulates on its feet, which are the small pads on the bottom that are responsible for giving your peripheral a nice smooth glide on any surface. If you haven’t cleaned it in a while, odds are that your mouse will have lots of gunk on the creases around its feet, which you can easily remove first by dampening it using a Q-tip and the cleaning solution you made, and then by prying it out with your toothpick.
For gaming mice that have many additional buttons, you might need to use the Q-tip and cleaning solution combo on other creases, taking care not to dump any excess moisture inside the peripheral itself. For the smaller nooks, you will need to whip out your toothpick here as well. Once all the creases have been cleaned, all that’s left is to give your mouse a nice wipedown using your cloth and a bit of cleaning solution.
Bonus Pro Tip: If the feet of your mouse are gunky, odds are that your mousepad will be dirty as well. Luckily, cleaning your mouse pad is quite easy: Simply dip it in a Tupperware with your cleaning solution, and lightly wipe it using a sponge. Apply more pressure for the heavier stains. Once clean, leave it out to dry for a few minutes before using it again.
Cleaning Your Controller
If you play on BlueStacks using your controller—which you definitely should, considering our emulator supports native gamepad controls—then you will also need to clean these pieces of gear regularly. Luckily, there’s really not much to cleaning your controller, though you’ll definitely need to break out those Q-tips and toothpicks to remove gunk from the creases.
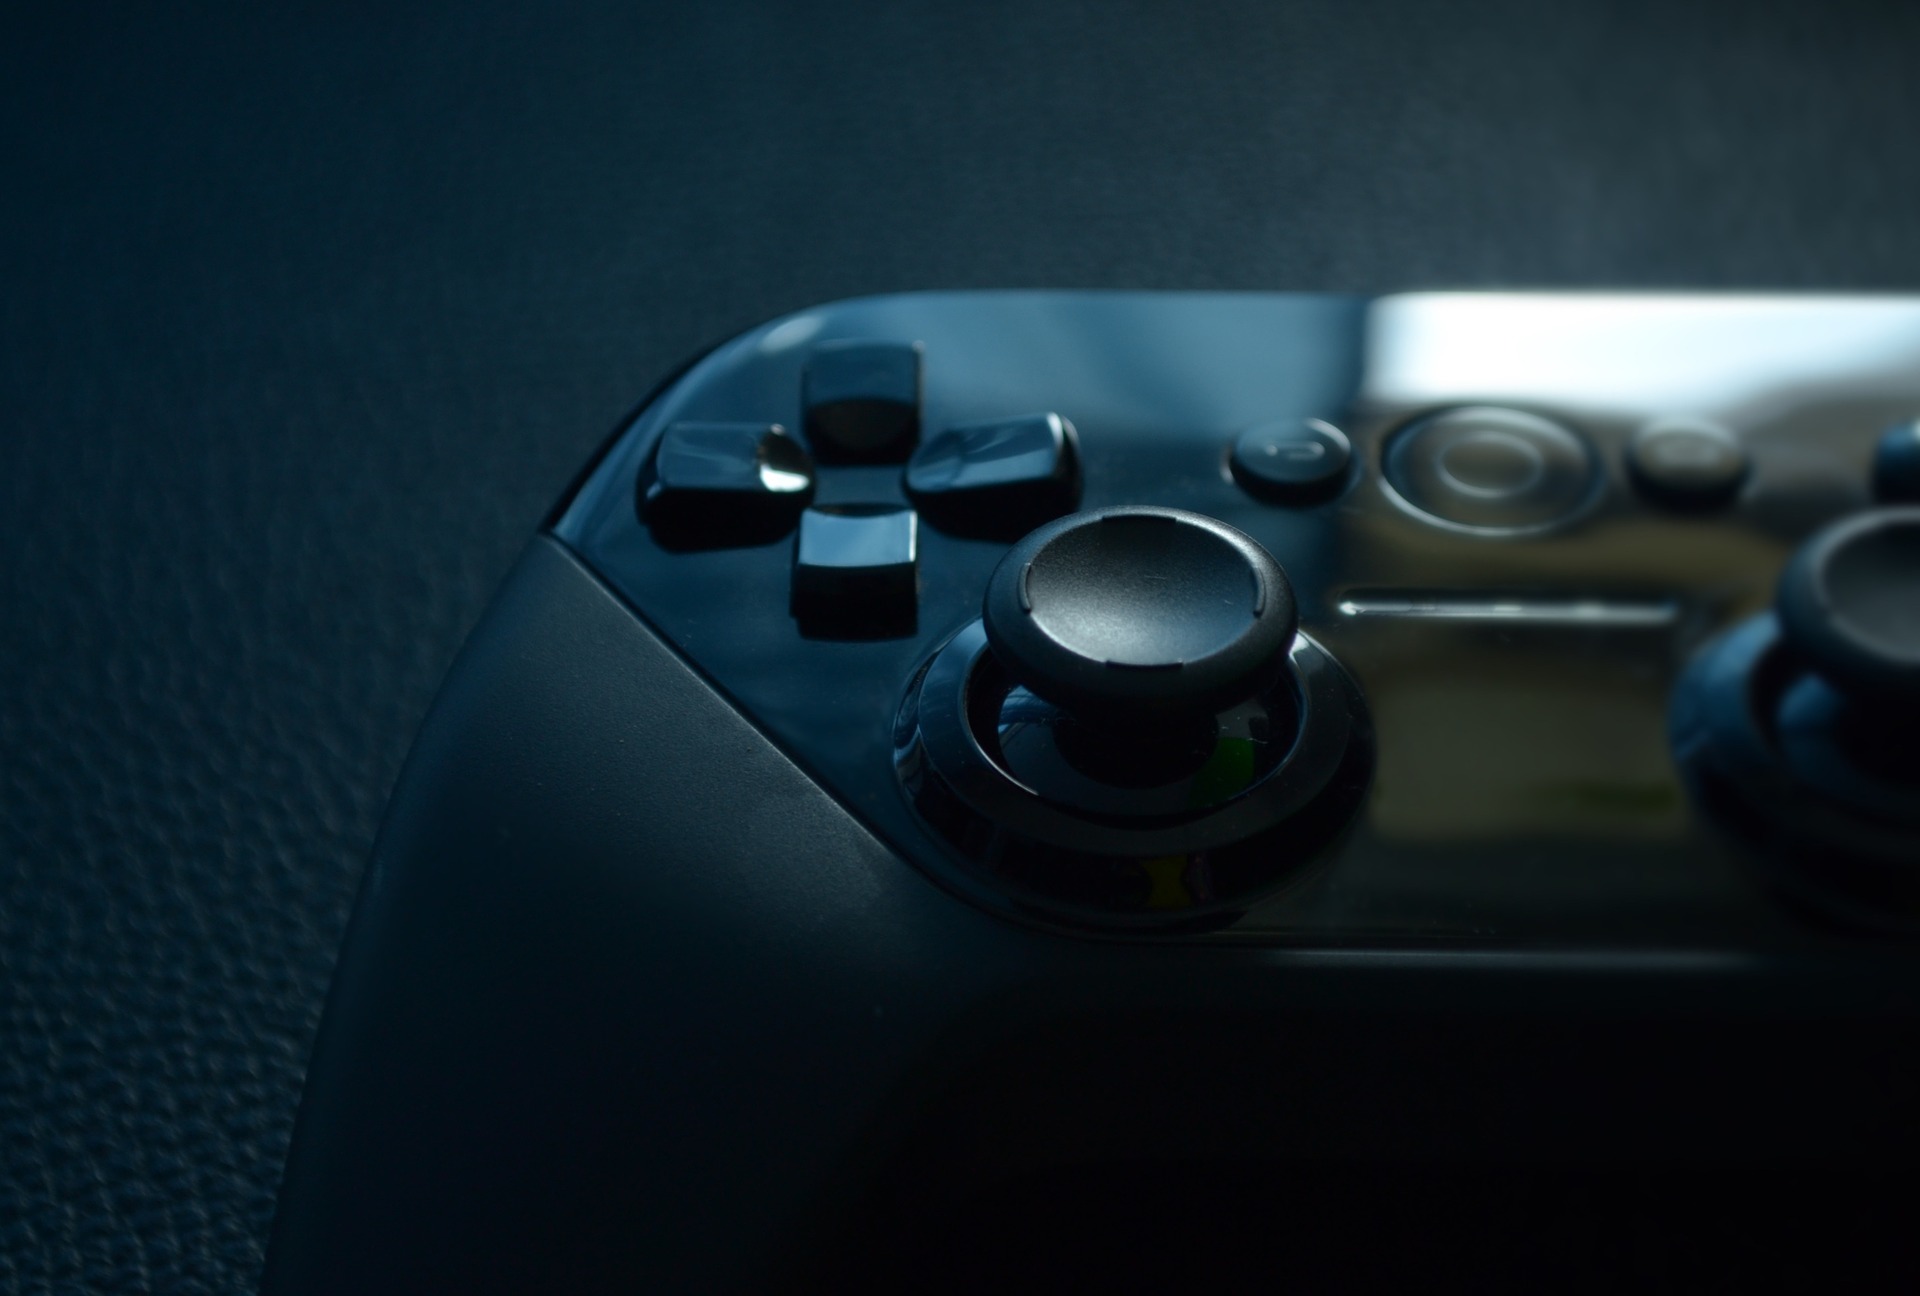
While a simple wipedown with cleaning solution on the entire surface of the controller is usually enough for everyday cleaning, you will need your trusty toothpicks and Q-tips to clean the creases where the panels of the gamepad join, which usually run along the sides of the device. Pay extra attention to the spaces underneath the joysticks, which is a place where grime can accumulate to the point of making your controller unresponsive. In the case of modern console controllers (PS4, XB1), remember to clean the spaces underneath the triggers as well, which also draw in lots of grime.
And that’s all there is to keeping your gaming gear clean and sanitized. Keep in mind that, while performing a deep cleaning of all your devices is important every now and then, a regular daily wipe with a microfiber cloth and some cleaning solution will go a long way towards sanitizing your electronics.
