A3: Still Alive - How to Use BlueStacks to Win Every Match in A3’s Battle Royale Mode
A3: Still Alive released earlier today and it’s all the rage, combining open world exploration and RPG elements with the excitement of battle royale games. Specifically, the “Dark Presence” mode in this game revolves entirely around PvP and consists of up to 30 players appearing on a map in random locations and fighting monsters to power up their skills, pick up gear and items, and engage against other gamers as they fight to be the last one standing.
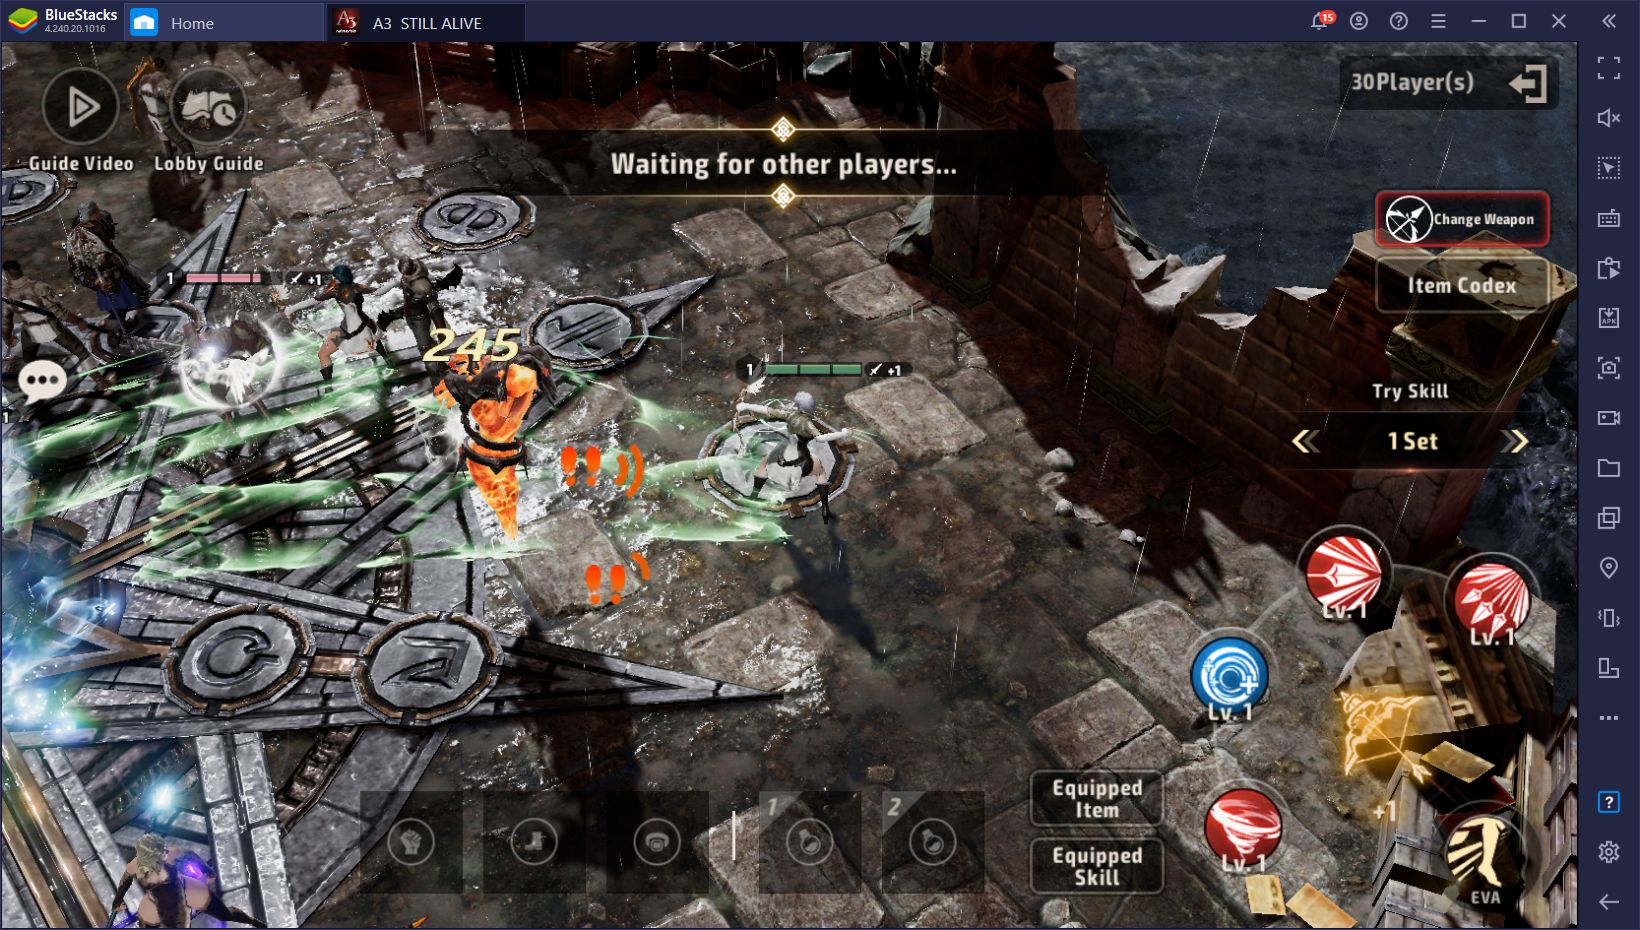
We went into detail about the basics of the battle royale mode in A3 in the dedicated BR guide we wrote on the topic, which we strongly suggest reading if you’re new to the game. A3 is unlike any other MMORPG out there, so it pays to be informed!
This time around, however, we were looking to talk about something very important that could help you win all your battle royale matches in A3. Particularly, we want to explore how playing this game on PC with BlueStacks can help to improve your skills and success, specifically thanks to the superior performance of our emulator, as well as all the tools that it offers.
First off, however, you need to install the A3 PC client on BlueStacks. While this process is quite simple and only takes a few minutes, we won’t go into detail here since we already explained it in detail in this guide. Feel free to read it first and then come back to learn how our emulator can help you to win all your battle royale matches.
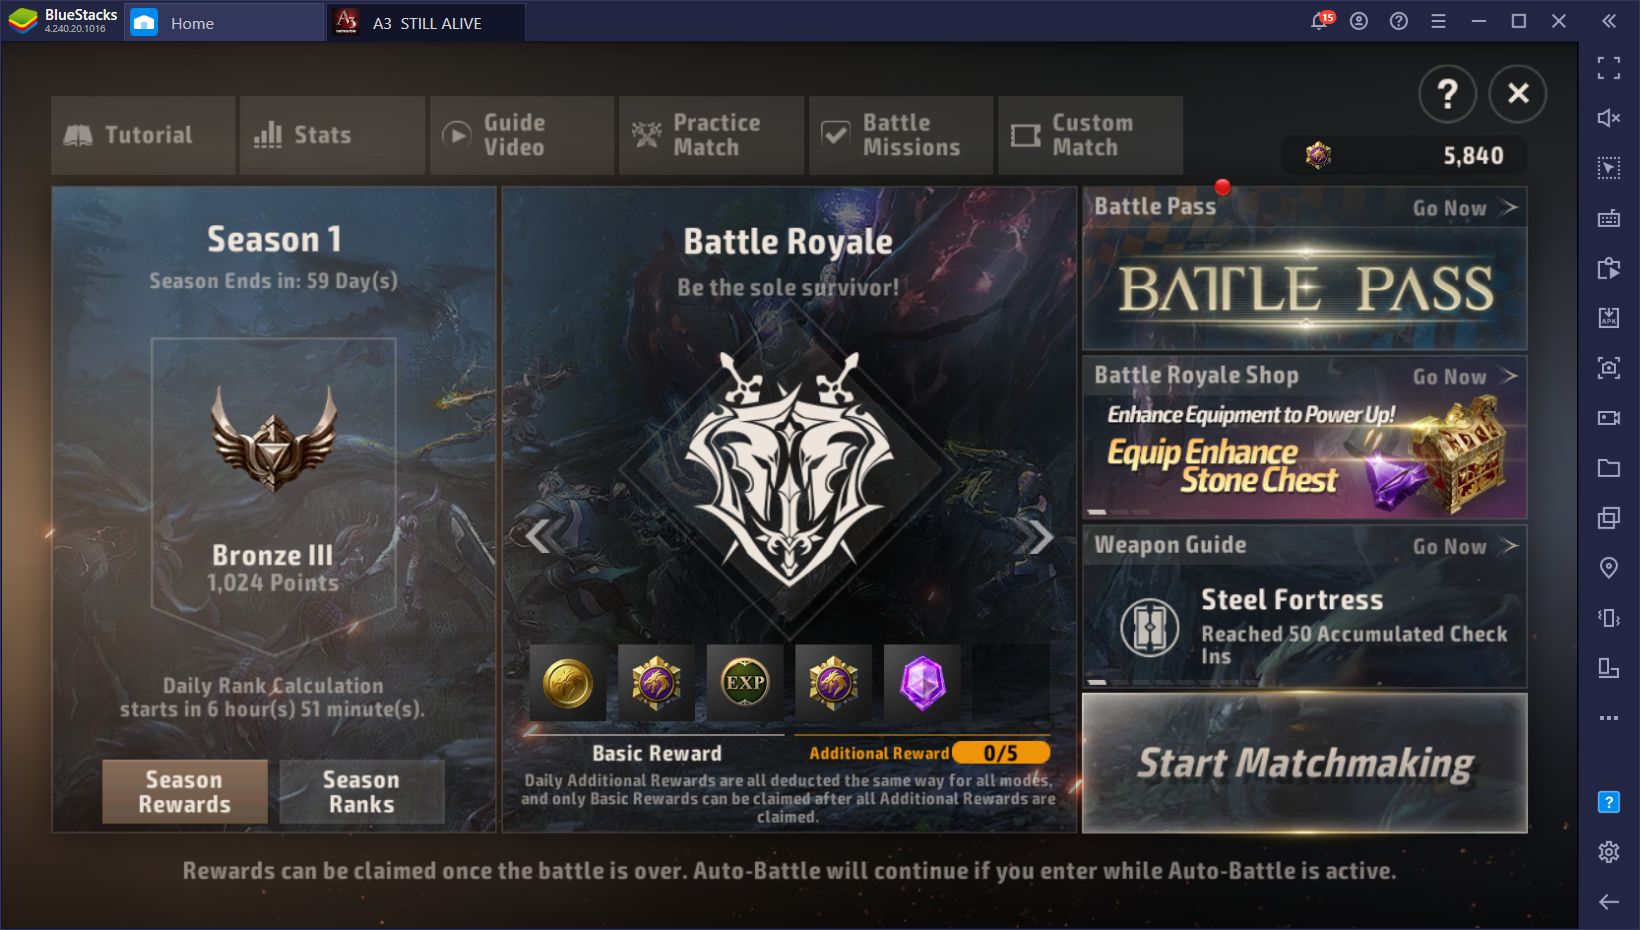
Maximize your Graphics Settings and Enjoy the Smoothest Experience
One of the most crucial parts of winning in A3: Still Alive doesn’t even have to do with playing the game itself, but rather with its performance on your device.
Simply put, if you’re playing on your phone, you’d need to drop a ton of money to purchase a device that could run this game with acceptable performance. And even after breaking the bank with this purchase, you’d still have battery and overheating issues that can significantly shorten your device’s lifespan. However, by playing A3 on PC with BlueStacks, you can easily maximize the graphics settings without worrying about any of the issues we just mentioned.
Moreover, playing with good graphics and performance goes beyond simply enjoying a better experience; it also directly impacts your results. For starters, playing with the best graphics will allow you to spot enemies easier, as well as identify certain objects on the ground without having to get closer. On the other hand, having a smooth framerate will directly improve your performance in combat as you won’t have to deal with stutters or slowdowns.
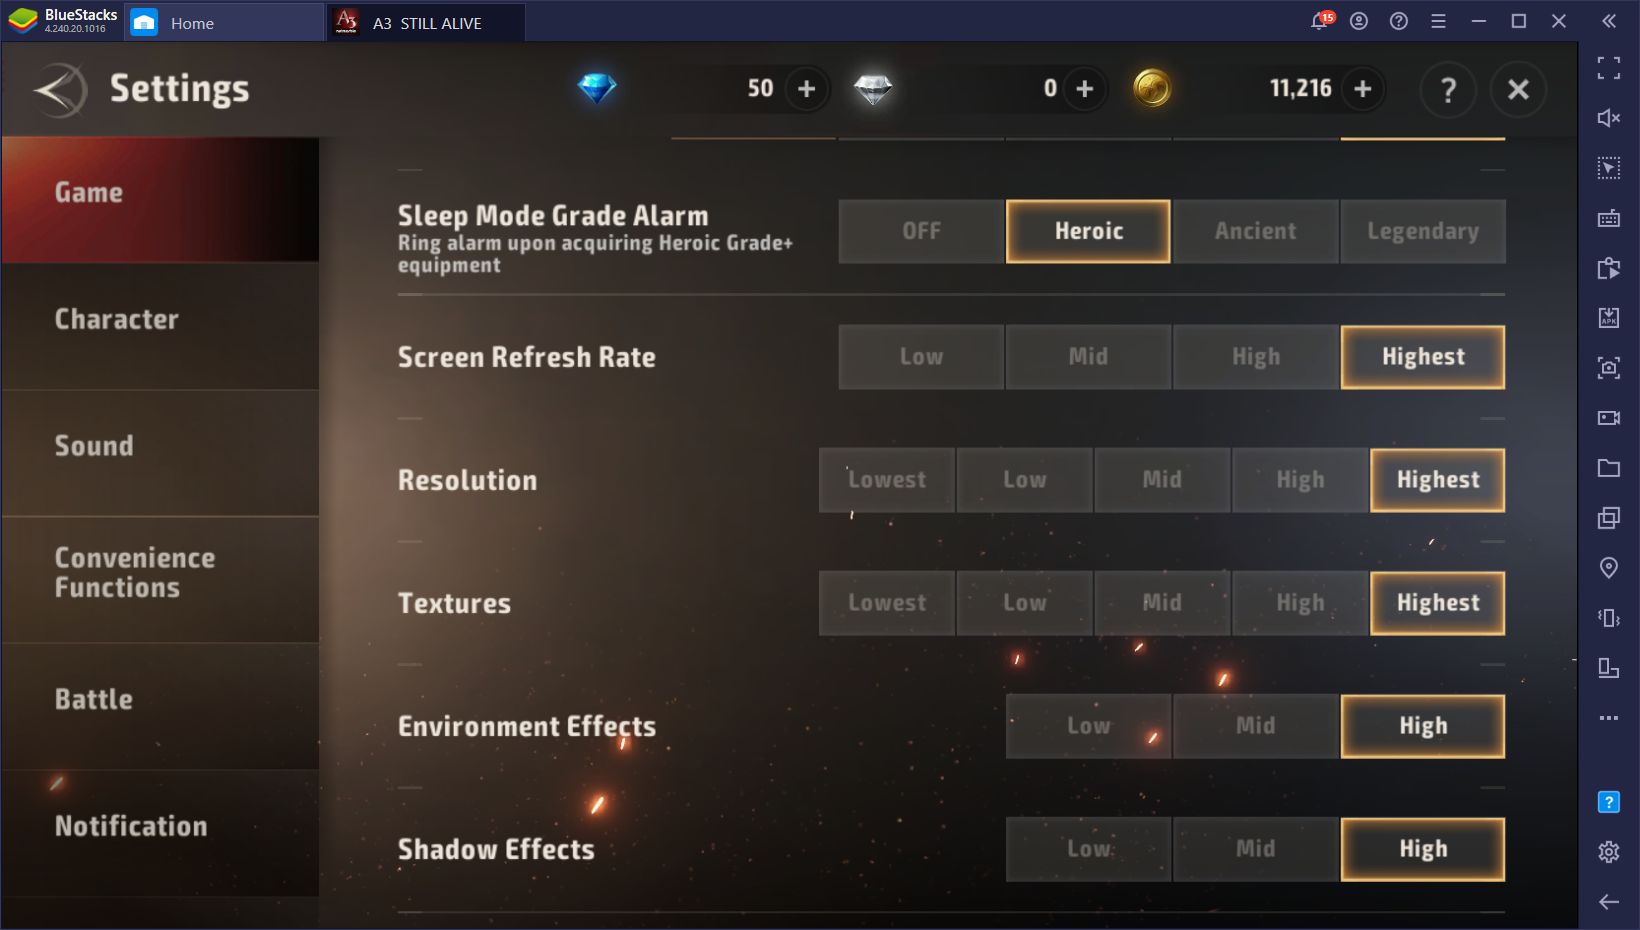
For this reason, if you’re playing on BlueStacks, and your PC meets the recommended requirements for our emulator, we recommend going into the settings menu and cranking the graphics to the highest settings as the first thing you do before playing.
Run, Loot, and Fight With Our Superior Controls
The most important part about surviving and winning in the A3 battle royale mode, however, is actually being able to move around swiftly and accurately. After all, if you can’t dodge nor give chase with ease, you’ll have a hard time getting kills or avoiding getting killed yourself. Luckily, this is one the best features that BlueStacks offers as, with our Keymapping Tool, you can easily create fully-customizable control schemes using your mouse and keyboard and control your character with superior precision, at least compared to gaming with touchscreen controls.
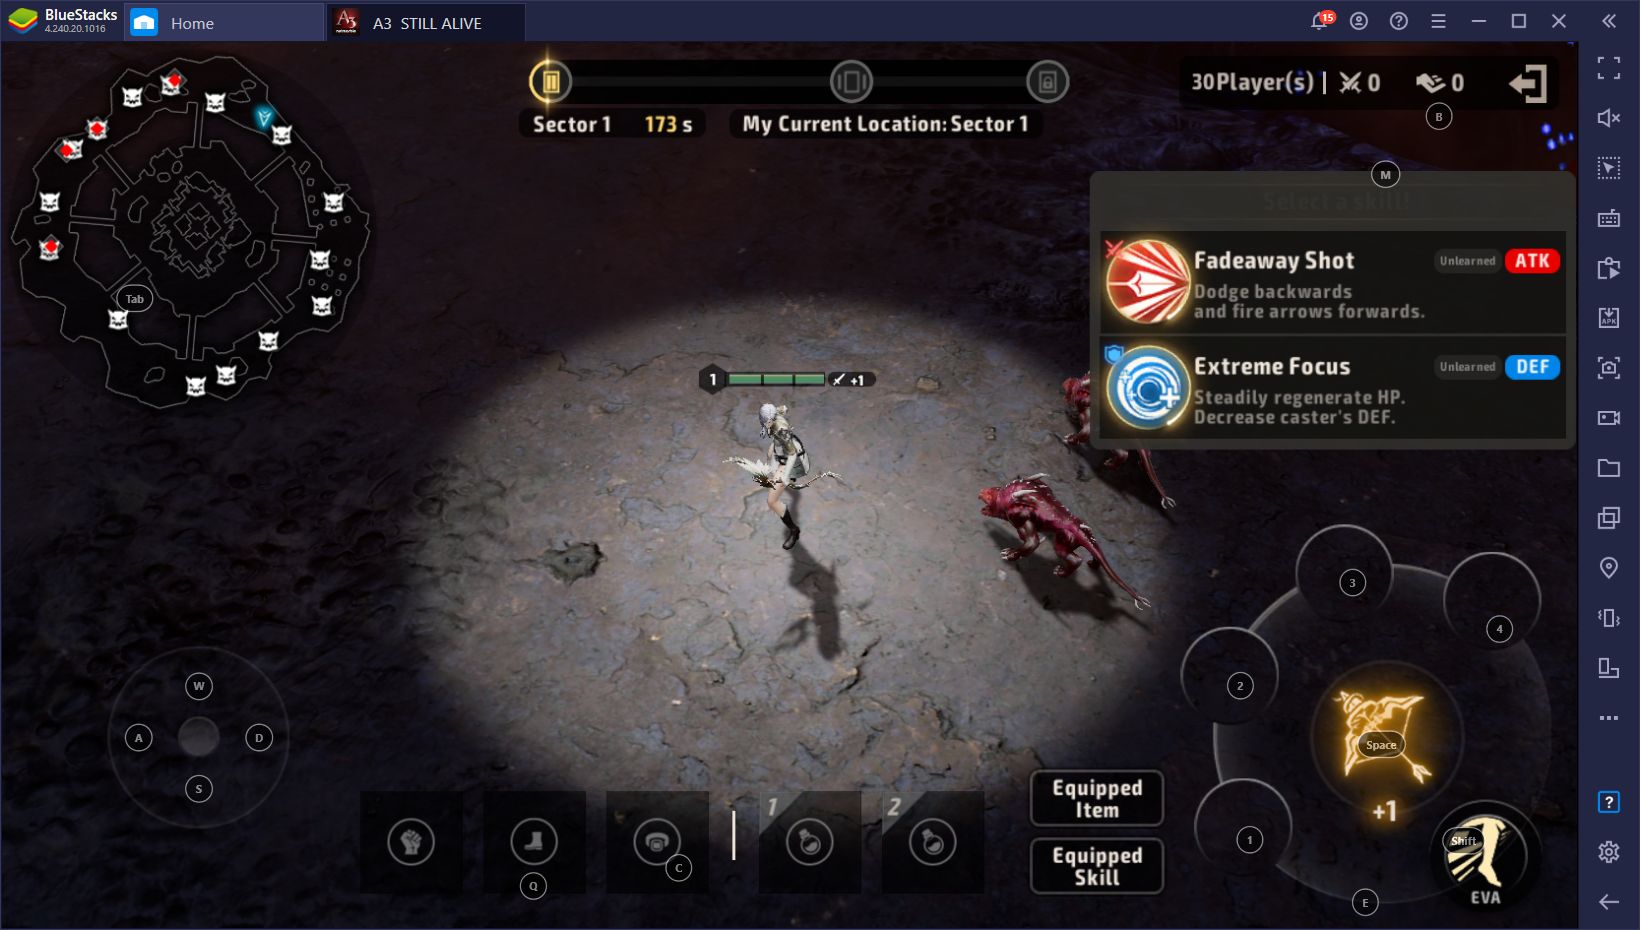
The way the Keymapping Tool works is that it gives you access to a variety of predefined functions, which you can place on any part of your screen. Afterward, you can bind these functions to any button on your mouse and keyboard, and control your game using your peripherals instead of fumbling with your phone and its touchscreen controls.
As soon as you install A3 on PC, you’ll already have a predefined control scheme designed by the BlueStacks team. However, you can easily modify your bindings from the Guidance Panel by pressing Ctrl + Shift + H and clicking the “edit” button on the lower right corner.

Alternatively, you can access the Keymapping Tool properly by pressing Ctrl + Shift + A, and freely customize the existing bindings, as well as add additional shortcuts if necessary. This tool gives you total freedom to modify your bindings as you see fit. And after a bit of experimenting, you’ll have a control scheme that will allow you to outplay your enemies at every turn.
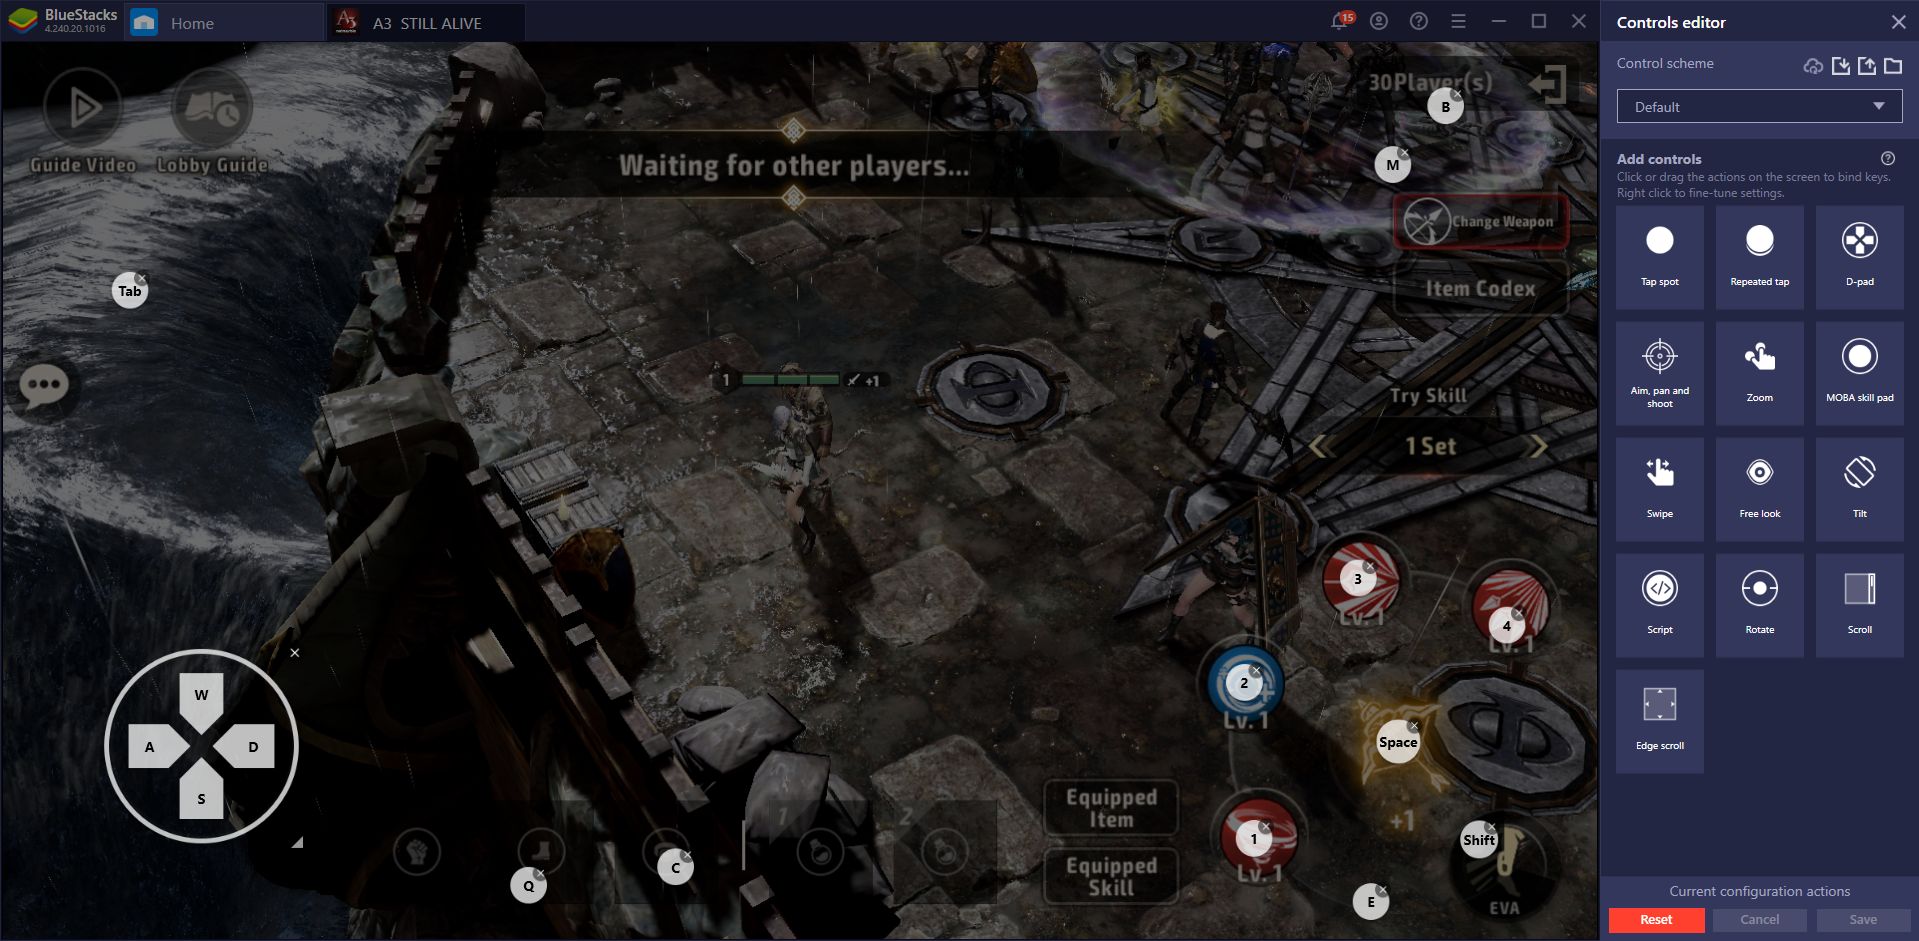
Capture and Stream Your Victories
Now that you’ve got access to the best possible graphics and controls that A3 has to offer, it’s time to start dominating your enemies and winning matches. And what better way to immortalize your many exploits than by capturing them on recording and sharing them with the world?
With the BlueStacks Screen Recorder, you can easily record your best moments in A3 and save the footage as .mp4 files that you can edit later to create awesome kill compilations or other type of cool content. And all that you need to do is click the Record button (or press Ctrl + Shift + R) to start filming, and then once again to stop and save the footage to a directory of your choosing.
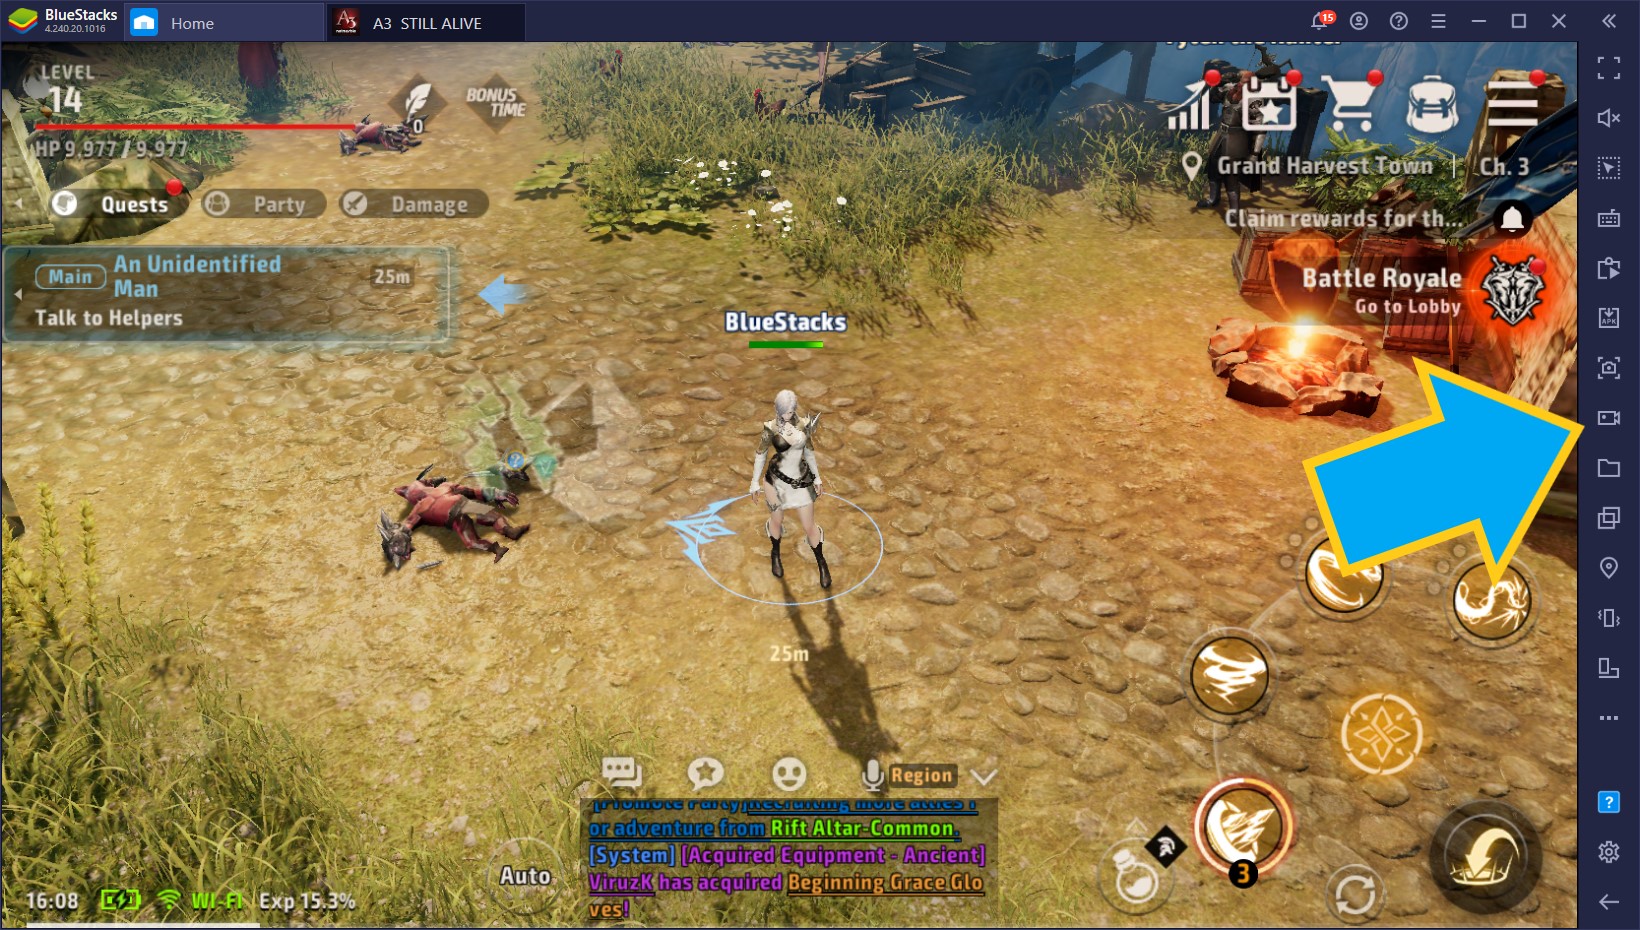
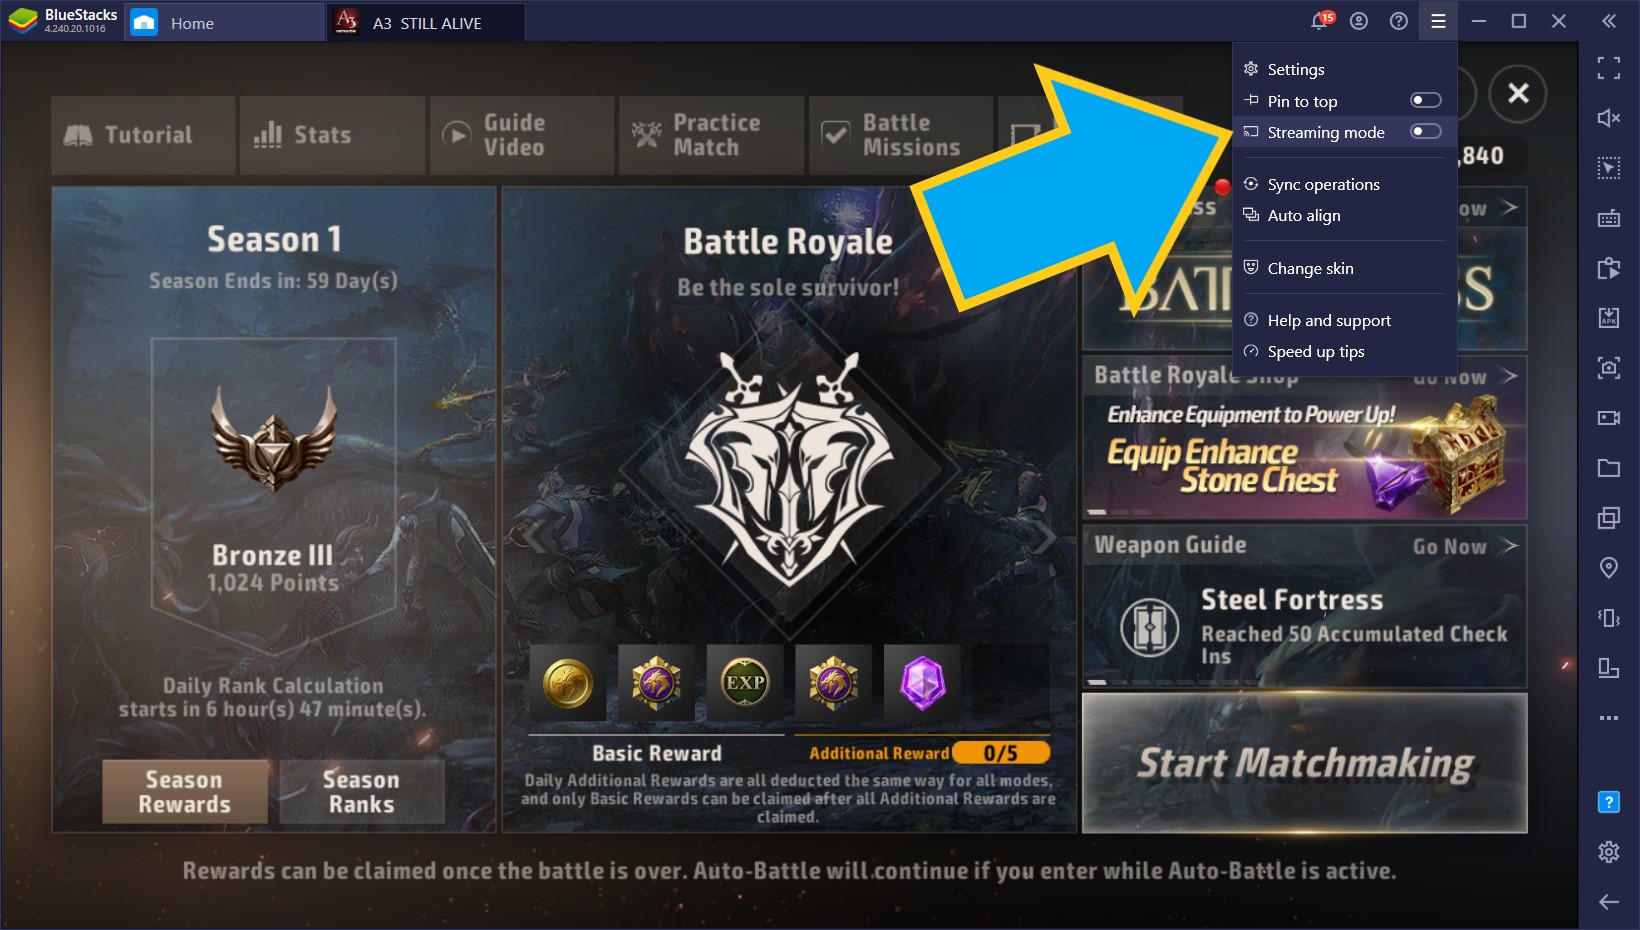
Moreover, if you’re a streamer, you’ll also be able to easily capture and stream your footage using BlueStacks’ Streaming Mode. When activated, this mode will make your game window pop out from the BlueStacks panel and will make it much easier to capture with any broadcasting software such as OBS.
Whether you’re a streamer, content creator, or simply want to have a good time killing scrubs in the A3 battle royale mode, BlueStacks offers everything you need to get the job done. Let us know if you have any questions or suggestions about our BlueStacks tools in the comments below!


