BlueStacks Usage and Setup Guide for Auto Chess
Auto Chess, the famous Dota 2 custom map is finally available for mobile devices!
This means that, with a few steps, you can enjoy new port of the game, which is more polished, more fun, and is its own thing, without having to play it as a custom map. Aside from the added convenience of playing it as a standalone game, the fact that this game is branching out in this manner means that it’ll surely receive regular updates. If content patches start to hit, this game may very well turn out to be the next big thing in competitive multiplayer video games.

In this sense, if you’re into Auto Chess, and competitive games, in general, you’d have to start practicing in order to refine your skills, and prepare to take on other players. Luckily, with BlueStacks, you won’t only have a better experience gaming, in general, but you’ll also be able to experience an upgrade from playing on your phone. With our platform, you can play Auto Chess Legends for mobiles, using a better control scheme, on a larger monitor, and in the comfort of your personal computer.
Installing and playing games on BlueStacks is fairly straightforward. For the most part, all you have to do is search for the game on our App Center, download it, and then run it from your home screen. However, since Auto Chess is still in open beta, and the game is not publicly available for download, you need to do a few extra steps in order to set it up on your BlueStacks.
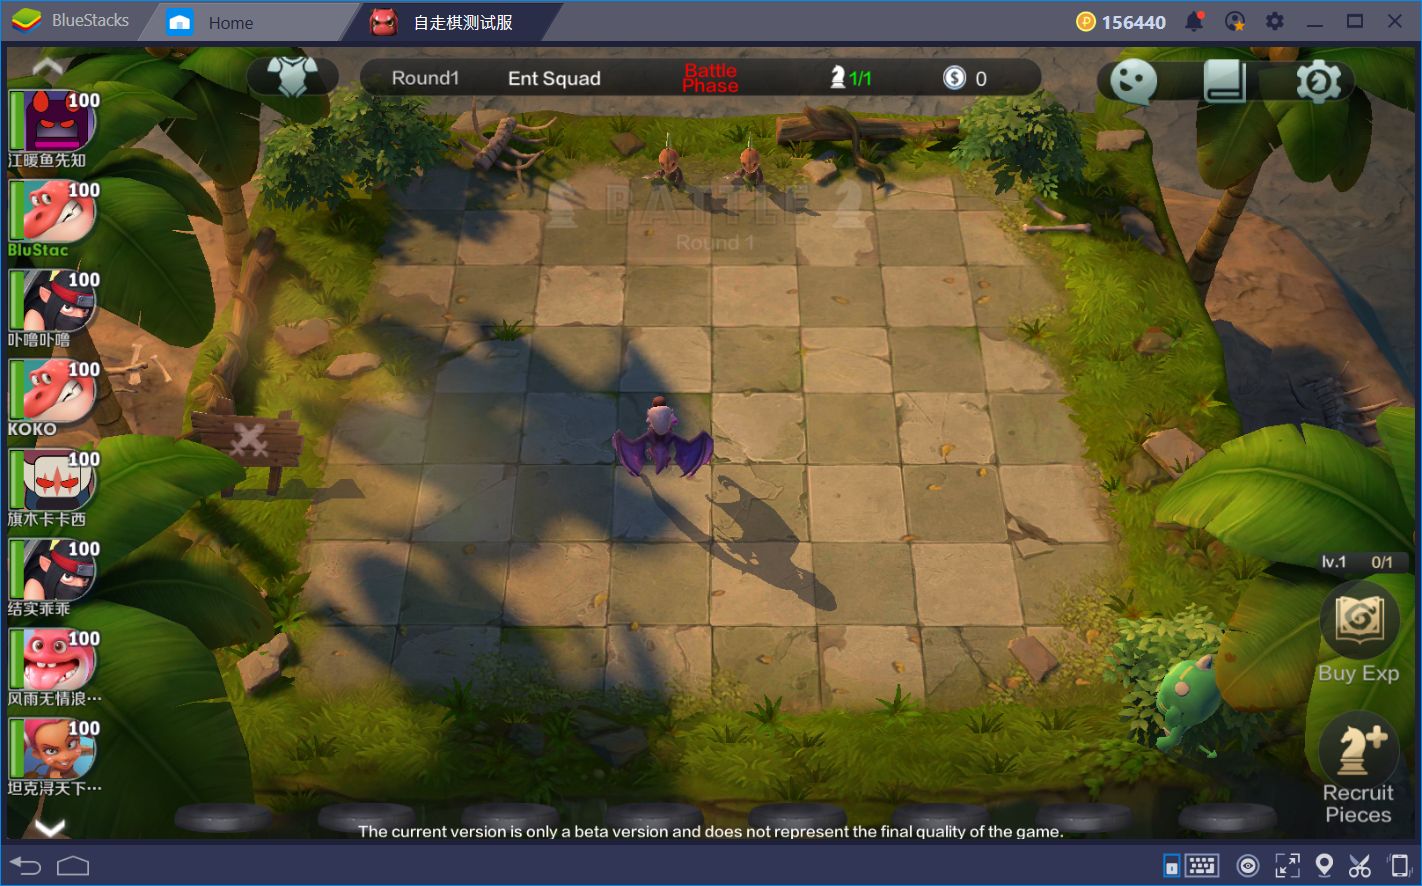
In this guide, you will learn how to install Auto Chess on BlueStacks. Furthermore, we will show you how you can use the tools that our platform offers in order to improve your performance at the game.
Installing Auto Chess
As we mentioned above, Auto Chess Legends is not yet available on the App Center. Now, those are the bad news. However, the good news is that you can easily find the .apk file with a simple Google search. In this sense, while finding the game itself is pretty simple installing it using the .apk file is easier still.
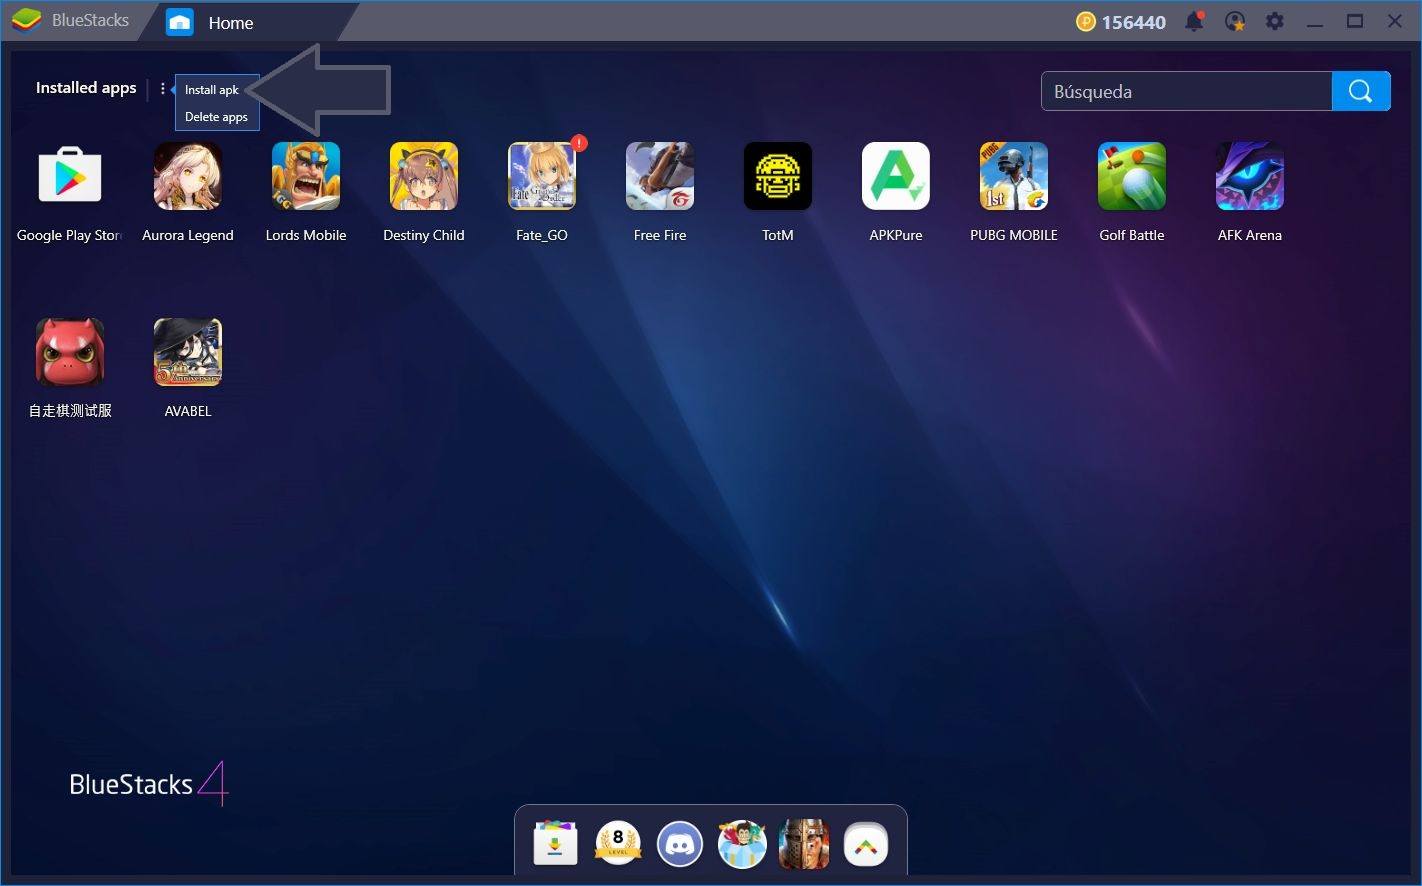
On BlueStacks, you can easily install games from .apk files with only a few clicks. On the home menu, if you press on the three dots just beside “Installed Apps,” you will find the “Install apk” option. After clicking on this option, all you’ll need to do is to browse to the location of the apk file and commence installation by double-clicking it. After a few minutes, Auto Chess should be ready to launch.
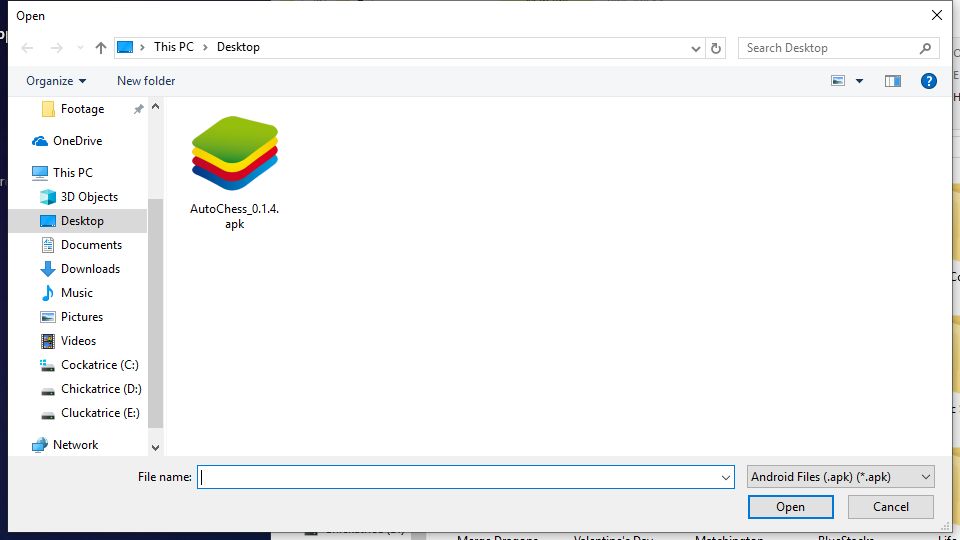
Play Auto Chess on BlueStacks 4
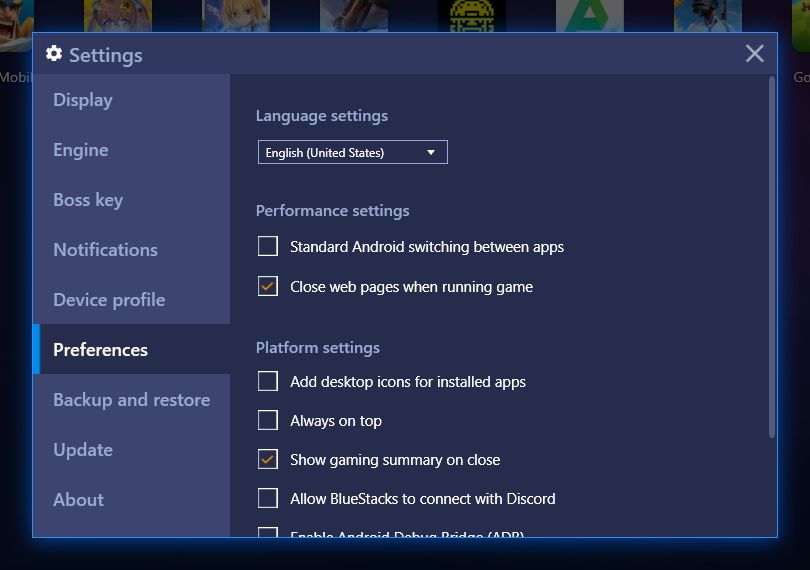
Keep in mind that, in order to play the game in English, you will need to have your BlueStacks set to this language. Otherwise, the game will launch in Chinese by default, and you’ll need to browse to the settings menu to change the language. Fortunately, if this happens to you, you can use the in-game translator to navigate through the game. You can access this tool by pressing Ctrl + Shift + L in game.
Now, while installing it is simple, you still need to do one extra step before playing. In order to log into the servers, you will also need an account. Luckily, you can create an account for yourself in just a few seconds on the game’s official website, which is the same place where you downloaded the APK. Once you create your credentials, you are now free to log in and enjoy the game.
Playing Auto Chess
Since the game is in open beta, there is still no tutorial, so you’re expected to know what you’re doing if you want to play. This means that, if you’re new, you’ll probably lose the first few matches. But don’t worry, this is normal and a part of the learning curve that you’ll have to overcome before getting your first wins. However, if you’re a newcomer, and still have no idea what this game is about, we recommend reading our Auto Chess review before hopping in.
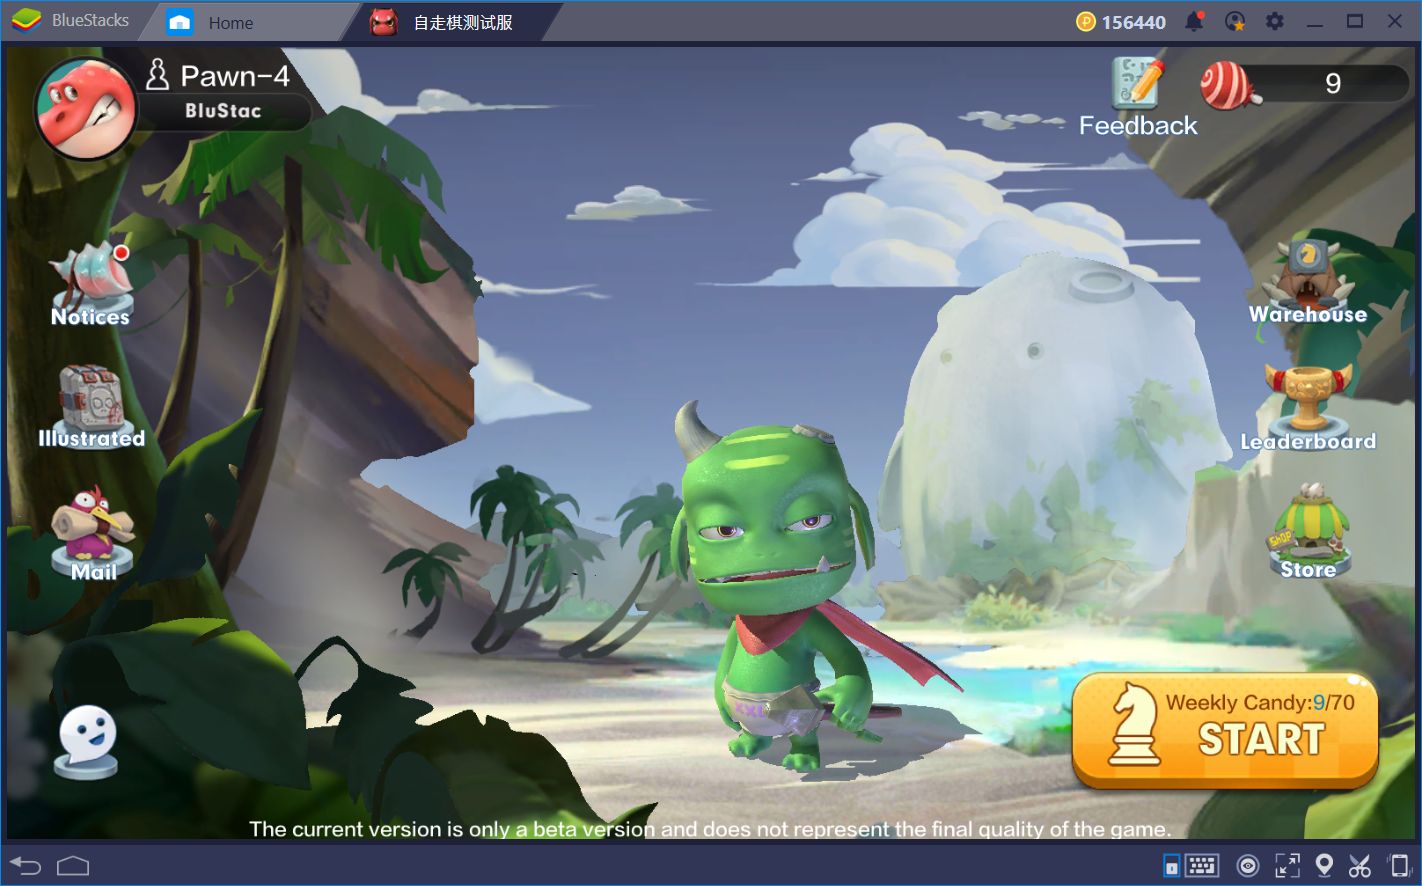
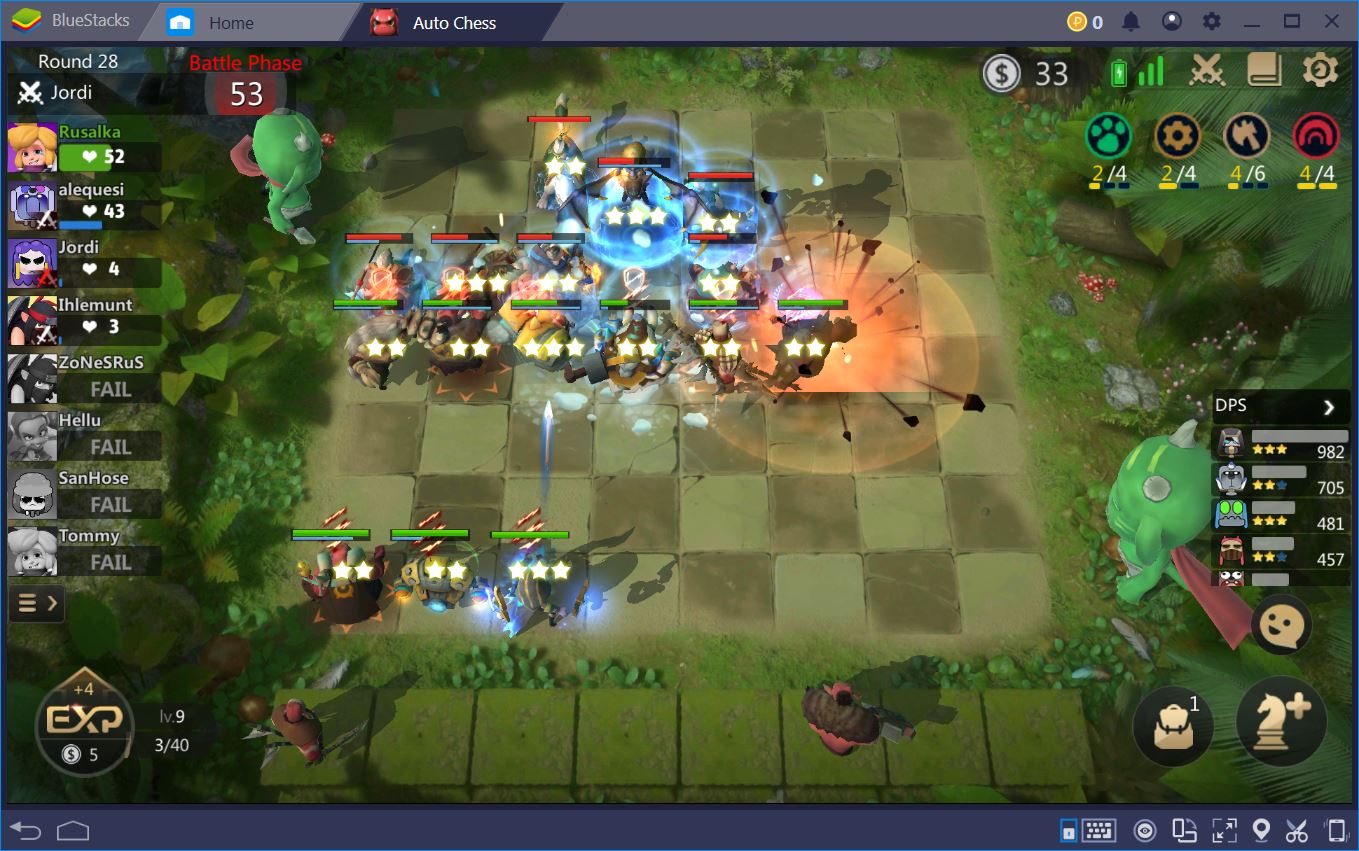
Once you’re in the lobby, playing the game is as easy as clicking on “start,” and waiting for the server to find a match. Once you’re in, you’re faced against 7 other players in a battle to see who’s the last one standing. You’ll have to raise the gold, purchase and upgrade heroes, and deploy them in strategic formations to break the enemy teams. However, while your wit, cunning, and intelligence go a long way in earning you a victory in this game, you’re only as good as the tools you use in combat. Case in point, if you’re playing on a sub-optimal medium, you’ll probably get mediocre results in battle.
This is where BlueStacks comes in.
Purchase With Precision Using the Keymapping Tool
As an unpolished game that is still in development, Auto Chess still has a lot of rough edges, especially in the UI department.
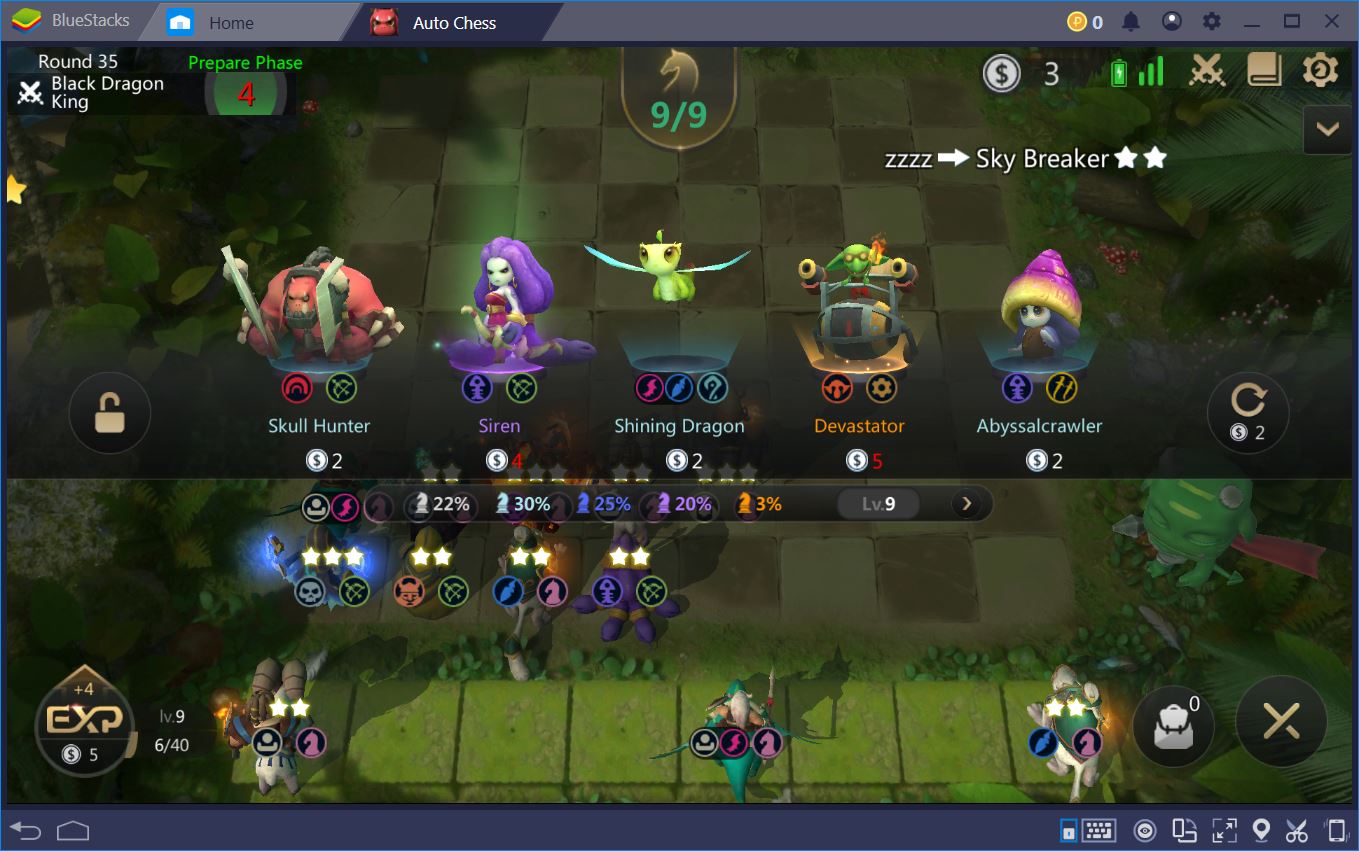
The very first thing that we noticed when we played our first match is that the UI is not as smooth as it should be. Take other games that feature a similar control scheme such as Hearthstone, or Shadowverse, among others. In these games, sliding elements across the interface is smooth and uninterrupted. In Auto Chess Legends, however, it’s still janky and wonky, which can lead to unwanted actions. Luckily, with the BlueStacks Keymapping Tool, you can simplify purchasing new heroes at the start of every round. In this manner, you won’t find yourself trying to drag elements across the unresponsive UI and, instead, will be able to purchase new units using your keyboard.
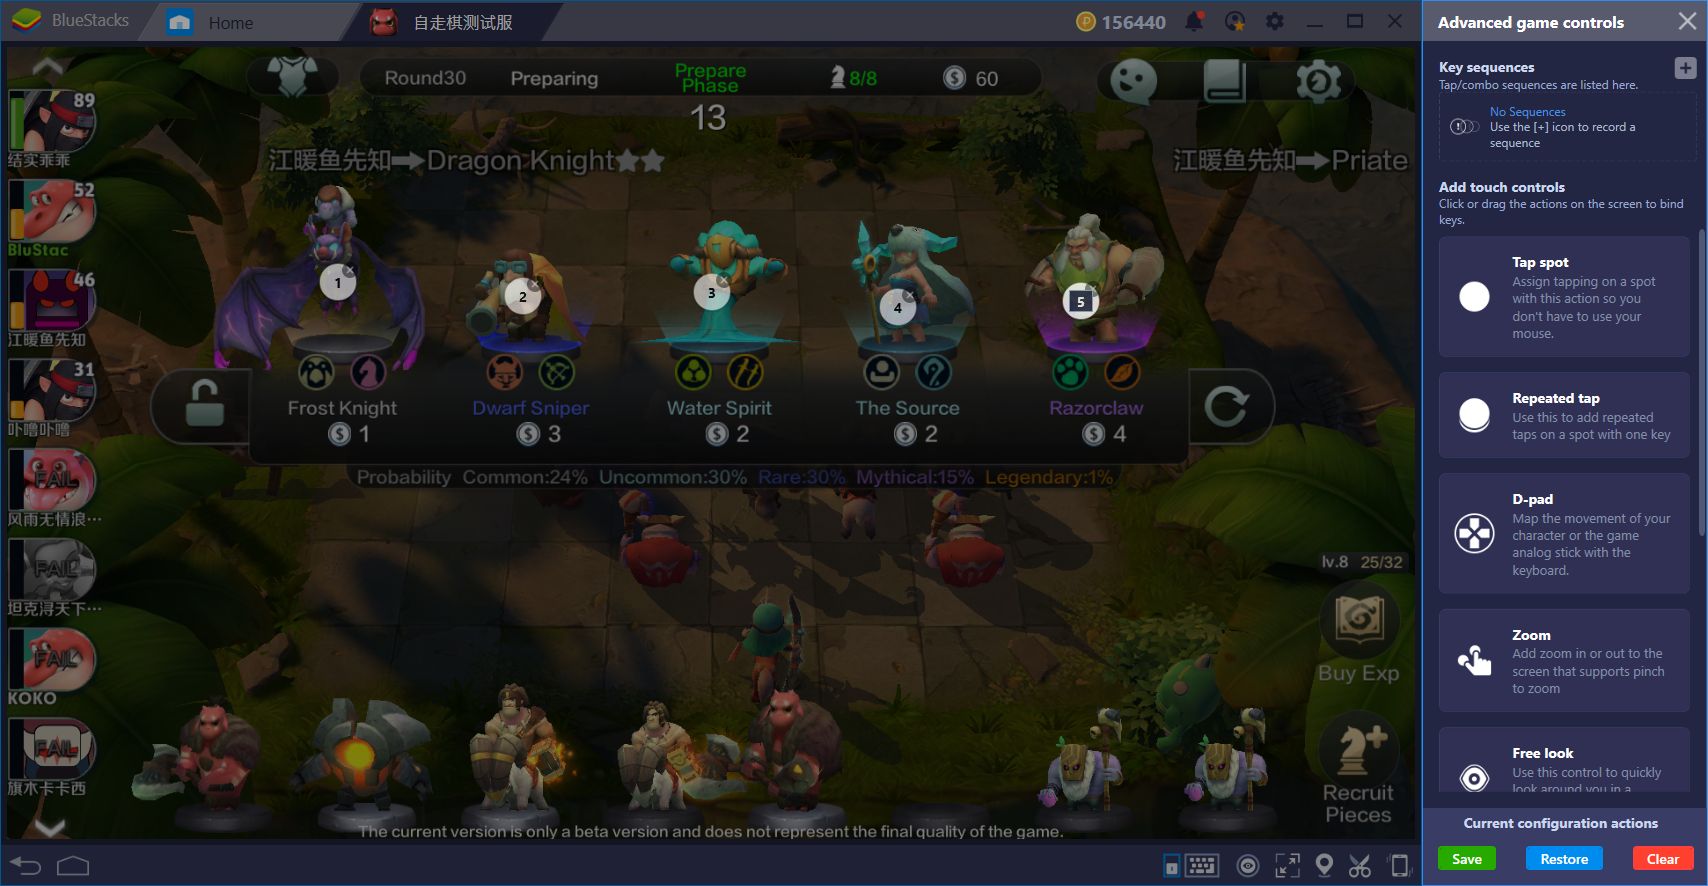
By adding several shortcuts to the screen where the heroes appear in the store, you can purchase them by pressing the corresponding key, and having them show up in your reserves below. In this sense, you will lose less time fumbling with the controls and will be able to focus entirely on creating good teams. Outside battles, you can also add shortcuts to other spots on the screen in order to navigate through the game’s menus using only your keyboard.
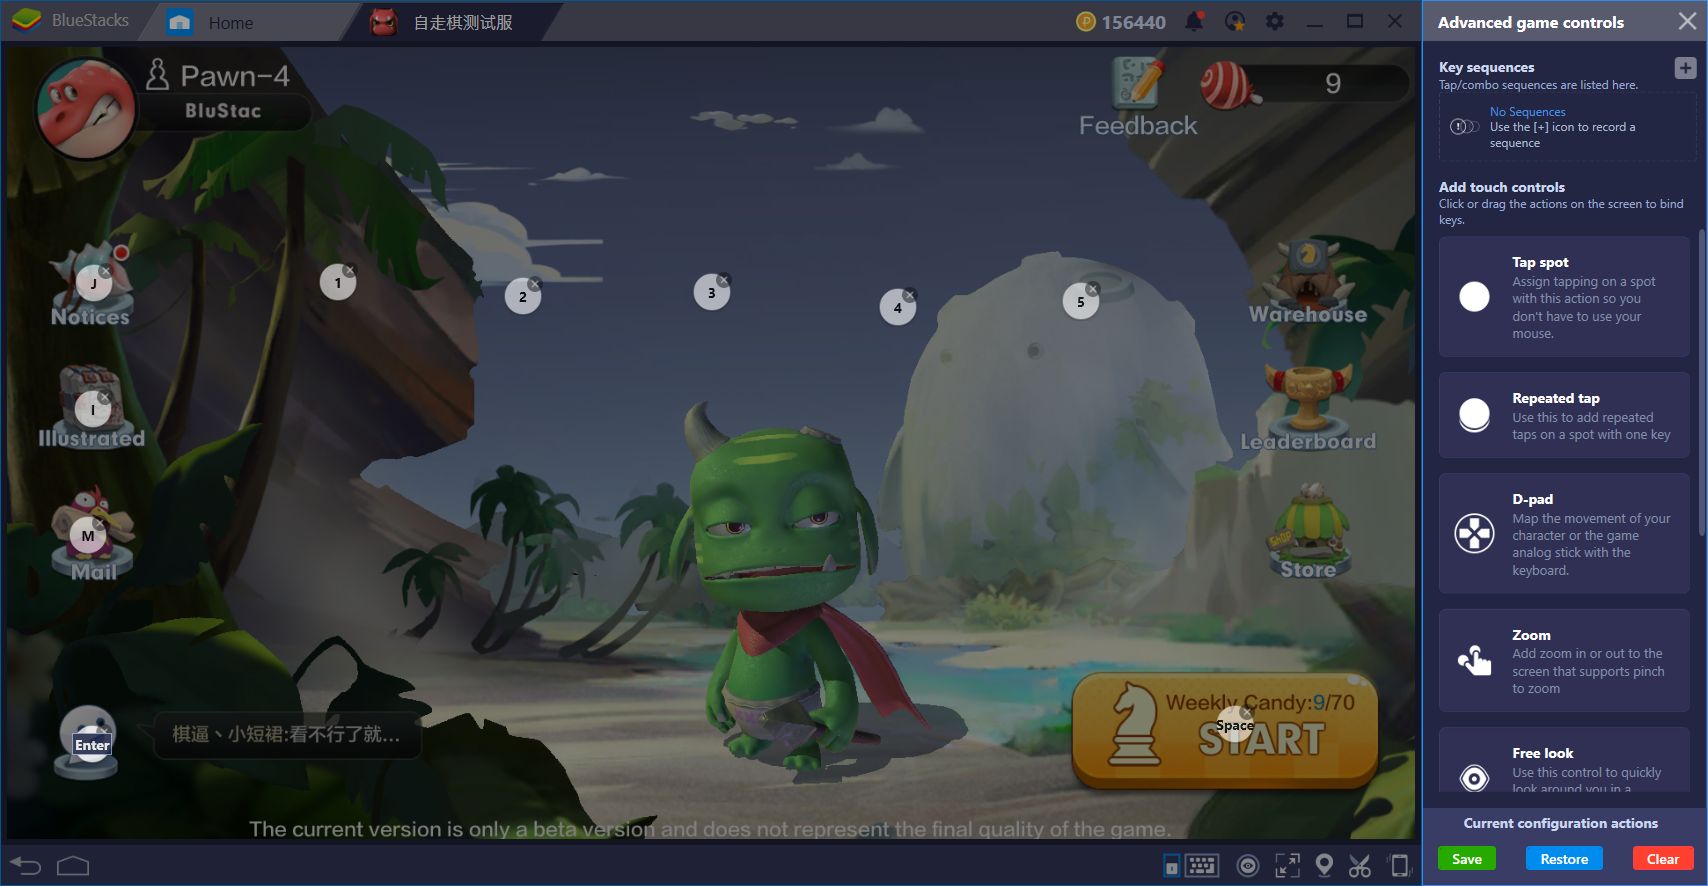
With BlueStacks, and our Keymapping Tool, you can recreate the same feel of playing the original Auto Chess on your PC, but with the added content and updates of the mobile version. What are you waiting for? Get out there and show everyone what you’re made of!

