Free Fire Headshot Guide - Line Up Those Headshots with These Simple Tips!
In Free Fire, landing headshots is more than just a flashy way to secure kills—it’s one of the most effective methods to eliminate enemies quickly and dominate the battlefield. Whether you’re rushing opponents in Clash Squad or sniping from afar in Battle Royale, perfecting your headshot game can give you a significant edge.
Achieving consistent headshots requires a mix of skill, strategy, and the right tools. From selecting the best weapons and character abilities to optimizing your game settings and understanding headshot mechanics, this guide has everything you need to become a headshot expert in Free Fire.
Best Loadouts for Headshot Precision
Selecting the right weapons and character abilities can make all the difference when it comes to headshot mastery. The Woodpecker and M1887 are standout choices for mid-range and close-range combat, respectively, while the AWM remains the go-to sniper rifle for long-distance engagements. Each of these weapons is designed to deliver lethal headshots when used effectively.
Character abilities further enhance your loadout, and the best characters in Free Fire will facilitate your headshot game. D-Bee’s accuracy boost and Laura’s scoped precision are excellent for players focused on ranged combat, while Hayato’s armor-penetration bonus ensures maximum damage output in duels. These abilities, paired with Gloo Walls for strategic cover, create a balanced loadout that complements any playstyle.
Here’s a quick overview of the best loadouts, for your convenience:
- Weapons for Headshots
- Woodpecker: Ideal for mid-to-long range with high accuracy and armor penetration.
- M1887: Perfect for close-range headshot kills with unmatched damage output.
- AWM: For long-range sniping, this classic sniper rifle offers the highest damage potential.
- M500: A reliable pistol with a pre-attached scope, great for early-game headshots.
- Recommended Character Abilities
-
- D-Bee: Boosts accuracy and movement speed while firing, excellent for aggressive playstyles.
- Laura: Improves accuracy by 50% when scoped, making it easier to land distant headshots.
- Hayato (Awakened): Reduces frontal damage and increases armor penetration, ideal for duels.
- Kelly (Awakened): Adds burst movement speed, helping you reposition for better angles.
- Gloo Wall Protip: Equip Gloo Walls for defensive positioning. Use them to create cover, peek, and line up clean headshots against exposed enemies.
By building a loadout tailored to your strengths, you’ll maximize your chances of landing consistent headshots.
Optimal Game Settings for Headshots
Fine-tuning your game settings is one of the simplest ways to improve your headshot consistency, aside from playing on PC with BlueStacks. Adjusting your sensitivity levels ensures smoother crosshair movement, enabling you to line up shots more accurately. For general gameplay, a sensitivity setting between 95-100 provides a good balance of precision and speed, while settings for scopes and sniper aiming should be slightly lower to account for finer movements.
In addition to sensitivity, control settings also play a crucial role. Options like “Quick Weapon Switch” and “Hold Fire to Scope” allow you to react more efficiently in combat. These configurations streamline your gameplay, making it easier to focus on aiming and firing without fumbling with unnecessary controls. With that said, here is a quick cheat sheet for the best sensitivity settings to maximize your aim and precision while shooting:
- Recommended Sensitivity Settings
-
- General: 95-100
- Red Dot: 90-100
- 2x Scope: 85-100
- 4x Scope: 80-100
- Sniper Scope: 50-60
These settings, combined with consistent practice, create an optimal environment for mastering headshots.
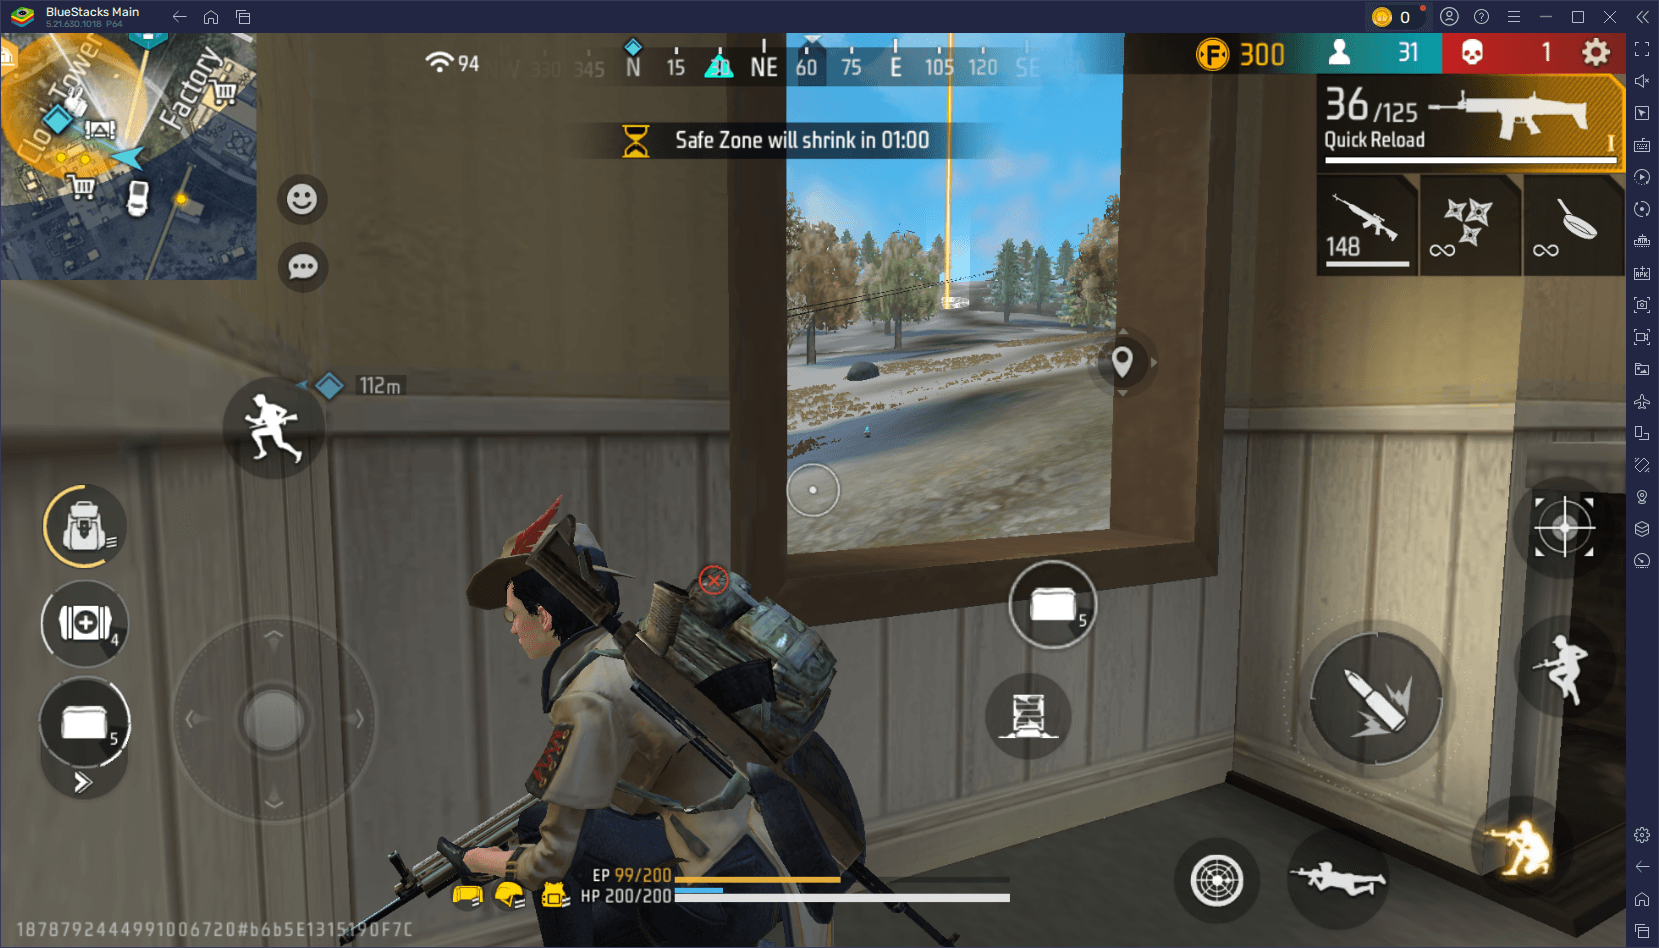
Tips for Landing Headshots in Combat
Whether you’re in a heated gunfight or lying in ambush, these strategies will maximize your headshot efficiency:
- For Close-Range Fights
-
- Use shotguns like the M1887 for instant knockdowns.
- Aim for the neck area to ensure the reticle drags upward to the head.
- Master movement techniques like jiggle and crouch shooting to confuse enemies while maintaining accuracy.
- For Mid-Range Skirmishes
-
- Opt for weapons like the Woodpecker or SKS for precise shots.
- Use predictive aiming to anticipate enemy movements, especially when strafing.
- Practice drag shots—quickly dragging your aim from the torso to the head.
- For Long-Range Engagements
-
- Patience is key. Wait for enemies to stay still or move predictably.
- Adjust your aim for bullet drop when using sniper rifles like the AWM.
- Take cover and use Gloo Walls to stabilize your aim and avoid counter-snipes.
Ambush Strategies for Lining Up Perfect Headshots
Ambushes are a tactical way to secure clean headshots, leveraging the element of surprise to catch enemies off guard. Positioning is key—choosing high-traffic areas like chokepoints or loot zones increases your chances of encountering unsuspecting opponents. High ground offers an added advantage, providing a clear view of your targets while minimizing your exposure to return fire.
Patience is just as important as positioning. Wait for the perfect moment when your enemy is stationary or distracted. Rushing a shot can lead to a miss, alerting your target and wasting the opportunity. Always pre-aim at head level, as this minimizes the need for last-second adjustments and ensures faster reaction times when an enemy comes into view.
By combining strategic positioning with precision aiming and patience, you can significantly increase your success rate in securing headshots during ambushes.
Choosing Landing Spots for Headshot Success
Your choice of landing spot in Free Fire significantly influences the weapons and resources available to you, as well as the intensity of early-game encounters. Landing in high-loot areas gives you access to weapons ideal for headshots, such as sniper rifles and scoped weapons, while less crowded locations allow for safer looting and preparation.
Each map in Free Fire offers unique layouts, with some areas better suited for players focusing on headshot-heavy gameplay. Below are recommendations for key landing spots on each map:
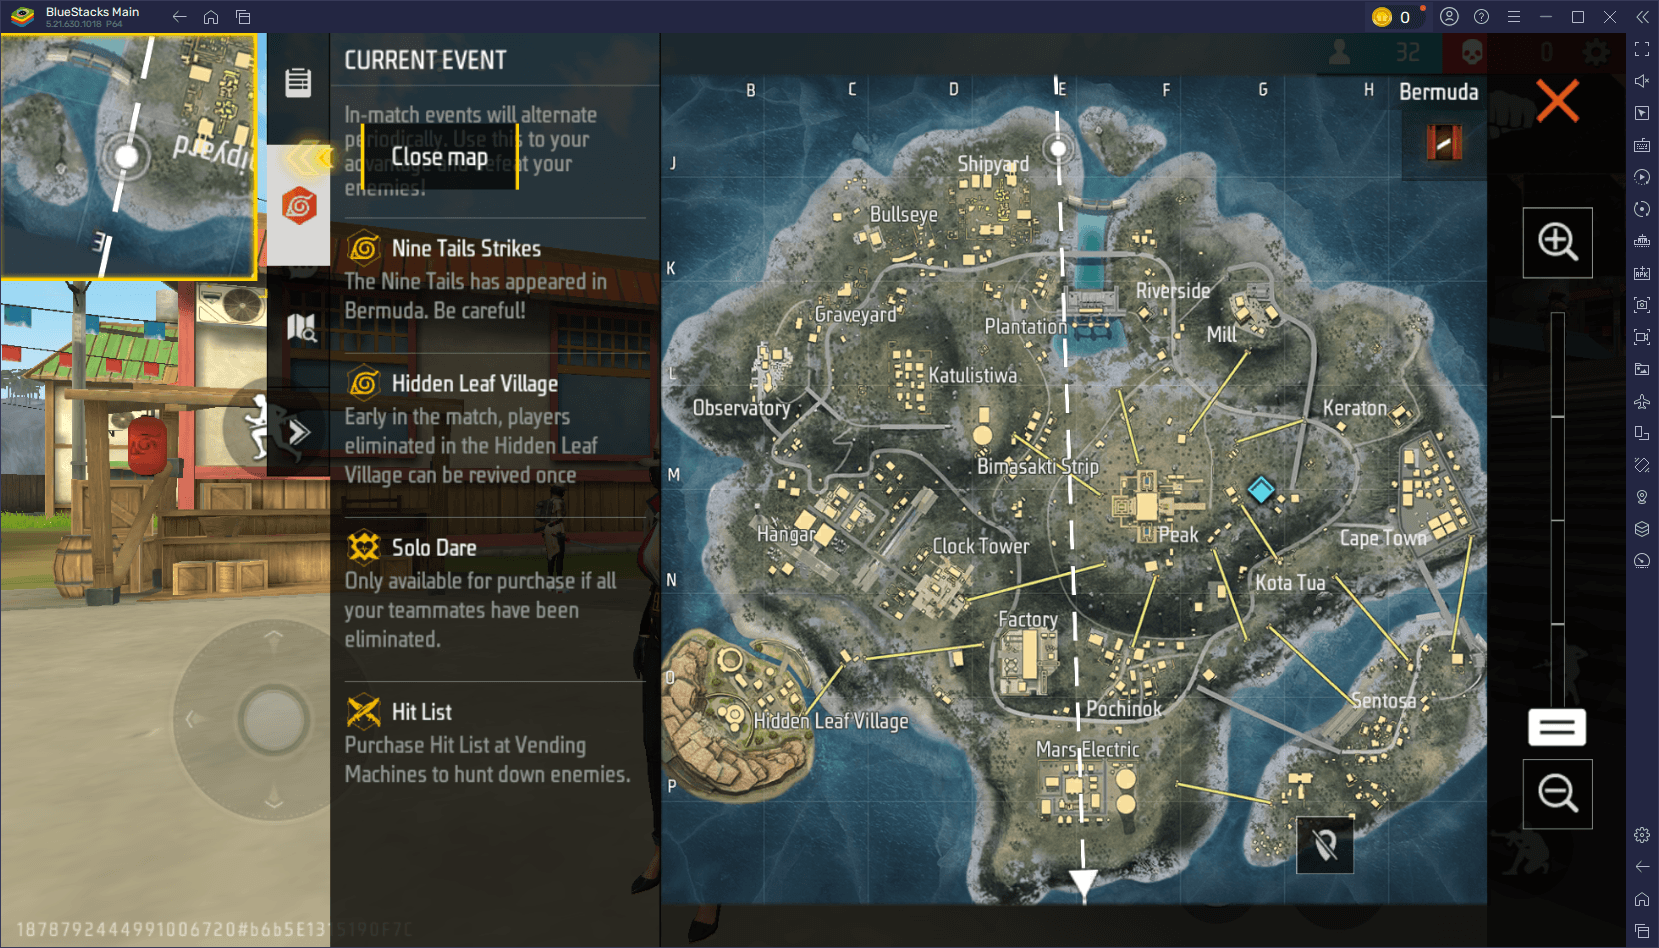
- Bermuda
-
- Clock Tower: A popular hot zone with abundant loot, great for players confident in their combat skills.
- Peak: High-tier loot and open terrain for long-range engagements. Ideal for snipers.
- Mill: Offers a mix of high loot density and cover for mid-range fights.
- Kalahari
-
- Refinery: Elevated positions make it perfect for snipers to pick off enemies below.
- Command Post: Central location with high loot and close-quarters combat opportunities.
- Stone Ridge: Less contested but offers good loot and overlooks other areas for ambushes.
- Purgatory
-
- Brasilia: Centralized and loot-rich, ideal for aggressive players aiming for quick headshots.
- Fields: Open terrain provides opportunities for mid-to-long-range engagements.
- Marbleworks: Features cover and elevation for strategic sniping or defensive positioning.
- NeXTerra
-
- Deca Square: A hot zone with plentiful loot and chaotic early-game fights.
- Graviton: Offers high-tier loot and strategic cover for ambushes.
- Mud Site: Quieter, but still provides reliable loot with opportunities for sniper setups.
- Alpine
-
- Vantage: High ground with excellent sniping potential and solid loot options.
- Militia: Offers a mix of loot and tactical spots for ambushes and headshot setups.
- River Mouth: A low-traffic area for safer looting and steady preparation.
- Bermuda 2.0
-
- Academy: Excellent for long-range fighters with high loot and open spaces.
- Samurai’s Garden: Scenic but deadly, with loot and cover for ambush tactics.
- Nurek Dam: Elevated terrain allows for precise headshots and strong defensive positioning.
Each of these locations provides unique advantages, whether you’re aiming for intense early-game action or a quieter start to prepare for later fights. Consider your preferred playstyle and the level of competition in each area when deciding where to land.
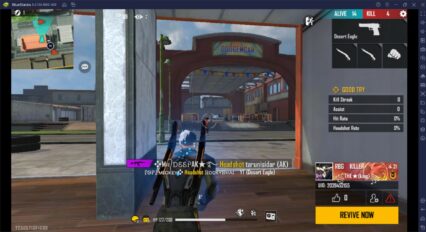
Play on BlueStacks To Maximize Your Headshots
BlueStacks transforms how you experience Free Fire, offering a suite of features that give you a competitive edge. The precise control of a keyboard and mouse allows for smoother aiming and better tracking, both of which are essential for landing consistent headshots. Additionally, the platform supports high FPS gameplay, ensuring that every frame counts when reacting to enemies in fast-paced situations.
Custom keymapping further enhances your experience, letting you optimize your controls to suit your playstyle. Whether it’s assigning keys for quick scope activation or creating macros for more efficient gameplay, BlueStacks gives you the tools to stay ahead of the competition. With its advanced features, BlueStacks provides an unparalleled gaming experience, helping you take your Free Fire skills to the next level.
Mastering headshots in Free Fire requires a combination of practice, the right loadouts, and a solid understanding of game mechanics. By following the tips in this guide, you’ll develop the skills needed to dominate the battlefield with precision and confidence. For the ultimate gaming experience, play Free Fire on PC with BlueStacks, where advanced controls and high FPS ensure that every shot hits its mark.