Enjoy Free Fire on PC in Glorious 4K Resolution With BlueStacks Version 5.8
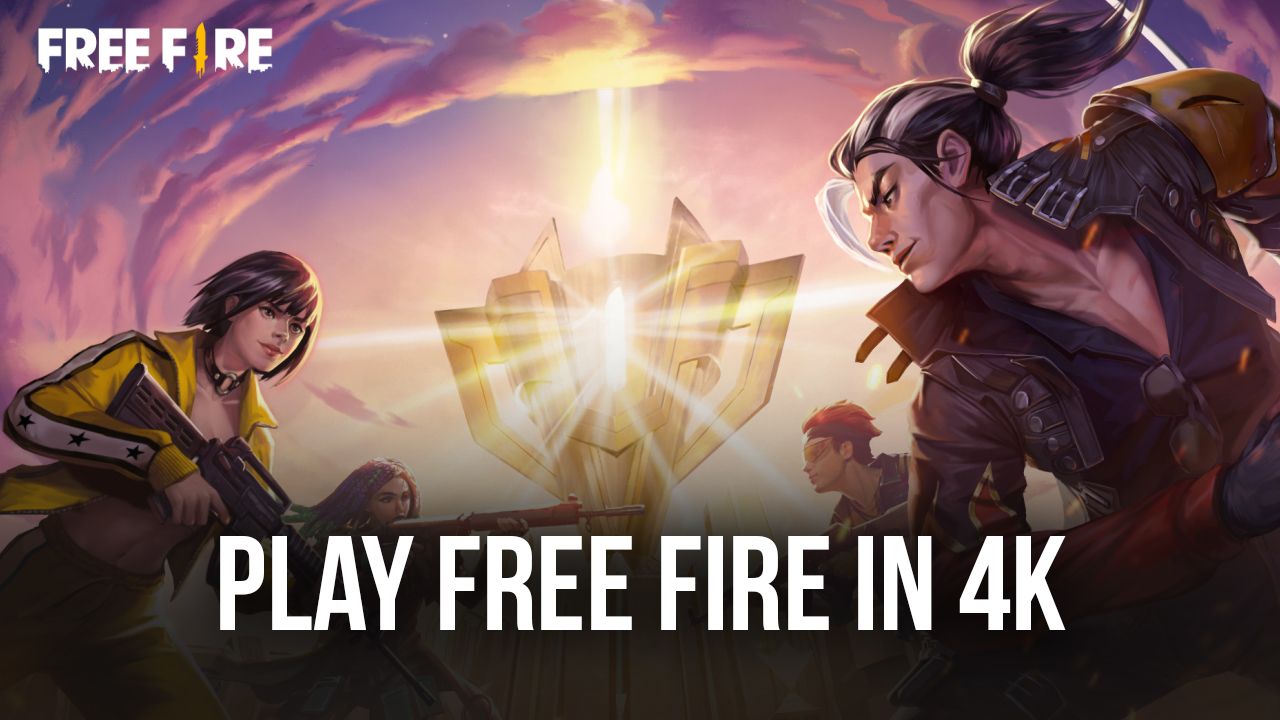
Good news for you graphics enthusiasts out there; the newest update to our BlueStacks app player, aside from featuring some useful quality of life features, also lets you enjoy your favorite mobile games at up to 4K resolution. For fast-paced shooter games like Free Fire, this means that you can now get a much, much better view of the battlefield at all times. After all, more pixels will result in clearer imagery. And what is 4K if not an enormous increase in pixels on your screen at any given moment?
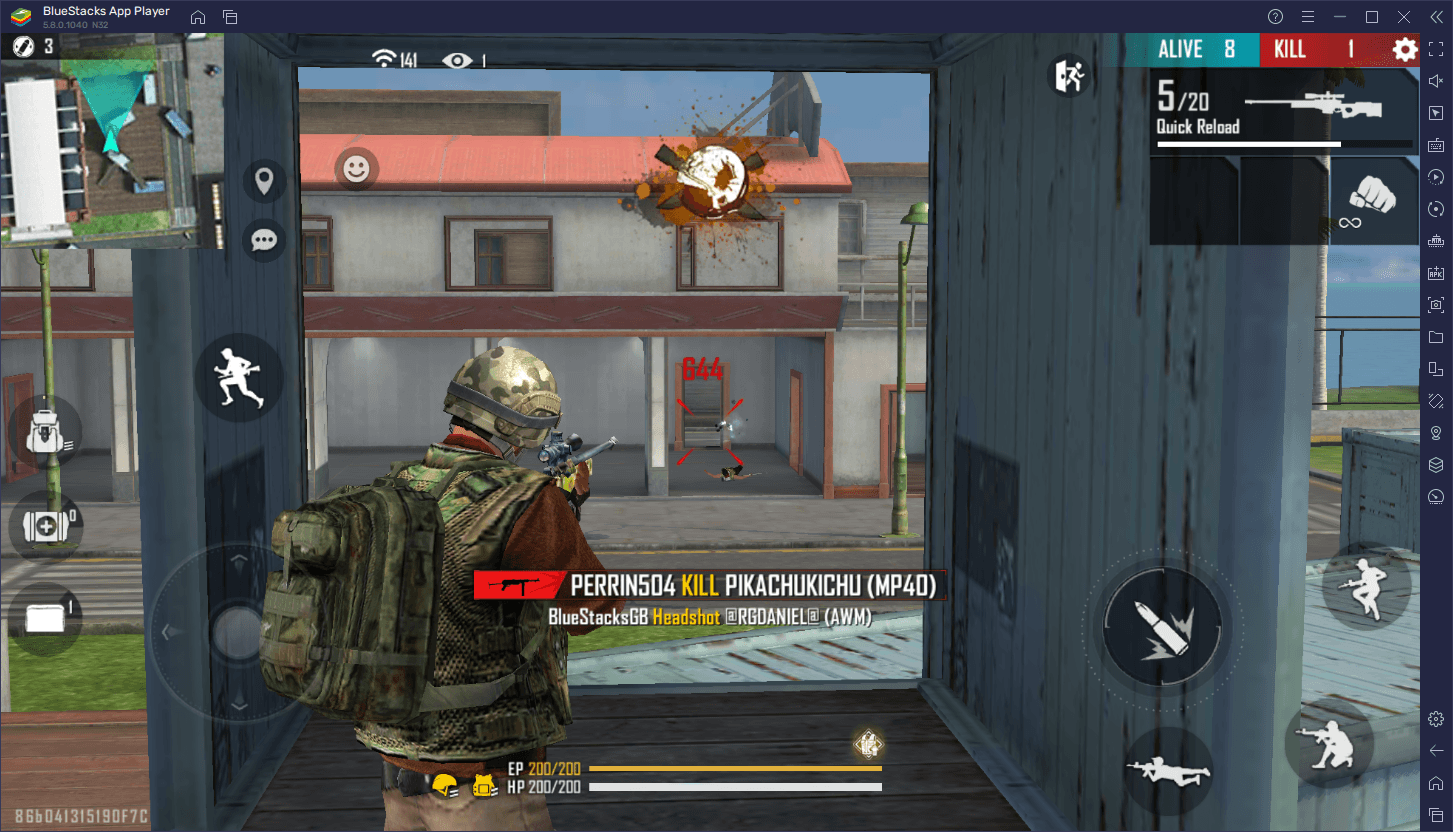
If you’ve been playing Free Fire for a while, whether as a hardcore ranked gamer, or as a casual player, you’ll notice that one of the most challenging aspects is actually staying aware of your surroundings. Sure, you have several indicators and a minimap that can help show you the locations of potential danger zones, but until you actually spot and get some shots on target, the threat will always be present. Regrettably, whenever you’re playing on a lower resolution, and if the target is far enough, they might be shown as a blob of moving pixels on your screen. On the flipside, if you’re playing on higher resolutions, such as 4K, your image will look crisp and clear regardless of the circumstances, giving you a much better chance of winning your encounters.
Luckily, with the latest update of our BlueStacks Android App player, we’ve now added 4K support so that anyone can enjoy Free Fire at the highest possible resolution, and reap all the benefits that come from the fact. And the best part is that, just like with Installing Free Fire on PC with BlueStacks, switching to a higher resolution is just as simple and takes only a few clicks.
How to Play Free Fire In 4K Resolution on BlueStacks
To change your resolution settings and play Free Fire in 4K, simply follow these easy steps:
- If you haven’t done so already, download and Install BlueStacks and Free Fire on your PC.
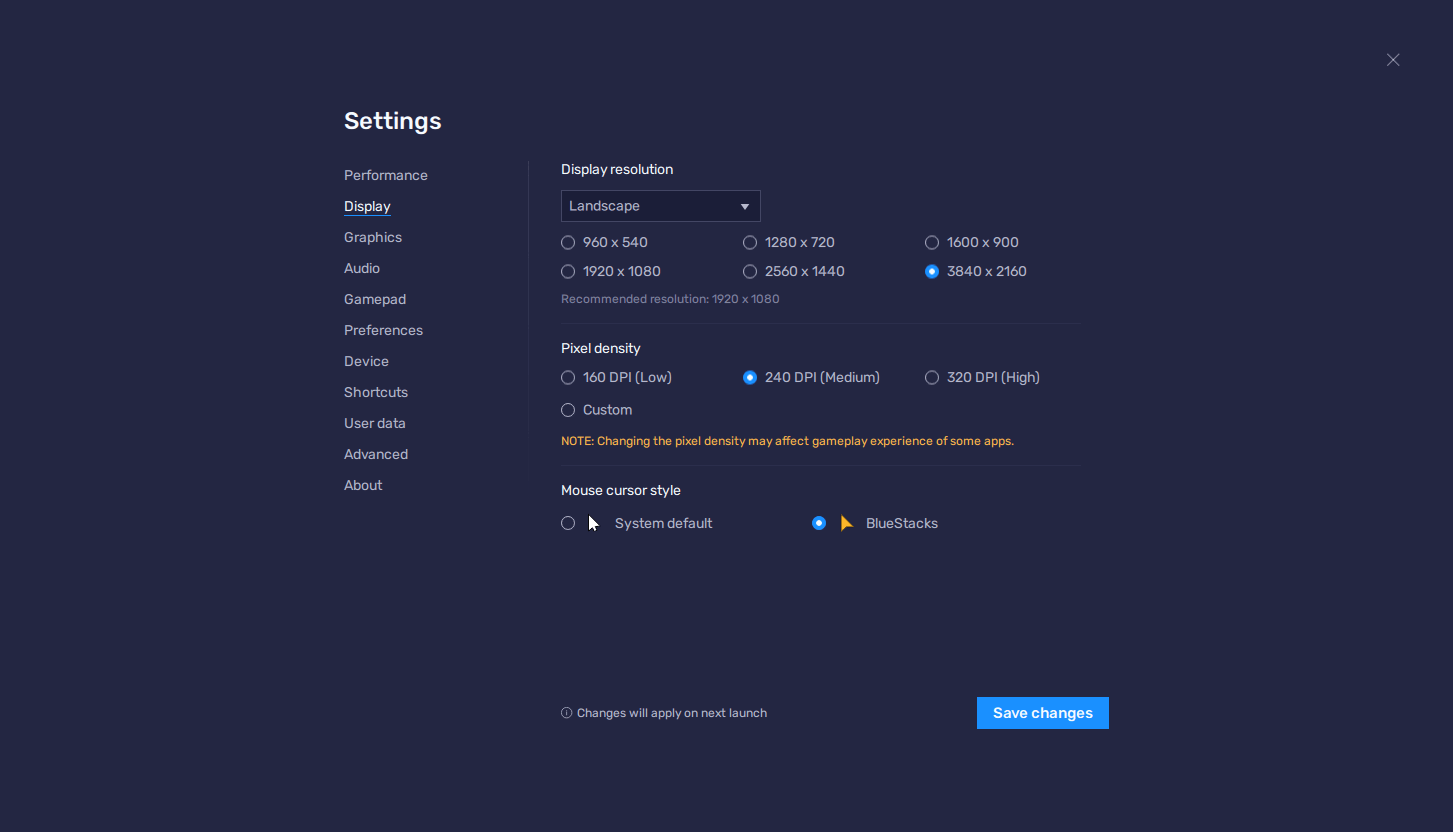
- Go to your BlueStacks settings by clicking on the burger icon on the top right of your emulator. Navigate to the “Display” section.
- On this screen, click on the box next to “3840*2160”, which corresponds to 4K resolution. Click on “Save changes” to implement your new settings.
- BlueStacks will prompt you to restart it to enable the new settings, after which your emulator will launch in glorious 4K resolution.
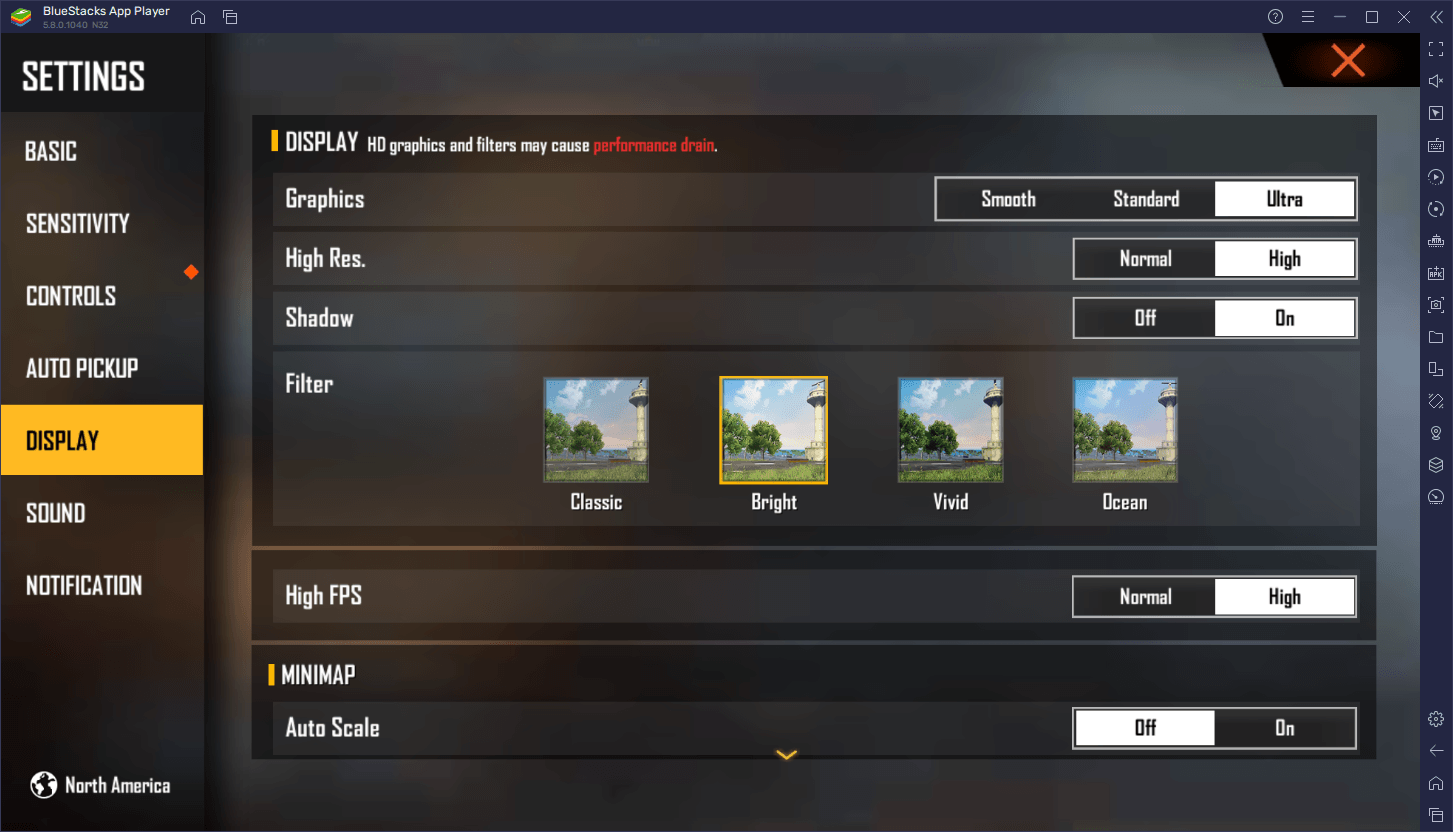
- Launch Free Fire and go to the in-game settings by clicking on the gear icon on the main menu screen.
- In the “Display” section, set your Graphics to “Ultra” and your High Res. setting on “High”. This will make your Free Fire render at the best possible resolution.
With these simple steps, you’ll be getting the best graphics possible in Free Fire, while also playing in 4K. Keep in mind that, while not strictly necessary to activate this resolution setting on BlueStacks, we strongly suggest using a compatible 4K monitor when trying to play using this setting. If you’re playing on a smaller monitor, you’ll find that the UI elements might look really small, fuzzy, and hard to read.
Are you ready to enjoy a whole new ultra high-res Free Fire gaming experience on BlueStacks? Set your resolution to 4K and give it a try for yourself!

