Homescapes - How to Use BlueStacks’ Features in This Match-3 Game

Note: While we’ll be talking about Homescapes using BlueStacks 4, this game is already available on the new BlueStacks 5 with much better performance, less resource consumption, and more stability. Download the latest version of our Android emulator and give it a try!
In a previous article, we showed you how you can install and play the excellent match-3 game, Homescapes, on your PC using our powerful Android app player, BlueStacks. By doing so, you can enjoy this game on your computer, with your large monitor, and mouse and keyboard support to give you a much better experience than playing on your small phone. However, aside from the convenience of playing on PC, BlueStacks also offers several different tools and features that can enhance your experience with any mobile games
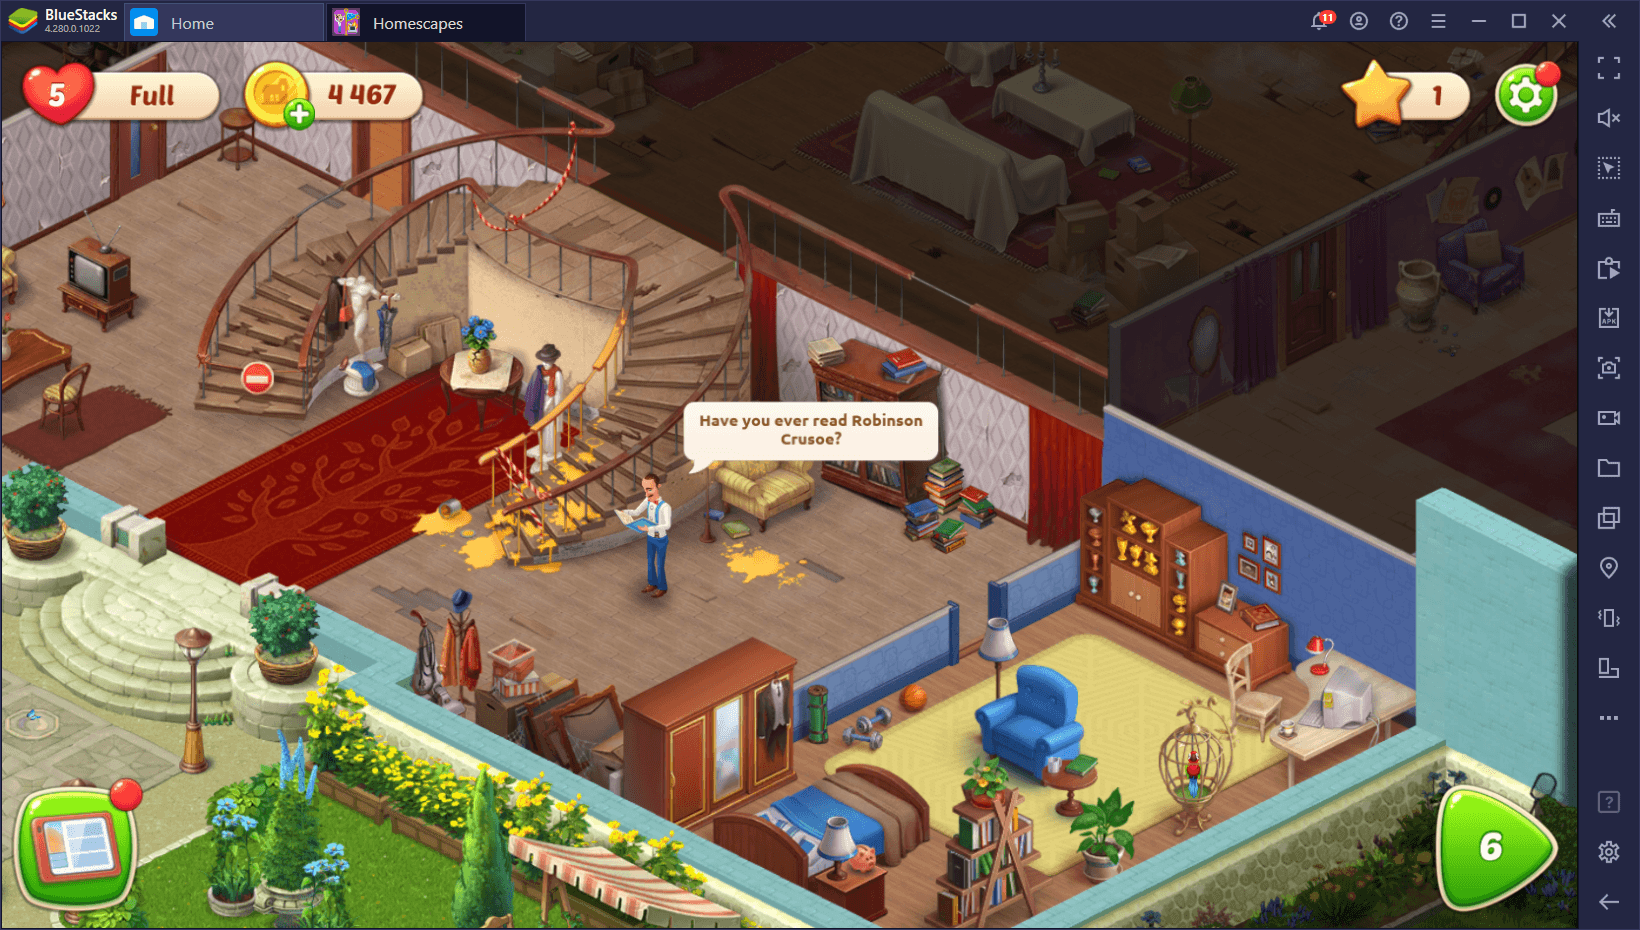
Among some of the features that you can find when playing on BlueStacks, you will get the Keymapping Tool, and the Instance Manager, among many others. And in this article, we’ll show you how to set up some of these so that you can take your gaming experience to the next level.
Using the Keymapping Tool in Homescapes
With Homescapes being a match-3 game, most of the gameplay consists of clicking and dragging around pieces on the board to create combinations and win the levels. This means that, by virtue of playing on BlueStacks, you can control all of these actions using your mouse which, combined with the fact that you’re gaming on a large computer monitor, will probably vastly improve your experience even further.
The BlueStacks Keymapping Tool is a feature designed to further enhance your controls with any mobile game, including Homescapes.
Though in this game you’ll rely mostly on simple mouse controls during its many stages, you will need to actually click back and forth across many parts of the screen to navigate its menus. This is where the Keymapping Tool shines as you can easily configure control schemes so that you can easily switch between the different menus using only your keyboard, without ever having to click manually on the on-screen buttons ever again.
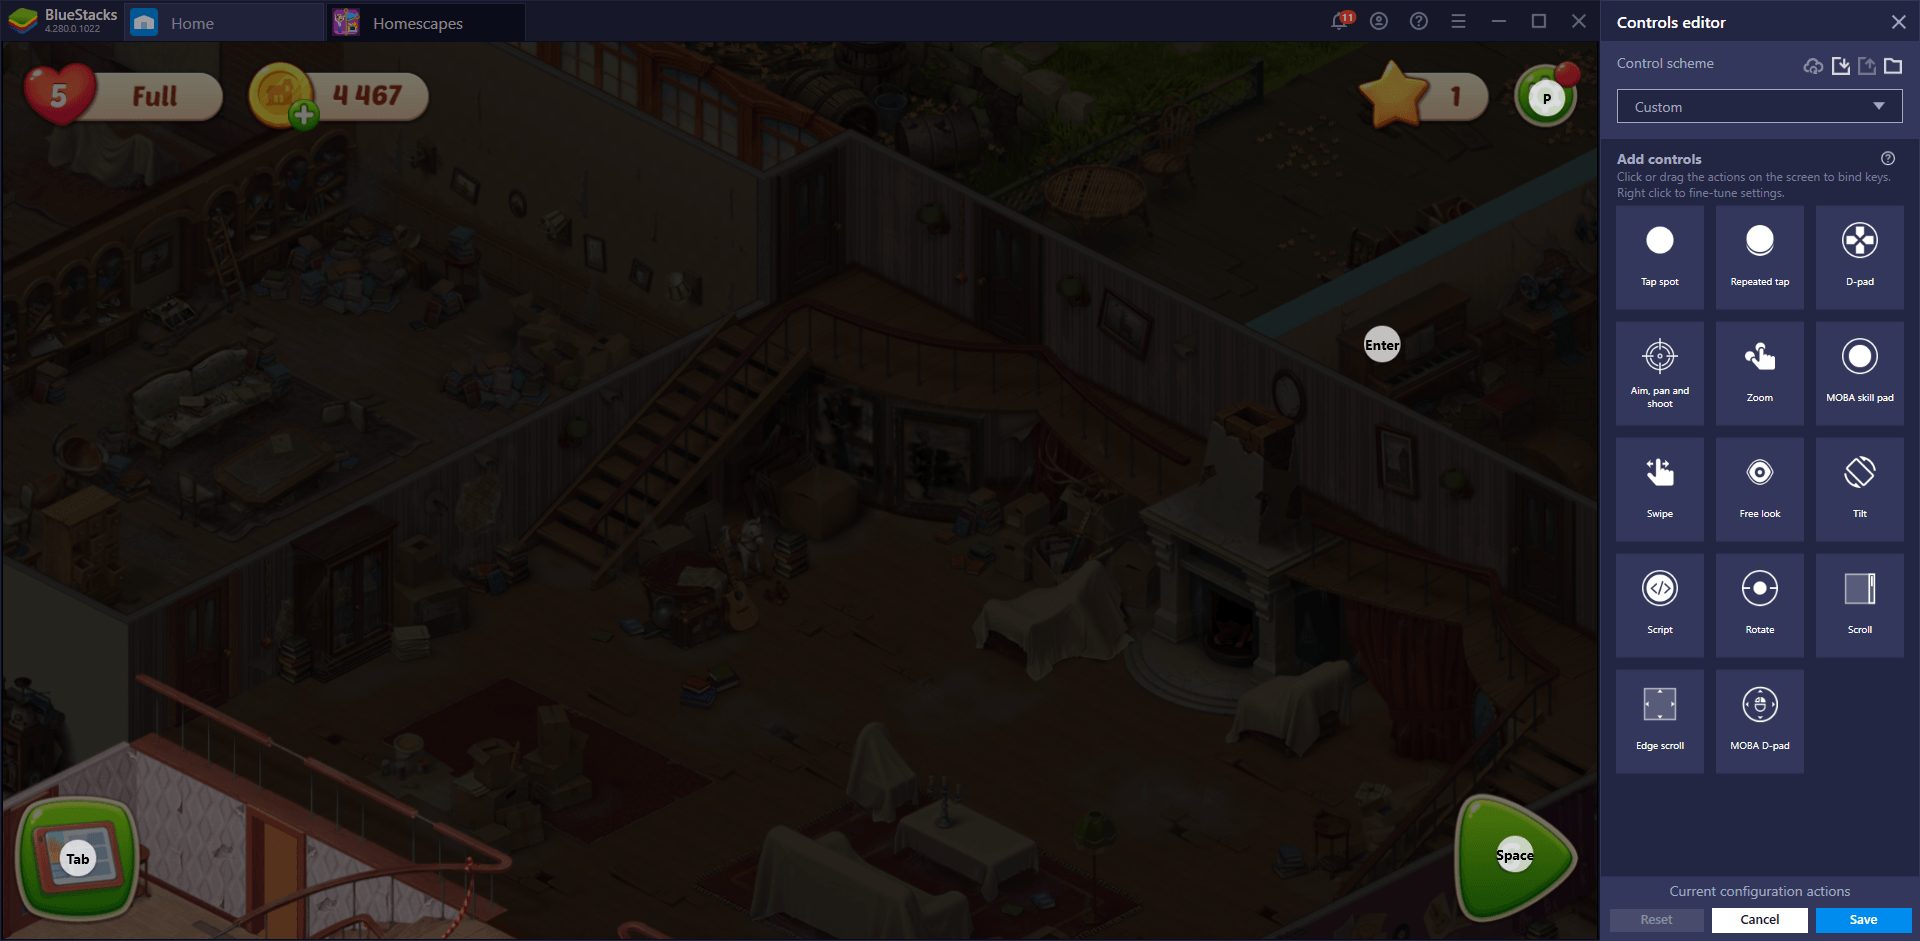
To access the Keymapping Tool, you must click on its button on the rightmost panel, and then on “Open advanced editor” while in-game. Alternatively, you can also press Ctrl + Shift + A as a shortcut to this screen. Once on the editor screen, you can drag functions from the rightmost panel and place anywhere on the screen and give them a binding from your mouse or keyboard. These functions make it so that, whenever you press the corresponding buttons, the respective action is performed precisely on the spot where you placed the shortcuts.
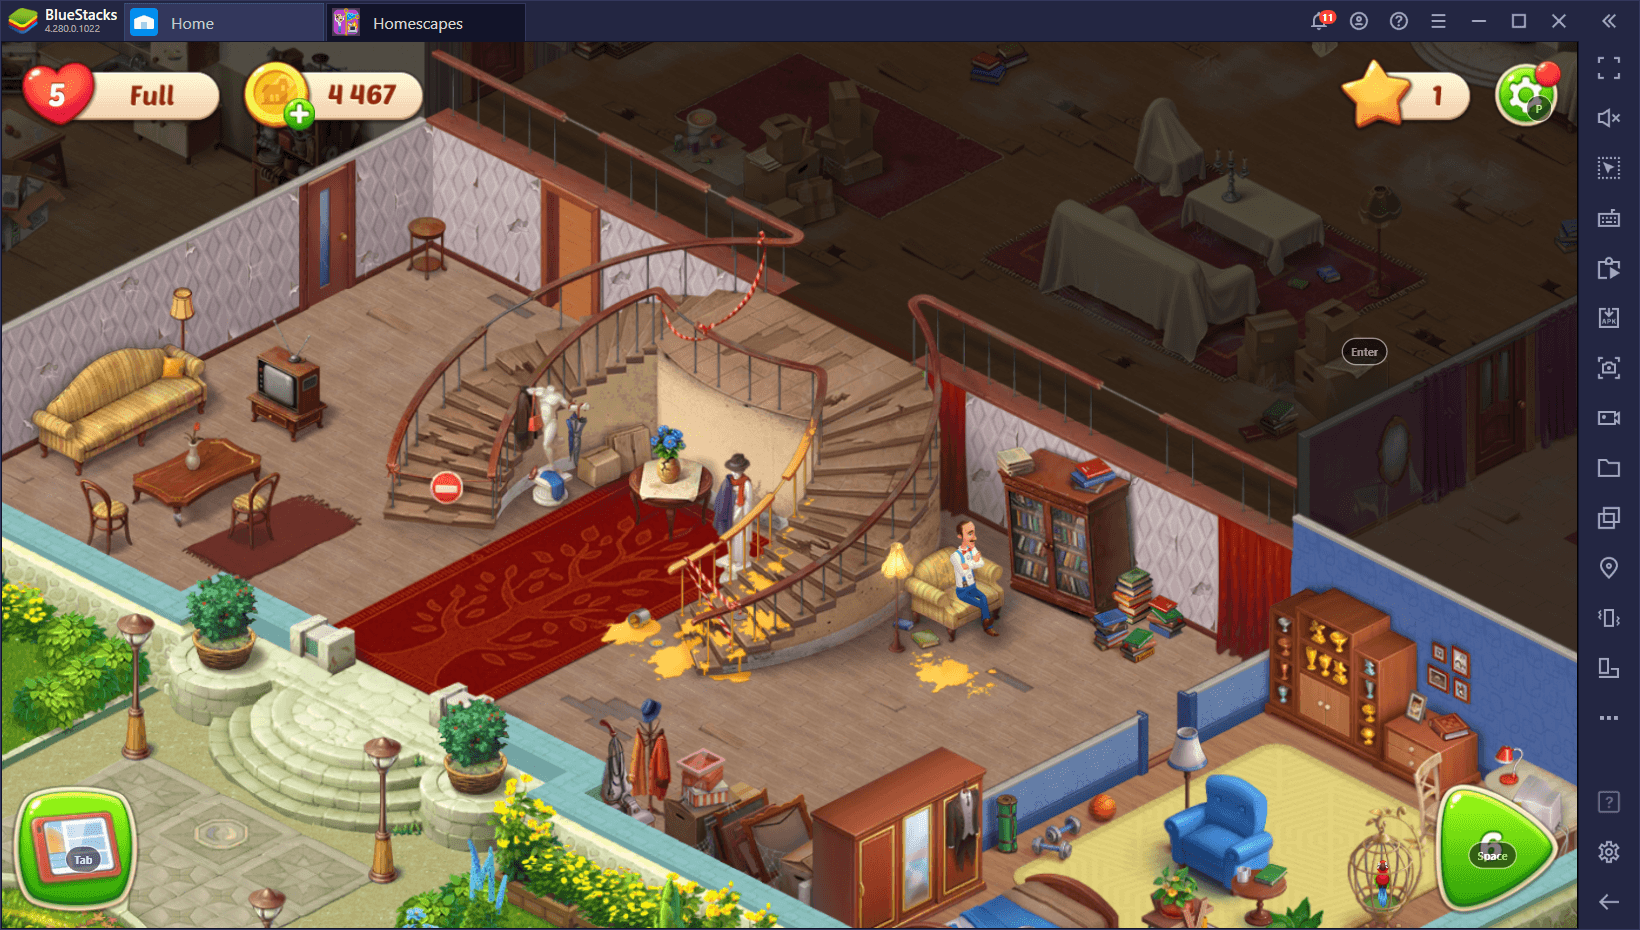
There’s no limit to the number of shortcuts you can place with the Keymapping Tool. And you can even place the same shortcut on the same place, but with different keybindings, just in case you want to perform the same action with different buttons. For Homescapes, we recommend keeping things light, and adding shortcuts only for the few options in the main screen, so that you can access levels with your keyboard, and then carry on playing with your mouse as usual.
Using the Instance Manager to Multitask in Several Games
Rather than a mobile game with deep mechanics and intricate gameplay, Homescapes is more like a title that you can use to pass the time whenever you’re bored, or when you’re waiting for something. In this regard, the game is fantastic since it’s quite easy to pick up and play for a few minutes, and then closing it until the next occasion when you have some downtime.
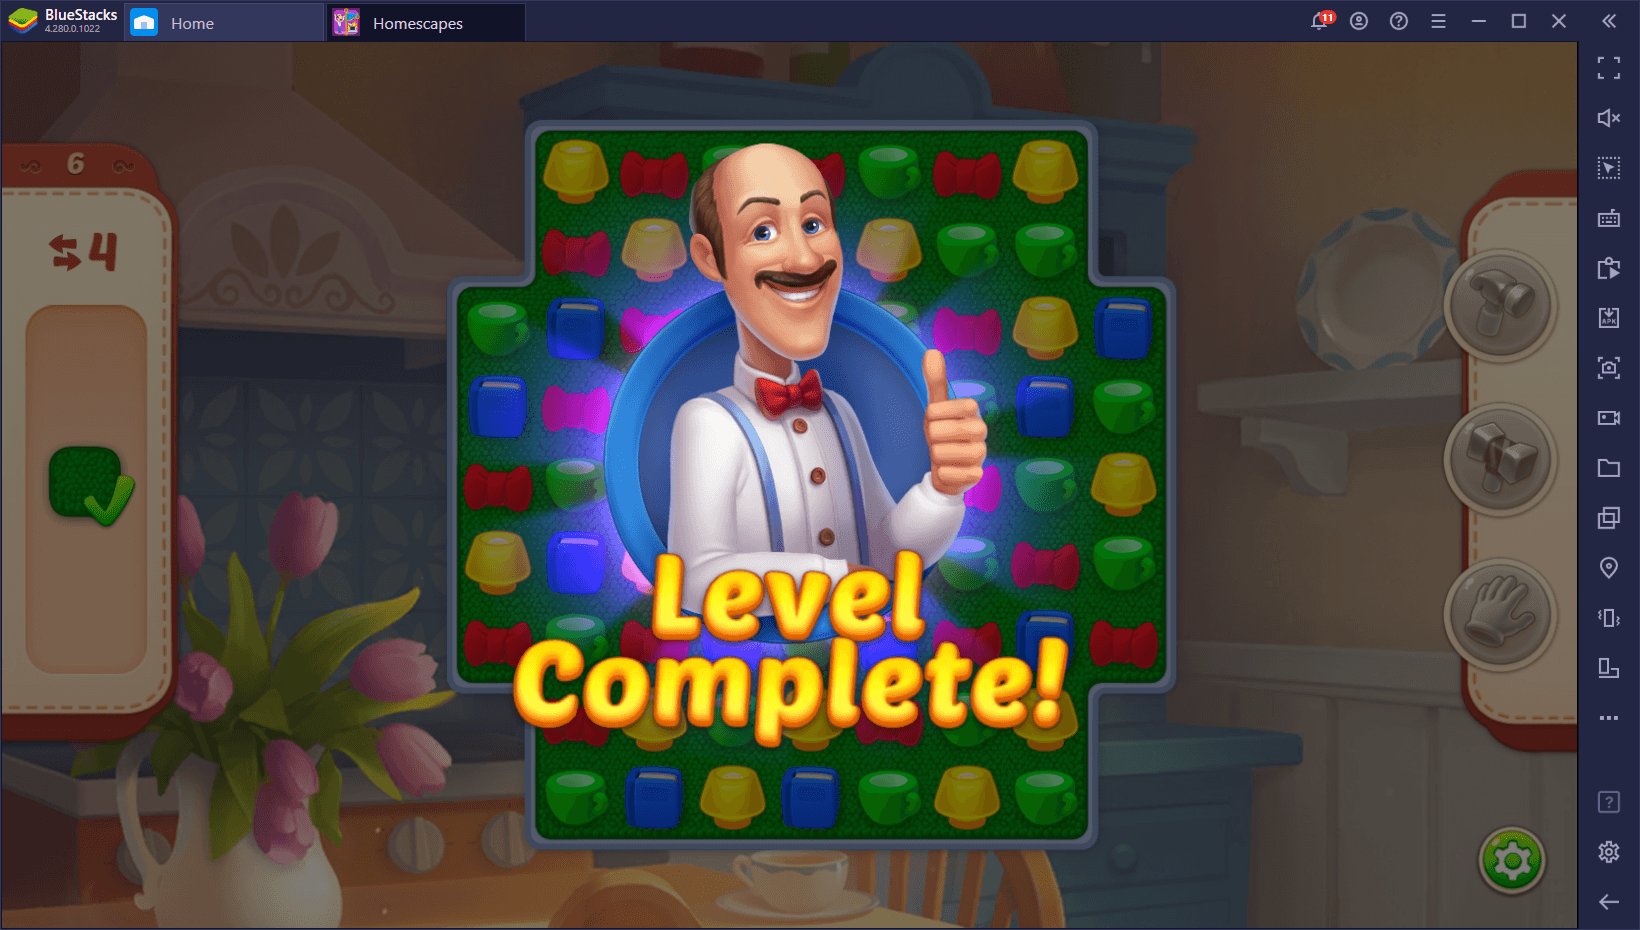
Because of this, Homescapes is the perfect title to always have running in the background in case you run out of things to do in other games, or for when you simply want to take a short break from the monotony of the others and take a quick breather. With BlueStacks, you can significantly streamline this process with the Instance Manager, a tool that lets you create multiple instances of BlueStacks, and play many different games at the same time. In this sense, you can have other, more intricate titles running in the foreground, and then quickly and easily switch to Homescapes whenever you want to take a break, or need to wait for something to finish in your main game.
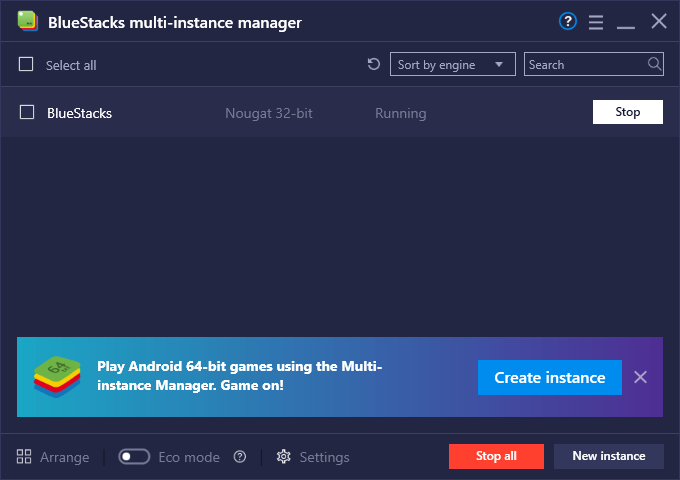
To configure your instances, you’ll need to boot up the Instance Manager, which you can do either by clicking on its button in the right panel, or by pressing Ctrl + Shift + 8. Afterward, follow these easy steps:
- In this new panel, you can click on “New instance” on the bottom right to start the creation process.
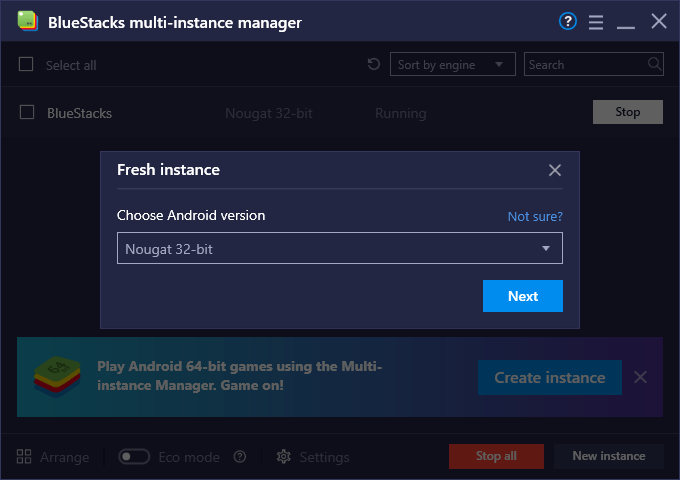
- In the next screen, choose “Fresh instance”, followed by the Android version you require; it’ll be 32-bit for most, though some games require a 64-bit Android.
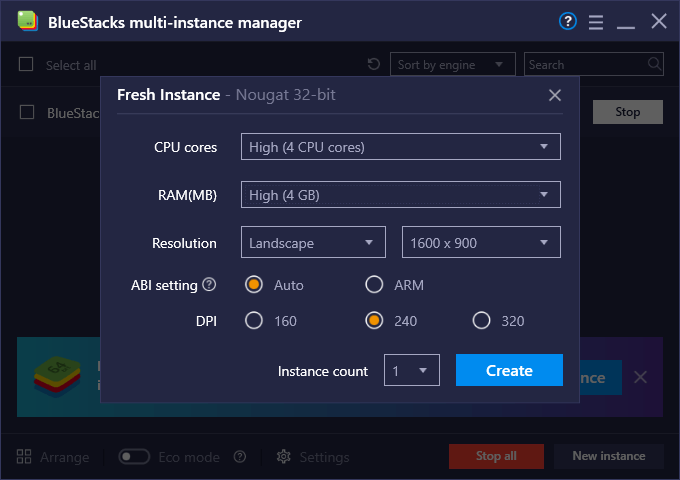
- Choose how many cores and RAM you want to assign to the new instance. If your PC easily fulfills the recommended requirements for BlueStacks, simply choose 4 cores and 4GB of RAM. Finish by clicking on “Create”.
- Once your new instance is running, complete the setup process by adding a fresh Google account that’s different from the one in your primary instance.
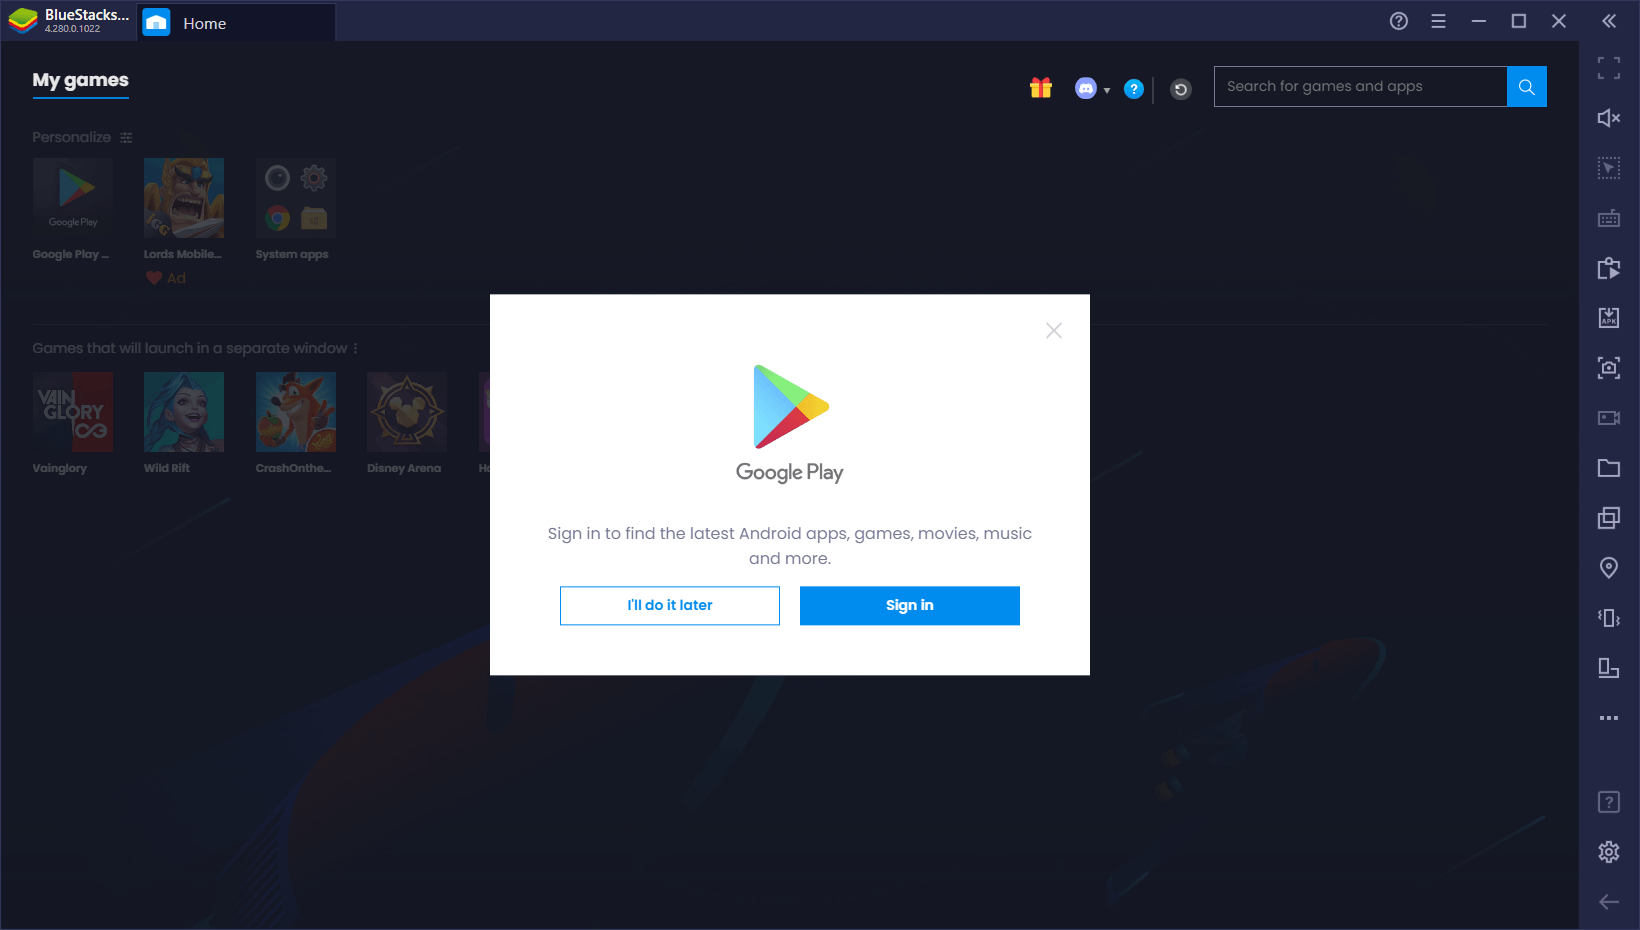
After completing these steps, you can easily download and install any game you want, and run them alongside other titles in your main instance. With this feature, you can easily play any game you want, and keep Homescapes in the background for when the hankering to play a few levels of the match-3 game strikes you.
And these are only a couple of things you can do with two of the tools of our Android emulator. When it comes to playing Homescapes on PC, the possibilities of what you can achieve with BlueStacks are endless.
Are you already playing Homescapes on PC with BlueStacks? Feel free to leave us your own uses, thoughts, and opinions in the comments below!


