How To Play One State RP - Role Play Life on PC: The BlueStacks Setup Guide

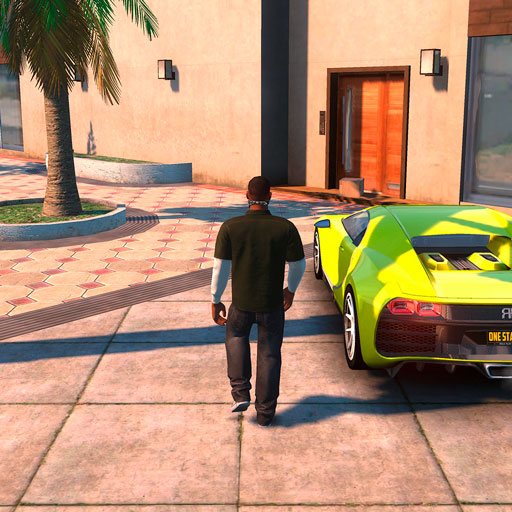
One State RP – Role Play Life is an immersive action-adventure role-playing game that places players in a dynamic virtual world where they can choose various lifestyles, from running a business to engaging in criminal activities. If you are new to the game, check out our Beginner’s Guide for One State RP – Role Play Life. To fully enjoy this rich gaming experience, setting up the game through BlueStacks on your PC is highly recommended. This guide will walk you through every step of the installation and configuration process to ensure you have the best possible experience.
How To Install One State RP – Role Play Life on PC Using BlueStacks
Installing One State RP – Role Play Life on your PC using BlueStacks is a simple and efficient process. Follow these detailed steps to get started:
-
Download BlueStacks:
- Visit the official BlueStacks website and click on the download button.
- Once the installer is downloaded, locate the file (usually in your Downloads folder) and double-click it to begin the installation process.
- Follow the on-screen instructions to complete the installation. This may involve agreeing to terms and conditions and selecting an installation location.
-
Open BlueStacks:
- After installation, launch BlueStacks by double-clicking its icon on your desktop or finding it in your Start menu.
- The emulator may take a few moments to load as it sets up its environment for the first time.
-
Sign in to Google Play Store:
- Once BlueStacks is open, you will see a welcome screen prompting you to sign in with your Google account.
- If you already have a Google account, enter your credentials. If not, you can create a new account directly from this screen.
- Signing in allows you to access the Google Play Store and download apps seamlessly.
-
Search for One State RP – Role Play Life:
- In the BlueStacks interface, locate the Google Play Store icon and click it.
- Use the search bar at the top of the Play Store window to type “One State RP – Role Play Life” and hit enter.
-
Install the Game:
- Click on the One State RP – Role Play Life icon in the search results.
- You will see an “Install” button; click it to start downloading the game.
- The download size is relatively manageable, so it should not take long to complete.
-
Launch One State RP – Role Play Life:
- After installation, you will receive a notification indicating that One State RP – Role Play Life is ready to play.
- Click on the game icon either from within the Play Store or find it on your BlueStacks home screen.
- The game may require an additional update of approximately 500 MB during its first launch, so ensure you have enough space available.
Configuring One State RP – Role Play Life Controls
To enhance your gameplay experience in One State RP – Role Play Life, configuring controls within BlueStacks is essential. The emulator allows for customizable control schemes that make navigating and interacting within the game more intuitive. If you want to become a master of the game, check out our tips and tricks article for One State RP – Role Play Life.
Default Controls
By default, BlueStacks provides basic controls that are generally sufficient for most players:
- Mouse Navigation: Use your mouse to look around and interact with objects or characters in the game world.
- Left Mouse Button: This button serves multiple functions such as attacking enemies or interacting with NPCs (non-playable characters).
Customizing Keyboard Shortcuts
To improve efficiency and responsiveness during gameplay, you can assign specific keyboard keys for various actions:
-
Access Advanced Game Controls:
- Click on the “Game Controls” icon located on the right side of the BlueStacks window.
- Select “Advanced Game Controls” from the dropdown menu.
-
Set Up Key Mapping:
- You can drag and drop control icons onto your game screen where you want them to be active.
For example:
- WASD: Move character forward, backward, left, and right.
- Spacebar: Jump or perform specific actions like climbing or vaulting over obstacles.
- Number Keys (1-9): Assign quick access to items or abilities for faster gameplay.
-
Save Your Configuration:
- Once you’ve set up your desired controls, make sure to save your configuration before exiting this menu.
- You can always return to adjust controls as needed based on your gameplay style.
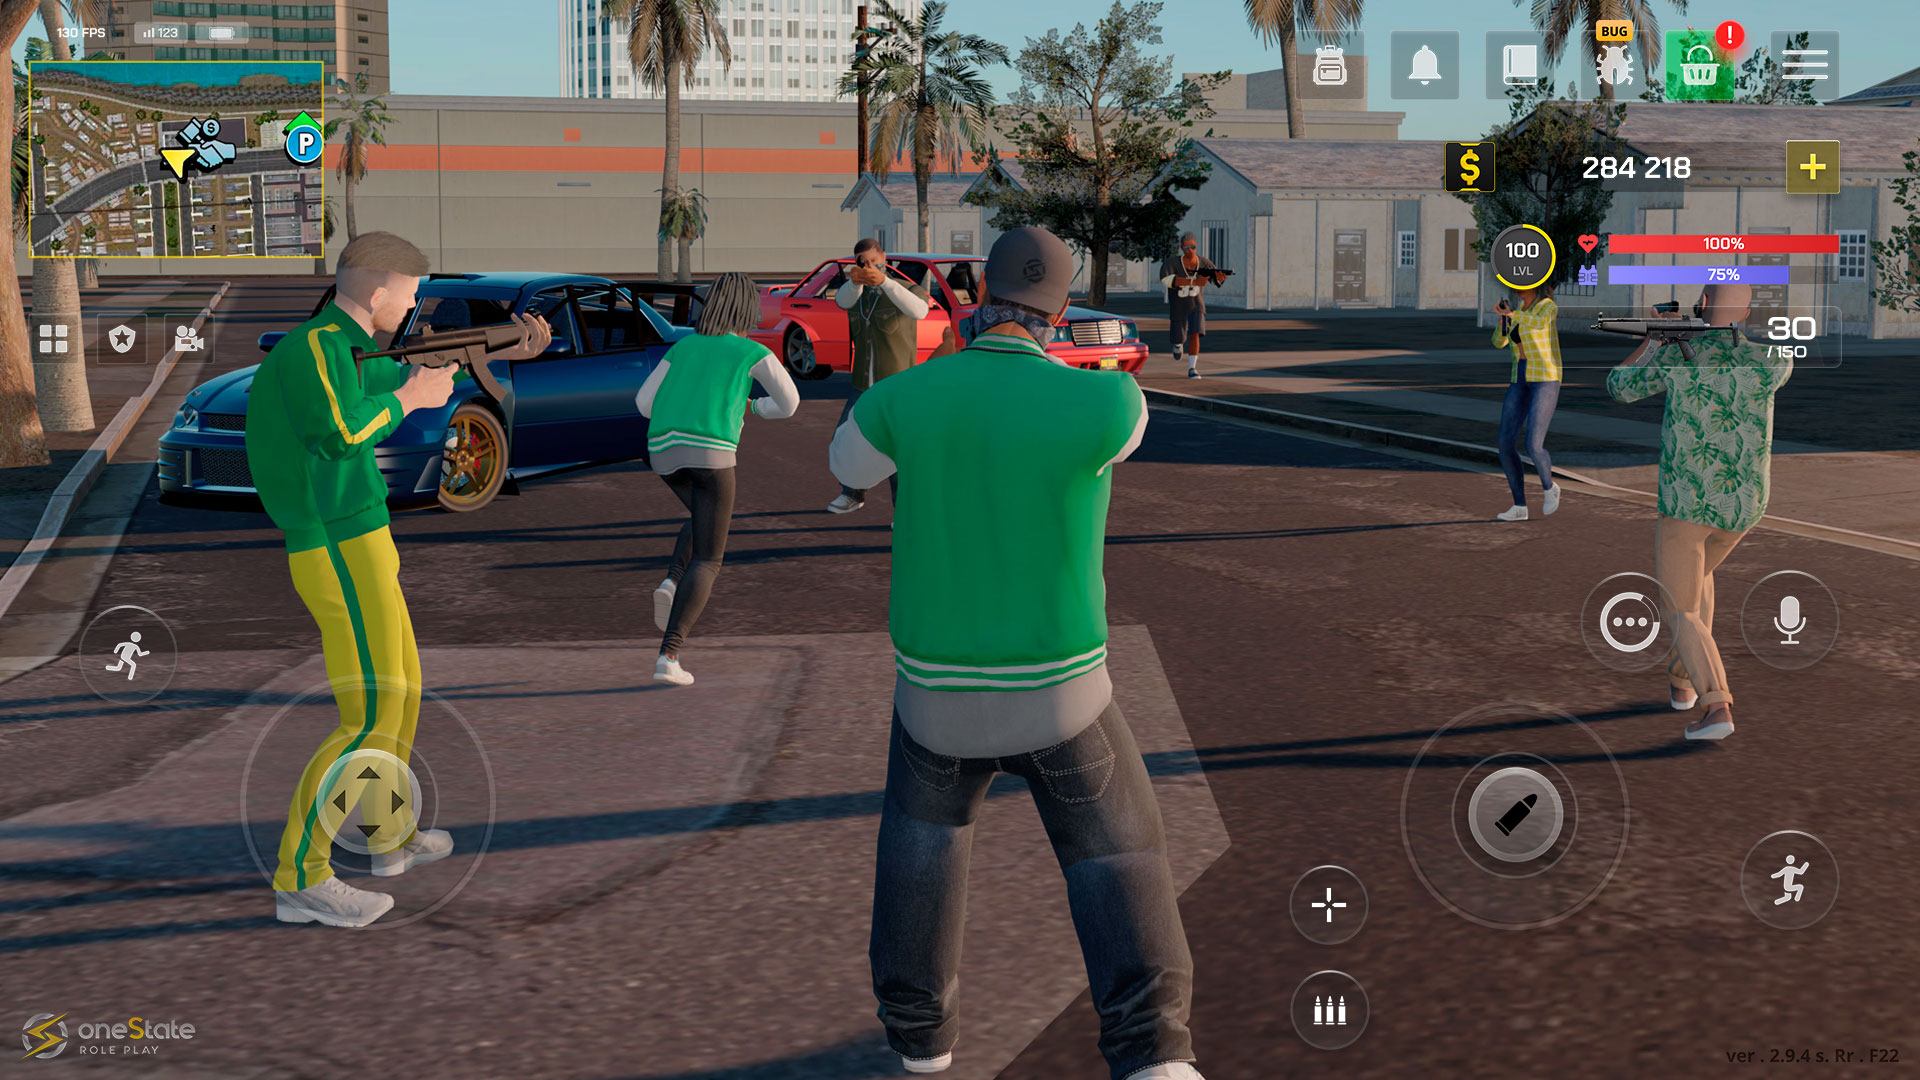
Optimizing Performance Settings
To ensure that One State RP – Role Play Life runs smoothly on your PC, adjusting performance settings in BlueStacks can be beneficial:
-
Open Settings:
- Click on the gear icon located at the top right corner of BlueStacks to access settings.
-
Adjust Performance Settings:
- Navigate to the “Performance” tab where you can allocate CPU cores and RAM for better performance.
- For optimal gameplay, consider allocating at least 2 CPU cores and 4GB of RAM if your system allows it.
-
Graphics Settings:
- Under “Display,” adjust resolution settings according to your monitor’s capabilities.
- Choose “High” graphics quality for enhanced visuals if your PC can handle it without lag.
-
Enable Eco Mode:
- If you’re multitasking while playing or want better performance during intense gaming sessions, consider enabling Eco Mode which optimizes resource usage.
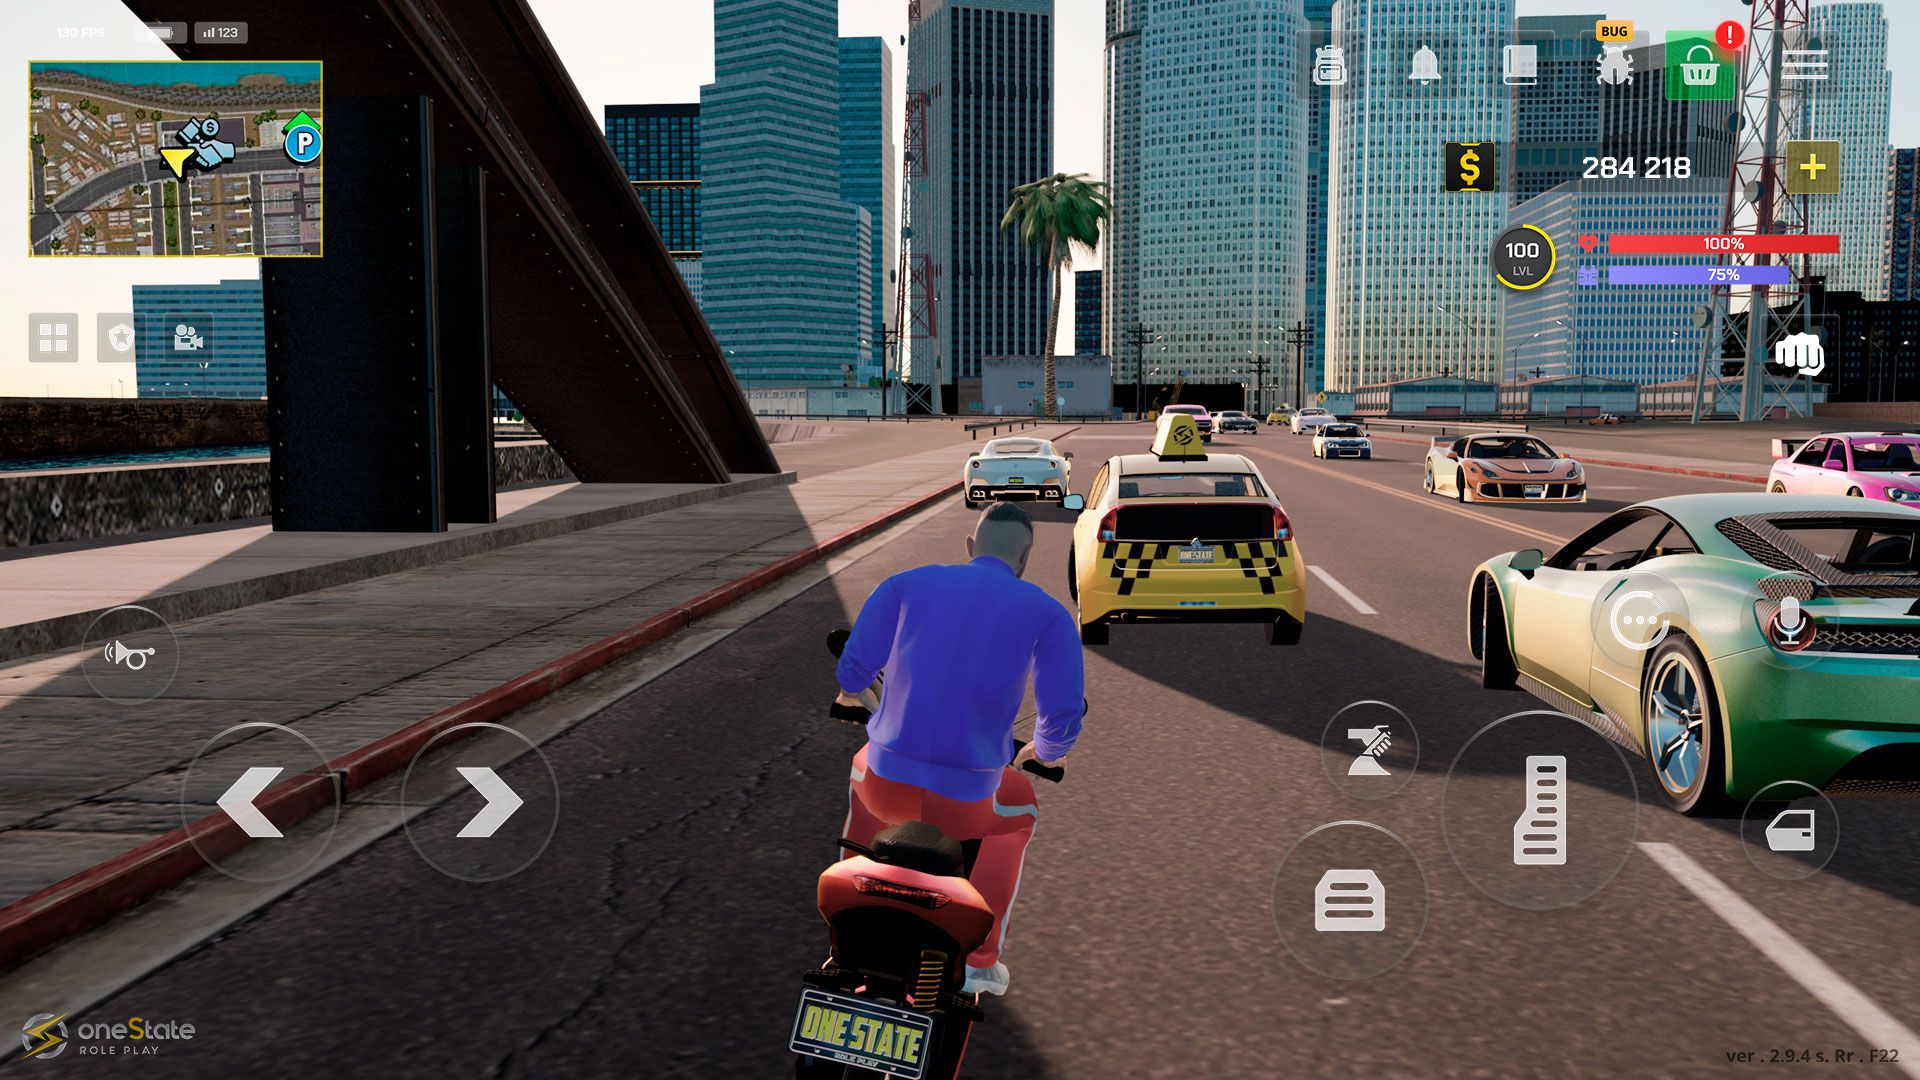
With this comprehensive guide, you’re now equipped to enjoy One State RP – Role Play Life on PC or laptop with BlueStacks effectively. From downloading and installing the game to customizing controls and optimizing performance settings, each step contributes to enhancing your overall gaming experience. The game also regularly comes out with redeem codes. To find the latest redeem codes, check out this article. Dive into this vibrant world filled with endless possibilities and create memorable stories as you explore different roles within One State RP – Role Play Life! Happy gaming!

