How to Install Photomath on Your PC or Mac with BlueStacks

If there is one thing that the vast majority of the world population hates, it is most definitely solving math homework. Math is a diverse subject that requires plenty of brain power and using up all of that mental energy can become exhausting after some time. Solving math problems have become easier thanks to the invention of the calculator. However, utilizing a calculator involves manually inputting the math problem and this can become time-consuming (especially when you’re testing multiple values of ‘x’) and even inconvenient as you being to solve more complex problems.
Fortunately, you can now solve math problems immediately without ever having to lay hands on a calculator! With Photomath, you can just point your camera towards the problem and the program will instantly solve it for you. Aside from that, Photomath even gives you all of the possible solutions on how the problem was solved. So not only will you receive an answer but you will also receive more knowledge as to how to approach similar problems.
Take your math homework game to the next level by installing Photomath now on your PC or Mac with BlueStacks.
How to Install Photomath?
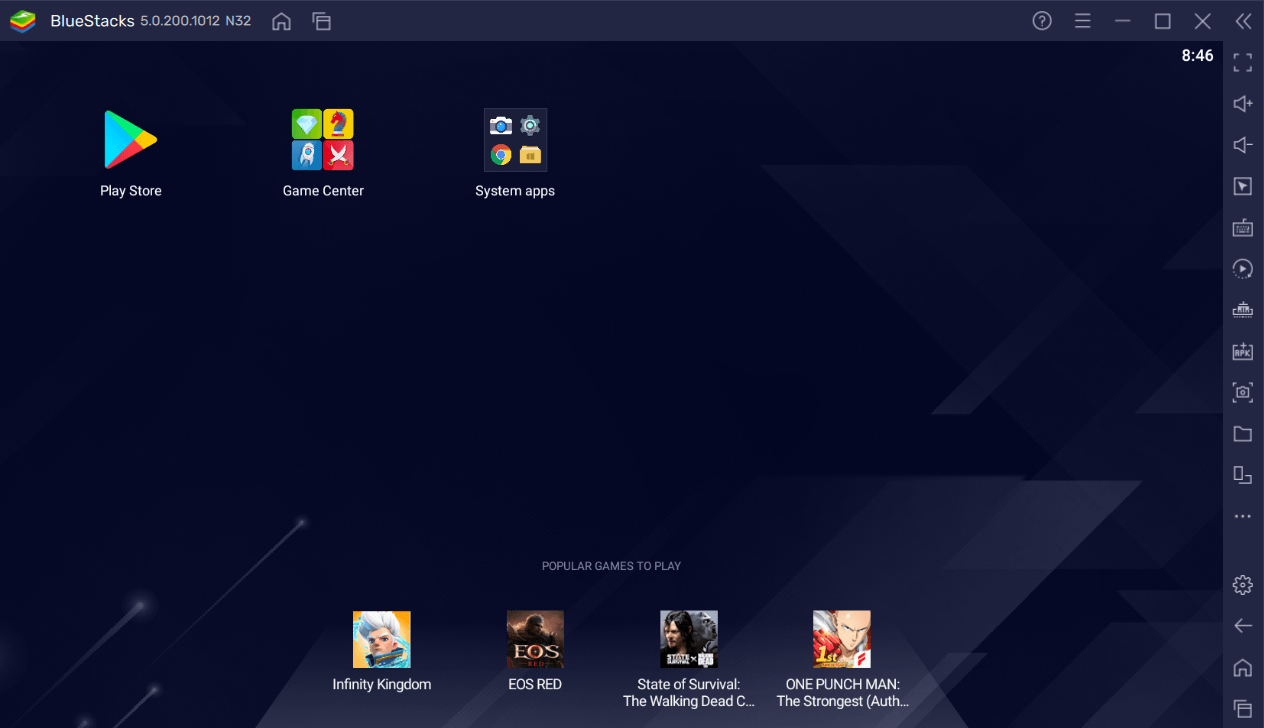
- Download and install BlueStacks on your PC.
- Complete Google Sign-in to access the Play Store, or do it later.
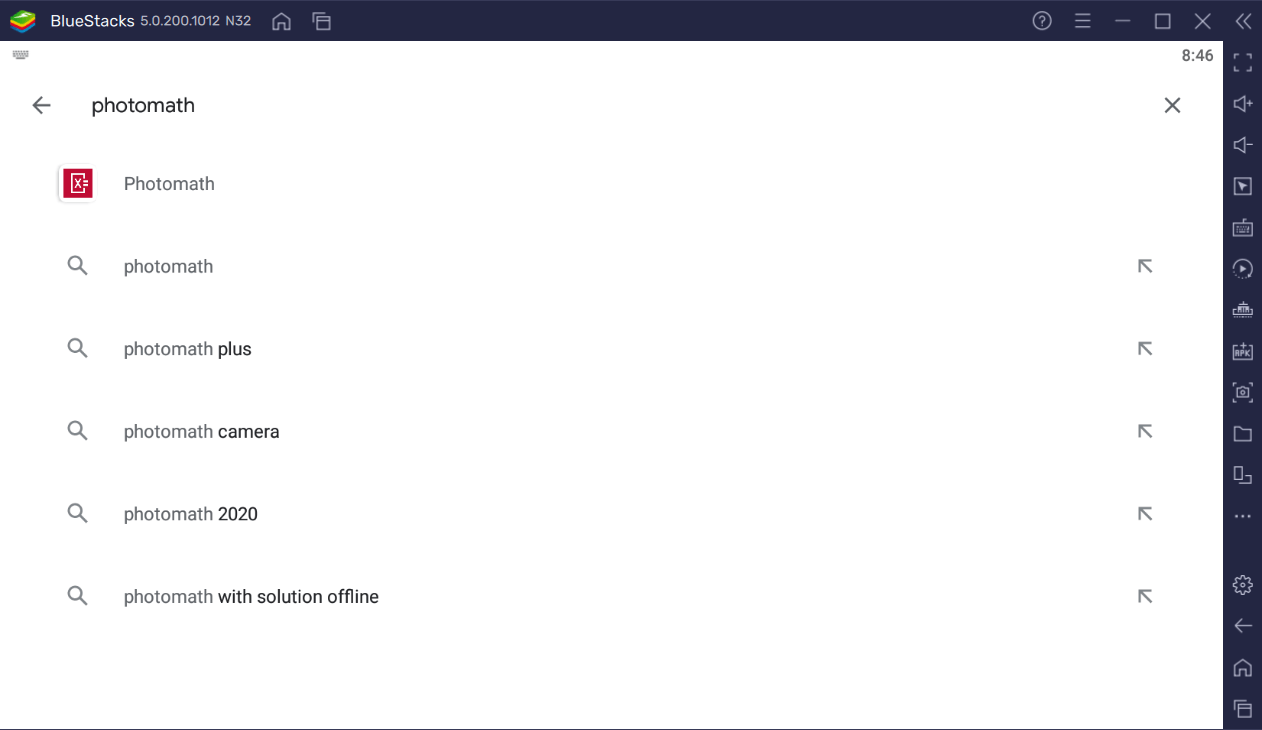
- Look for Photomath in the search bar at the top-right corner.
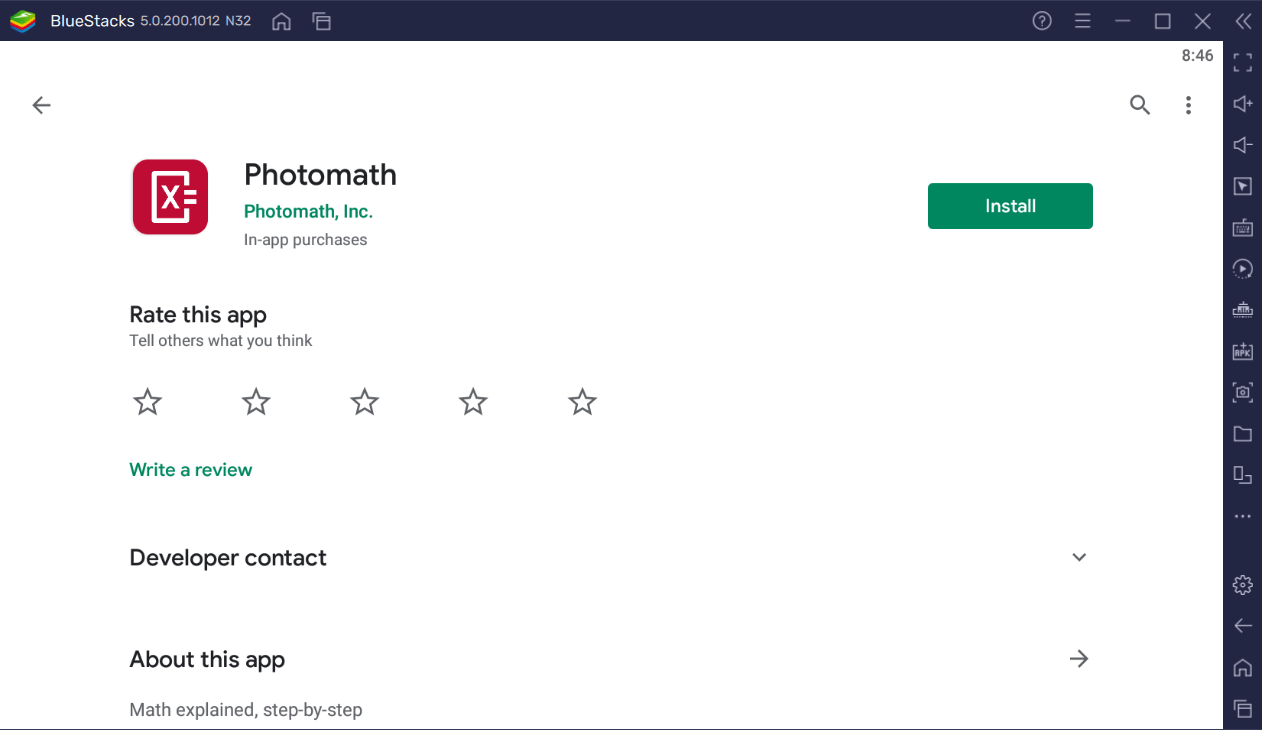
- Click to install Photomath from the search results.
- Complete Google Sign-in (if you skipped step 2) to install Photomath
- Click the Photomath icon on the home screen to start playing.
Scan Math Problems
Photomath’s scanner has the capability of detecting not only simple arithmetic math problems but also the complicated ones like trigonometry, precalculus (conic sections, functions, sequence and series), and calculus (differential, integral).
Scanning math problems is very easy with Photomath’s interface. But first and foremost, your PC or Mac needs to have a connected webcam. If you’re using a laptop, it is highly likely that you already have a built-in webcam.
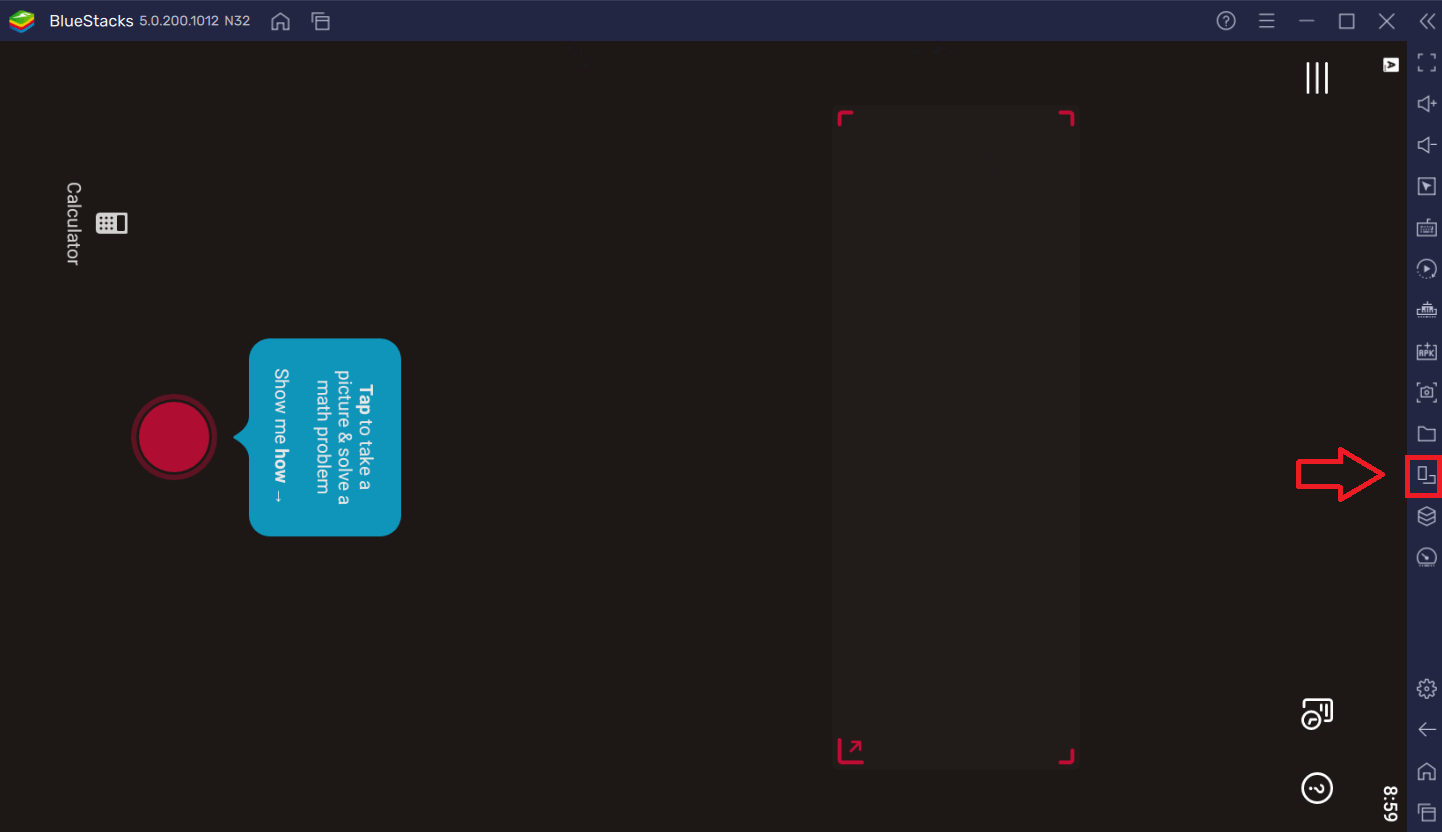
By default, Photomath will display your webcam’s view in a flipped portrait mode which makes it a bit hard to navigate through the interface. To fix this, click the Rotate option in BlueStacks’s toolbar.
Once the camera has been set up, all you have to do is point the camera to the math problem but you also have to ensure that it is framed inside the red rectangle (this is the app’s scanner frame). You can enlarge the scanner frame in case the problem is too long. After the problem is properly framed, just press the red button and Photomath will instantly start scanning and you’ll receive a solution in a matter of seconds.
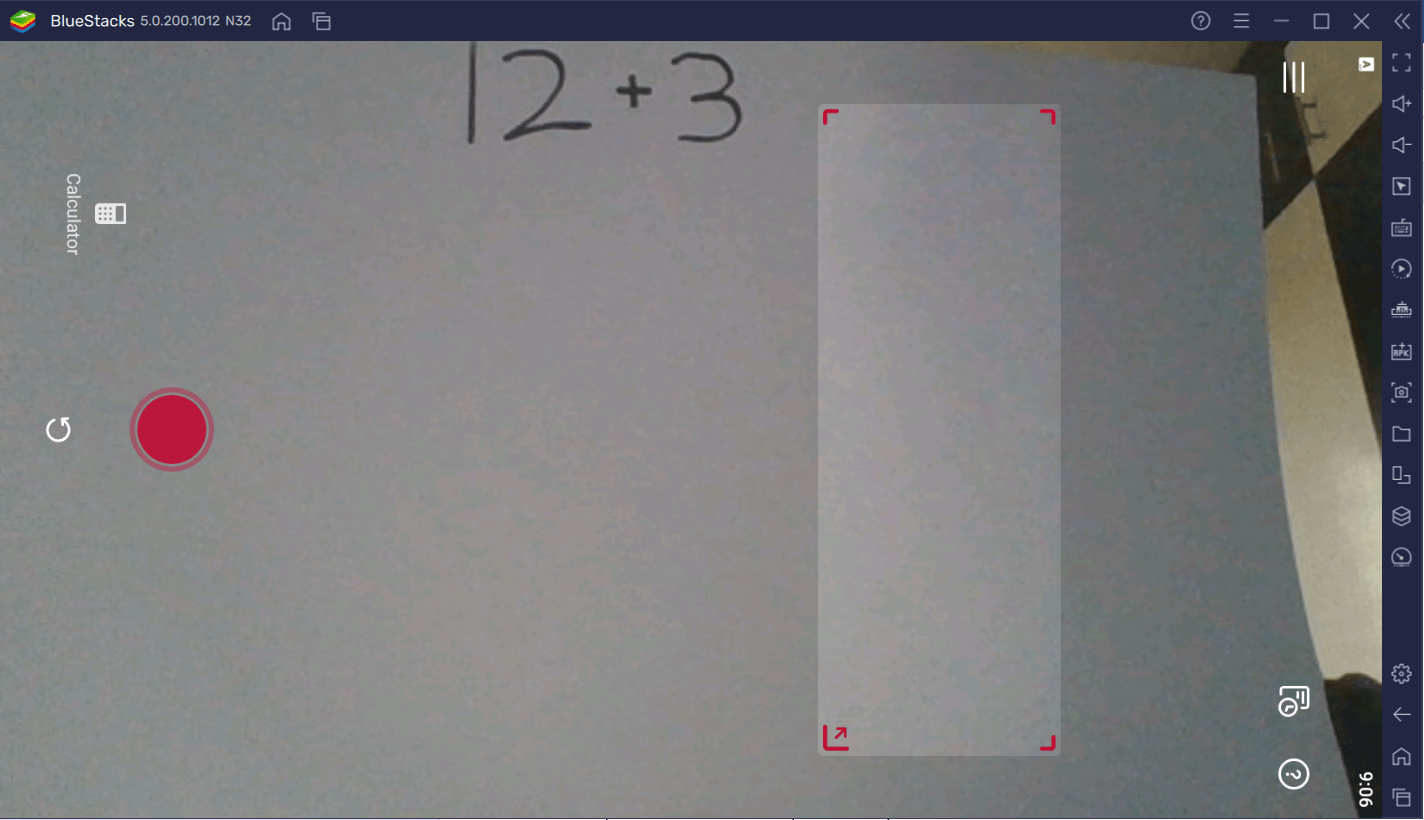
NOTE: As of writing, there is a bug in which Photomath’s scanner would incorrectly scan a different image even if the math problem is already perfectly inside the scanner frame. This bug seems to occur when your webcam is in a fixed position (usually the top-center of your monitor). To circumvent this bug, you need to ignore the scanner frame entirely and instead, reposition the math problem such that it is directly facing the camera and not the scanner frame. If your webcam is mounted on the top-center of your monitor, then you need face the math problem towards the top-center of your monitor. This will make it so that the webcam is directly facing the math problem and that it would be the only thing that it can physically see. You may need to make small adjustments while doing so.
View Various Solutions
Photomath doesn’t just give you the answer to a given math problem but it also offers multiple solutions as to how the answer came to be as well.
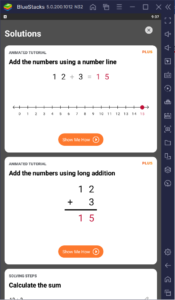
The solutions that Photomath give out depend entirely on the problem that was scanned. For instance, Photomath will display solutions like the number line, integer chips, or long addition when it solves arithmetic equations.
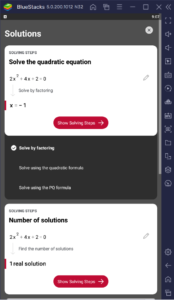
If Photomath scans and solves a more difficult math problem like a quadratic equation, it will show different solutions than those of arithmetic operations. Those solutions being: factoring, quadratic formula, PQ formula, discriminant evaluation, and the like. Aside from those, Photomath even gives you a graph of the equation so that you can better understand the equation.
In-depth explanations of the solutions can be accessed by subscribing to Photomath Plus. By subscribing, you also gain access to animated math tutorials which is very beneficial if you are a visual learner. If you want to try out Photomath Plus, then you are in luck as the app offers a 7-day free trial of the premium service.
Photomath’s Smart Calculator
There may be situations wherein your handwriting may not be clearly understood by Photomath’s scanner or your current area has poor lighting conditions. In these instances, Photomath still has your back as you can use its Smart Calculator to manually input math problems.
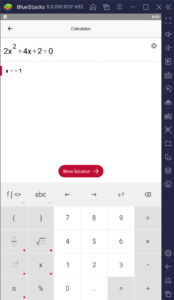
The app’s Smart Calculator works just like any other calculator. You can even input complex operations such as trigonometric functions (i.e., sin, cos, tan), limits, derivatives, and the like. The calculator also allows you to input any letter from the English alphabet, which makes it very useful for algebraic problems.
What makes Photomath’s Smart Calculator inherently better is that it gives you all of the possible solutions to the problem whereas a regular calculator would just give you the answer. If you’re looking for an alternative to your PC or Mac’s default calculator, then Photomath may as well be the best candidate.
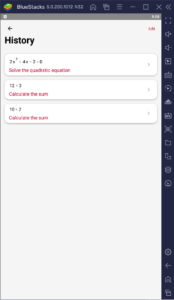
Photomath keeps track of all of the math problems that it has solved, irrespective of whether it was solved through the scanner or through the calculator. This allows you to easily go back to the problems that you have encountered and review them thoroughly in preparation for your math exams.
Accomplish Your Math Homework With BlueStacks
Photomath is a powerful educational tool that not only allows you to instantly solve math problems but also teaches you how those problems were solved in the first place. When used responsibly, Photomath can be a huge help for students who are struggling with math or students who want to further improve their math skills.
By using Photomath with BlueStacks, you can easily incorporate the app into your multi-tasking routine as the app can just run congruently with other programs. You can have your math homework on one side of the screen while Photomath is on the other.
Additionally, you can even use BlueStacks’ Controls Editor to bind keys to specific parts of the calculator. For example, you can bind your numpad keys to the 10 digits of the calculator and bind the ‘^’ key to the square operation.
Math does not have to be difficult at all times. With the right resources, learning math can be an exquisite experience and Photomath is one of them.

