Base Building and Survival Guide for Prey Day: Survive the Zombie Apocalypse

You have survived the first wave of the zombie apocalypse and are ready to make a fresh start. Moreover, in this new world, there is a spot you can call “mine” and you can arrange it as you wish. However, if you prefer aesthetics over usability, you will be vulnerable to an army of zombies waiting outside. This may be a new world, but you are not living in a Utopia. You have to use specific tactics and build your base according to certain rules to survive. We have shared some tips to help you survive the zombie apocalypse before, this time we will focus on your base and talk about how to develop it in the most efficient way.
What You Need to Know About Your Home
After you leave the hospital at the beginning of the game, you can start using your home. This is a region reserved only for you and is located at the bottom of the world map. You can travel here and log in like any other map whenever you want. In fact, we suggest you do this first: The resources gifted when you start the game are enough for you to set up some base stations.
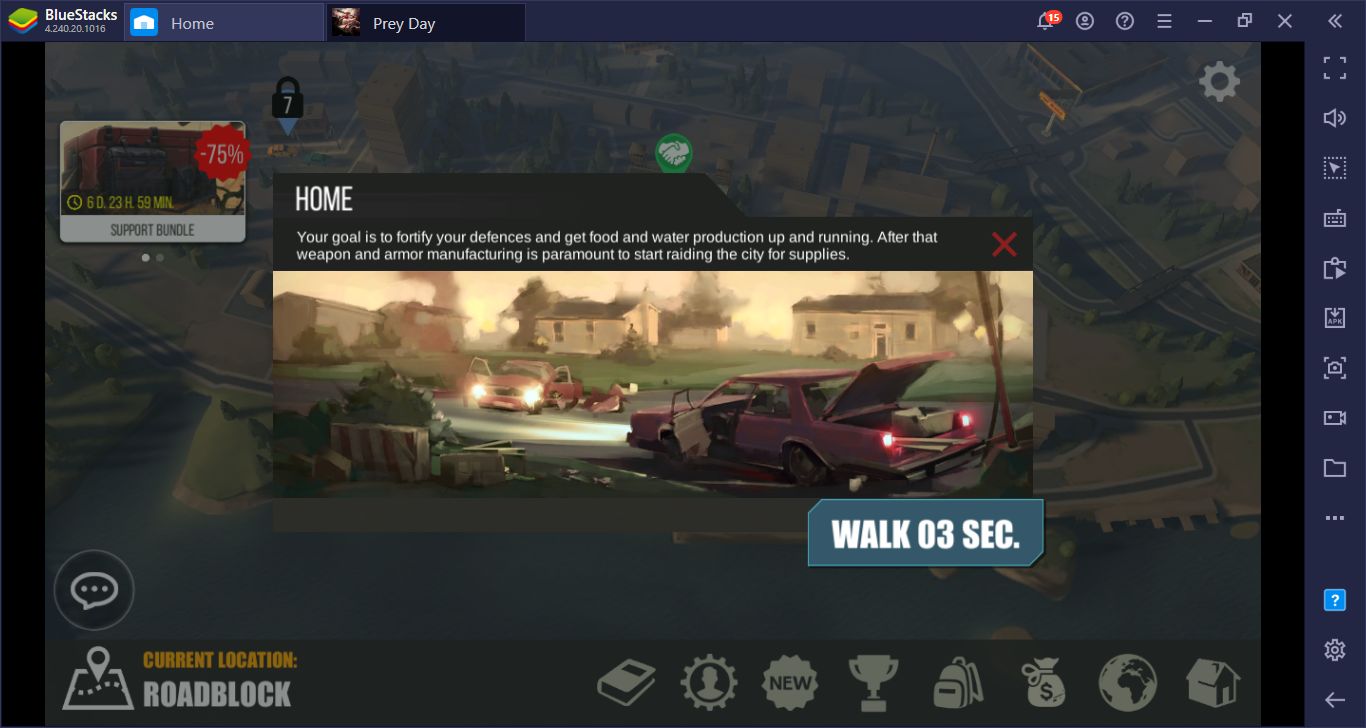
Home sweet home: You can travel to your base anytime you want.
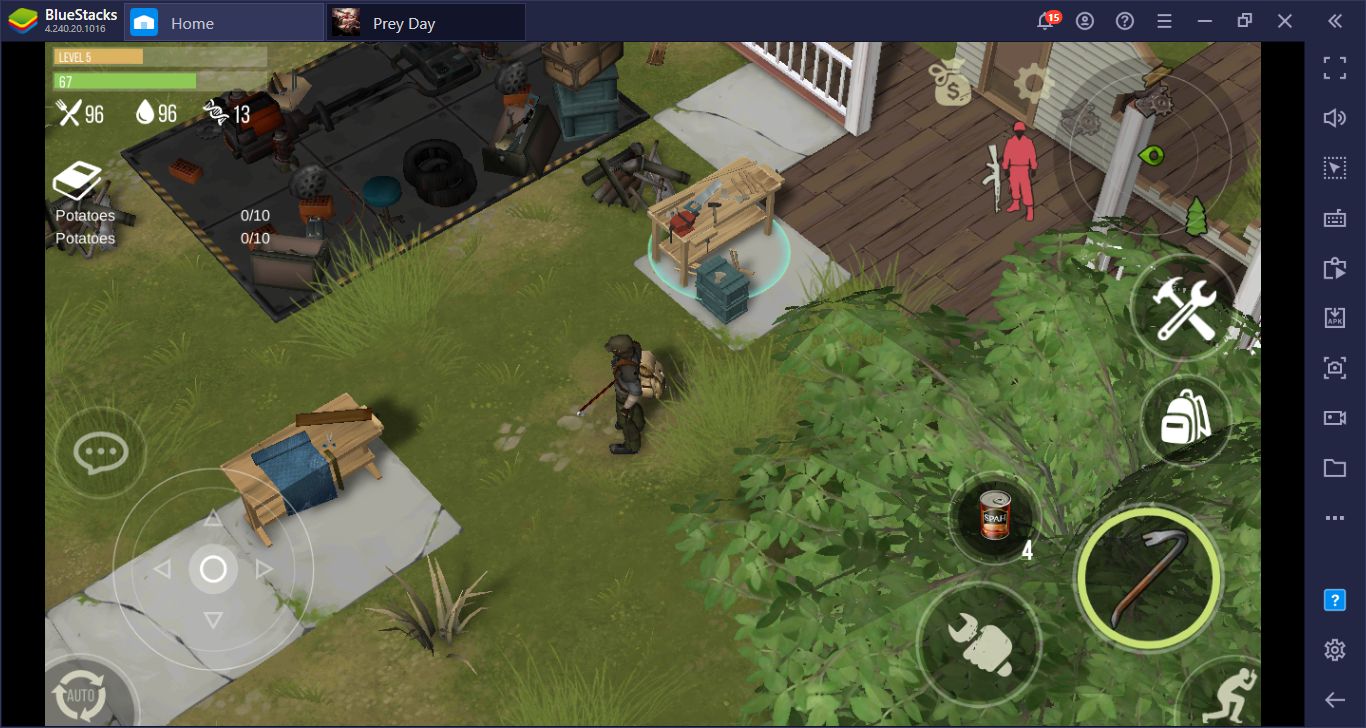
You can think of your home as a “sandbox”: At first, you won’t see anything but some ruins, but over time you can transform it into a real home. The building menu, which you can open by clicking the “Build” shortcut, shows a list of everything you can construct, and they are divided into five basic categories: Manufacture, Infrastructure, Storage, Defense, and Furniture.
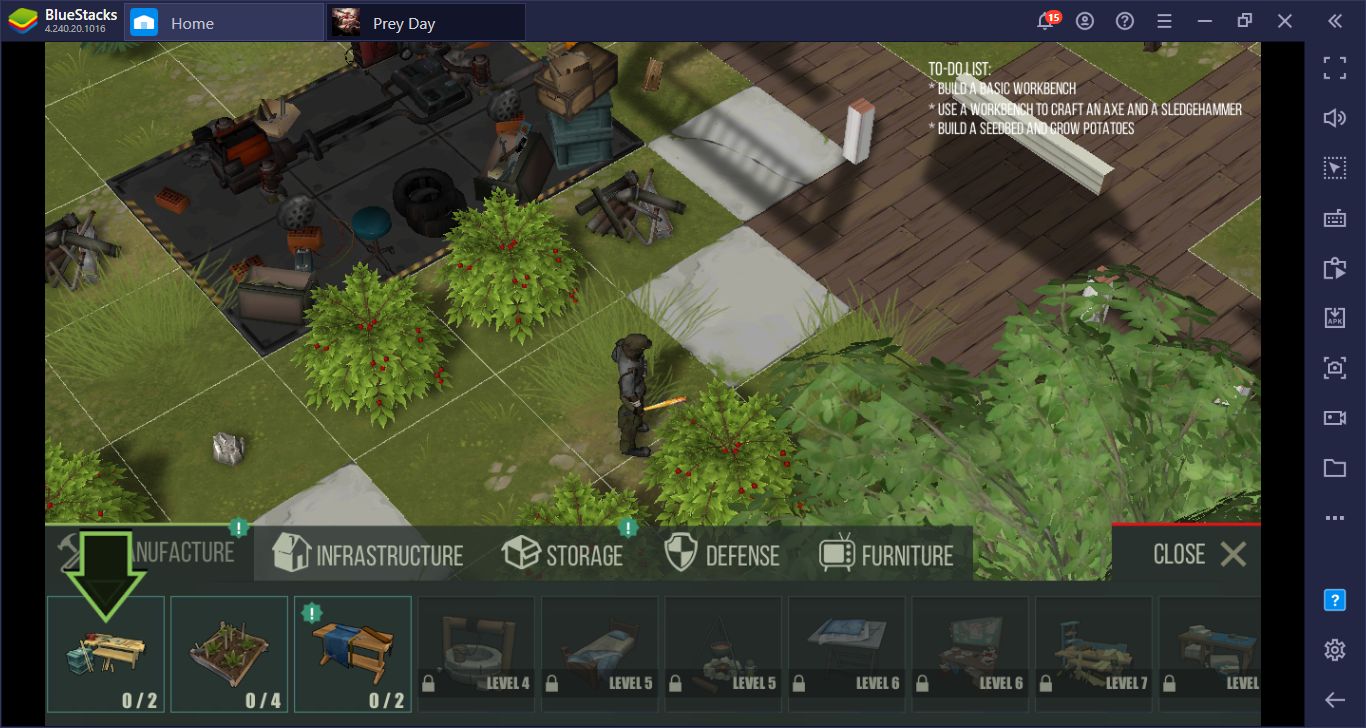
First of all, you need to focus on the “Manufacture” category because the stations you will use to produce things are here. The most important thing to know about Prey Day: Survive the Zombie Apocalypse is that almost every item has a durability level. Your weapons and equipment (including your clothes) wear out over time and become completely unusable after a while. You basically have three options to get new ones: open chests that you can buy for real money, buy from the Auction House, or make them yourself. As you can imagine, the last one is the cheapest and most practical solution. To do this, you need to set up different production stations.
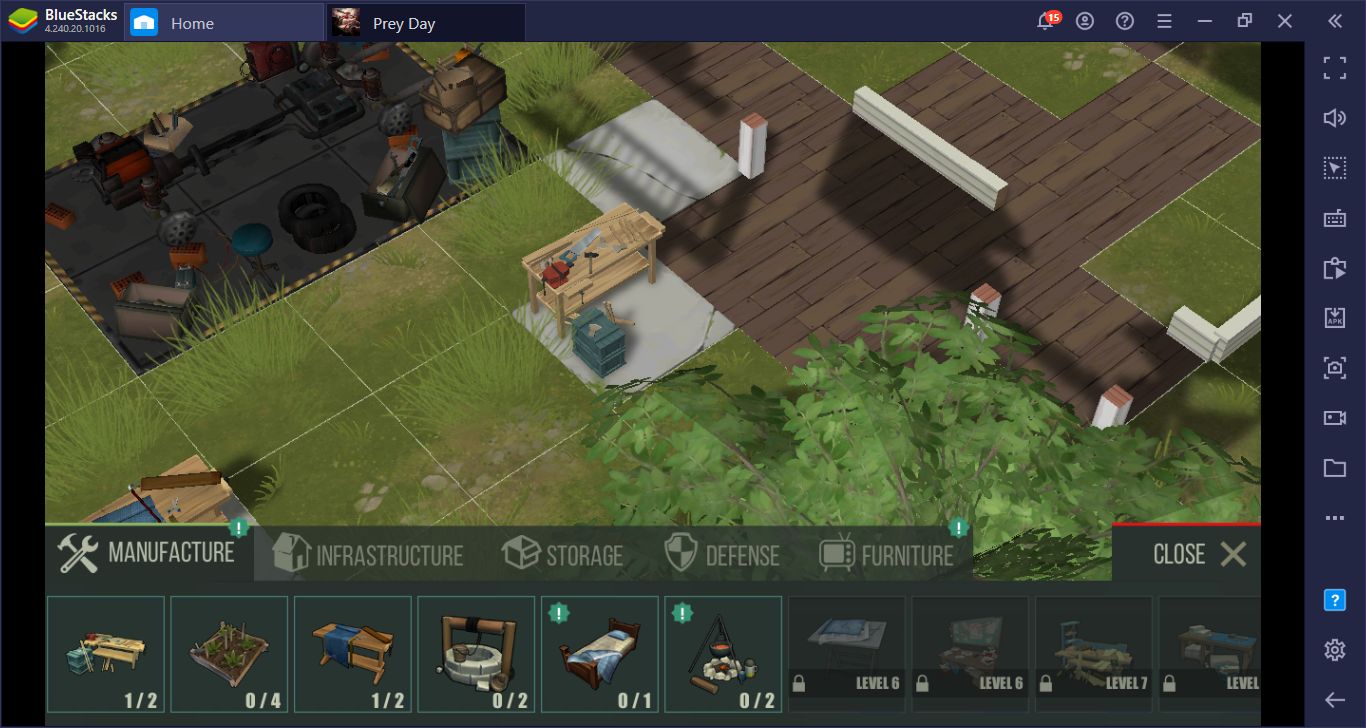
As you level up, the types of stations you can build will increase. However, the workbench and sewing table can be built even at the first level.
What Stations Do You Need to Build First?
First of all, you have to build “Basic Workbench” and “Simple Sewing Table”. The first allows you to build weapons and gathering equipment, and the second allows you to produce clothing. Both will be extremely useful and will allow you to quickly continue the game if you die.
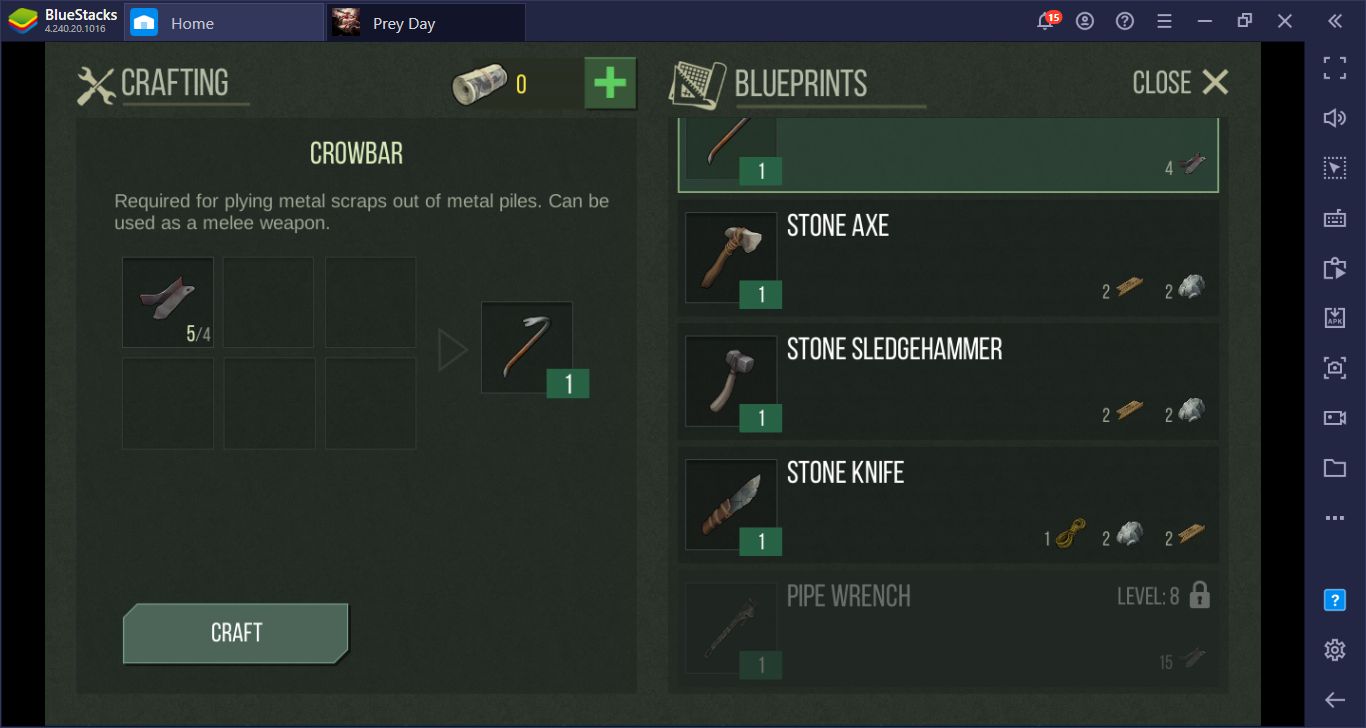
You can build several weapons at the Basic Workbench.
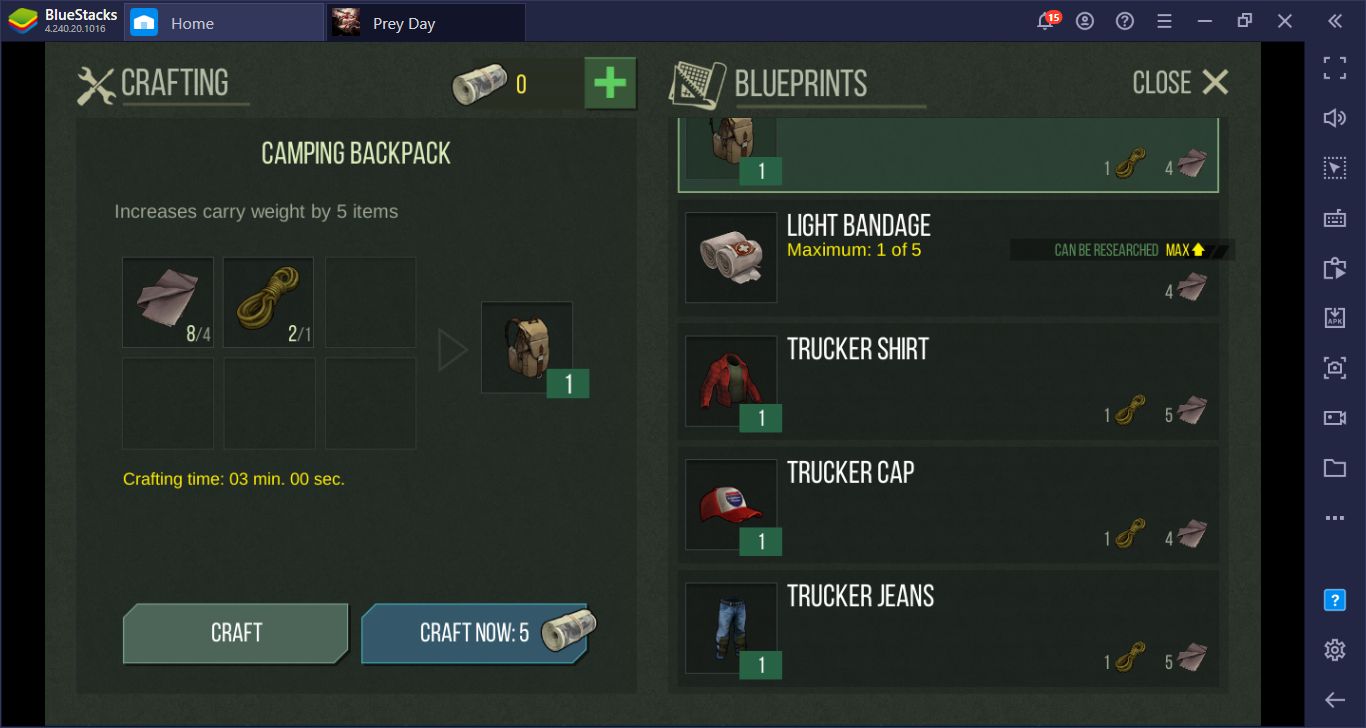
And the Sewing Table makes you look classy – it may be the apocalypse but you still have to look good.
Remember that everything you produce is completed within a certain amount of time. Depending on how powerful and effective it is, it may take you from 5 minutes to wait for hours to craft an item. In addition, you have to collect multiple resources to craft each item. Don’t forget to loot everything you can collect on each map: Even simple pieces of paper can be used for crafting. You may also need to research first to craft some items.
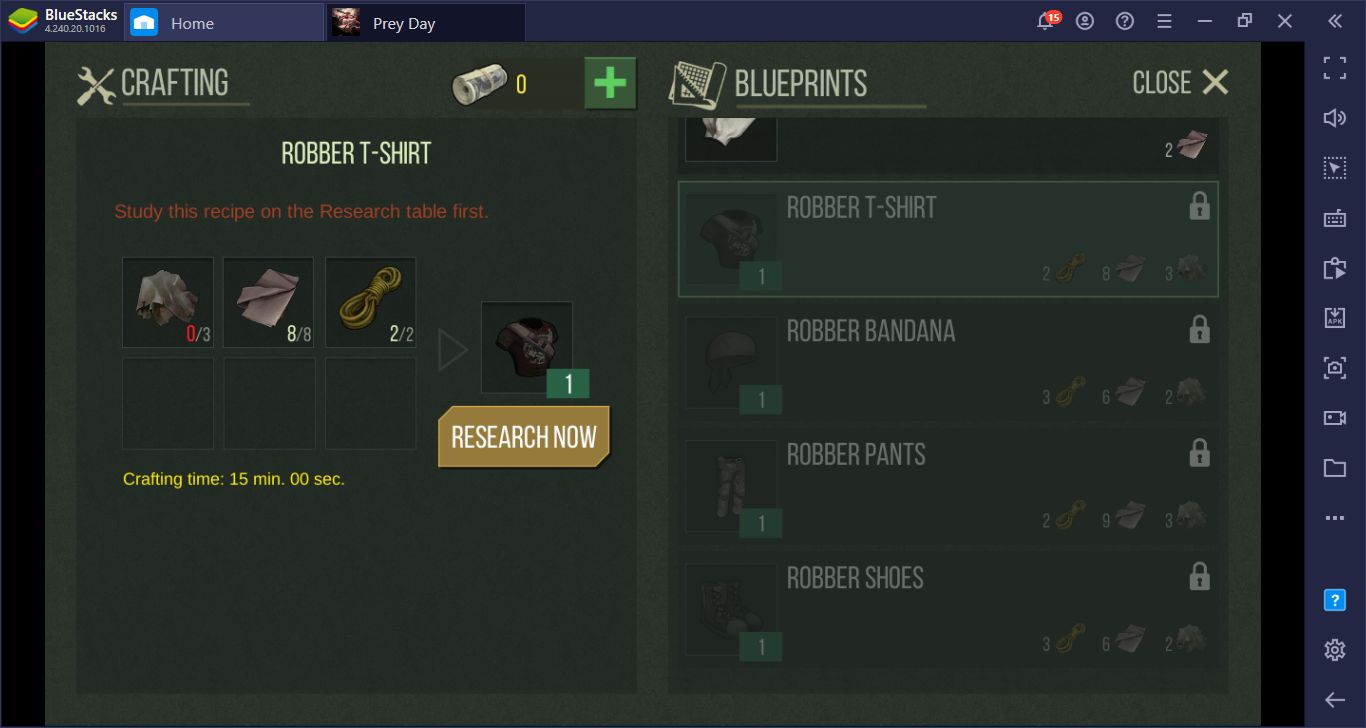
Robber t-shirt takes 15 minutes to produce, requires three materials, and you have to do some research first.
After building these two base stations, you can continue with:
- Seedbed: You can use it to grow vegetables and plants. It will solve your hunger problem for a long time.
- Well: Ideal for solving your thirst problem.
- Bed: It replenishes your health every 8 hours without the need for medkits.
- Medical Table: Allows you to produce medkits.
When you reach level 44, you will unlock all manufacturing stations. You can start focusing on other categories around level 20. In the Infrastructure category, there are materials you can use to repair your home such as walls and doors. The Storage category allows you to produce chests where you can transfer items in your inventory. You can use the Defense category to defend your home and the Furniture category to decorate it.
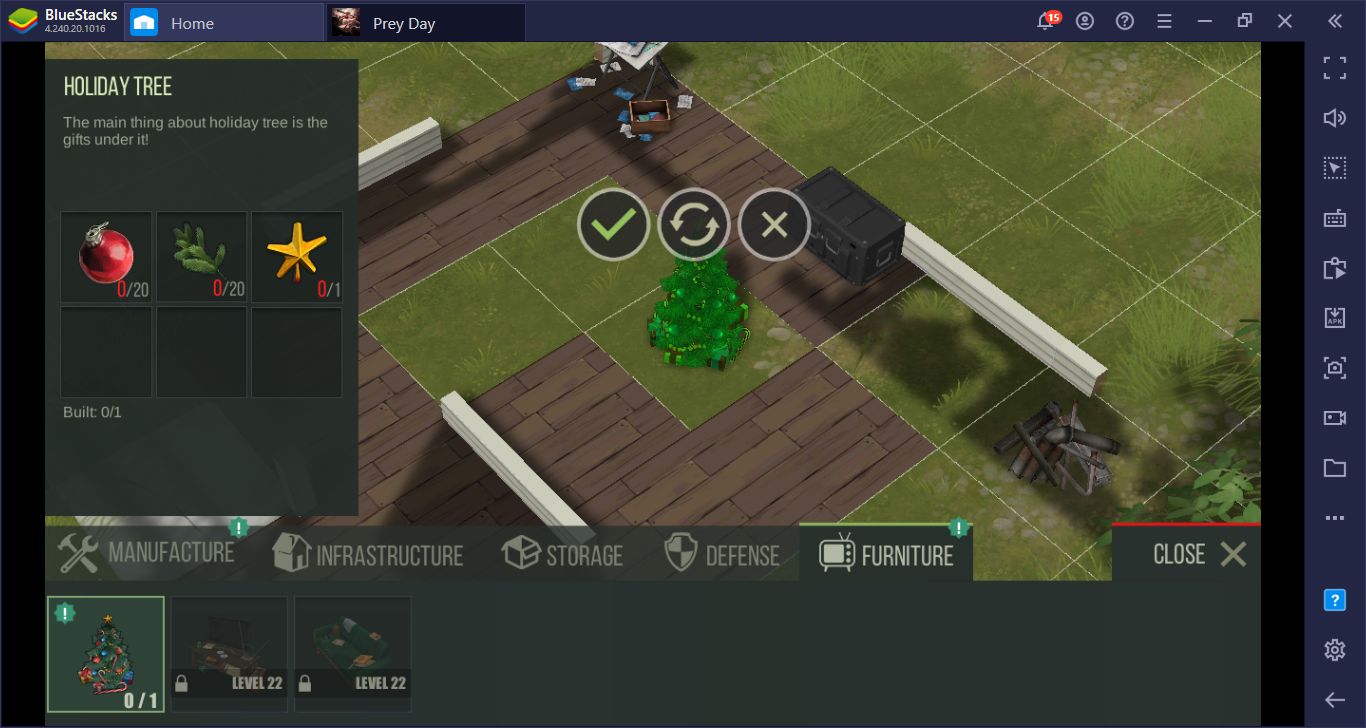
Even zombies can enjoy a nicely done Christmas tree.
Tips & Tricks About Your Home
- You can also use your house as a resource gathering area. There are different types of resources that can be gathered around and they are renewed regularly. They can be very useful for completing some basic production jobs.
- As soon as you have access to your home, start researching. You can find the research table in the ruined house. We recommend that you complete the Light Bandage, Rope, and Soybeans studies with priority. These unlock many items in health, crafting, and food categories.
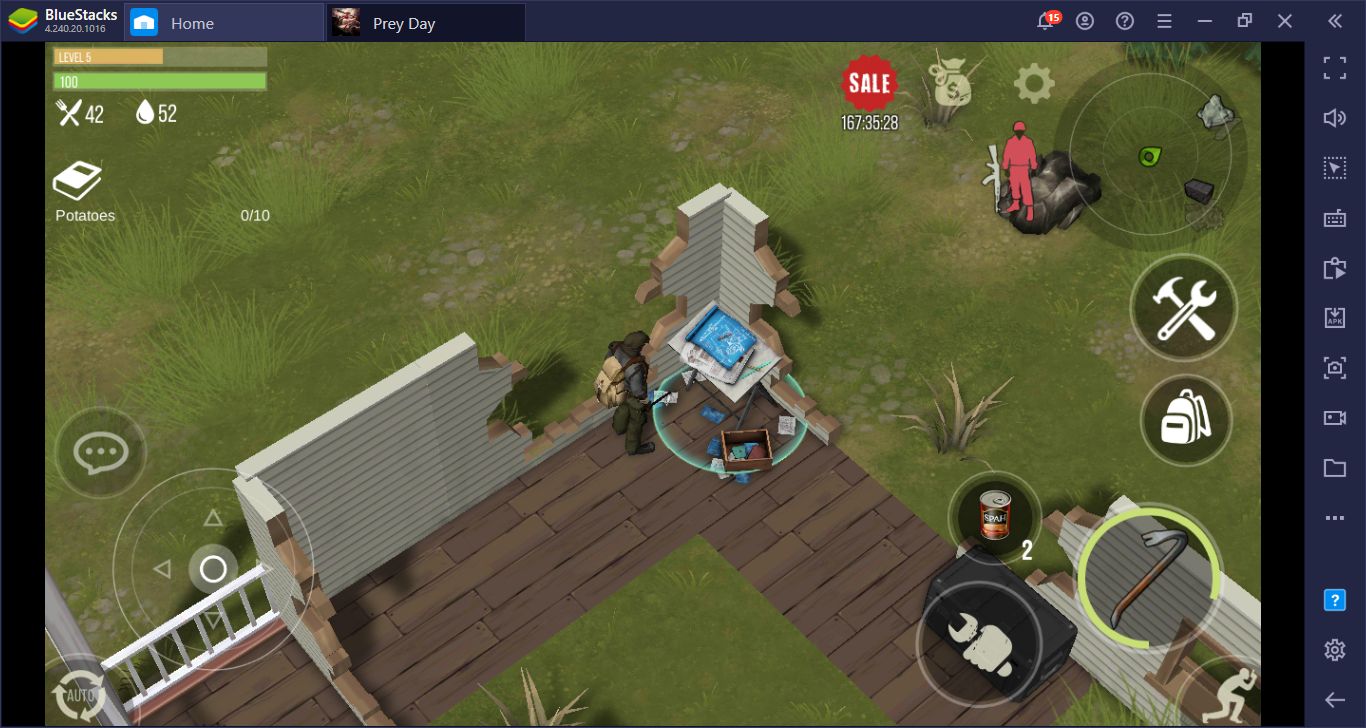
You can find your research table here.
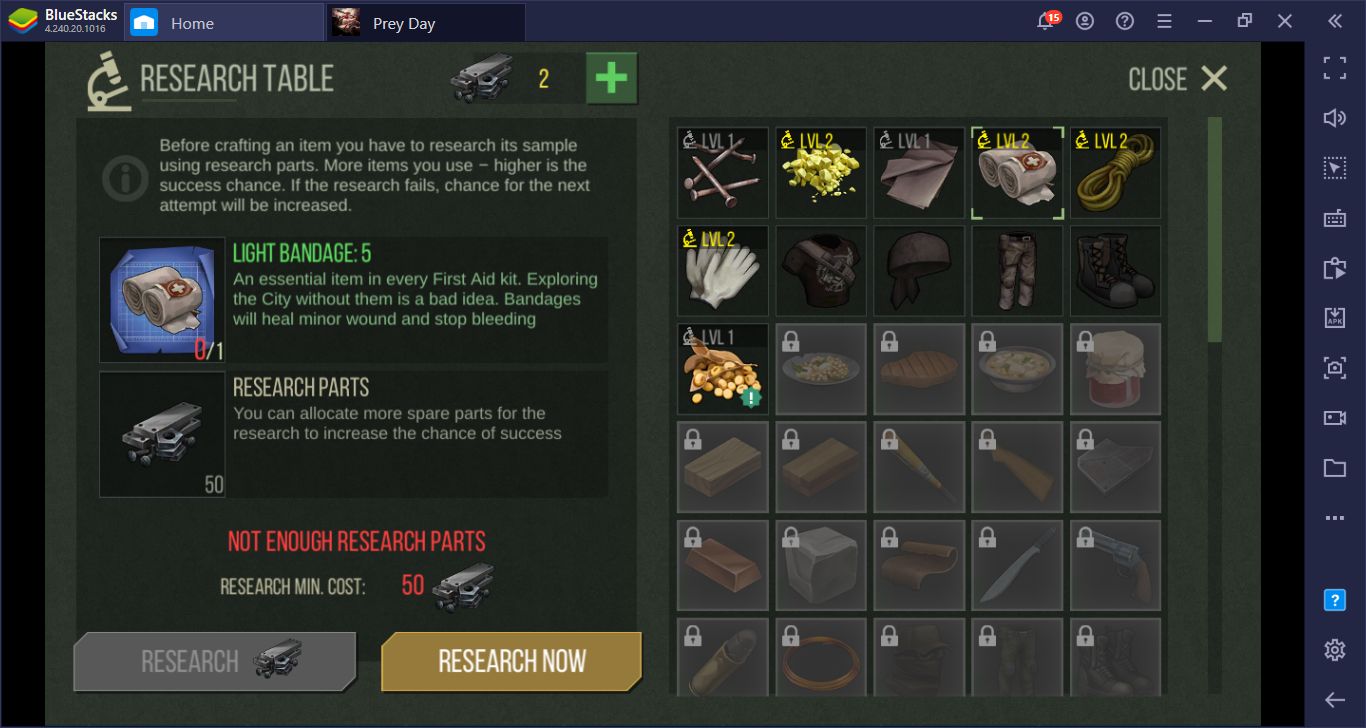
And these are the things you can research.
Craft at least two of the basic chests in the Storage category. You can use everything you collect for a specific production job, but your inventory is very limited. You will often need to go back to your home and transfer things in your inventory to these chests. The more chests you have, the more you store: This is essential for building an efficient and uninterrupted production line.
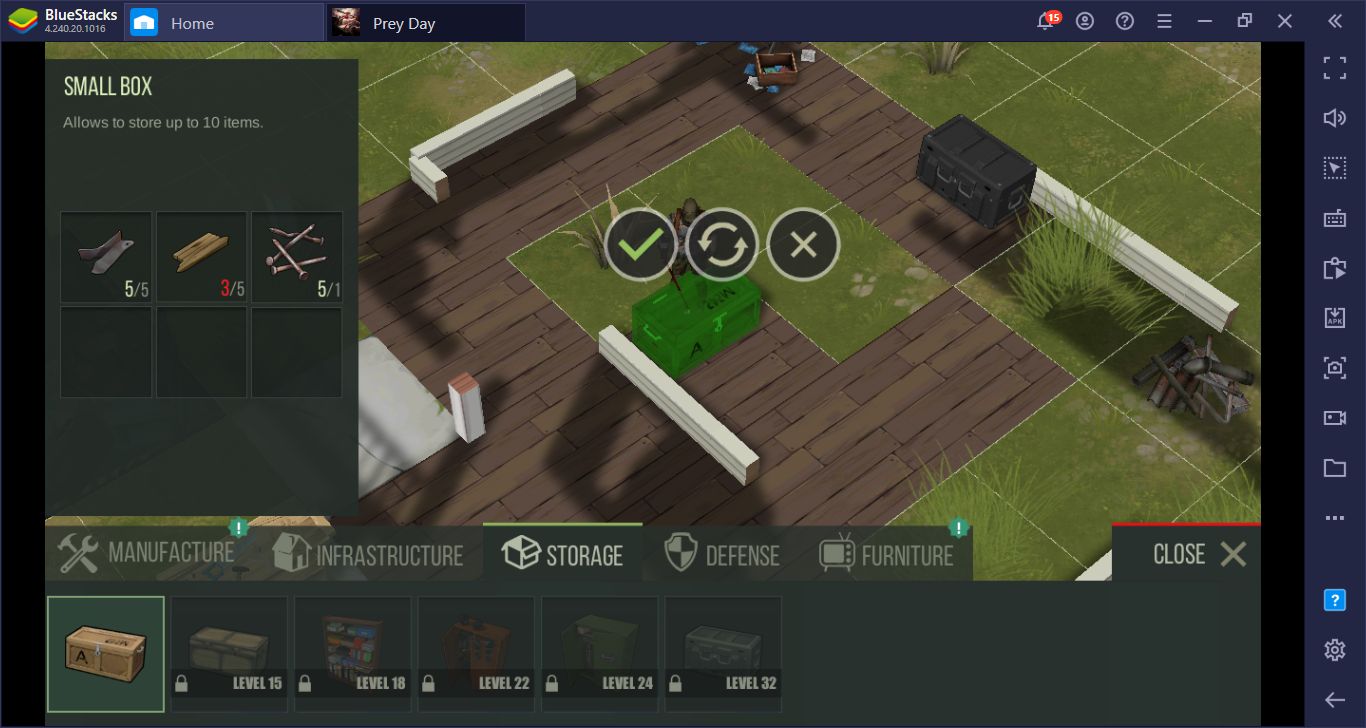
Try to build as many chests as possible.
With a little effort and care, you can quickly create the home of your dreams and start living in paradise in the middle of the zombie apocalypse. Your home is the most important thing for your survival, so you need to keep growing and improving it without stopping. As always, remember that BlueStacks offers a lot of features to help you, and you can check out our other Prey Day: Survive the Zombie Apocalypse guides for more information. Let’s fight against the zombies together!

