BlueStacks Install, Setup, And Configuration Guide For Raider Origin MMORPG
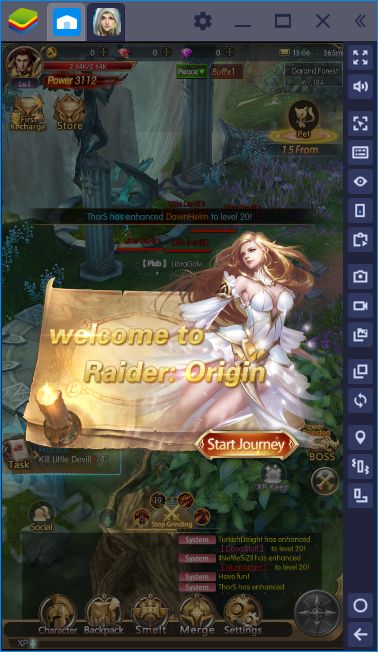
Vertical action RPG games (ARPG) are not a new idea, but Raider: Origin from 4399EN takes it to another level: You really don’t need a “widescreen” to play this game. It offers all the common features of ARPGS in a small, tiny window and somehow still manages to offer a clean and easy-to-use interface. And as always, playing Raider: Origin on BlueStacks further improves the gameplay and lets you complete the “grinding” as easy as possible. In this article, we will show you how to do this: Welcome to the installation, setup, and configuration guide of Raider Origin, the tiniest ARPG you can play.

Find Raider Origin On BlueStacks App Center
You can start by searching the name of the game on BlueStacks App Center. And once you find it, the only thing you need to do is clicking the “install” button: BlueStacks will handle the rest, you don’t need to install the Raider: Origin APK file manually. The game is less than 100 MB (yes, it is really that tiny) and the download won’t take long, you can start your adventure in mere minutes. Once Raider Origin is installed, you can click on its icon and launch the game.
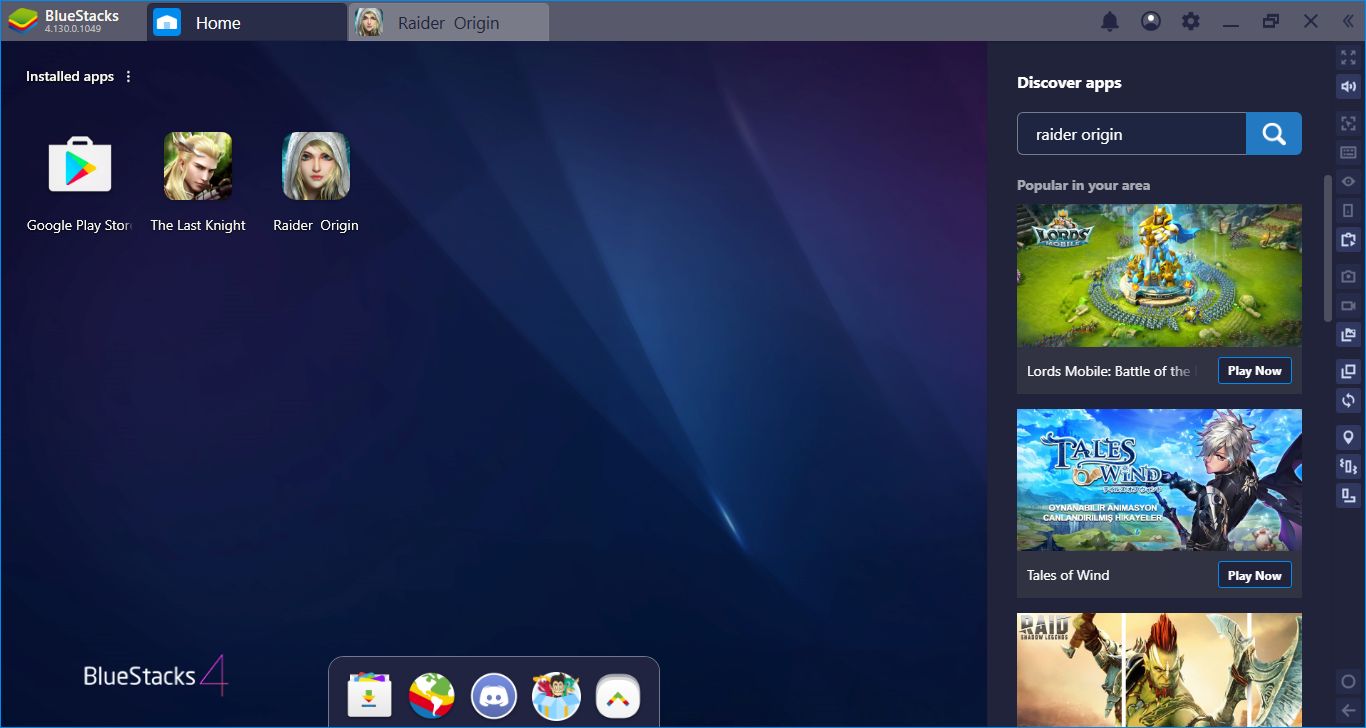
Type the name of the game in this box and press Enter.
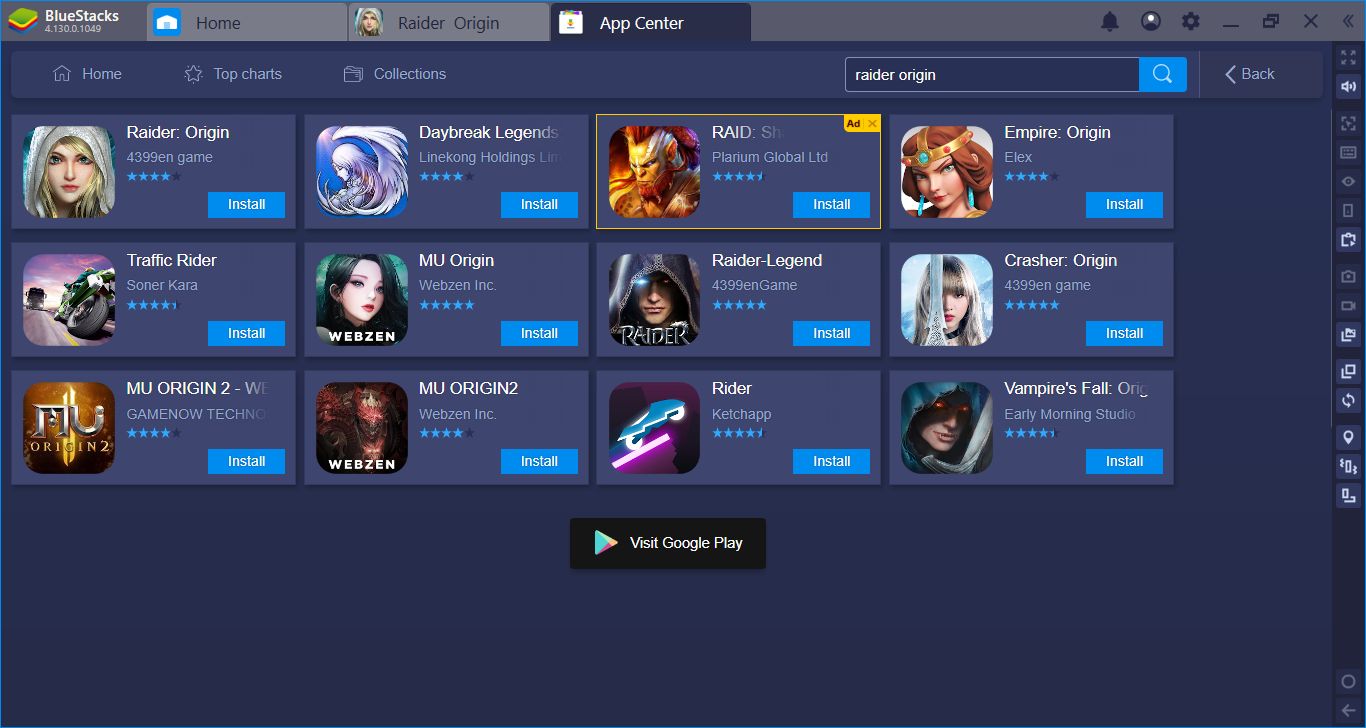
Click on the “install” button – this won’t take long.
Assigning Keys & Configuring Controls
To be honest, configuring the controls is not needed at all – Raider: Origin is designed to play with the minimum amount of player interaction (we will explain what this means in our review). Basically, your mouse is the only control tool you need and even that won’t be needed much often. The automatic gameplay starts exactly at the beginning and you can choose just to watch it: There is no important button to “click”. But this does not mean that BlueStacks does not support personalized controls. On the contrary, you can assign a keyboard key to every button on the interface, if needed. To do so, launch our Advanced Keymap Tool and drag “tap spots” on top of these buttons. You can see an example below:
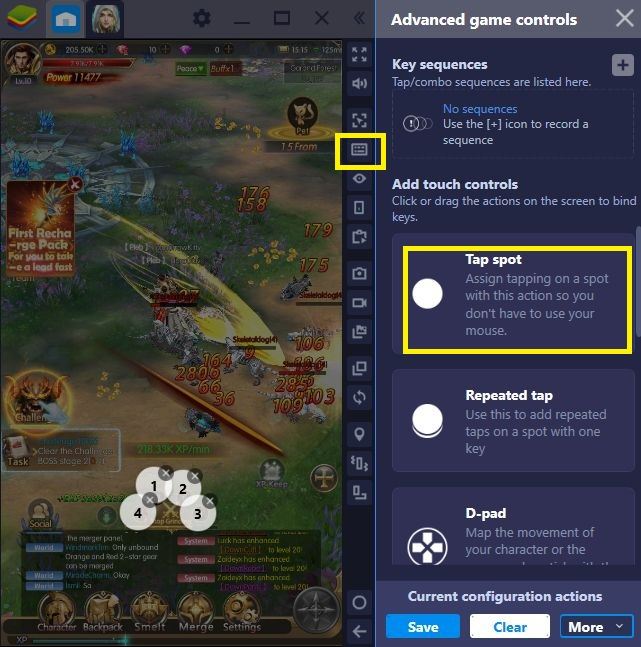
The tiny keyboard icon opens the Advanced Keymap Tool. After that, just drag tap spots on top of the buttons and assign a key. In this example, we assigned numerical keys to our battle skills. This means we can press these keys to activate the appropriate skills in the future.
Less Grind, More Gameplay With Multi-Instance
The grind is real in Raider: Origin Your heroes start to butcher enemies as soon as you log in and they do not stop unless you tell them to do so. In other words, this is an ARPG that requires heavy grinding. And once you reach the last level, you need to repeat the process from the start if you want to try another class. Well, why not do both at the same time? The Multi-Instance feature of BlueStacks will allow you to level two classes at the same time. Raider: Origin MMORPG contains only two classes, so this will be quite easy: Launch two instances, create two classes, turn on auto-combat, and watch the results. Your heroes will grind and reach the last level automatically on both of these instances. And our Combo Feature can always help you if you think the auto-combat is clunky (and it kind of is).
Play Raider: Origin on BlueStacks
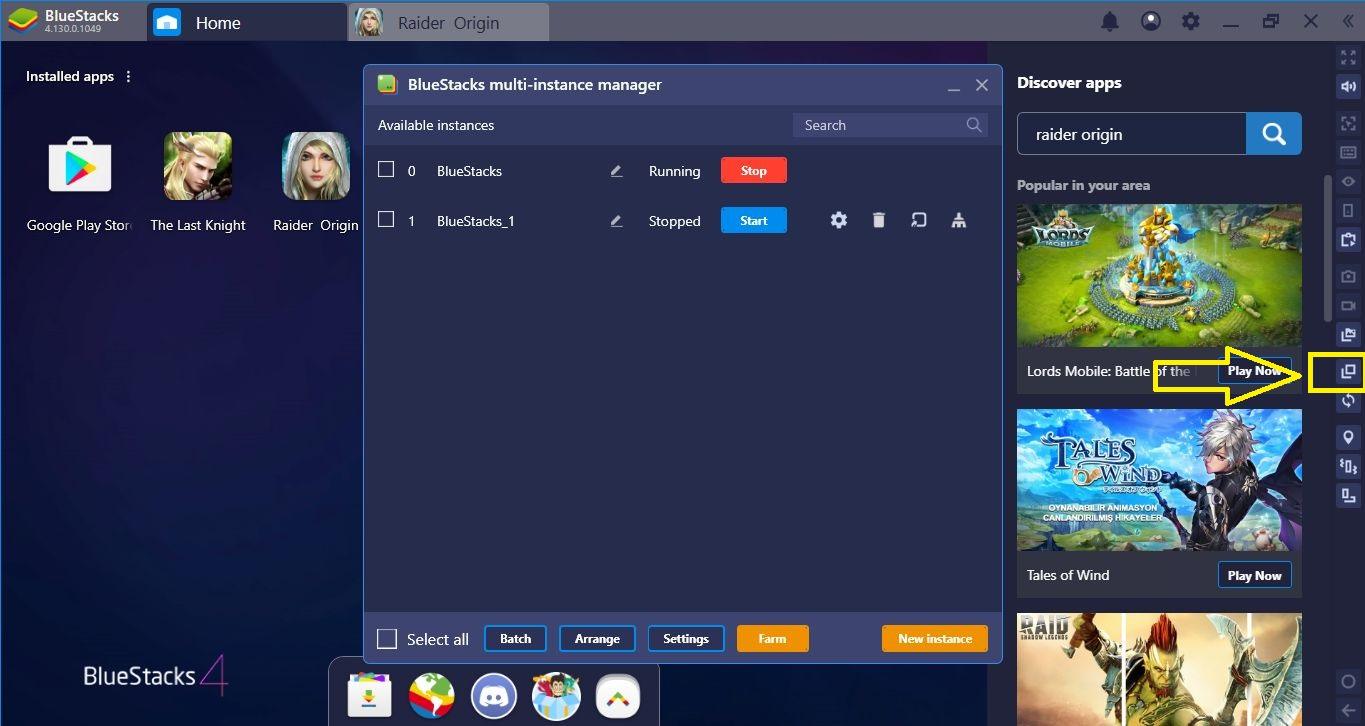
Creating only two instances will be enough.
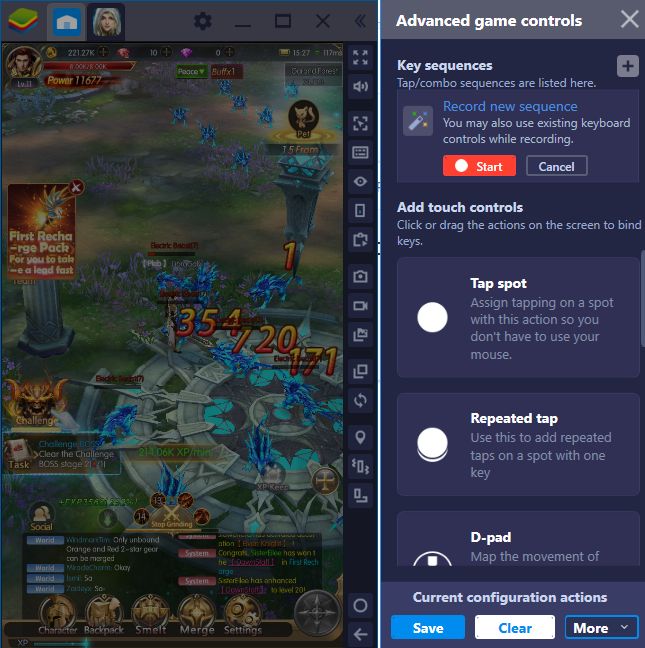
Our hero uses his skills automatically but randomly, which makes them not efficient enough. Well, we will create a Combo Key, record a certain skill order, and let that recording repeat itself. You can do this for both instances – take a look at our BlueStacks Combo Key article to learn the details.
Well, we think that you are now ready to embark your adventure: You have everything you need to make your job easier. We can further ease your job if you take a look at our other articles for Raider: Origin MMORPG. We think that this is one of the best casual ARPGs you can play at the moment, and prepared a couple of guides about it – don’t forget to take a look.


