More Essential Tips and Tricks for Mastering State of Survival on PC


Welcome back, survivors! Today, we’re revisiting the perilous world of State of Survival, a thrilling game where strategy meets survival in a zombie-infested landscape. However, as the game evolves, so does our approach to conquering the apocalypse. That’s why we’re here with an guide, tailored for both new recruits and seasoned commanders who play on BlueStacks. We’ve gathered more insights and strategies to enhance your gameplay, ensuring you’re equipped to thrive and survive.
Ready to expand your arsenal of tactics? Let’s jump right in!
Surviving is Easier on PC with BlueStacks
If there’s one tip we can’t emphasize enough, it’s the significant advantage you gain by playing State of Survival on PC with BlueStacks. We highlighted this in our previous guide, and it remains just as crucial today. Transitioning from mobile to PC opens up a world of inherent benefits that can transform your gameplay experience.
Firstly, the larger screen size on PC doesn’t just mean better visibility—though seeing zombies coming from a mile away is certainly a perk! It also means enjoying enhanced graphics and smoother performance, which are critical in a game where every detail counts. But the benefits don’t stop at just aesthetics and fluidity.
BlueStacks equips you with a plethora of tools and features designed to optimize your gameplay. The Instance Manager allows you to run multiple farm accounts simultaneously, a game-changer for expanding your resources and strengthening your base. With the Keymapping Tool, you can customize controls to your preference, making your response times quicker and gameplay more intuitive. Additionally, the Macro Recorder offers the ability to automate repetitive tasks—like daily resource collection or routine base management—freeing up your time to strategize and explore new ways to conquer the undead.
Each of these features not only enhances your experience but also maximizes your efficiency in managing and expanding your survival outpost in State of Survival.
Save your Chief EXP for When You Need Quick Stamina Boosts
An essential part of mastering State of Survival is managing your resources wisely, and one of the most crucial resources is your stamina. Stamina is needed for various activities like attacking NPCs on the world map, which is a fast way to gather resources but can also deplete your stamina quickly.
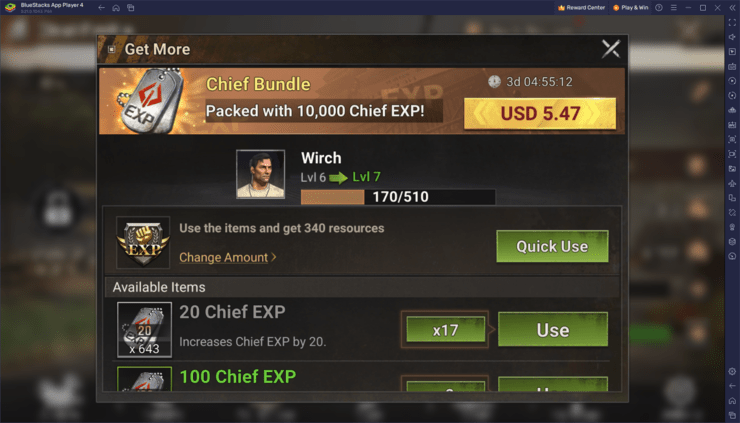
Here’s a pro tip: conserve the dog tags you earn from completing challenges. These dog tags are more than just badges of honor; they grant Chief EXP, which is essentially your account level. When you level up your chief, your stamina is completely regenerated. This feature can be a game-changer, especially when you’re in the middle of a resource run and find yourself running low on stamina.
By saving these dog tags, you can strategically use them to level up your chief when you’re nearly out of stamina. This gives you a full stamina bar instantly, allowing you to continue farming NPCs without having to pause for a stamina recharge. Timing these level-ups for when you need that quick stamina boost can significantly enhance your efficiency and effectiveness in the game.
Plan Out Your Upgrades in Order of Importance
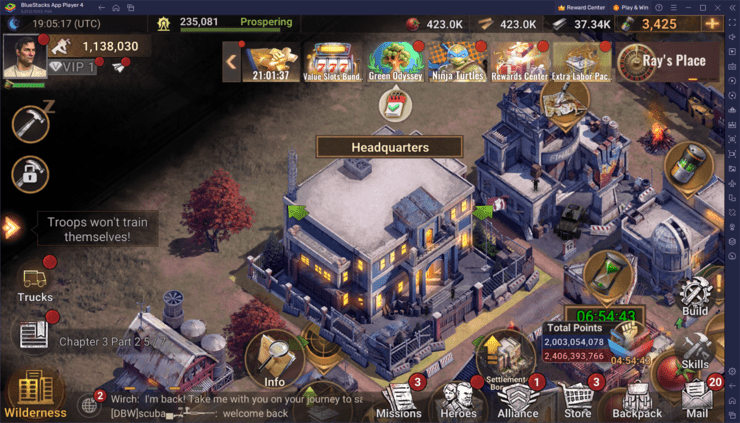
Effective base management in State of Survival hinges on strategic prioritization of your upgrades. As we’ve discussed in our previous guides, the Headquarters should always be your top priority because all other building capabilities and levels depend on it. But what comes next after ensuring your HQ is on track?
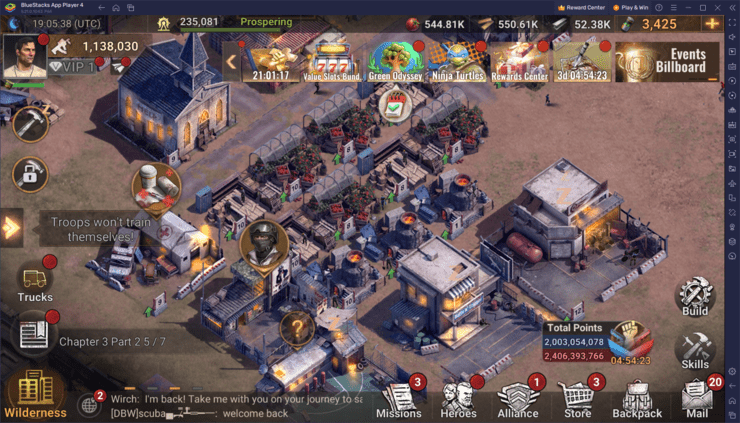
Once your HQ is set, focus on upgrading your military buildings. These structures are pivotal as they are the backbone of your military strength in the open world. Upgrading these facilities not only increases your training capacity but also unlocks higher tiers of troops for your most powerful heroes to lead, which is essential for gaining an edge in battles. Moreover, military buildings contribute significantly to the overall power of your settlement, ranking just behind the HQ in terms of importance.
After securing a robust military infrastructure, shift your attention to other buildings within your town. Remember, to upgrade your HQ, specific other buildings need to meet certain level requirements first. In scenarios where a particular building upgrade is a prerequisite for enhancing your HQ, prioritize that upgrade. This strategic sequence ensures that your base development is efficient, and your resources are optimally utilized.
By carefully planning your upgrade path—from HQ to military buildings to other necessary structures—you ensure that your settlement grows in strength and functionality in the most effective way possible. This approach not only maximizes your settlement’s capabilities but also streamlines your progress through the game, keeping you one step ahead of the zombie threat and rival players alike.
Always Train Troops and Gather from the Map
A key strategy for maintaining steady progression in State of Survival is to ensure your settlement is constantly active, particularly when it comes to troop training and resource gathering. Your troop barracks should never be idle; continuous troop production is crucial for defense and for mounting effective attacks in the game. Similarly, gathering resources from the world map is vital, as the passive resource production from your production buildings often falls short of what you need for more extensive operations as the game progresses.
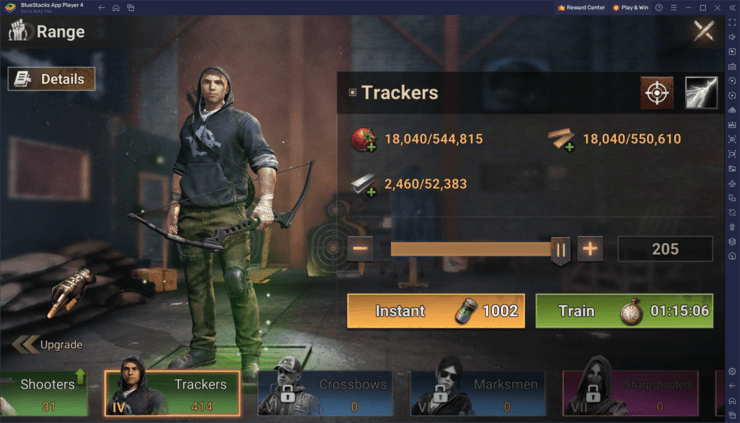
Here’s where playing on BlueStacks offers a significant advantage. As we mentioned before, by utilizing BlueStacks’ Macro Recorder, you can automate both troop training and resource gathering, as well as other of your daily tasks in State of Survival . This means that even if you’re not actively playing, you can set up macros to keep these essential tasks running. Simply record the actions needed to train troops or send out gathering parties, and then set the macro to loop indefinitely. Once that’s done, you can minimize BlueStacks and focus on other tasks on your PC. This feature not only enhances your efficiency but also ensures that your settlement continues to grow and your armies strengthen, even when you’re away from the keyboard.
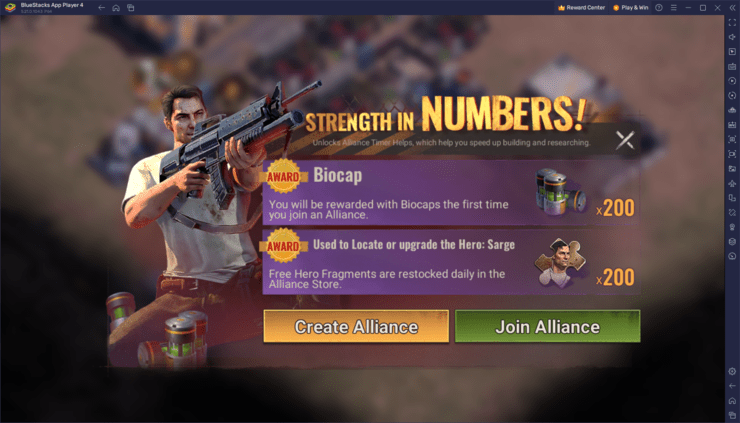
Join an Active Alliance for Your Protection and Progression
One of the most straightforward yet impactful actions you can take in State of Survival is joining an active alliance. Being part of an alliance offers multiple benefits: it deters random attacks through the threat of collective retaliation, speeds up your town’s construction with the help of alliance members, and provides access to exclusive alliance-only features and content. The collaborative nature of alliances not only bolsters your defense but also accelerates your overall game progression. We suggest joining a good and, more importantly, an active alliance, as soon as you can.
We hope these tips enhance your State of Survival experience on BlueStacks, helping you navigate the challenges of the zombie apocalypse with greater ease and effectiveness. Keep applying these strategies, and watch your survival skills—and your settlement—thrive.