World War Rising: Tips and Tricks for Beginners
Whether you’re in it for the long haul or you’re just looking to increase your power as fast as possible, there are a few tips and tricks every beginner needs to know in order to master World War Rising. We’ve already covered some pretty significant advantages you gain by playing the game on BlueStacks in a different piece, which you should definitely take a look at.

In this article, though, we’d like to turn our attention to tips, strategies, and details that every beginner struggles with. We already went through that grueling learning curve just so you don’t have. Now, you can just get the crash course in WWR by reading this article. Enjoy.
Building Basics for a Powerful Base
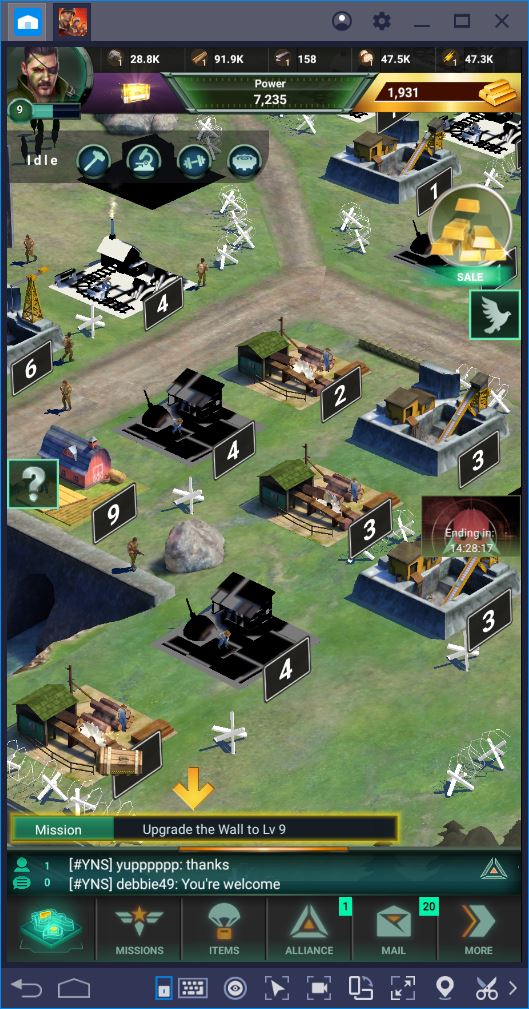
As you probably know by now, every MMORTS has its buildings. Your range of structures, alongside their upgrade level, has a direct impact on your in-game possibilities – what troops you can recruit, how many armies you can send out, and so on.
In your home base, you’ll have:
- A Command Center that determines how far your other buildings can be upgraded, how many and what quality troops you can deploy at a time, what and how much you can research, and so on. This is the heart of your WWR base. Take good care of it.
- Hospitals to heal your injured troops. Their capacity depends on the upgrade level of the building.
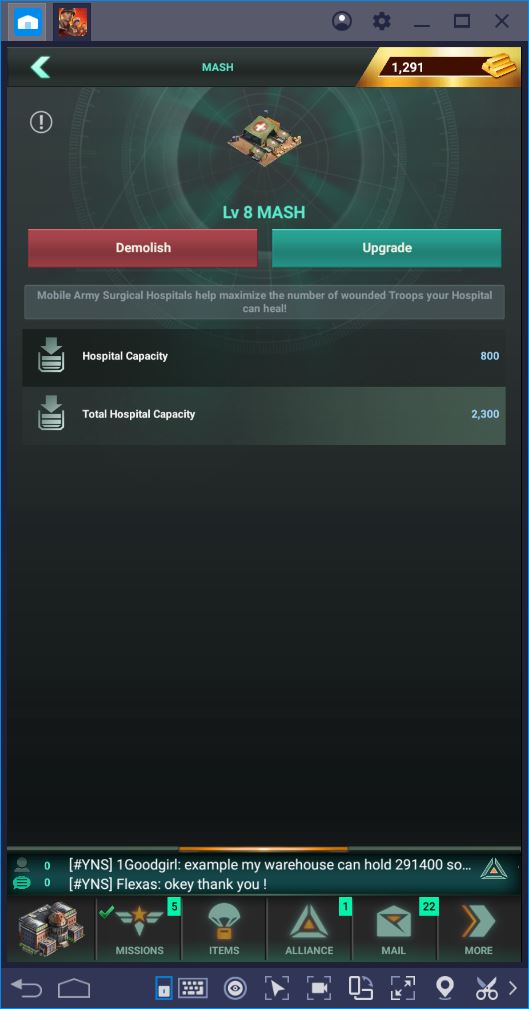
- Mobile Army Surgical Hospitals (or MASH) to maximize the number of wounded soldiers your hospitals can heal. These are really important. Since you can have more, make at least 3-4 once your beginner protection expires and you want to go out hunting.
- Training Grounds where you can recruit your army. Tier 1s are cheap to make, cheap to heal, and easy to maintain. They should be your go-to choice for occupying resources or unimportant skirmishes.
- A Trading Post (which requires Command Center level 8 and for you to be part of an Alliance) where you send resources to other players.
- An Armory (which requires CC lv. 10) where you can create powerful items to equip your hero with.
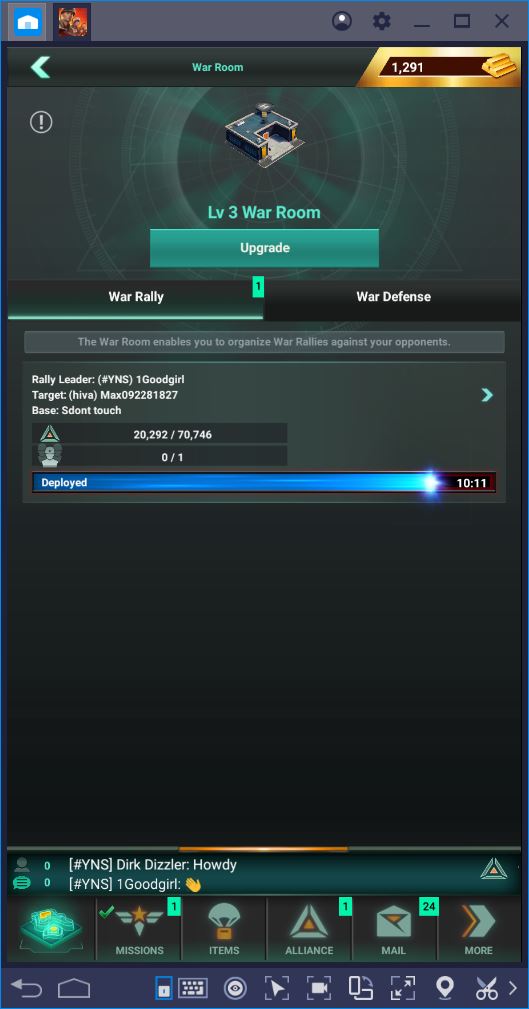
- A War Room to help coordinate rallies and group attacks, which we have found is tremendously helpful in terms of organized raids.
- A Research Center where you can gain passive boosts to all aspects of WWR gameplay, from Economy to Defense, Hero, and more.
- An Embassy where you can house troops sent to you as reinforcements from other Alliance members.
- A Radar Station that can warn you in case there are enemy and/or movements against your base.
- An immense Missile Silo which you can use to attack enemies. Because of its uniqueness and awesomeness, we talked about it in our initial game review.
- Last, but certainly not least, your resource makers – the Farms, Quarries, Lumber Mills, and Mine Shafts. You need as many of these as your base can handle. Especially Quarries.
Must-Do’s for Every Beginner
1. Always do something
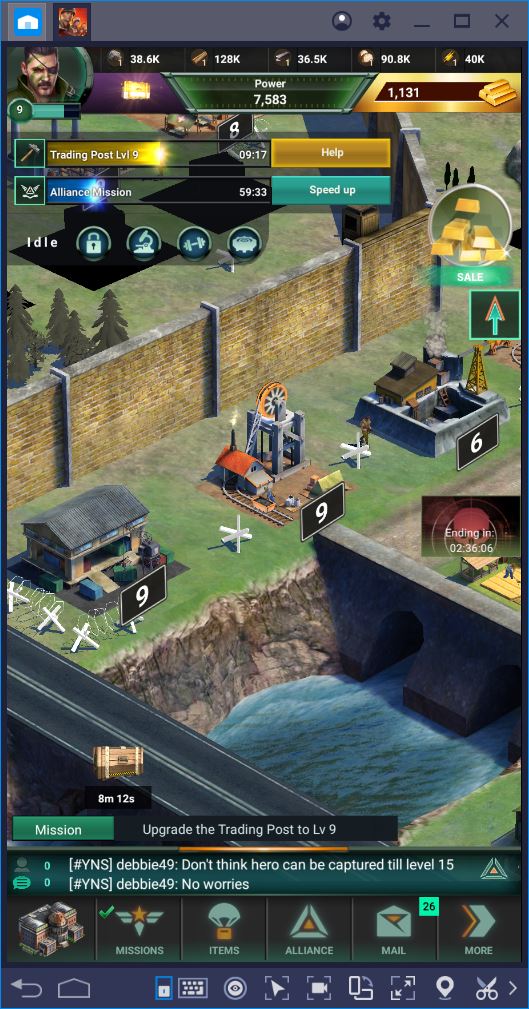
Regardless of what it is, you want to have something up and running at all times. Ideally, we recommend you choose building/upgrading over research in the beginning. Also, make sure you have enough troops to cover your upkeep. It doesn’t matter that much if you’re slightly over, but never be under. If you’re not attacking something, occupy a resource node.
Hero and alliance missions are a must. Aside from giving Loyalty Points and juicy Hero Experience, they also provide rewards in the form of resources and much more. The name of the game is multitasking.
2. Know your surroundings. Expect and prepare for the worst
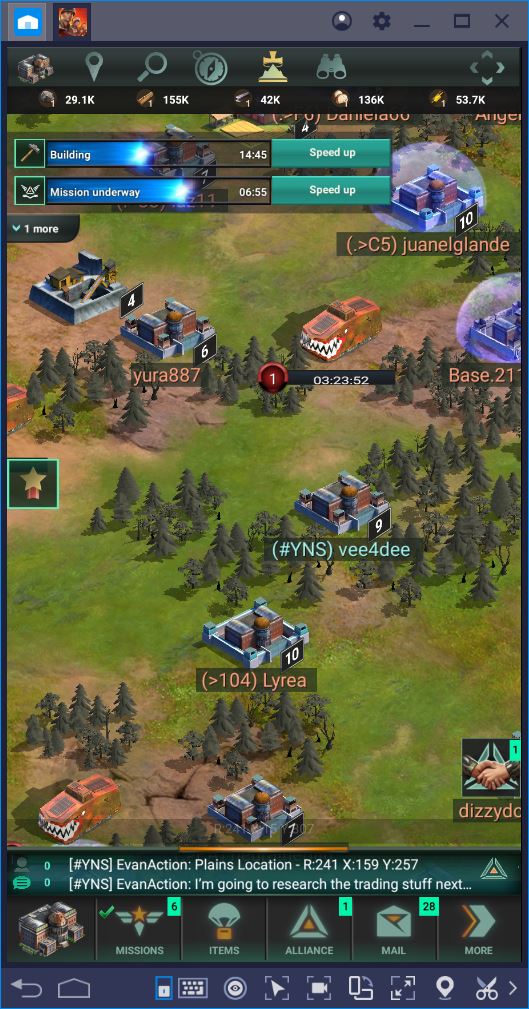
This is something you should do by default. From your first minutes into the game, make sure to check out your neighbors and their base level. It wouldn’t hurt to also know their hobbies – like, you know, if they regularly attack lower level players. Not everybody has a heart for beginners.
Also, as we mentioned in the first tip, you want to stay on top of nearby resource nodes as much as possible. Your beginner protection shield expires after only 24 hours, which is quite the race. When this happens, you need to be ready.
3. Keep your hero busy
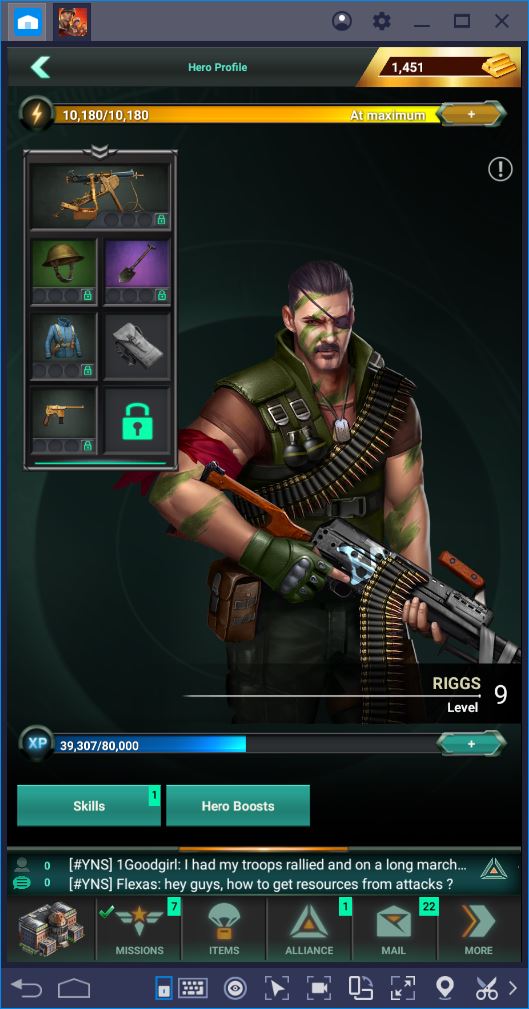
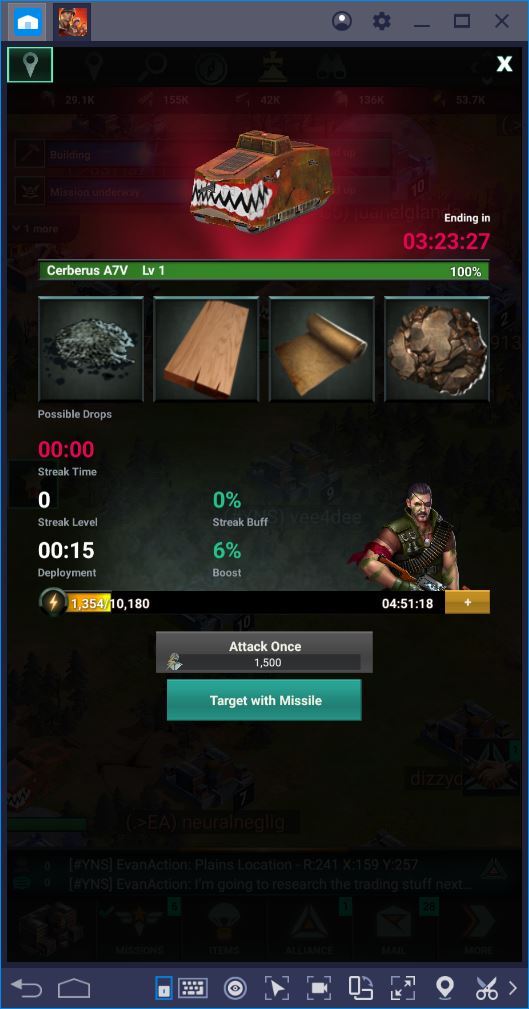
When you’re done with the Hero Missions, find some NPC units close to you. They spawn and disappear regularly. You’ll want to keep attacking Syndicate enemies on a regular basis, whenever you have the energy, so as to level your hero as fast as possible.
4. Events are your friends
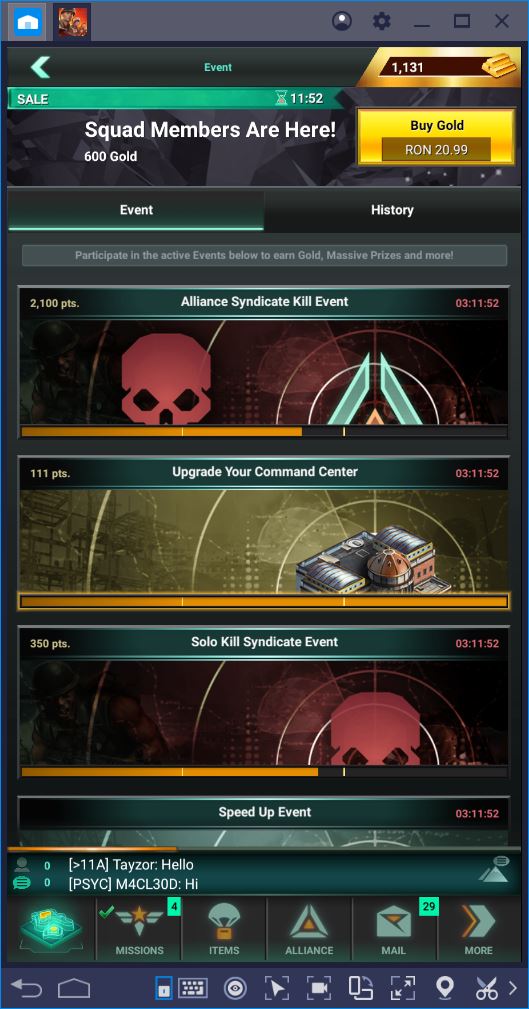
Whether it’s for speed-ups, fuel, loyalty points, ammo for your combat sim, or material crates, participating in events is definitely worth it. You can see which events are on right now by tapping the event notification on the right hand of the screen and then selecting a particular tab to see what you need to do to get some goodies.
Play World War Rising on BlueStacks
5. Use the big boy
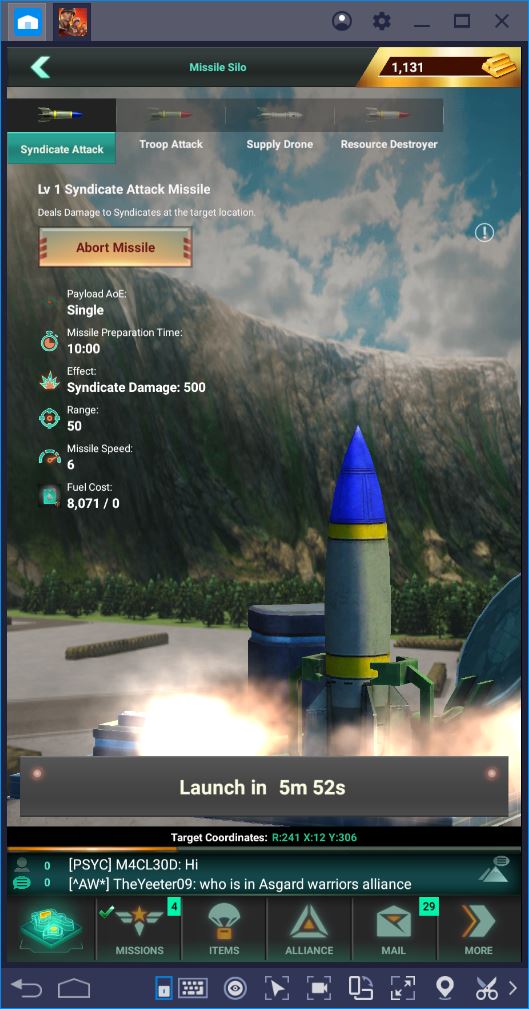
The Missile Silo is there for a reason. You’re also playing World War Rising for the same reason. This is an incredibly versatile weapon that can help you take down powerful enemy bases or NPCs when the time is right. You can destroy resource nodes close to your opponents, target their troops, and even their supply drones to steal some of those craved resources you’re lacking for the next upgrade.
6. Claim rewards for your hard work
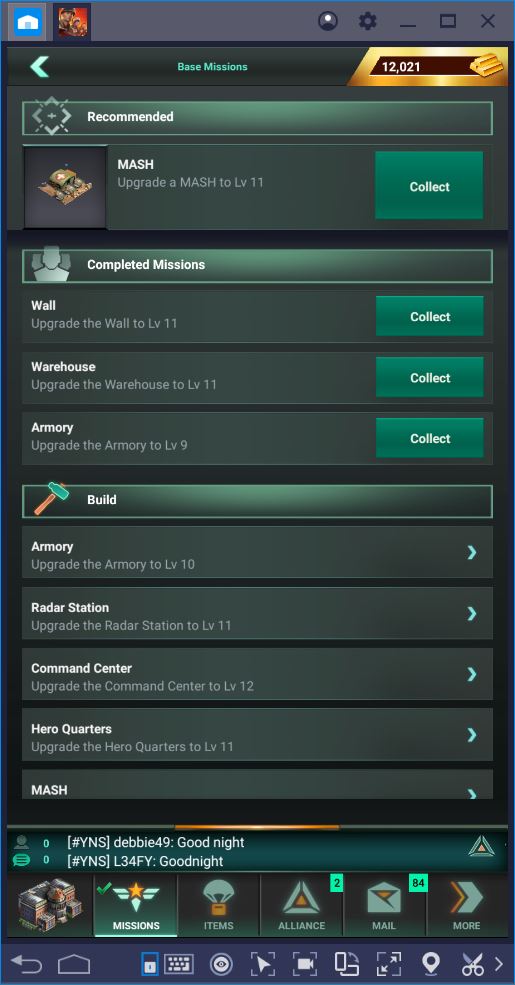
Finally, you can claim rewards for every single mission you’ve completed thus far. To do this, click on Missions at the bottom of the screen, go to Base Missions, and click Collect everywhere. These loots are far from trivial, so make sure to get what you’re due on a regular basis.
Dominate the World War Rising with BlueStacks
Now that you’ve completed the WWR crash course, you’re ready to tackle the game with an upper hand. There are still a number of things you need to learn, but these are the absolute basics that will help you start off on the right foot. Whatever you do, don’t pick on players who are stronger than you. Despite a great community, most people don’t forgive or forget aggression.
See you on the frontline!

