CrossFire: Warzone
CrossFire: Warzone

CrossFire: Warzone

Strategy

| JOYCITY Corp.

BlueStacks Verified

Play on PC with BlueStacks or from our cloud

  • Overview
  • Tips & Tricks
  • Game Features
  • How to Play

Page Modified On: December 04, 2020

Play CrossFire: Warzone on PC

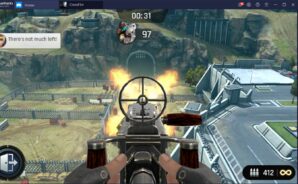
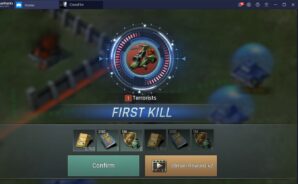
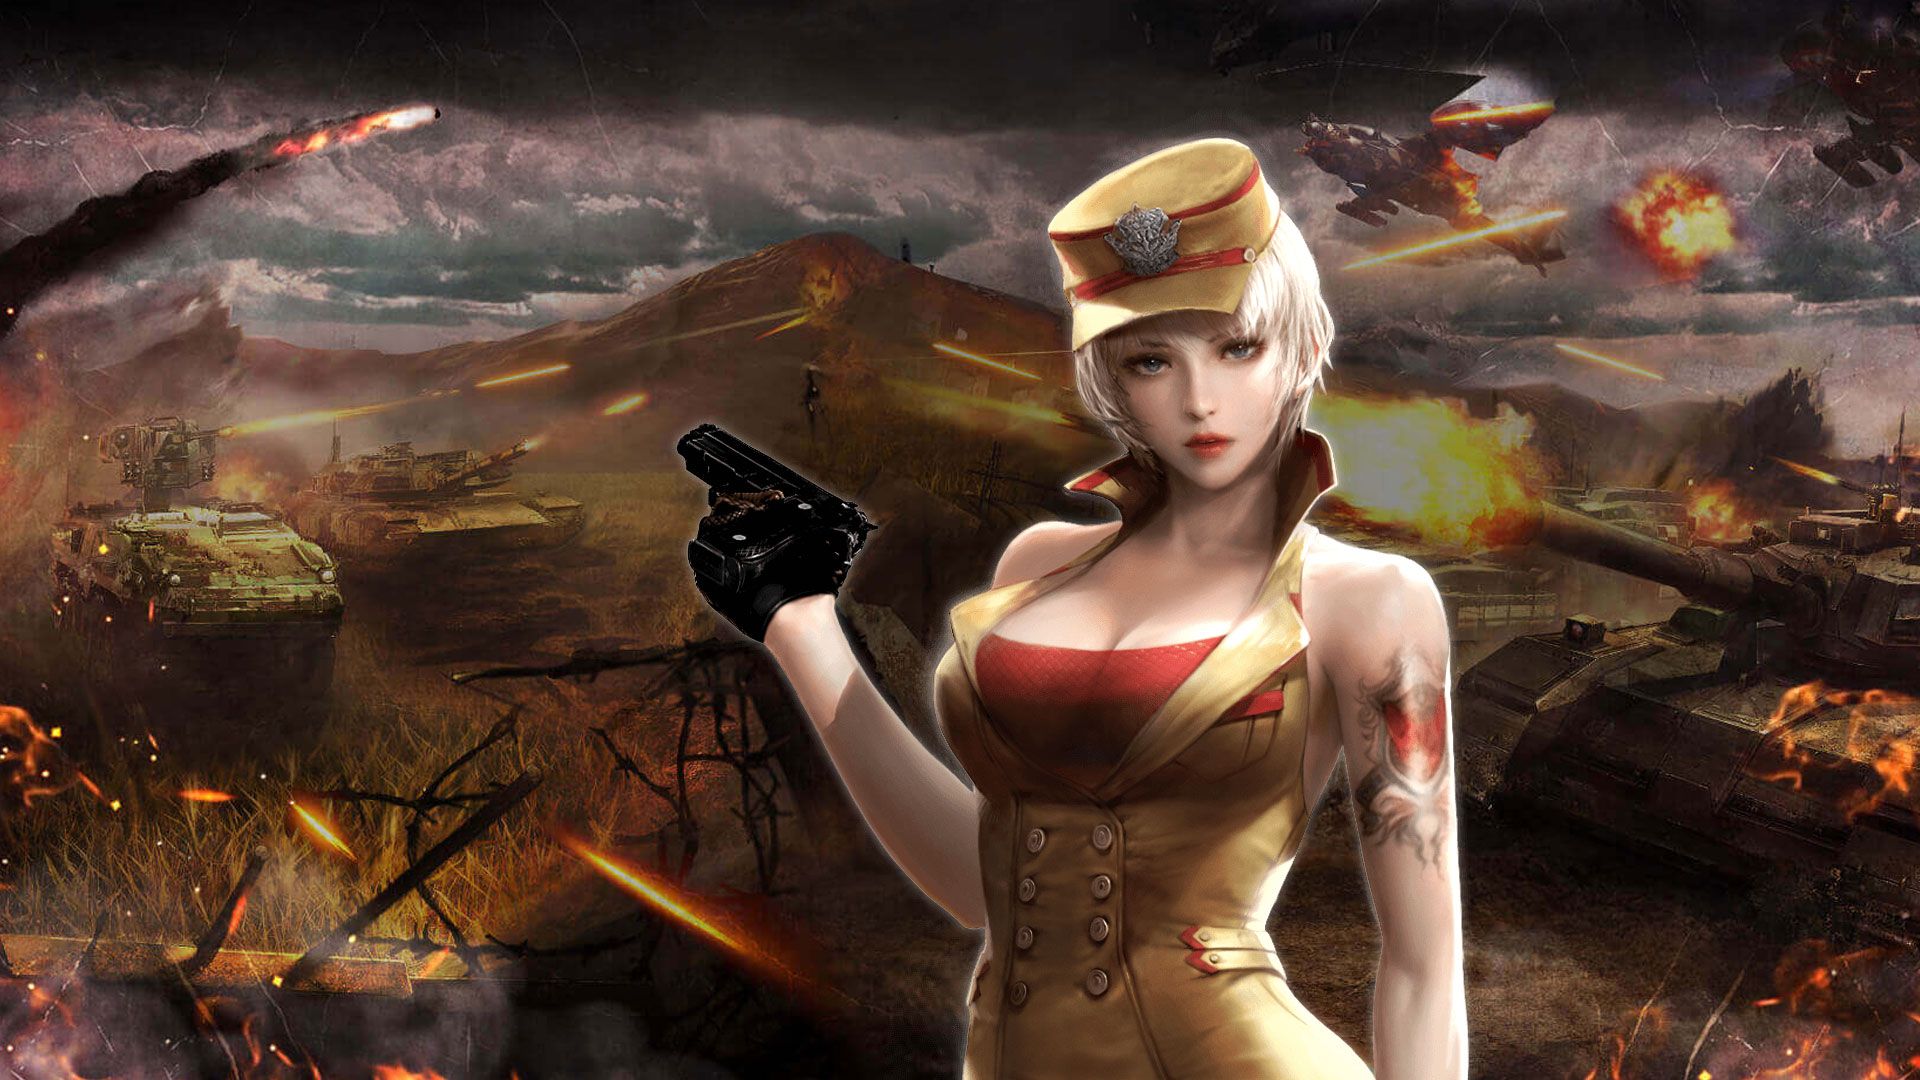
If you are a fan of Pirates of the Caribbean mobile game, the name “JoyCity Corp” will sound familiar. JoyCity Corp already has many war-themed games, but it takes the bar one step higher with CrossFire: Warzone. This game is released for iOS and Android platforms in July 2020, and it gives you the task of saving the world, once again. In the not-so-distant future, a terrorist group has captured many cities and threatens humanity with massive organic weapons. Your job as a commander is to reclaim all these cities and clear the terrorist threat. To do this, you will first establish a base, train soldiers, and use special units.


Speaking of special units, there are 25 unique heroes to collect. Each one comes with a different skillset: Natasha, for example, increases in-base resource production. Accel, on the other hand, can increase the attack power of all units: You should use him while attacking other bases. CrossFire: Warzone is a strategy and an MMO game: You can join an alliance to combine forces with other players or simply attack them – after all, this world is not big enough for multiple commanders. But be careful, because other commanders can do the same. To achieve victory, you must expand your base, train your soldiers, research new military units, and craft equipment for your special heroes. Are you ready to fight terrorists and make history as the hero who saved the world?

Game Features

Enhancements

  • Macros
  • Multi Instance
  • Multi Instance Sync
  • Eco Mode
  • Enhancements
Macros

Macros

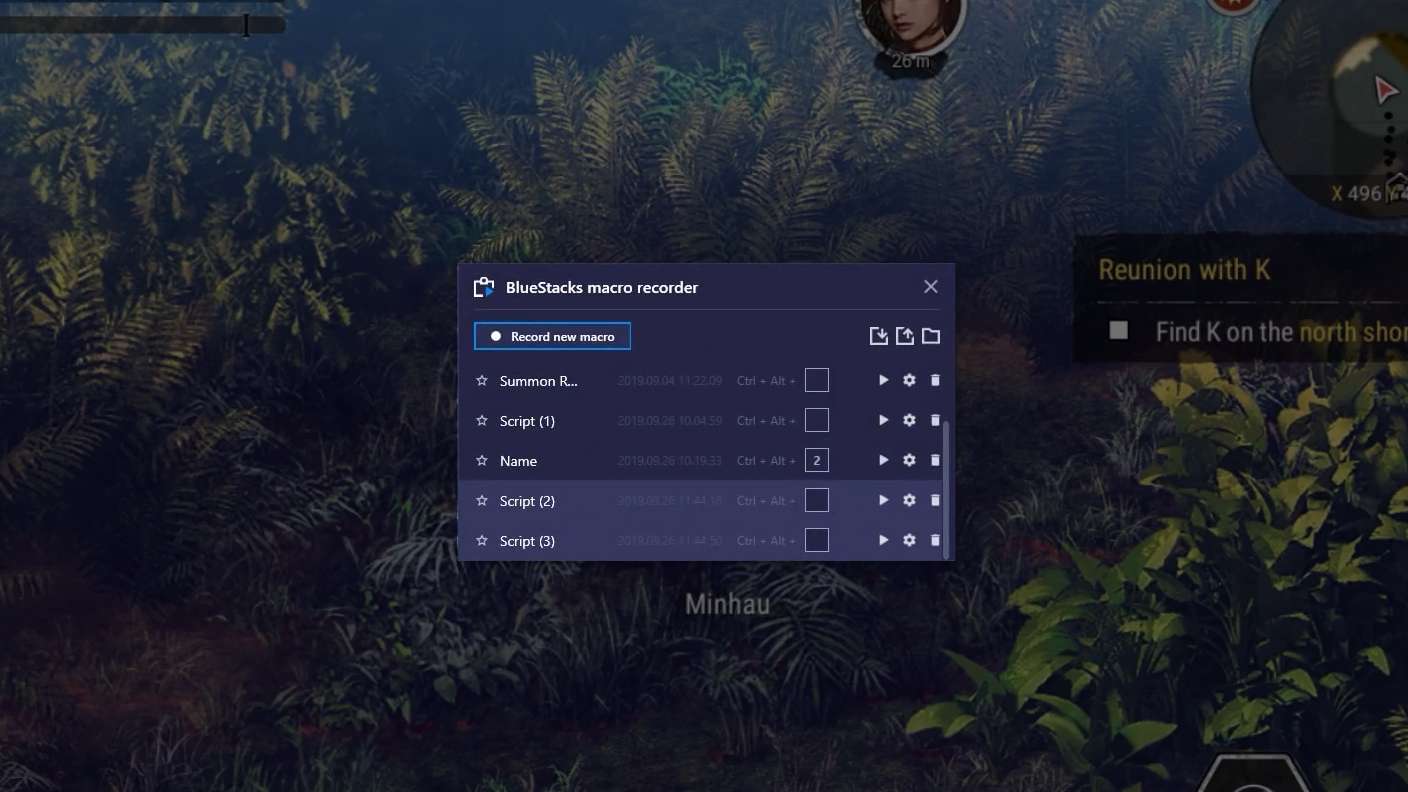
Skip the boring parts of a game. Play CrossFire: Warzone with Macros and get the edge. Simply record a sequence of commands and execute them at any moment.
Multi Instance

Multi Instance

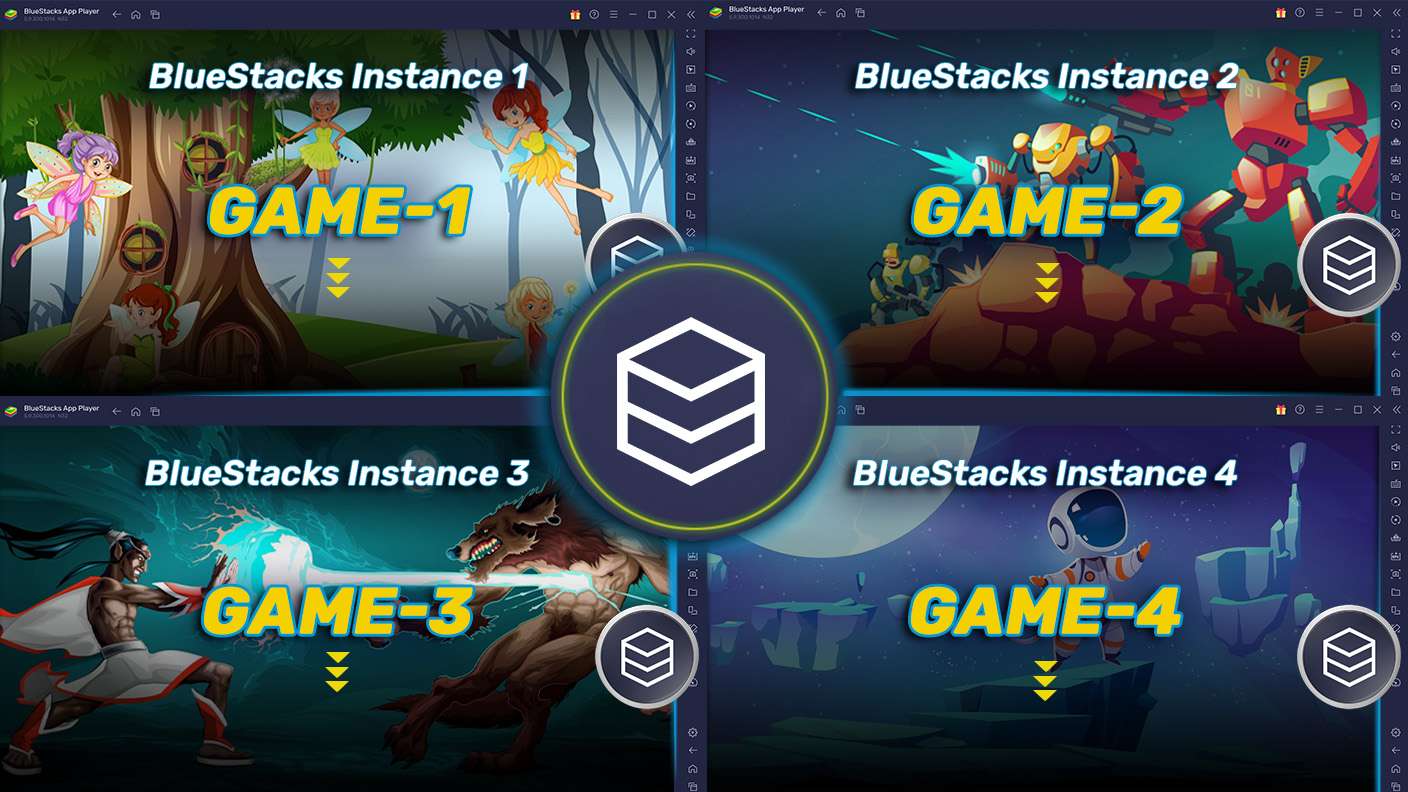
Why limit to one game on your phone when you can play many on your PC? Open multiple instances of CrossFire: Warzone at once with Multi-Instance. Leverage the power of different accounts by doing more.
Multi Instance Sync

Multi Instance Sync

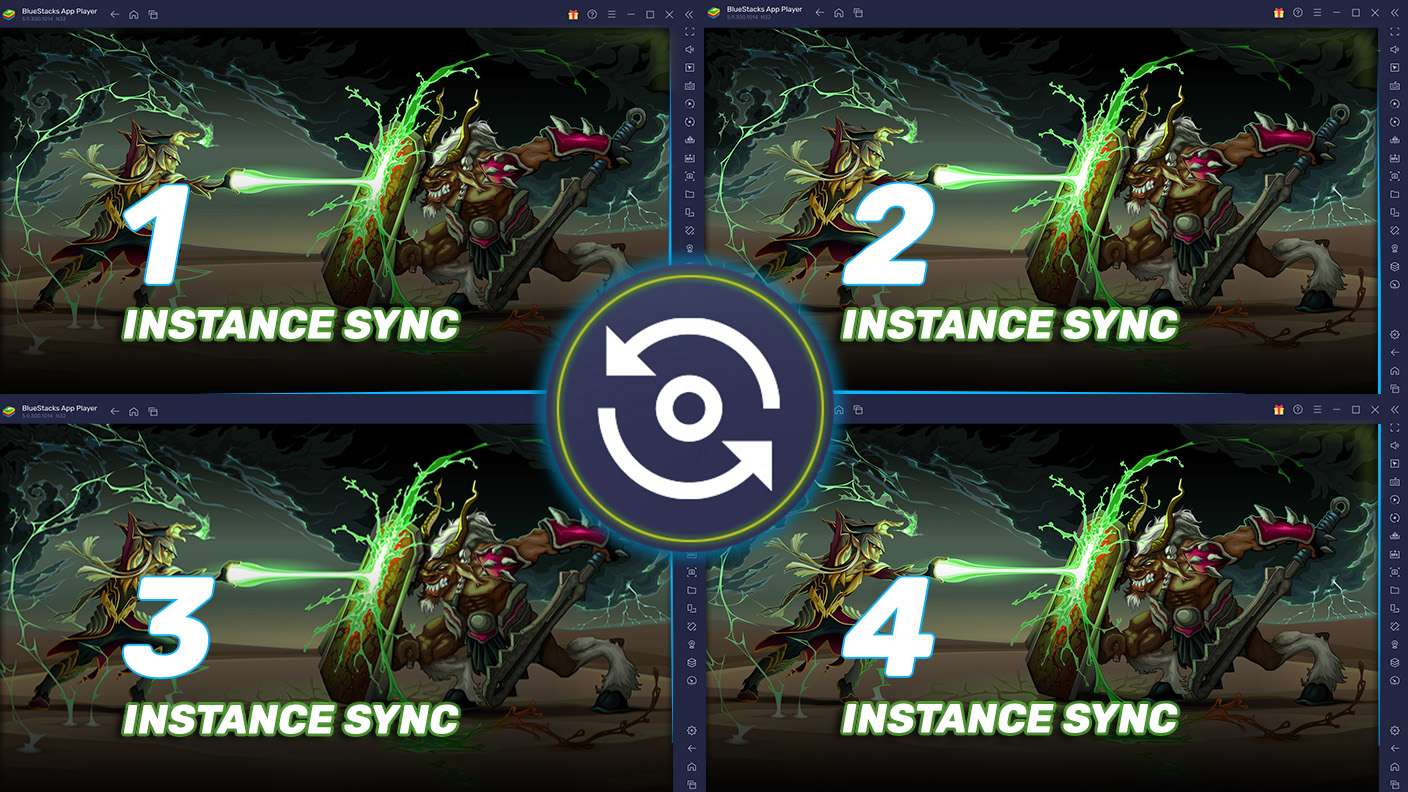
Get the best out of CrossFire: Warzone with Multi-Instance Sync. Play the game from different accounts and build your own empire. Use Multi-instance sync to repeat the action in the main BlueStacks instance on all other instances.
Eco Mode

Eco Mode

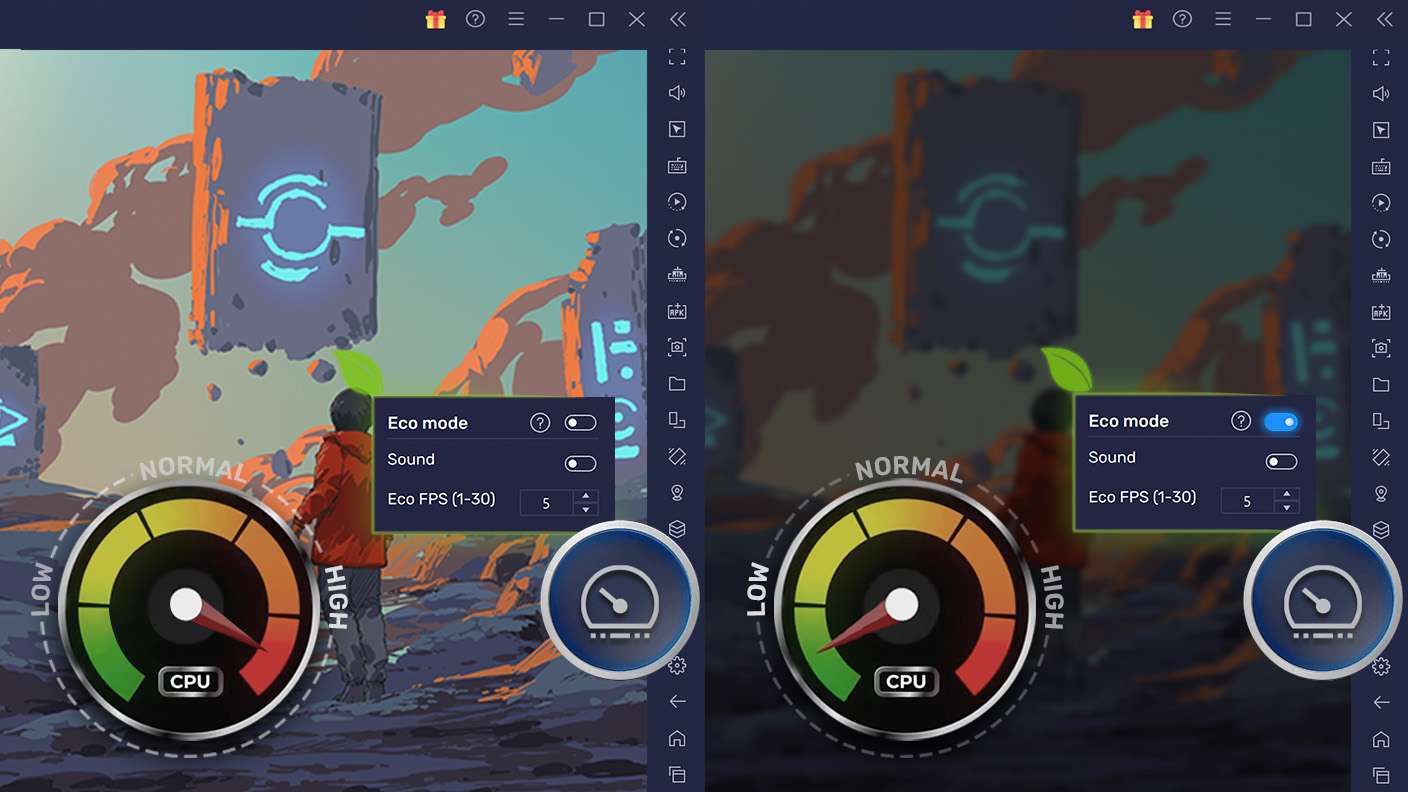
Find the rarest heroes by making multiple summons in CrossFire: Warzone. And while you are at it, reduce your PC’s resource consumption with the Eco Mode. Farm efficiently. Get the best results.
Read More

How to Download and Play CrossFire: Warzone on PC

  • Download and install BlueStacks on your PC

  • Complete Google sign-in to access the Play Store, or do it later

  • Look for CrossFire: Warzone in the search bar at the top right corner

  • Click to install CrossFire: Warzone from the search results

  • Complete Google sign-in (if you skipped step 2) to install CrossFire: Warzone

  • Click the CrossFire: Warzone icon on the home screen to start playing

video
Watch Video

As always, BlueStacks offers you everything you need to save the world. Fighting terrorists is not an easy task and you need help: First of all, you should choose the right control tool. Another thing you need is to be able to play on a big screen: This is the only way of seeing the entire battlefield at once and understanding where your rivals and yourself are. You can’t do that on the small screen of mobile phones, even if you have eyes like a telescope: The size of the screen is always a problem. So, how do you get both the big screen and the ease of control?

BlueStacks offers both of these: Thanks to our customizable controls, you can play CrossFire: Warzone with a gamepad or simply use your keyboard and mouse. Since you can play the game on your computer, you can change the resolution of your monitor to get the level of detail you want. To get started, download and install the BlueStacks version for your operating system (Microsoft Windows/Mac). After launching BlueStacks for the first time, log in with your Google account. You are now ready to download games from the Play Store: Search “CrossFire: Warzone” in our Game Center and click the “install” button. BlueStacks will do all the rest and notify you when the game is ready to play. Remember that with our Macro Recorder feature, you can automatize the resource collection process gain a significant advantage over other bases. All you have to do is start building your base by clicking on the CrossFire: Warzone icon on the home screen: Let’s save the world together!

Minimum System Requirements

With BlueStacks 5, you can get started on a PC that fulfills the following requirements.

  • Operating System

    Microsoft Windows 7 or above

  • Processor

    Intel or AMD Processor

  • RAM

    at least 4GB

  • HDD

    5GB Free Disk Space

Note:

* You must be an Administrator on your PC. Up to date graphics drivers from Microsoft or the chipset vendor.

CrossFire: Warzone - FAQs

  • How to play CrossFire: Warzone on Windows PC & Mac?

    Play CrossFire: Warzone on your PC or Mac by following these simple steps.

    • Click on 'Play CrossFire: Warzone on PC’ to download BlueStacks
    • Install it and log-in to Google Play Store
    • Launch and play the game.
  • Why is BlueStacks the fastest and safest platform to play games on PC?

    BlueStacks respects your privacy and is always safe and secure to use. It does not carry any malware, spyware, or any sort of additional software that could harm your PC.

    It is engineered to optimize speed and performance for a seamless gaming experience.

  • What are CrossFire: Warzone PC requirements?

    Minimum requirement to run CrossFire: Warzone on your PC

    • OS: Microsoft Windows 7 and above
    • Processor: Intel or AMD Processor
    • RAM: Your PC must have at least 2GB of RAM. (Note that having 2GB or more disk space is not a substitute for RAM)
    • HDD: 5GB Free Disk Space.
    • You must be an Administrator on your PC.