Delta Force: Operation Serpentine - Comprehensive Game Guide
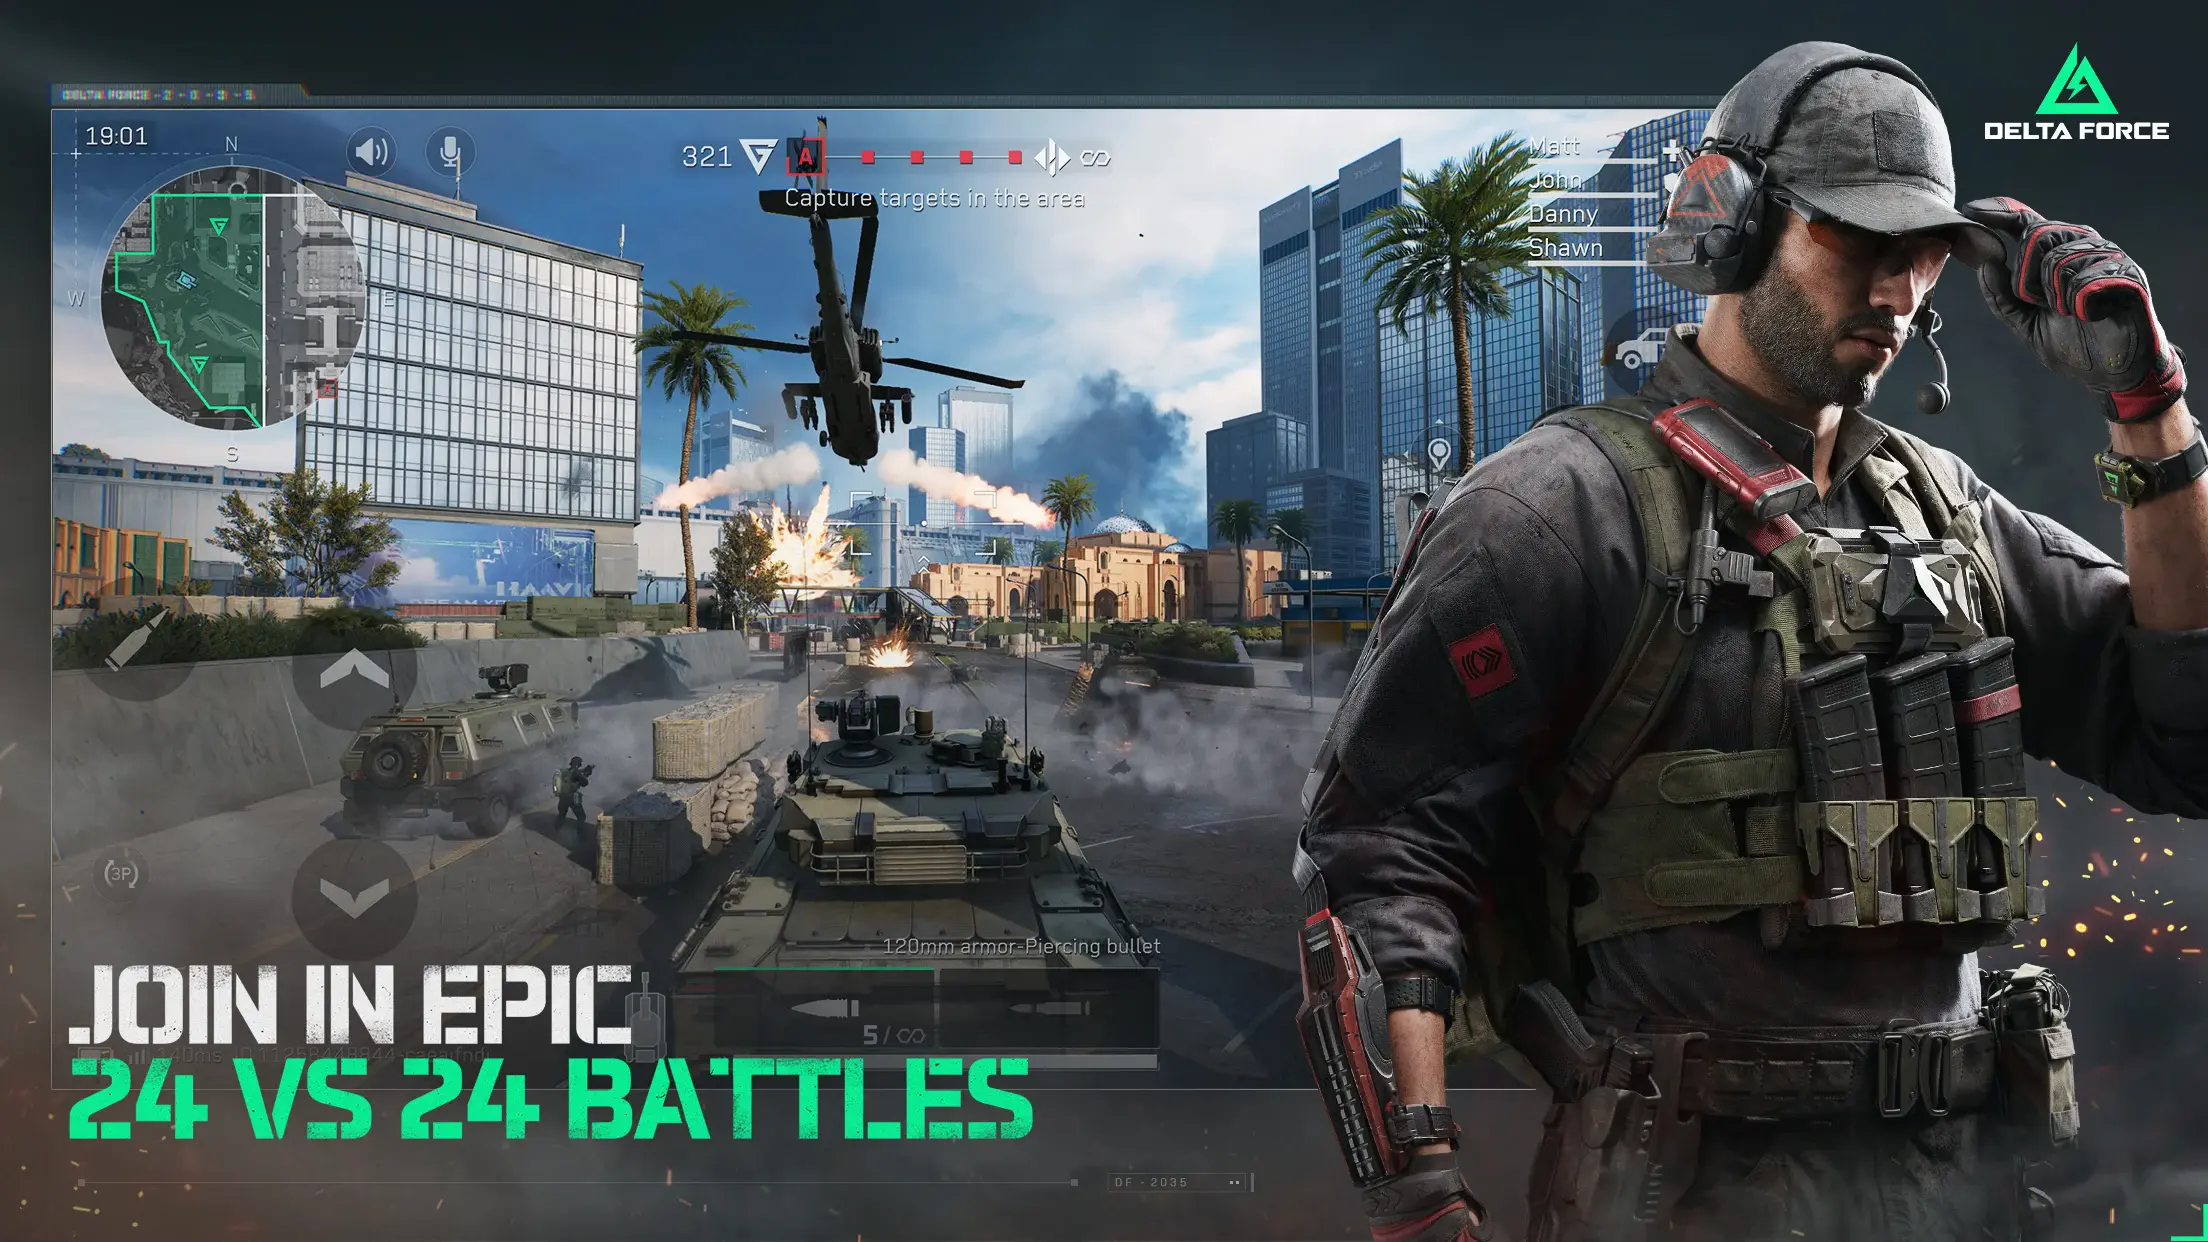
Delta Force: Operation Serpentine is an action-packed tactical shooter set in the Delta Force: Hawk Ops universe. This game falls under the first-person shooter (FPS) and tactical military shooter genre, blending strategic gameplay with intense combat scenarios. Players take on the role of elite special forces operatives, tackling high-stakes missions that require teamwork, precision, and adaptability. With immersive environments and challenging enemies, Operation Serpentine offers a thrilling experience for solo players and cooperative squads alike.
What is Operation Serpentine?
Operation Serpentine is an intense PvE raid mission in Delta Force: Hawk Ops. This special mission consists of four episodes, each featuring unique combat scenarios that challenge your tactical skills. The mission can be played solo or with a team of up to four players. The objective is to complete specific goals, eliminate enemies, and survive while earning valuable rewards.

This guide will provide you with the best strategies, loadout recommendations, and mission breakdowns to help you succeed in Operation Serpentine.
Preparing for the Mission
Before jumping into Operation Serpentine, it’s essential to equip yourself with the right gear and understand what to expect. Here are some key preparation tips:
Recommended Loadout
Armor Selection
- Equip the most durable armor available. Since armor durability is not affected in this raid, you can focus purely on defensive capabilities without worrying about repair costs.
Weapons Choice
- Opt for weapons with high damage output. A reliable assault rifle or light machine gun is essential for handling waves of enemies.
- The XM250 machine gun is a particularly effective weapon for this mission, as it allows you to eliminate most enemies with a single headshot.

Ammunition and Resources
- While bringing a sufficient amount of ammo is advisable, there are multiple ammo caches scattered throughout the mission, including a significant one near the starting point.
- Carry armor repair kits to maintain your defenses throughout the raid. Since limb damage is not a factor in this mission, you don’t need to bring surgical kits.
Choosing the Right Operator
Picking the right operator can greatly enhance your chances of success. Here are two of the best options:
D-Wolf
- Best for players who prefer self-sustainability.
- Has the Triple Blaster ability, which is highly effective against the final boss.
Stinger
- Ideal for team-based play, as he provides team healing support.
- His tactical smoke grenades can be very useful for covering movements and reducing enemy visibility.

Mission Breakdown and Strategy
The mission is divided into four episodes, each with unique challenges. Here’s how to handle them:
Episode 1: Village Assault
- The first part of the mission takes place in a war-torn village.
- Expect heavy enemy resistance, including snipers positioned on rooftops and armored enemies patrolling the area.
- Strategy:
- Use cover wisely to avoid sniper fire.
- Stick to the edges of the village and clear enemies methodically.
- Take advantage of the ammo cache located near the mission start.
Episode 2: Urban Combat
- This episode shifts to an urban environment with tight alleyways and multi-story buildings.
- Enemies will ambush you from multiple angles, so situational awareness is key.
- Strategy:
- Move cautiously and clear buildings before advancing.
- Use grenades to flush out enemies from cover.
- Coordinate with your team to cover different angles and prevent being surrounded.
Episode 3: Underground Bunker
- A claustrophobic section with limited visibility and close-quarters combat.
- Enemies include heavily armored soldiers and robotic sentries.
- Strategy:
- Equip a shotgun or SMG for effective close-range combat.
- Utilize flashbangs to disorient enemies before engaging.
- Keep moving and avoid getting pinned down in tight corridors.

Episode 4: Final Boss Fight
- The final encounter takes place in an open battlefield with enemy reinforcements constantly arriving.
- The boss is a heavily armored elite soldier with powerful attacks.
- Strategy:
- Use the Triple Blaster ability from D-Wolf to deal massive damage.
- Stinger’s team healing support is crucial for survival.
- Focus on dodging the boss’s powerful attacks while taking advantage of available cover.
- Ammo and health packs are scattered around the battlefield—use them strategically.
Operation Serpentine is a high-stakes mission that requires a blend of tactical skill, teamwork, and the right equipment. Whether you’re playing solo or in a squad, careful planning and execution are key to overcoming the mission’s challenges. By following the strategies outlined in this guide, you’ll be well-equipped to take on enemy forces and complete your objectives successfully. Stay sharp, stay prepared, and good luck on your mission.
For beginners looking for additional help, check out our Beginner’s Guide to Delta Force: Operation Serpentine. For the best gaming experience, try playing Delta Force on BlueStacks, which offers a bigger screen and smoother gameplay.