How to Enhance Your Gameplay in Disney Mirrorverse on PC With BlueStacks
Disney Mirrorverse just released worldwide, and we can finally sink our teeth into this awesome new gacha action RPG while it’s still fresh. However, while the game is designed to be played on mobile, the absolute best way to get the optimal experience in this game is by playing Disney Mirrorverse on PC with BlueStacks, as our Android App player gives you not only the possibility of enjoying the game on your large PC monitor, but also of playing it with the best graphics and performance. And not only that, but BlueStacks also has a ton of tools and features designed to enhance your experience with any game, including Disney Mirrorverse.
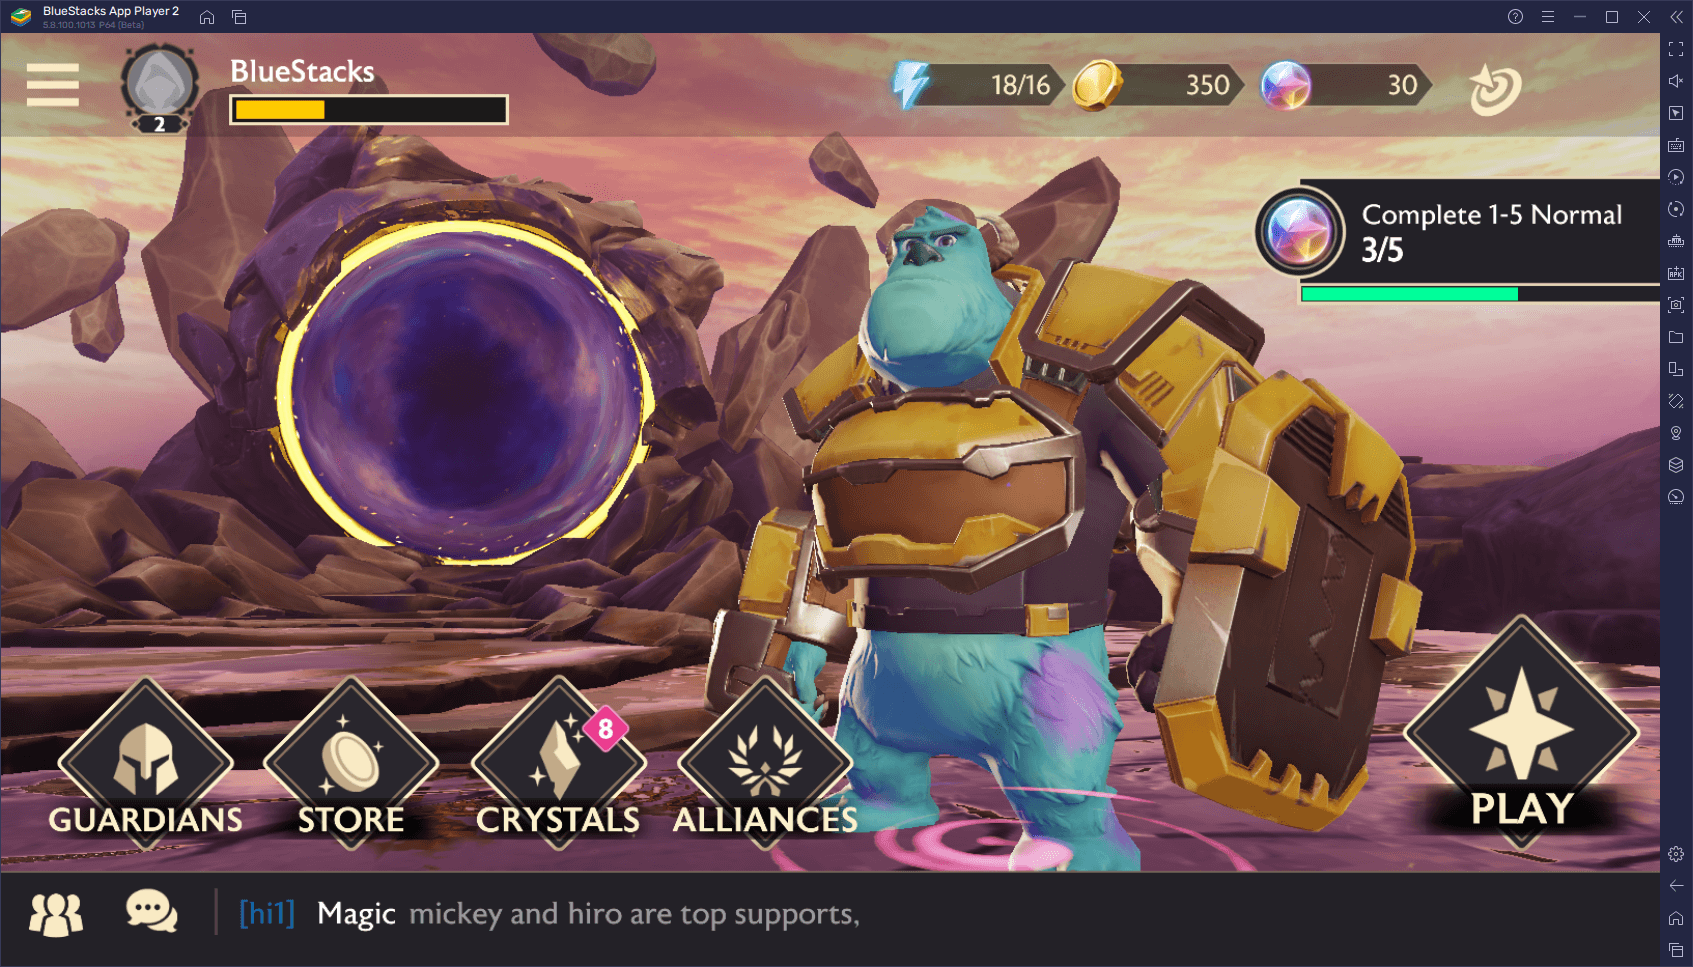
All of these features come with the added benefit that you won’t even have to spend tons of money on acquiring a good phone, particularly for games like Disney Mirrorverse, that have awesome graphics, but require expensive hardware to run with acceptable performance. And the best part is that installing the game is easy and takes just a few quick steps.
In this article, we wanted to briefly talk about some of the most important tools that BlueStacks offers for Disney Mirrorverse, and how to use them to your advantage in this gacha RPG.
Play With the Best Graphics and Performance, Without Breaking the Bank
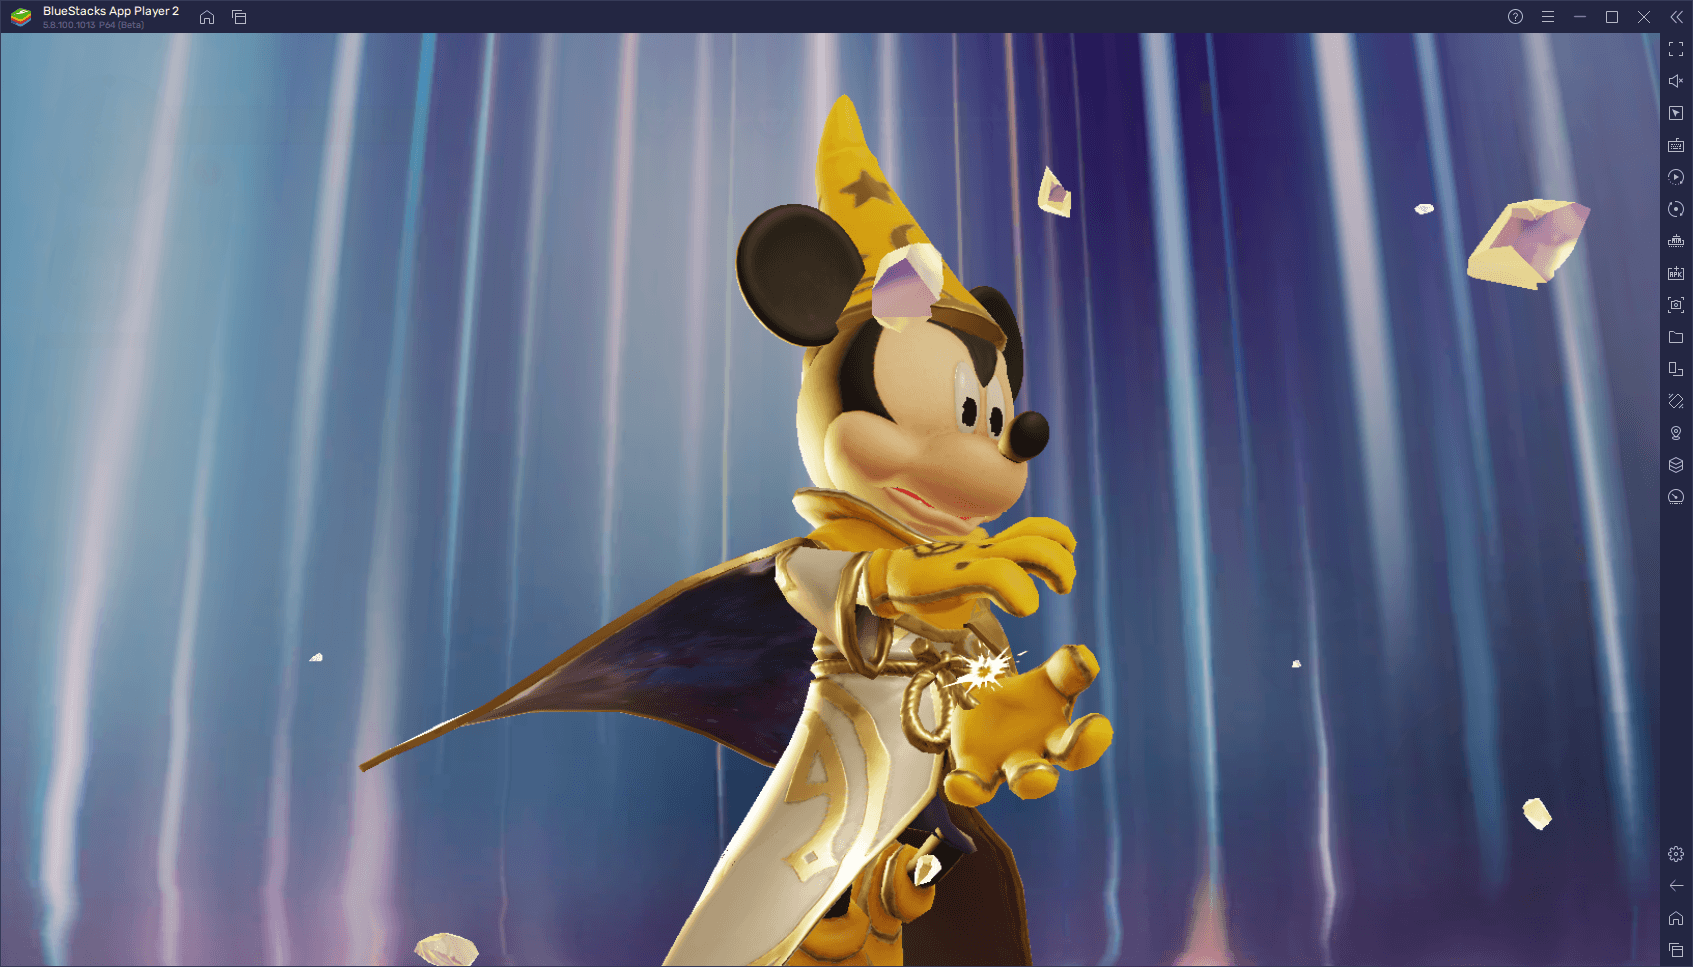
Disney Mirrorverse, hands down, looks amazing. It features awesome 3D graphics and real-time action in all its stages, with our favorite Disney characters running around and kicking butt using iconic skills and moves from their respective movies and shows. And it looks even better when the game is running at the smoothest possible frame rate, which is easy if you’re playing Mirrorverse on PC with BlueStacks.
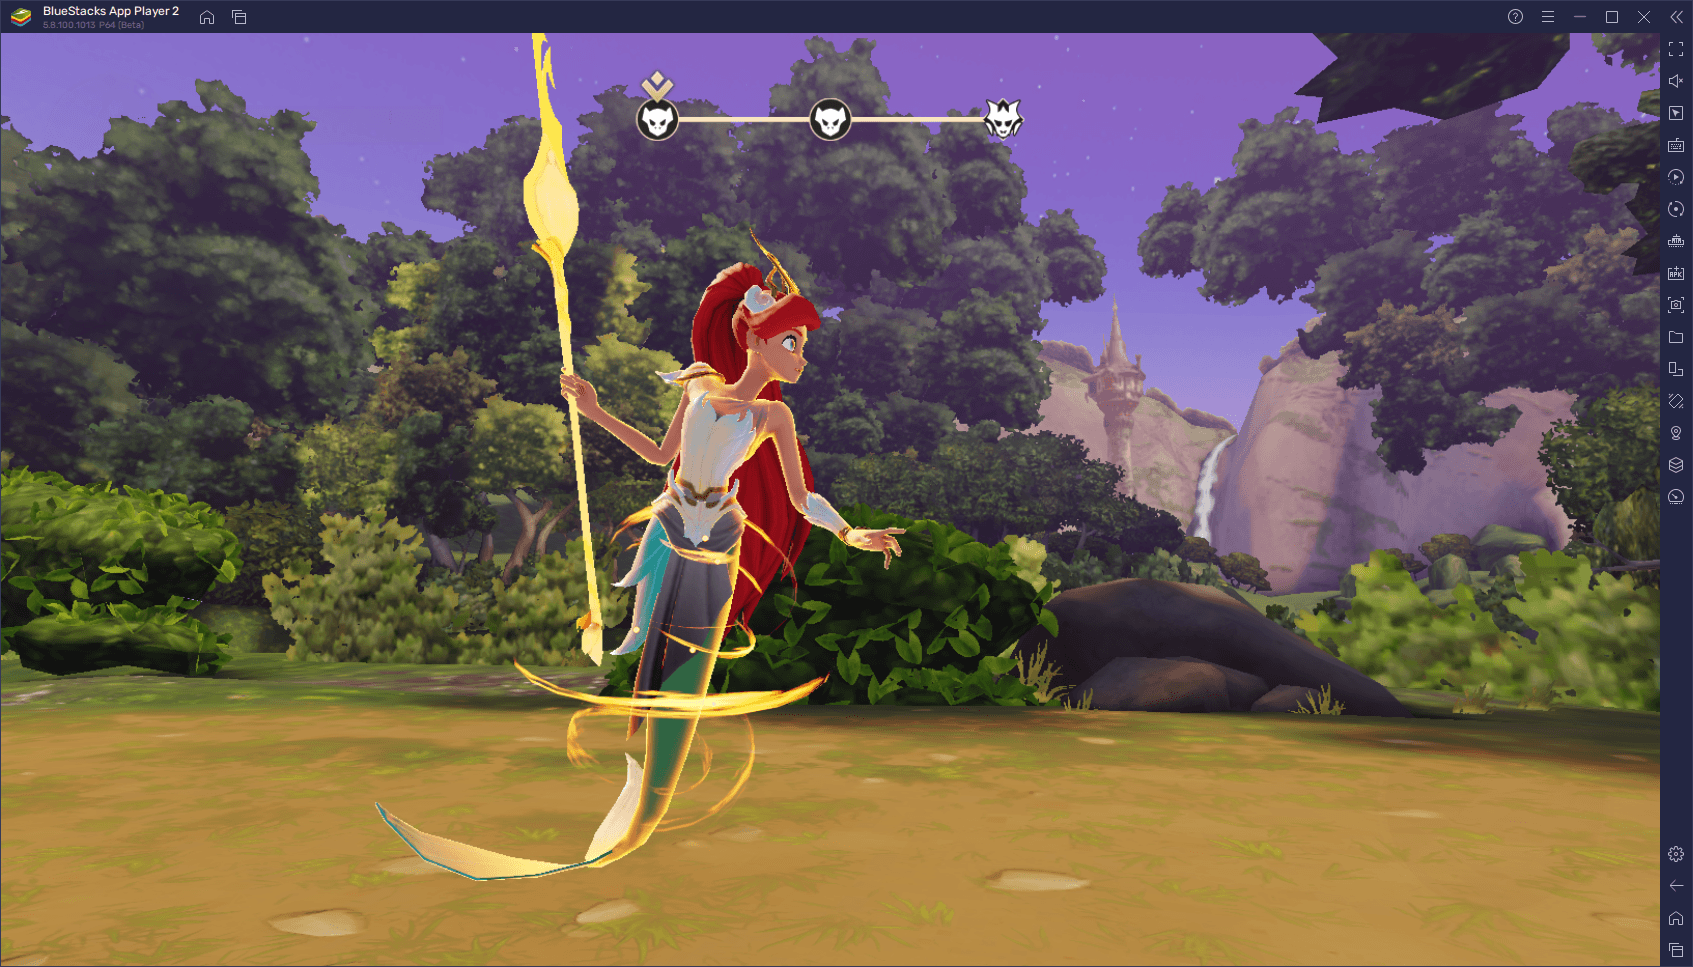
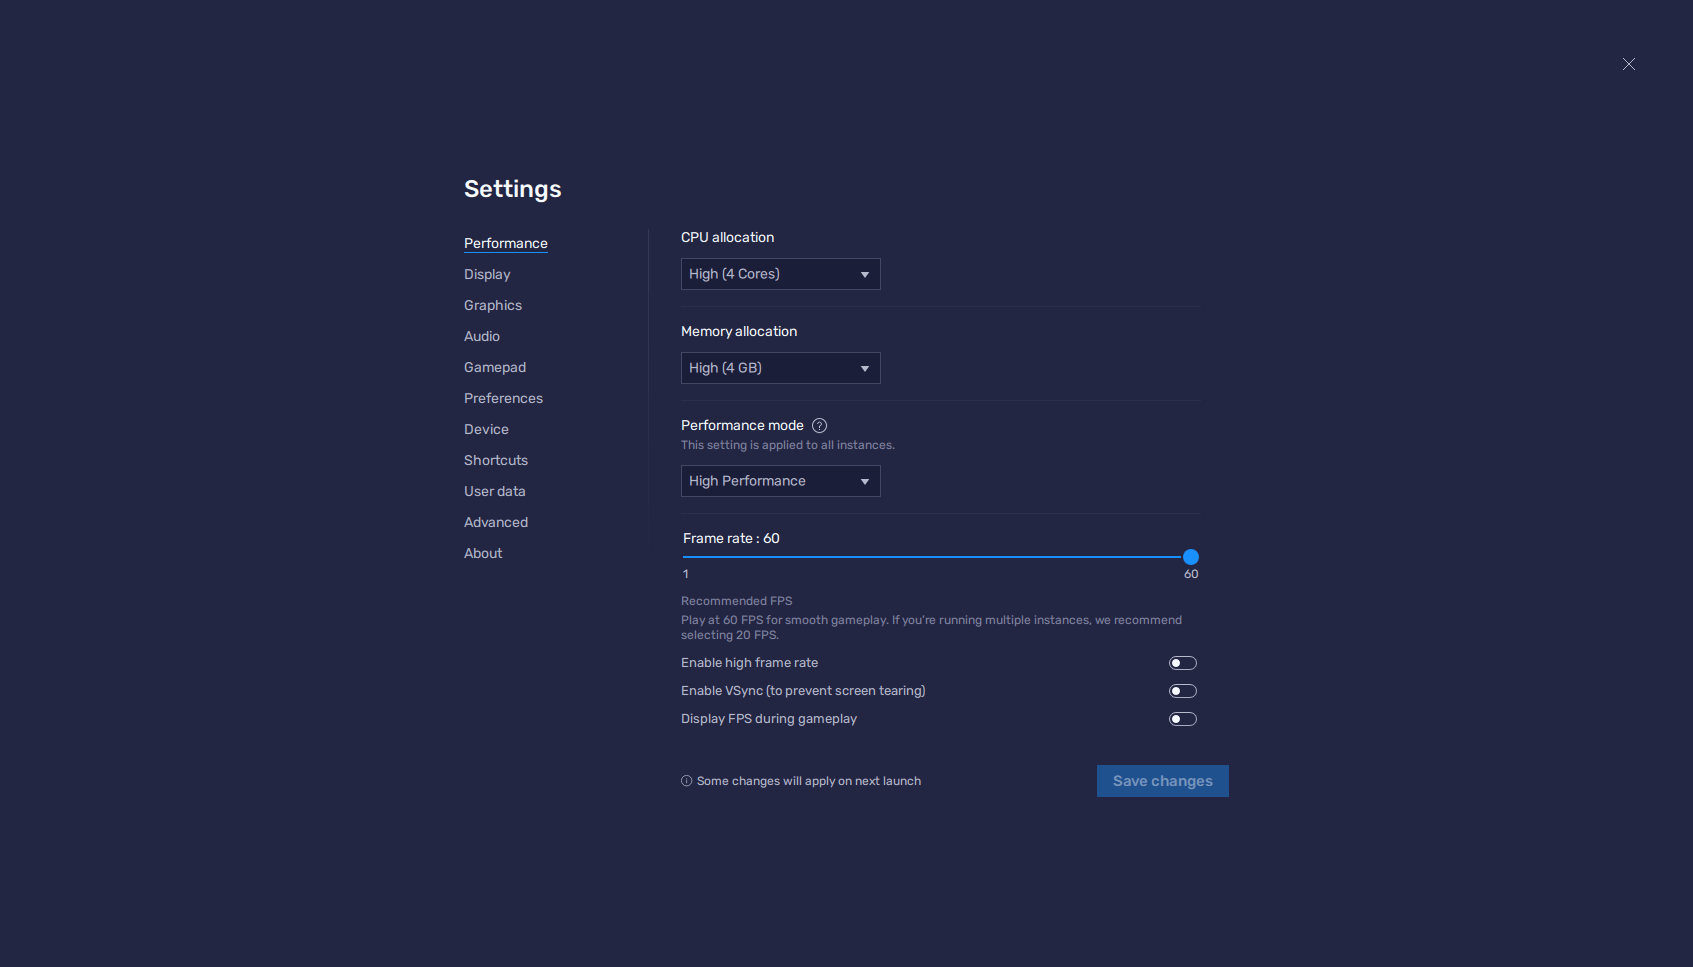
However, in order to get the best experience with this game, you might need to adjust a few settings in your emulator. Please follow these steps to optimize your graphics and performance:
- Go to your BlueStacks settings by clicking on the hamburger icon on the top right.
- Go to the “Performance” section and set your emulator to use 4 CPU cores and 4GB of RAM. Further down, set your Performance mode to “High performance”, and your FPS slider below to at least 60 FPS.
- Click on “Save changes” to implement your new settings.
Usually, we’d also recommend going into the in-game settings in Mirrorverse, and adjust the graphics to the highest settings there. However, as of launch, this game doesn’t seem to have any adjustable graphical or frame rate settings, which means that we’re stuck with the default visuals. Regardless, with these tweaks, you can get the best possible experience that the game allows. And if they ever add adjustable graphics settings in the future, you can simply crank them up as high as they go, without worrying about lag, slowdowns, or battery issues.
Set Up Your Keyboard and Mouse Controls
Action games like Disney Mirrorverse, that have combat in real time, often require you to execute complex maneuvers and combos in order to avoid taking damage, as well as to punish enemies when they’re vulnerable. When you’re playing on your phone, however, you don’t have the luxury of using good controls, and are instead forced to rely on touchscreen alternatives, which can leave a lot to be desired in terms of precision and comfort.
Luckily, this all changes when playing on BlueStacks, since our emulator has the Keymapping Tool, a feature that lets you create your own customized control schemes using your mouse and keyboard. And for games like Disney Mirrorverse, this tool is essential, as it lets you control the action with actual physical buttons, giving you a much better way of attacking and dodging with precision.
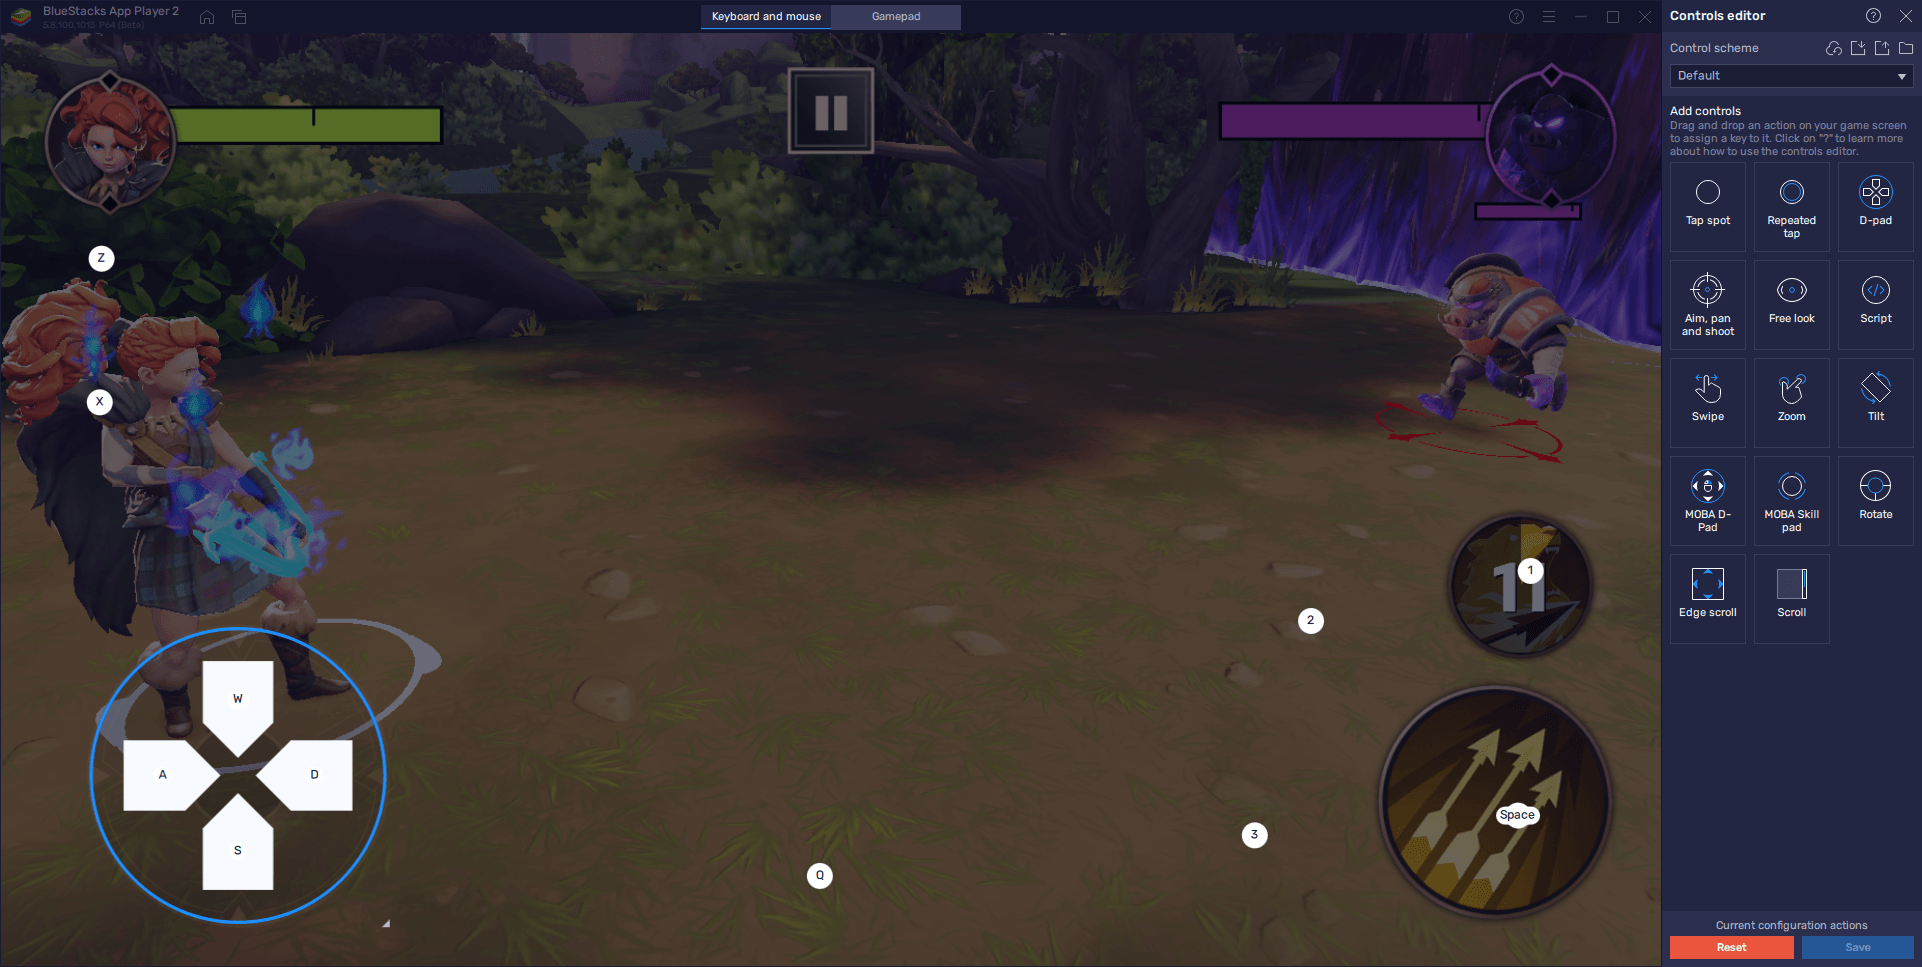
To access the Keymapping Tool, you simply need to press Ctrl + Shift + A while in-game, which will open the Advanced Editor where you can view and modify your current controls, as well as add new functions if necessary. To modify your controls, simply click on them, followed by pressing the button with which you wish to replace them. And to add new controls, you can just drag and drop the desired function from the rightmost panel, followed by pressing the button you wish to bind to it.
Once you’re done, click on “Save changes” on the lower right to implement your adjustments.
Play on Gamepad for Extra Comfort
For PC gamers, playing with a mouse and keyboard comes as naturally as breathing. However, for console gamers, playing with a gamepad will come more naturally. Luckily, BlueStacks also offers native gamepad support for all its games, also through the Keymapping Tool.
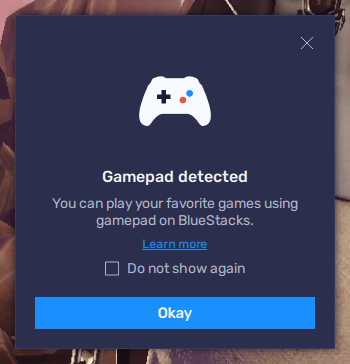
To use this feature, all you need to do is hook up your controller via USB or Bluetooth. Once connected, you’ll see a notification on BlueStacks indicating that the gamepad has been detected, after which you can simply open the Advanced Editor (Ctrl + Shift + A), and then on the “Gamepad” button on the top of the screen to switch to the controller bindings.
Configuring your gamepad controls for Disney Mirrorverse is the same as with their keyboard and mouse counterparts; just click on each, and press the button on your gamepad you wish to bind. The only difference here is configuring the virtual joystick for your gamepad, since you need to click on the gear icon that appears when you hover your mouse over it, followed by choosing the control you wish to bind to it, which can be either your dpad, or any of the joysticks.
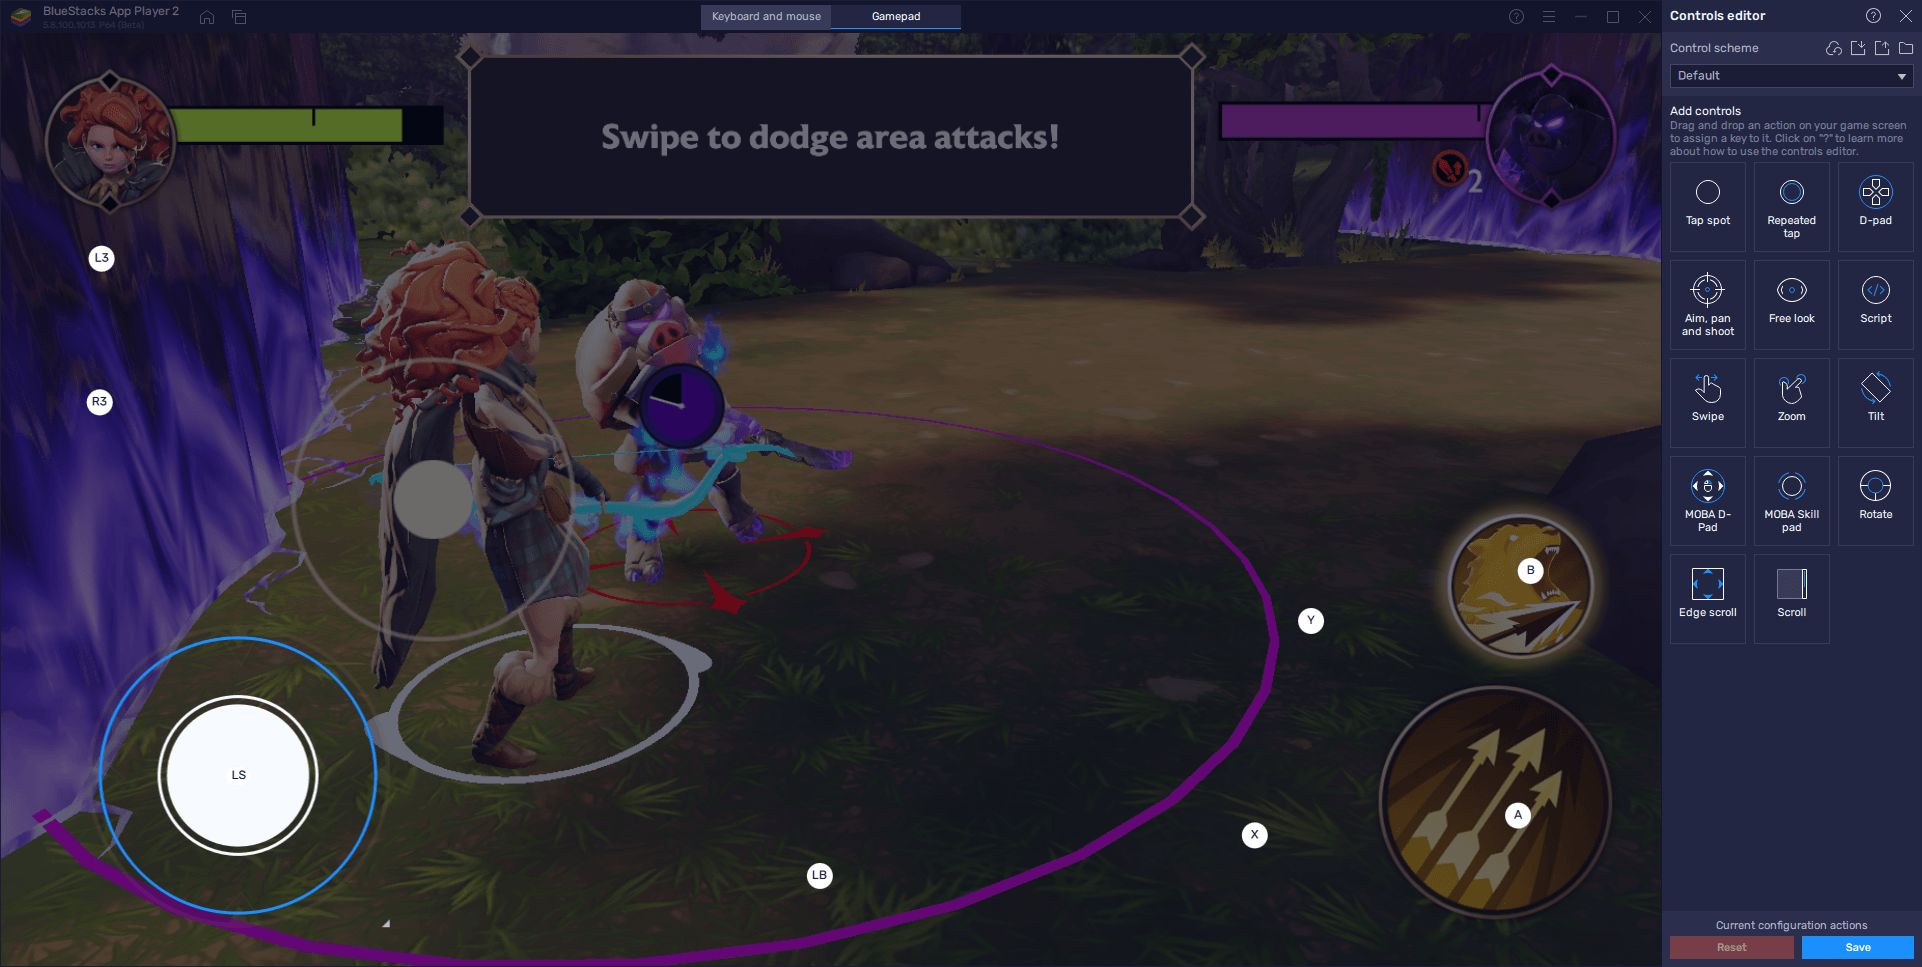
Once again, after you’re finished configuring your controls, simply click on “Save changes” to implement your tweaks.
For many reasons, BlueStacks is the platform of choice when it comes to enjoying Disney Mirrorverse on PC. Whether you’re looking to play with the best graphics and enjoy the most versatile controls, or are looking to streamline and speed up the reroll process, our Android app player has everything you might need for improving your performance. What are you waiting for? Install it now and see for yourself!

