Edge: Mech-Ascent on PC - How to Enhance Your Gameplay Experience with Our BlueStacks Tools

As new games are released into the market, offering a whole new world to explore and experience, the best platform to enjoy them will always be BlueStacks. As the most advanced, fastest, and safest Android app player on the market, BlueStacks is the platform of choice when it comes to playing mobile games on PC, and the new Edge: Mech-Ascent is no exception.
Table of Contents
- Optimize Your Performance and Graphics in a Few Simple Steps
- Reroll With Ease by Playing on Multiple Accounts at the Same Time
- Automate Story Progression With Simple Macros
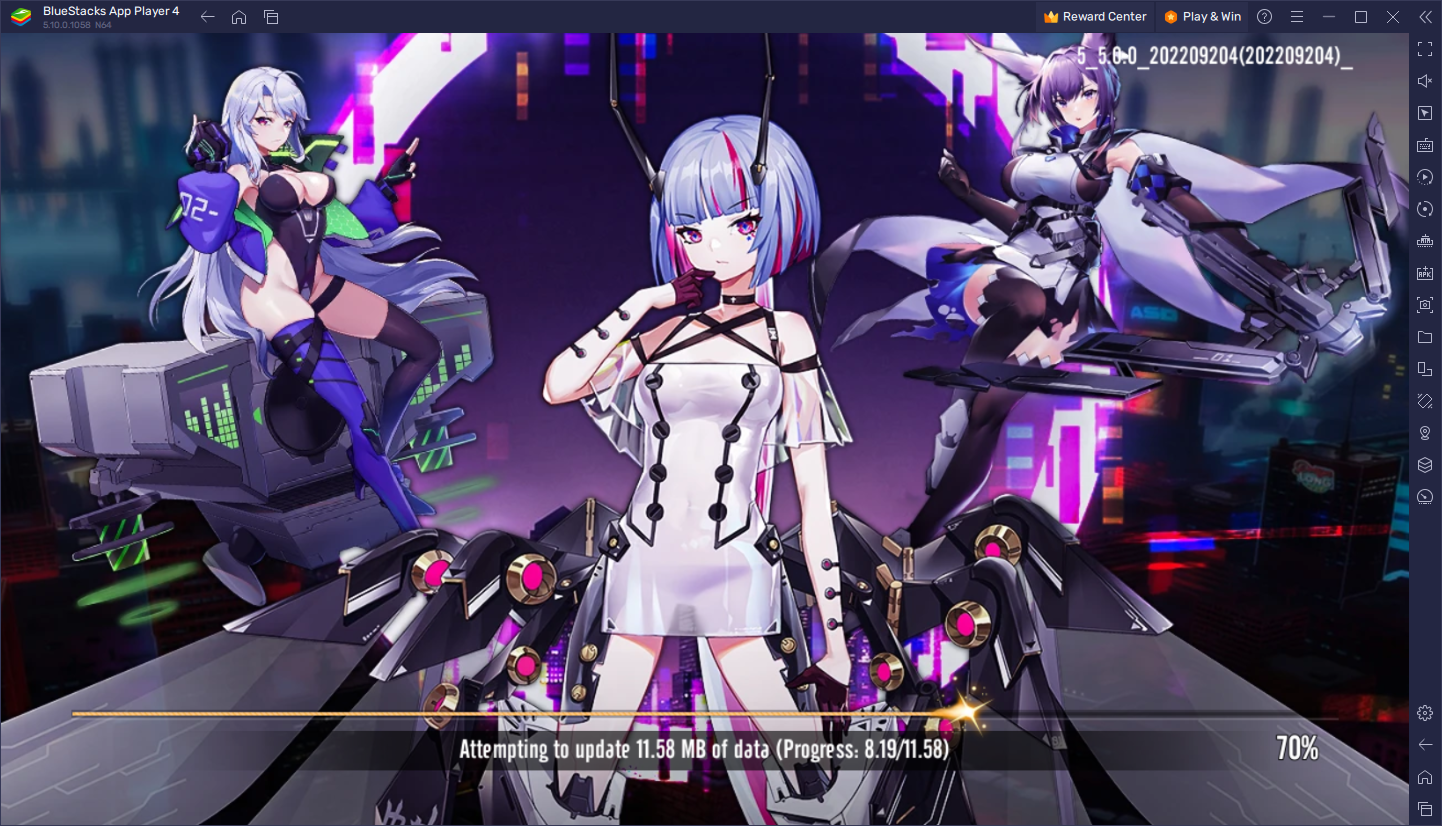
In this article, we’re going to give an overview of the most important BlueStacks tools for Edge: Mech-Ascent, as well as how to properly configure and use them, and get the most out of them.
Optimize Your Performance and Graphics in a Few Simple Steps
As an AFK game, Edge: Mech-Ascent requires very little actual input to progress and advance through its missions and story chapters. As such, the player can mostly just sit back, relax, and enjoy the show while their heroes and characters do all the dirty work. And what better way to enjoy the visuals than by playing with the best graphics and performance? Sadly, if you’re playing on phones, you will most likely have to conform to playing with lower graphical and frame rate settings, since maxing them out will cause your device to overheat and consume battery at a rapid pace.
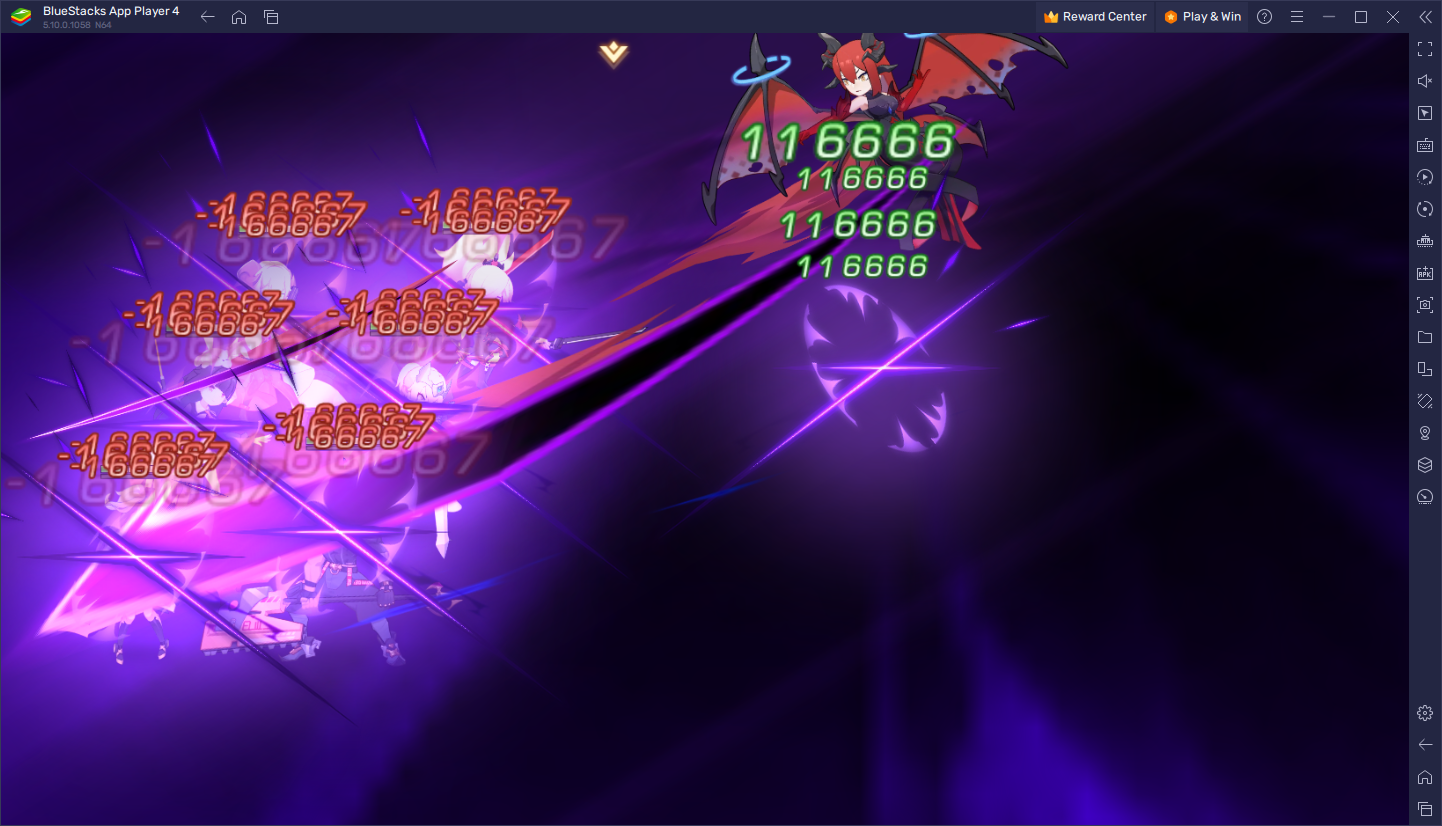
Luckily, by playing Edge: Mech-Ascent on PC with BlueStacks, you can enjoy the best visuals and performance without having to worry about wearing down your phone—simply download and install the game on your computer and start playing with the highest settings.
However, while BlueStacks comes configured right out of the box so that most games will run flawlessly, you might have to perform a few tweaks both to your emulator settings, as well as in-game, in order to achieve the desired level of performance and quality. Luckily, we’ve broken down the process into a few easy steps for your convenience:
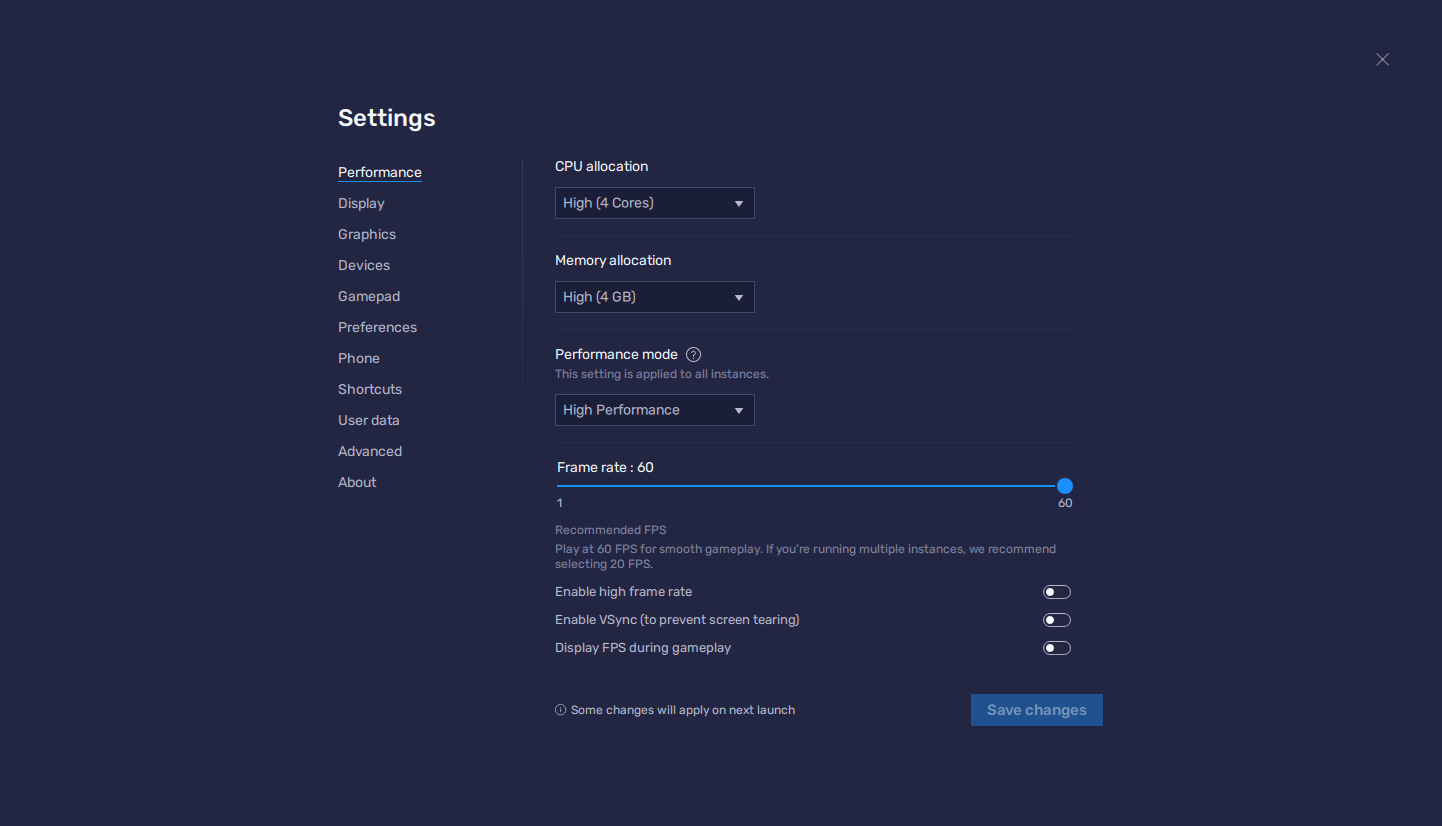
- In the BlueStacks settings menu, go to the “Performance” tab.
- Check that your emulator is using at least 4 GB of RAM, 4 CPU cores, and that the Performance mode is set to “High performance”.
- Set the FPS slider underneath to at least 60 FPS, and finish by clicking on “Save changes” on the bottom right.
- Launch the game and head to the in-game settings.
- Set your FPS settings at 60 FPS, and start playing.
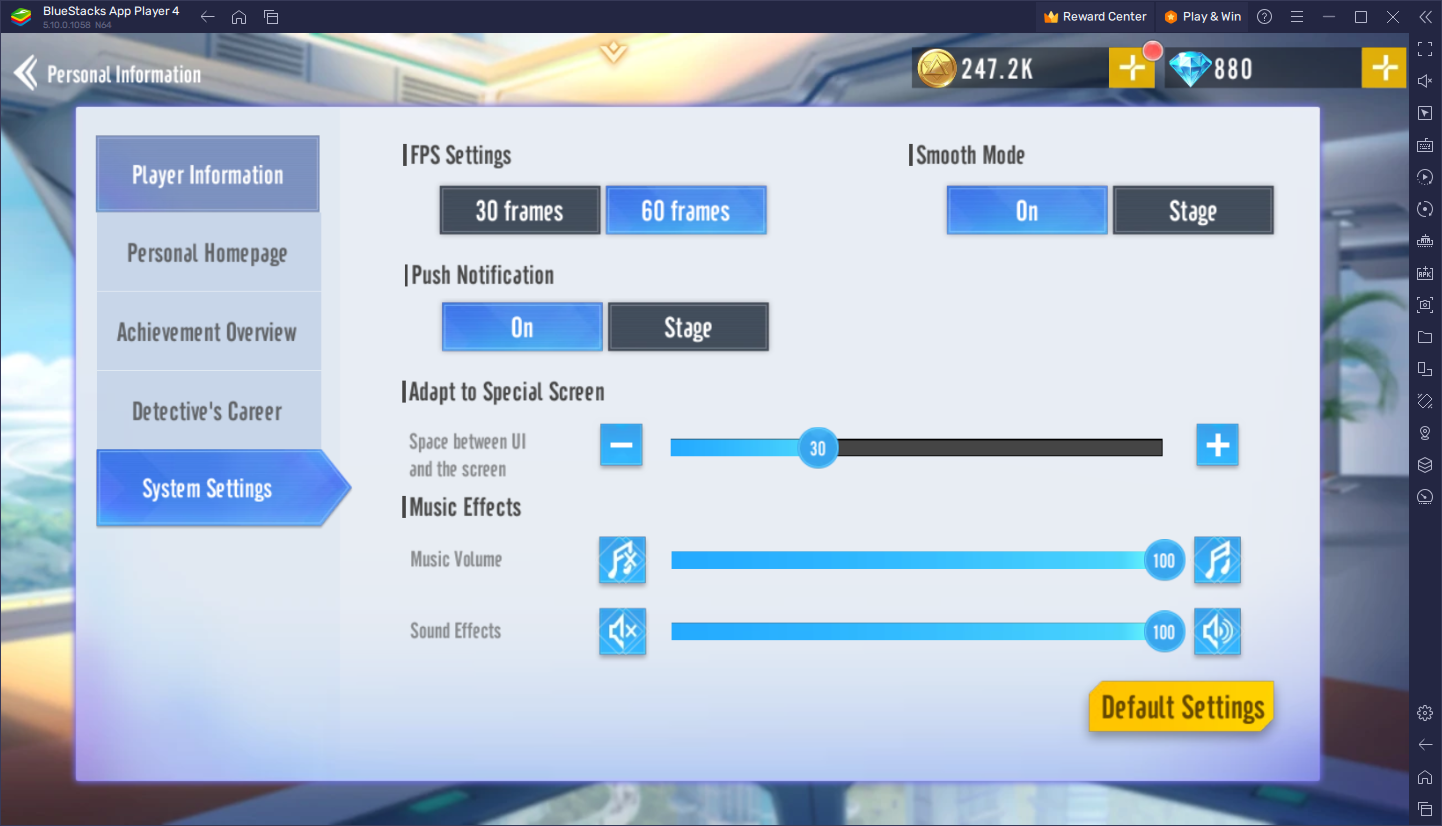
While Edge: Mech-Ascent doesn’t have any adjustable graphical quality settings, you will need to perform these steps to ensure that your game is not only running at 60 FPS, but also maintains this frame rate as steady as possible during your gameplay sessions.
Reroll With Ease by Playing on Multiple Accounts at the Same Time
As a gacha RPG, one of the challenges in Edge: Mech-Ascent will be to constantly farm and grind for resources to pay for pulls in order to obtain the best characters in the game. In this manner, you’ll be able to power up your squad and progressively rise in the ranks to become the strongest player in your server. Of course, this is all easier said than done, considering that not only does upgrading your characters cost a lot of resources, but also the odds of getting the best heroes from the gacha are very low on every pull.
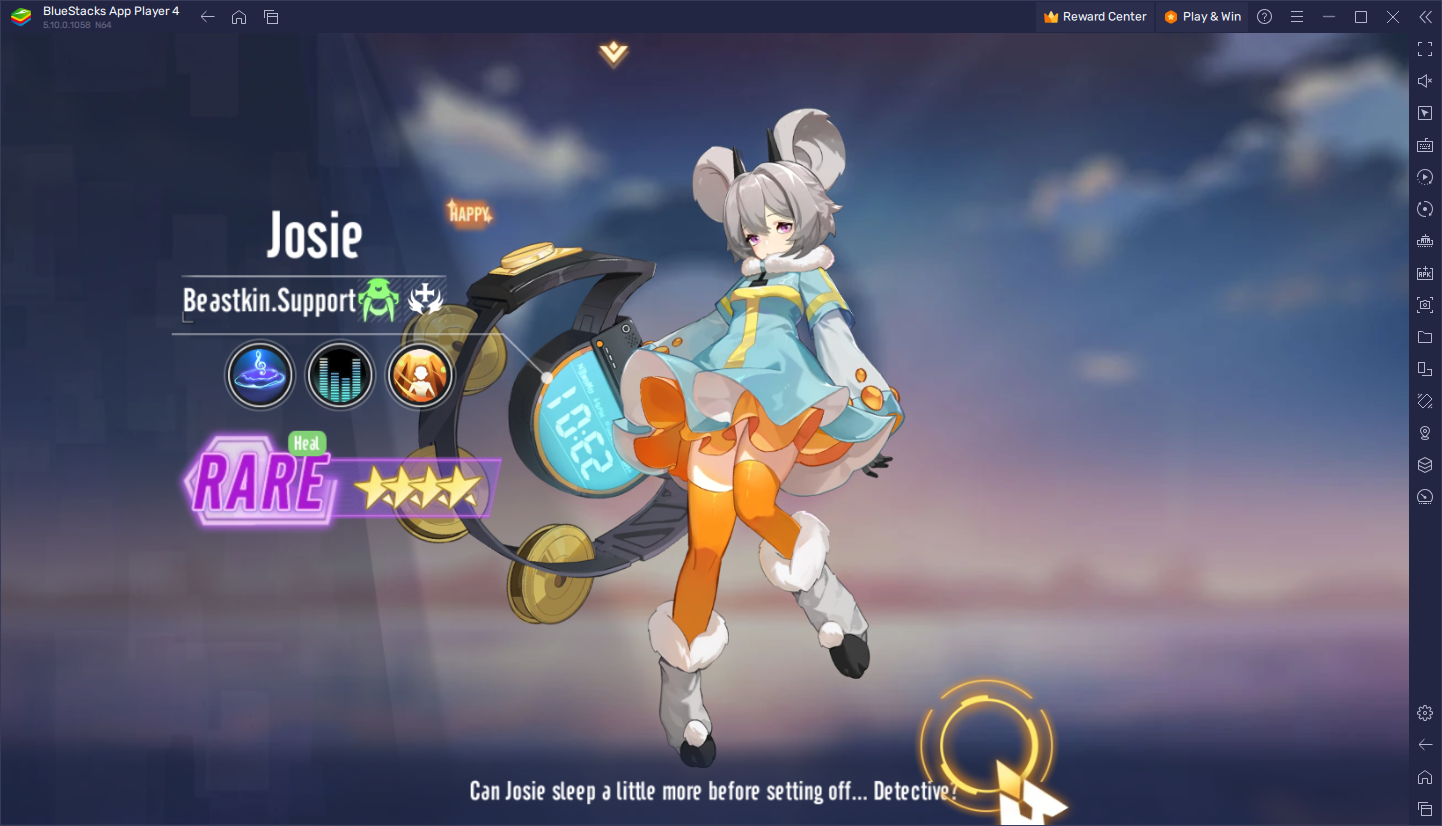
With such low probabilities of obtaining powerful heroes on every summoning, most players will want to reroll in order to unlock the best Edge: Mech-Ascent characters and get a head start in their progression. However, even with rerolling it can take countless tries before you get the characters that you want, which is why you’ll definitely want to play on BlueStacks, in order to gain access to tools that will significantly speed up and streamline the reroll process.
With the BlueStacks Instance Manager, you can create as many instances of our app player that you want, and then use each of these to access the game on multiple accounts at the same time. In this sense, you’ll be able to reroll on several accounts simultaneously, which will hopefully help you to unlock your desired characters in a much shorter time.
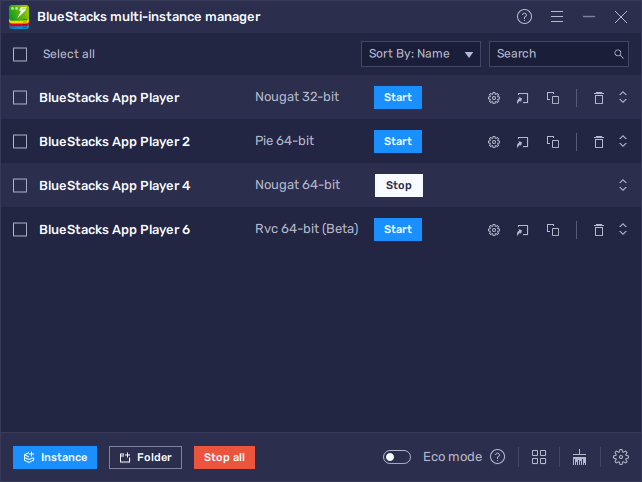
To use the Instance Manager, you simply need to press Ctrl + Shift + 8 while on BlueStacks. This command will bring up the instance panel, where you can click on the “+ Instance” button to create as many instances as you want. Afterward, you can download and install Edge: Mech-Ascent on each of these instances and start rerolling on all of them at the same time.
If you want to learn more about rerolling in this game, we strongly suggest checking out our Edge: Mech-Ascent reroll guide.
Automate Story Progression With Simple Macros
While most of the gameplay in Edge: Mech-Ascent is automated, you still need to click through menus between stages in order to progress through the story, which not only requires attention but also time. Fortunately, BlueStacks has the Macro Recorder feature that lets you record yourself doing certain simple actions and then use the resulting macro to automate certain processes in the game.
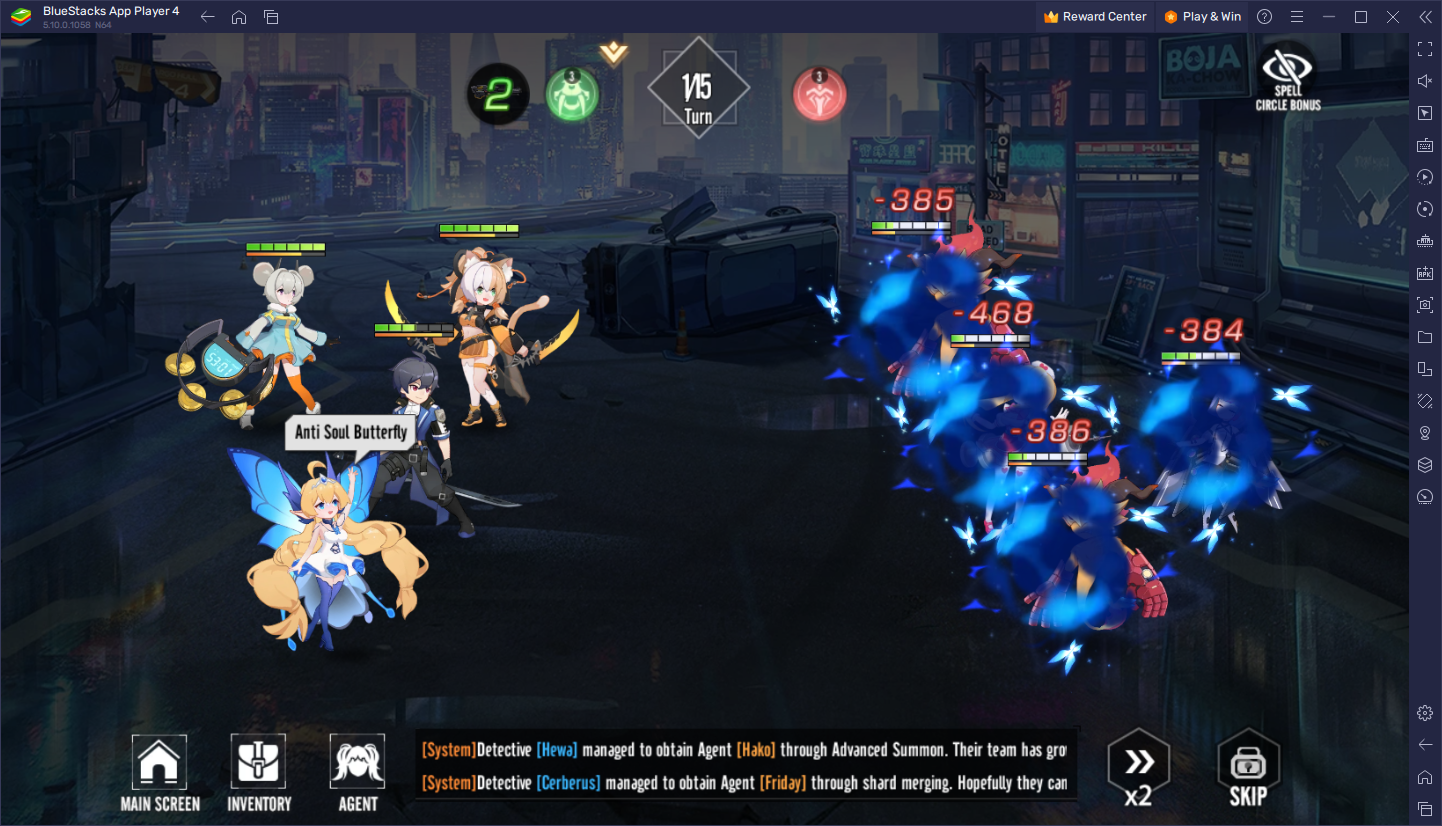
For Mech-Ascent, a good macro could be used to automate the clicks between stages so that you can effectively streamline your story progression. In this sense, you’ll simply have to record yourself exiting a battle stage after winning once and entering the next stage. Afterward, you can use this macro to automate the process on every subsequent occasion, effectively allowing you to make the game play itself while you minimize BlueStacks to the background and do something else on your PC.
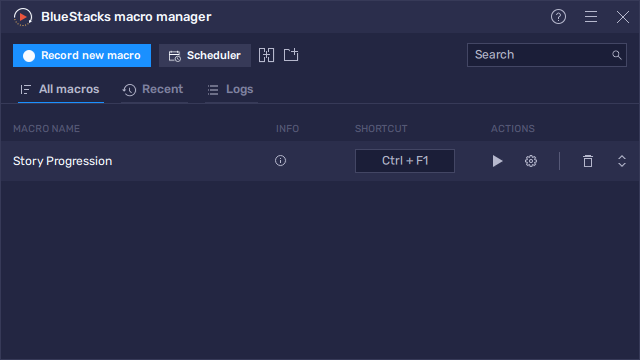
To bring up the Macro Recorder, you only need to press Ctrl + Shift + 7. Afterward, you can click on “Record new macro” to start the recorder, and then perform the actions that you’ll want to automate. Once you’re done, you can click on the stop button to end the recording, and then give your new macro a name and a key binding. Afterward, you can press the corresponding button to activate the macro and let the game play itself.
For these and quite a few other reasons, BlueStacks is the best platform for playing Edge: Mech-Ascent on PC.


