Frostborn: The Ultimate Guide to Leveling Up like a Viking
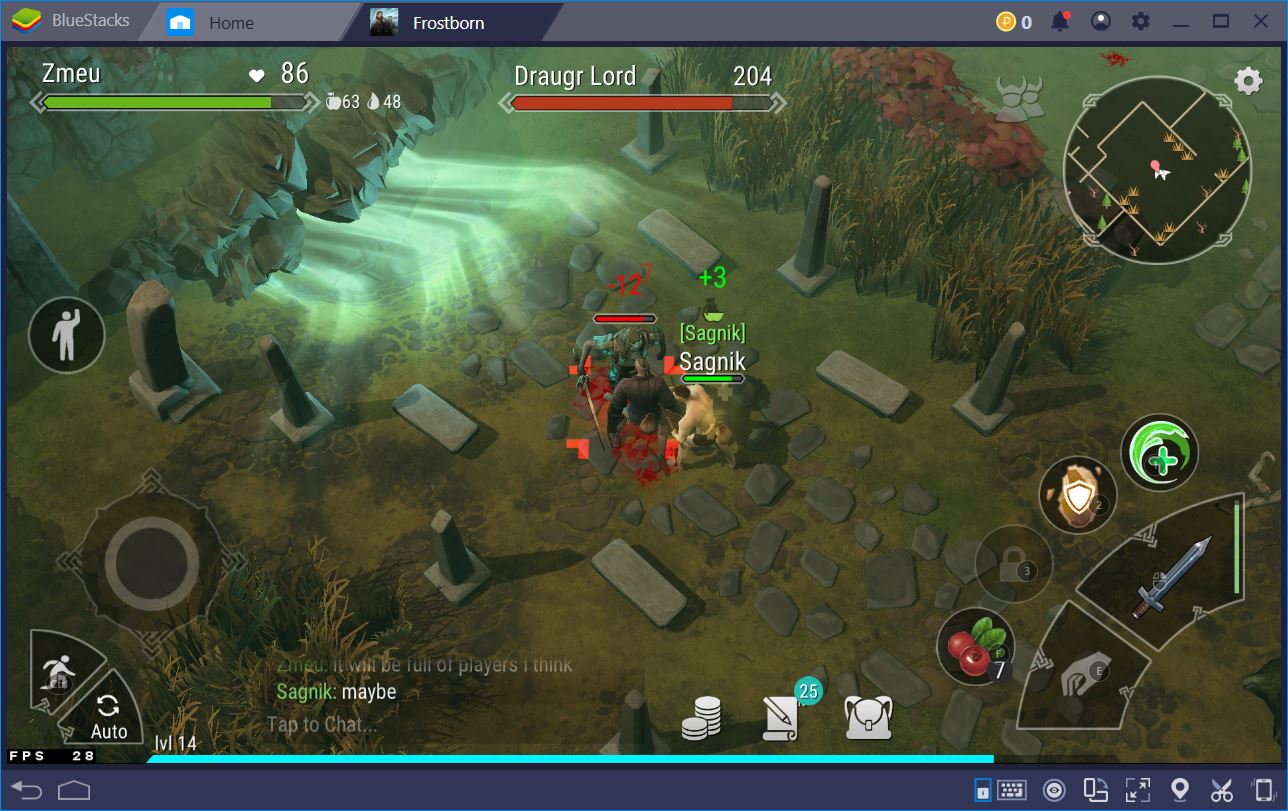
Wolves, bears, undead skeletons, giants, and many more monsters are what await the lone wanderer who decides to make Frostborn their home. No matter how dangerous these may sound, they can’t even begin to compare to the cunning of other players hiding in the bushes, waiting for a moment of weakness on your part to seize you and take all your belongings. This new survival RPG from Kefir is still in its open beta phase and yet, it has stirred the attention of the entire mobile gaming community. If you’re new to the game and eager to find out what it’s about, feel free to check our BlueStacks beginner’s guide to Frostborn.
What this game really innovates is the multiplayer system that everyone wanted from Last Day on Earth, so much so that it’s become almost impossible to go single player. When playing on BlueStacks, you have a definite advantage in terms of close combat and responsiveness, but finding places to level will still be difficult. This is why we decided to make a guide to help new players level up faster and give them better odds of survival.
The First Levels
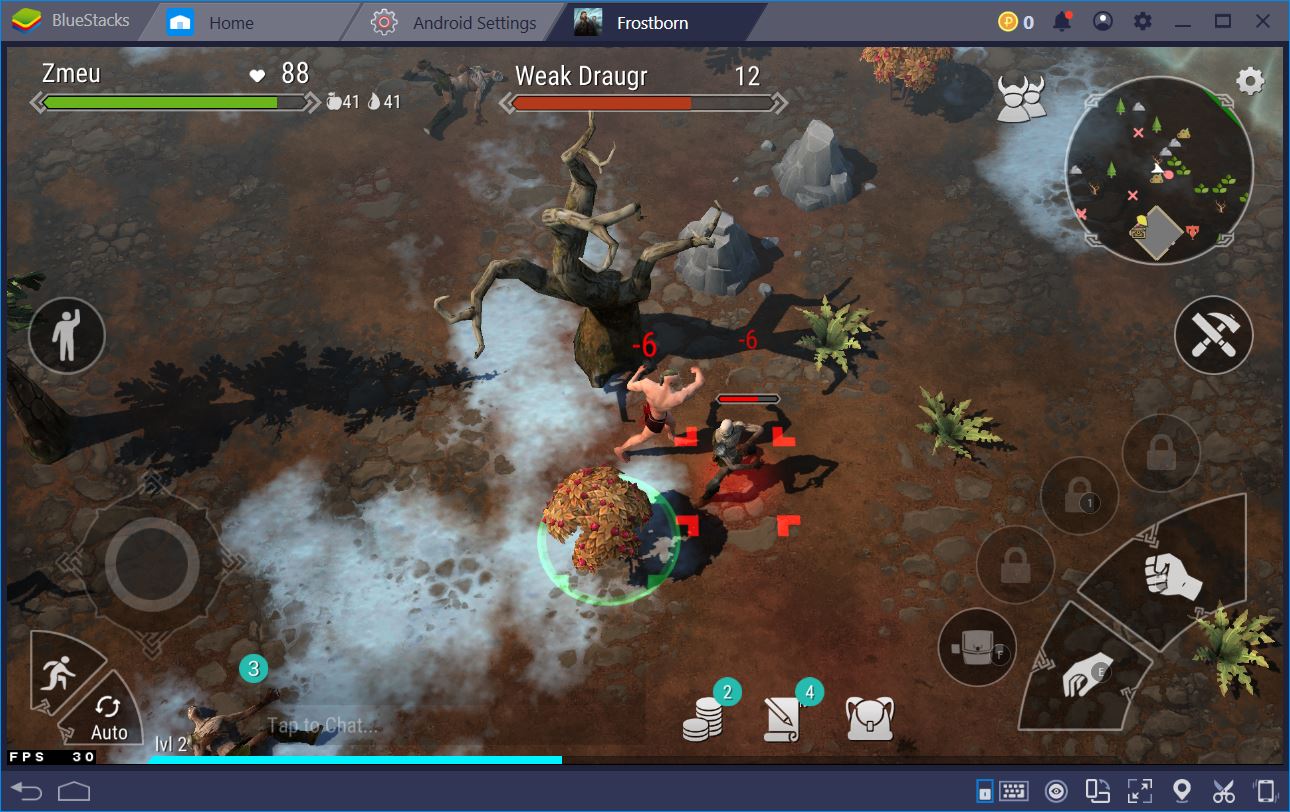
The first 10 levels are likely the hardest ones you’ll have to go through. You have no spells to help out and no good equipment. Sure, there’s a sword, a jacket, and a pair of pants waiting in your home base stash, but we strongly advise you to leave them there. You can try to fist-fight some of the Weak Draugrs, but it’s not a pleasant sight, as much as we enjoy killing dead things with our bare hands.

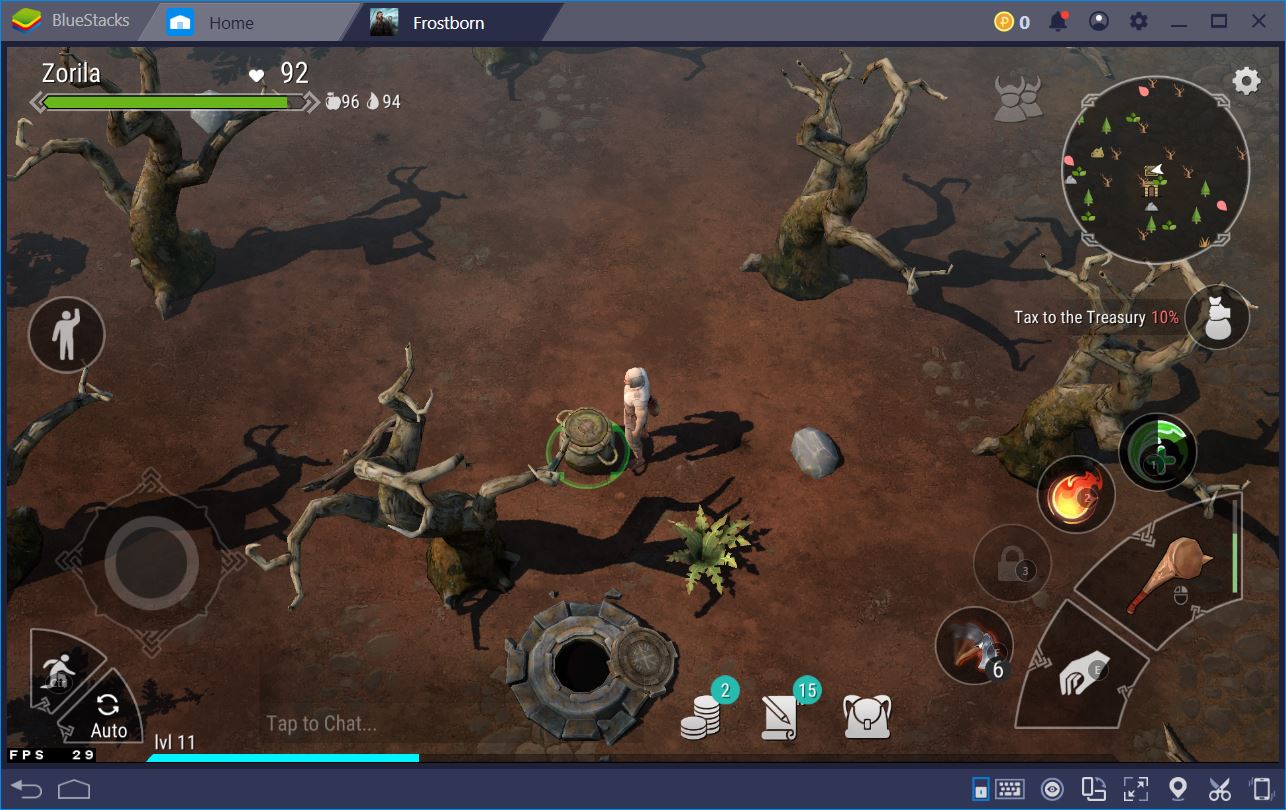
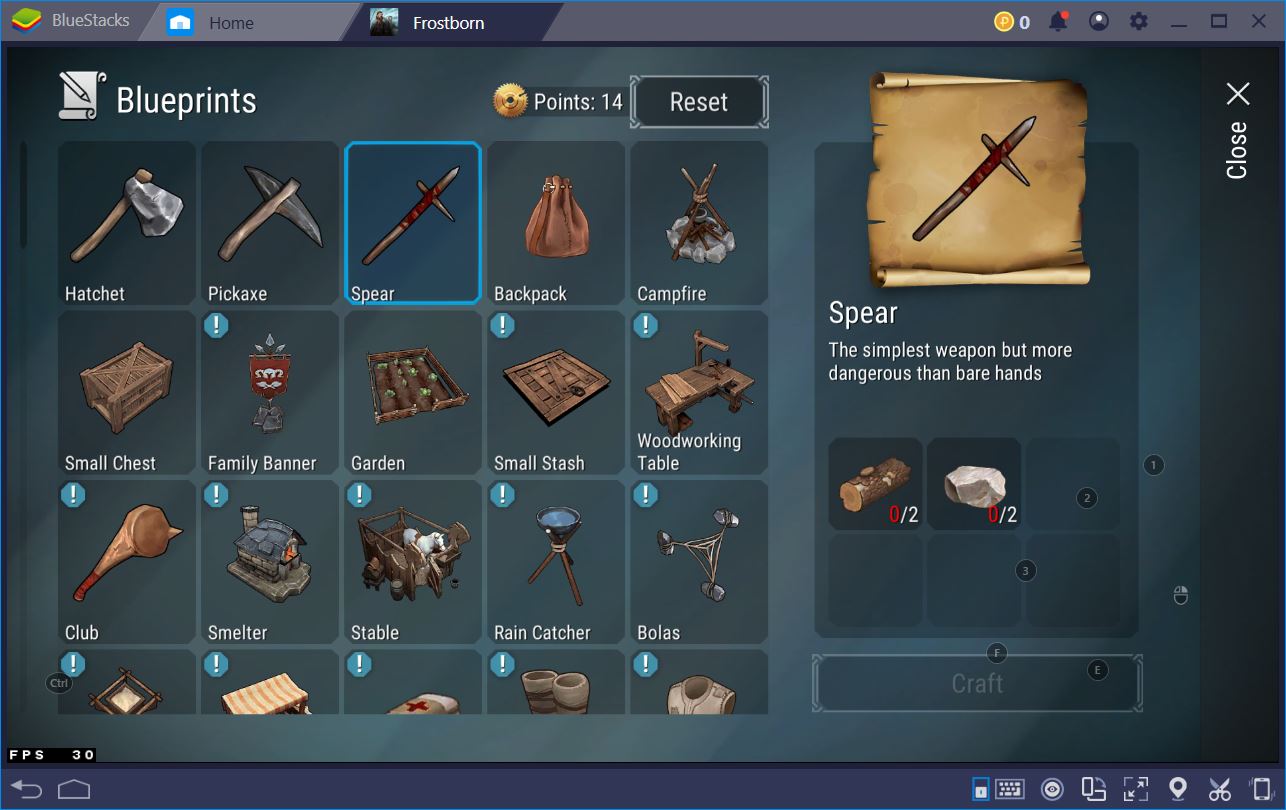
Instead, what you want to do is collect two sticks and two rocks from nearby. With them, you can make a trustworthy Spear to help kill those pesky undead wandering around your home in no time. If you want to leave your character on auto, then a few more pieces of wood and stone will be required to craft a Hatchet and a Pickaxe. The latter help you fell trees and break bigger rocks into smaller ones you can pick up.
Even though you’ll level up fast to begin with, the survival aspect of Frostborn requires you pay close attention to your resource management. There’s no fast way to heal up – you have to eat food or use a spell. Unfortunately, the Healing Wave only becomes available at level 7 and its long cooldown makes it a highly unreliable source of constant regeneration.
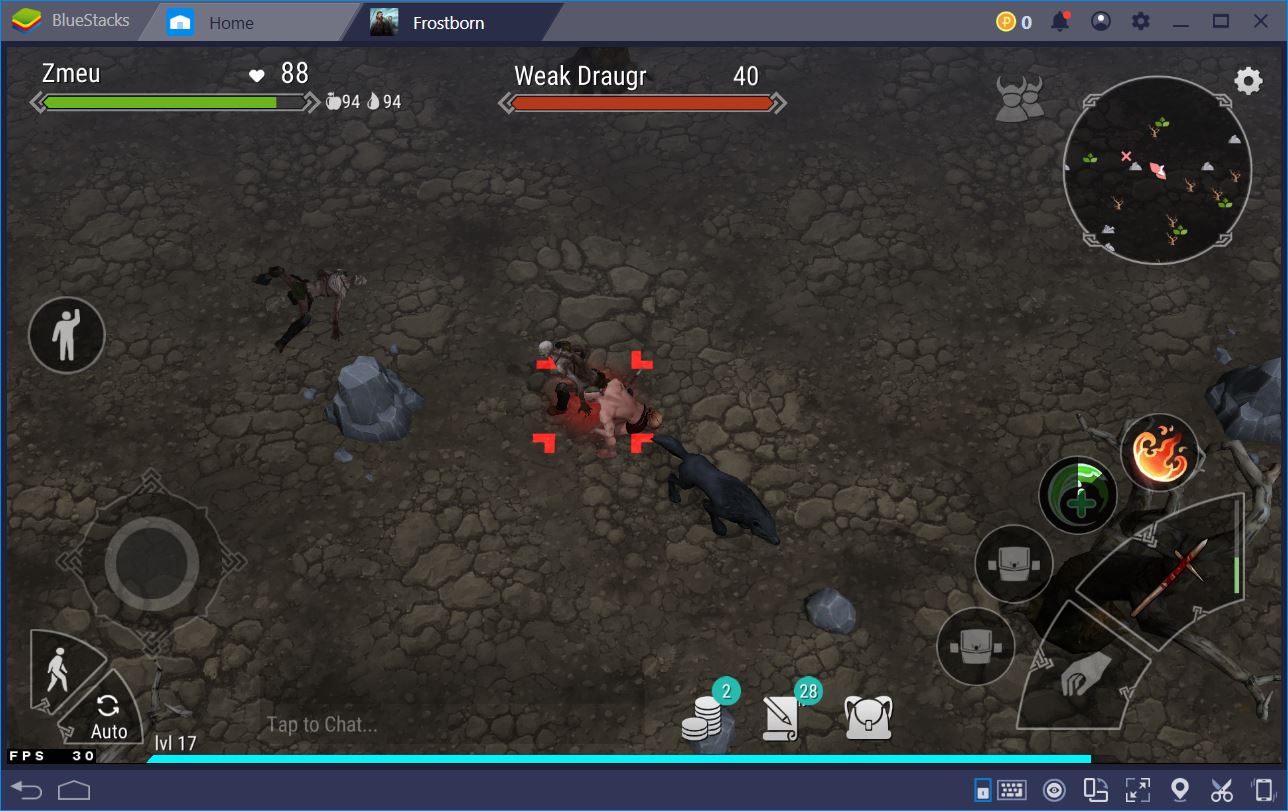
With your spear, you can start hunting the monsters that lurk nearby. The best way to do so is to crouch and approach them from behind. This will allow you to backstab them for a ton of damage.
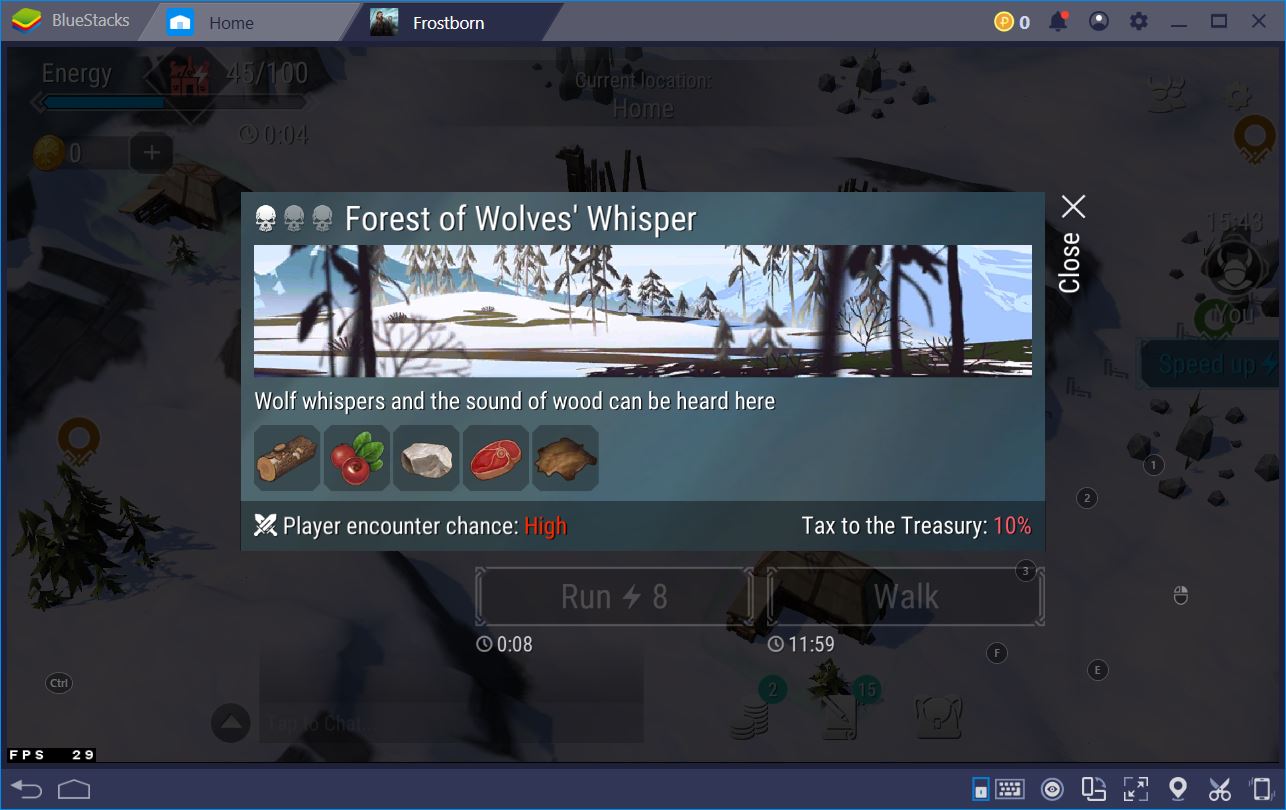
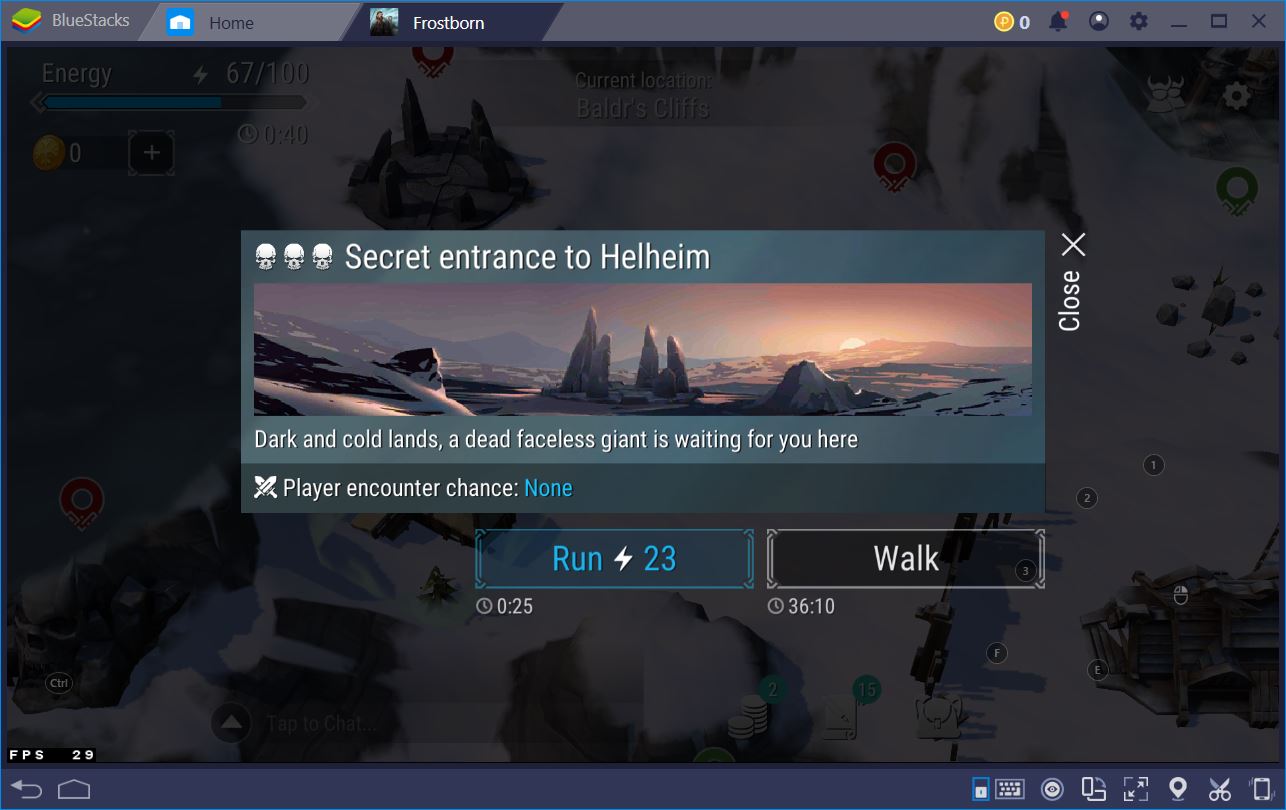
Once you’ve cleared your area, you can try to explore the surrounding ones by walking to the edge of your map, into the blue zone. Places marked with green are easy, orange is medium, while red is seriously hard. Clicking on either of these locations will tell you the most common loot available, which is never the full extent of what you can find there.
The single, most important information you can get from this screen is the player encounter chance. For instance, the Wolves’ Whisper den is riddled with other raiders. We don’t recommend going to meet other players just now.
Surviving and Levelling
If you do decide to explore a location that has a medium or high player encounter chance, you should prepare for the worst. Take minimal food resources and a spear with you. These are the cheapest things you can lose without having a major drawback. With them, you are free to experiment and kill others. In our experience, though, it almost never turns out well. What you can do is lie in the bushes and hope for an easy kill or, better yet, wait for someone to die ahead of you. Then, you can crawl out, take their loot and make a run for it.
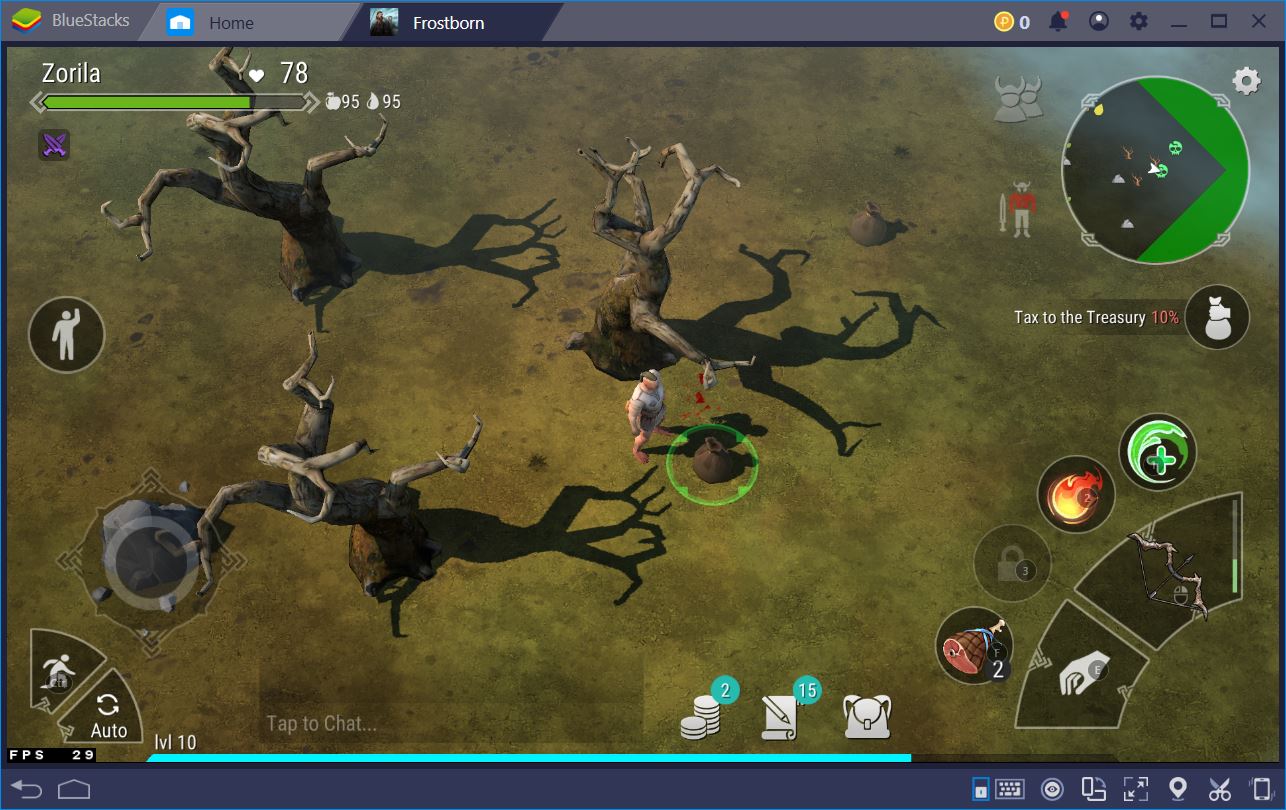
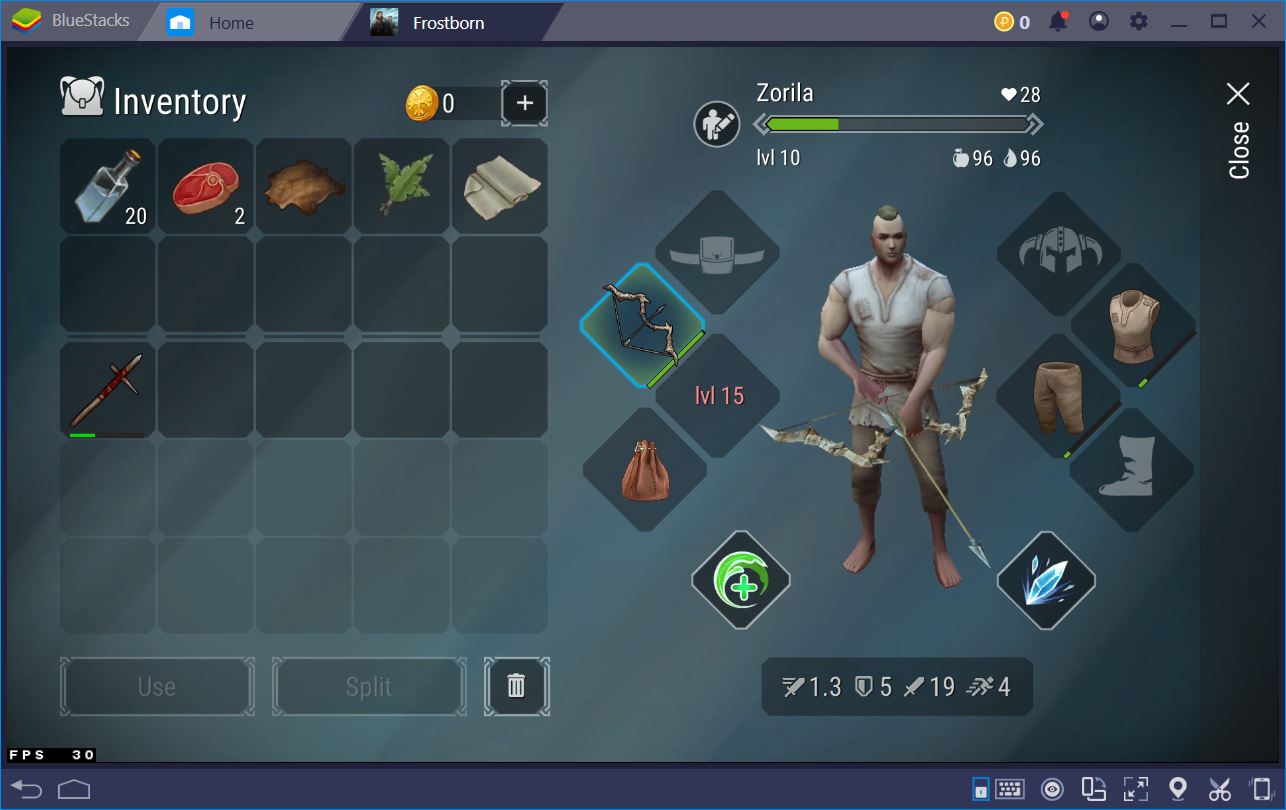
We decided to be a bit bold and also took a bow with us. This is a pretty high-risk venture, since you’ll be losing an item that takes quite a bit of resources to make. The resin, most especially, is hard to find in the beginning. However, we were fortunate enough to not encounter higher level players, so we mostly steamrolled over anyone that would get in our range.
If you also find yourself under levelled, there’s a great way to catch up. Everything you need to do is get a backpack and discover the locations that are North of your home base.
Play Frostborn on BlueStacks 4
Soon enough, you’ll be stumbling across a stone megalithic structure called Secret Entrance to Hellheim. Here, you can come and farm the Draugrs and Wolves as you please, since no other players can enter your instance of Hellheim. Just make sure to stay clear of the big giant in the middle. He hits like a truck.
Remember to use the same strategy of approaching mobs stealthily and backstabbing them. This will ensure you lose minimal health while farming your levels. After you’re done with the monsters, you can leave your Viking on auto-farm. To maximize your experience gain, gather some resources yourself and craft a Hatchet, as well as a Pickaxe.
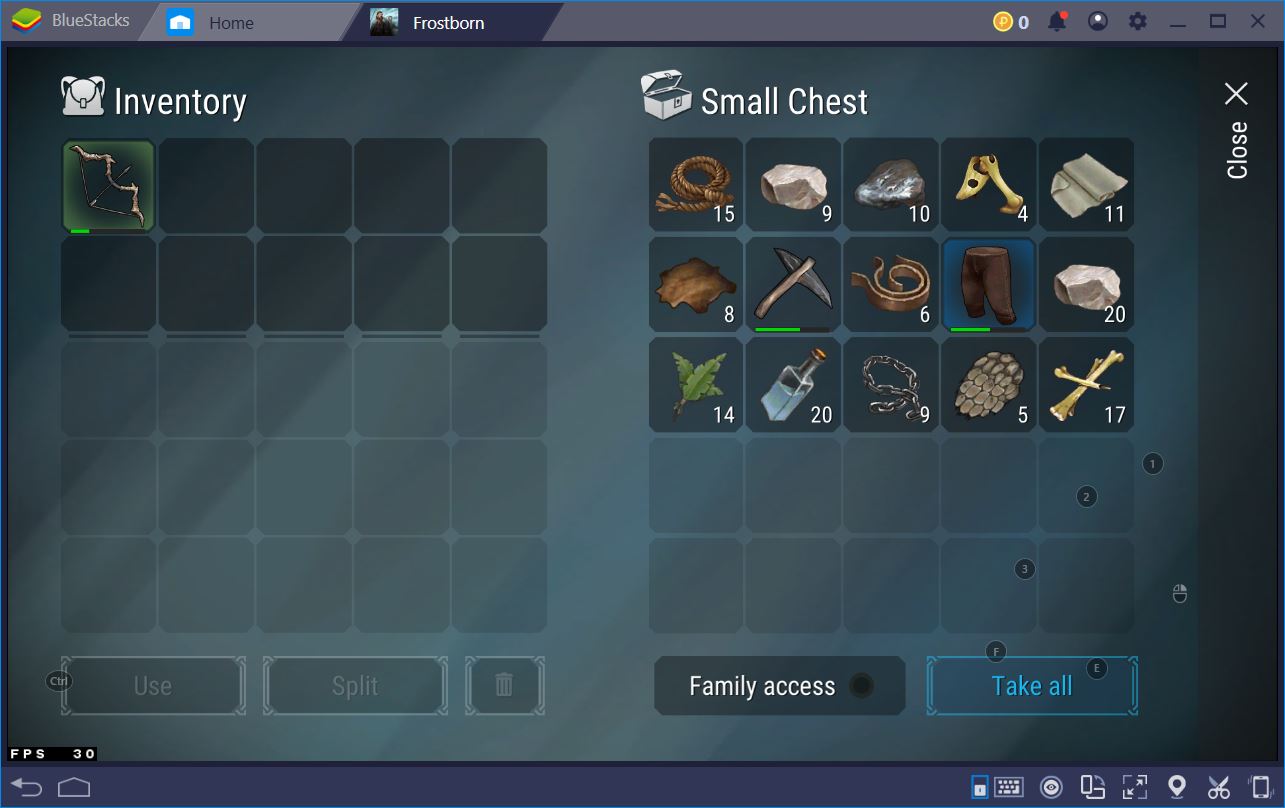
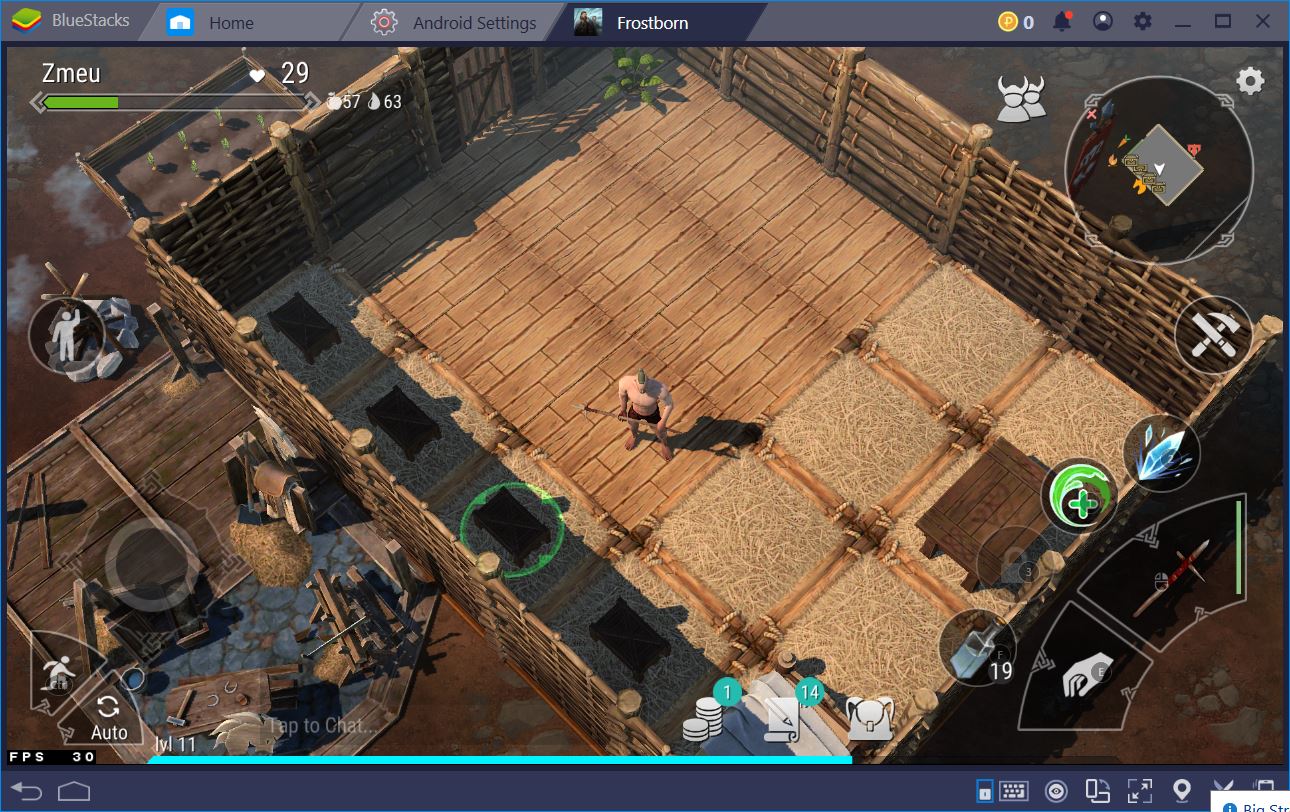
From here onward, it’s rinse and repeat until you get enough mats to start building a woodworking table and a smelter. These are the first crafting stations you can afford and they’ll eventually help you build better items, as well as better work stations.
Taking the Initiative
If you manage to find three other friends or fellow Vikings looking to make their wealth in Frostborn, then you can start to clear higher level places. You’ll find the best mats in Tombs. Here, many rare items await, including those elusive leather strips that make it possible to craft the Basic Sword and Shield, a Bow, and much more.
Every orange area usually has one of these. The problem, however, is that other players can stalk the entrance, wait for you to go in, and then ambush your team when all of you are on low health, so just make sure to scout around for any prowlers before turning your back on them.
