Lost Sanctuary: Eternal Origin on PC - How to Use BlueStacks to Optimize Your Experience with this Game on Your Computer
In every mobile MMORPG, it’s important to have the best controls and performance in order to truly appreciate everything that the game has to offer. Lost Sanctuary: Eternal Origin is not an exception as, despite being mostly automated, there is still a skill component required in order to complete the tougher challenges. Moreover, in addition to the standard gameplay, there is also a lot of tedium that comes from the daily grind of completing repeatable missions in order to power up your character in preparation for the harder fights.
Despite being designed to be played and enjoyed on mobile devices, players can get the best experience with this game by playing Lost Sanctuary: Eternal Origin on PC with BlueStacks, since our Android app player not only gives you the best performance on virtually every machine out there, but it also has a wide variety of features and tools to significantly enhance your gameplay, and subsequently your enjoyment.
In this article, we’ll be talking about the different ways you can improve your experience in Lost Sanctuary on PC with BlueStacks, as well as how to configure some of our tools to get the most out of them.
Maximize Your Framerate and Graphics In Just a Few Clicks
Those who are playing Lost Sanctuary on their phones will need to have either a flagship device, or a phone of comparable specifications, in order to get a stable performance in the game. Otherwise, players who are using a weaker phone will either have to dial down the graphics, or play with performance issues like lag, slowdown, or stutters, among others. Luckily, those who play on PC with BlueStacks don’t have to decide between these two outcomes, as they can have both the best graphics, and great performance, with no drawbacks.
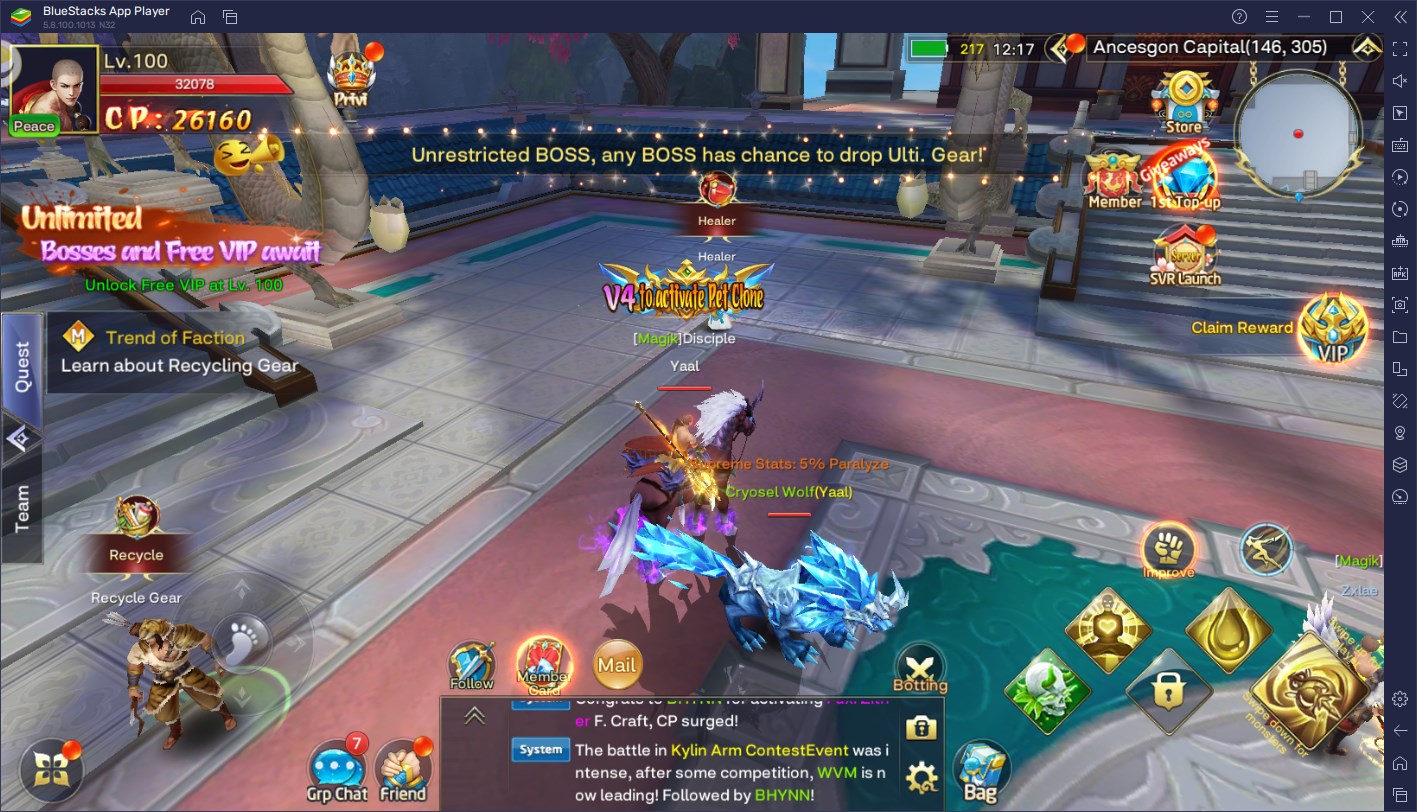
Our Android emulator is much faster and stronger than even the most expensive phones on the market, which lets you enjoy the best graphics and performance with your games, without having to break the bank on an expensive phone, or on a pricey gaming PC. As long as your computer meets the very accessible recommended requirements for running BlueStacks, you can get the best experience with Lost Sanctuary on PC. To this end, we recommend checking out our PC setup guide for Lost Sanctuary to learn how to get started.
With that being said, in order to get the best experience with your game, you might need to do a few adjustments both to your BlueStacks, as well as within Lost Sanctuary. Here’s a quick step-by-step breakdown of what you need to do:
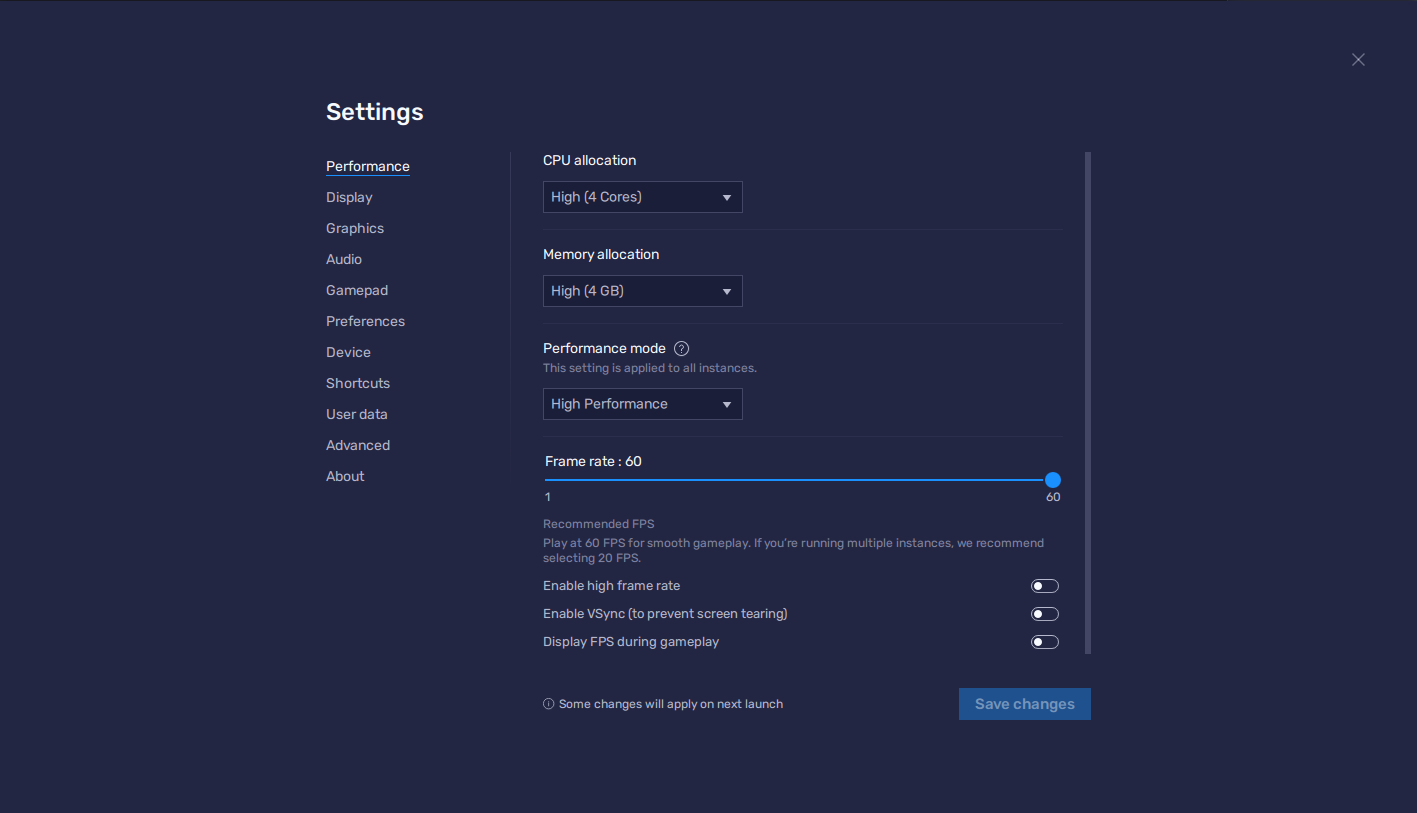
- Go to the Performance tab in your BlueStacks settings.
- Set your emulator to use 4GB of RAM, 4 CPU cores, and set your Performance Mode to High Performance. Finish by setting your FPS slider below to 60 FPS, and clicking on “Save Changes”.
- Launch Lost Sanctuary and go to the in-game settings by clicking on the button on the bottom left, and then on the gear icon.
- Enable the “HFR” checkbox, and set your game to use “Perfect: Best Image Quality”.
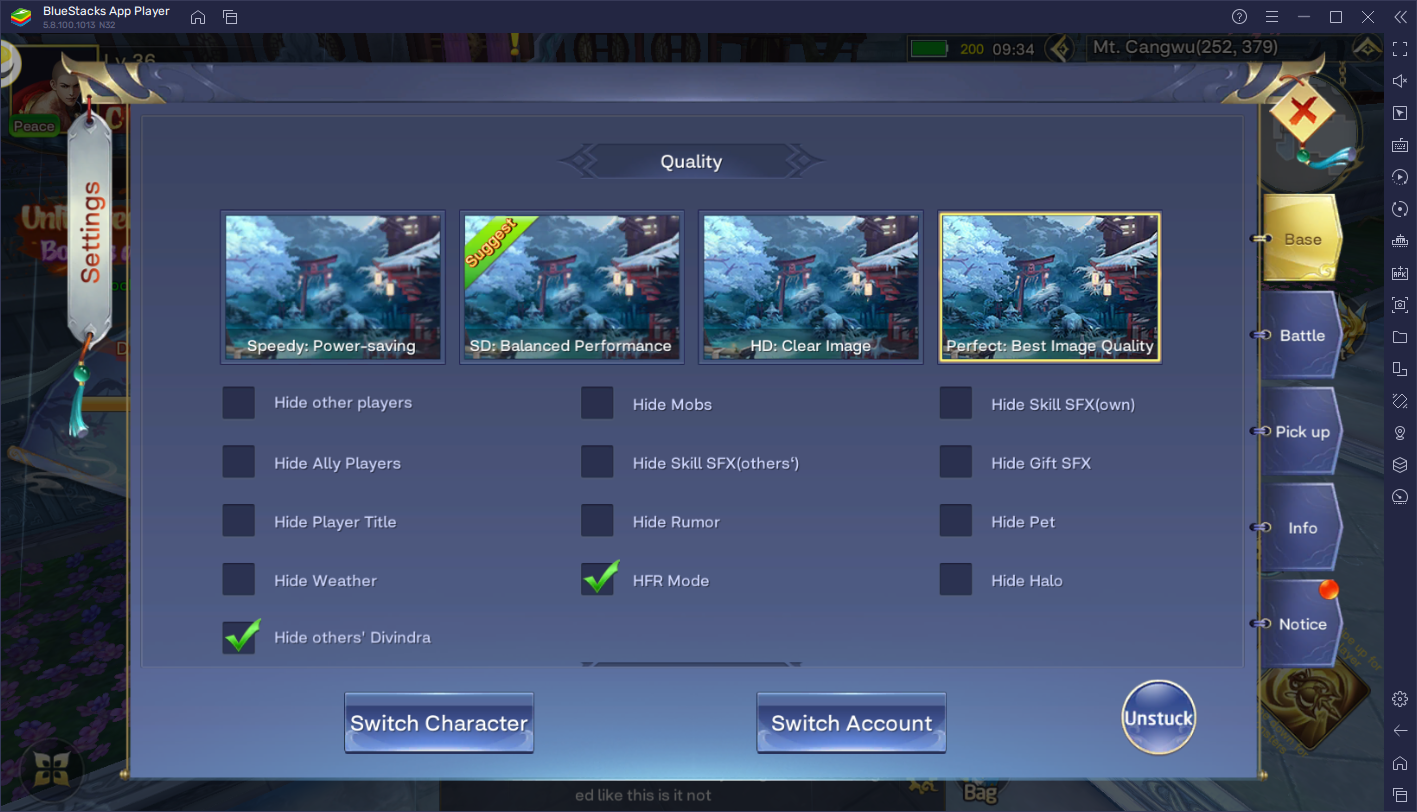
With these settings, you will achieve the perfect experience with a silky smooth frame rate, along with the best possible graphics that this game can provide.
Play with All the Different Classes at the Same Time
In Lost Sanctuary, there are seven different classes to choose from, each with their own traits and skill sets. And while we’ve already provided a rundown of all the classes in the game to help you choose the one that’s best suited for you, there are still players out there that might want to play with more than one. If this is the case for you, then BlueStacks can definitely help you by letting you play with two or more classes at the same time, and on one same screen.
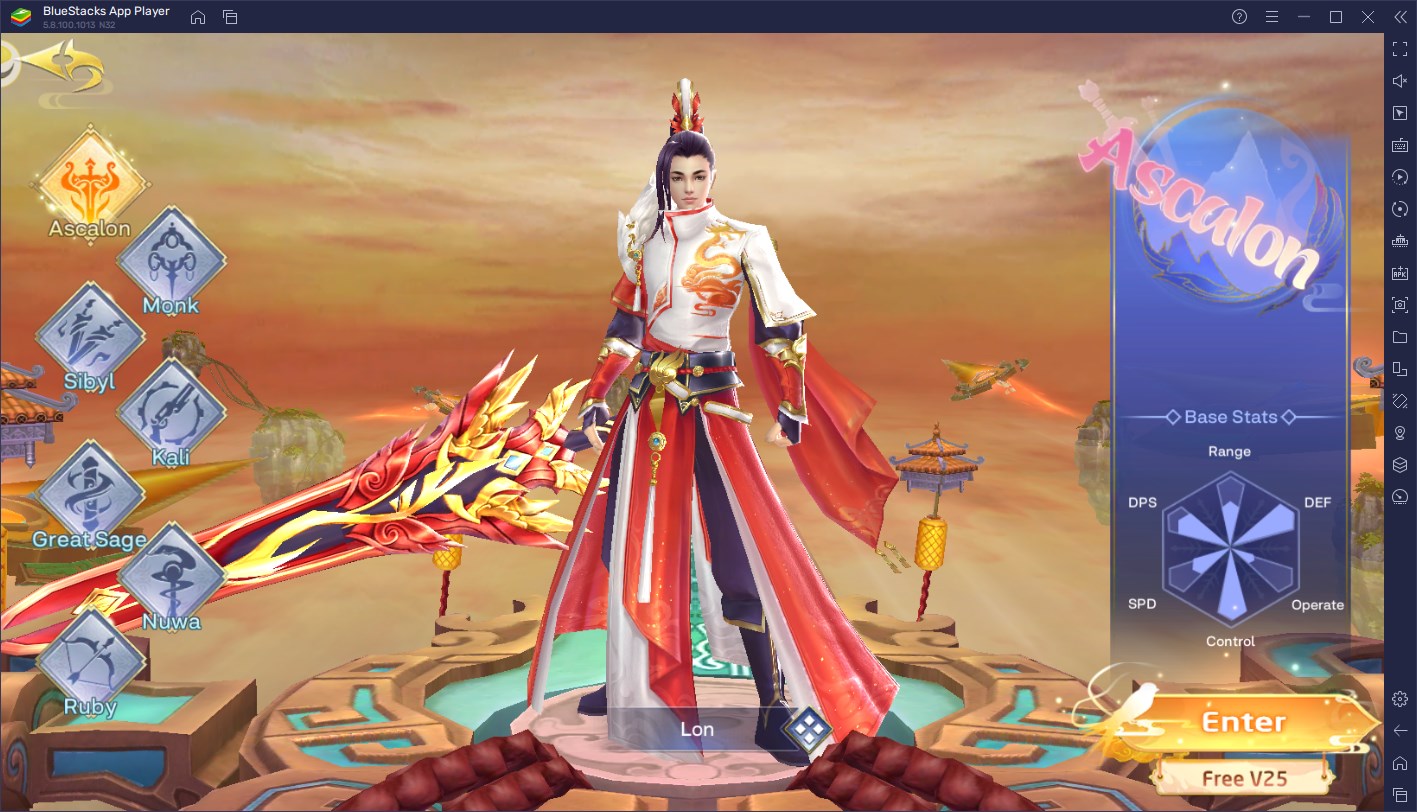
With the Instance Manager, players can create as many BlueStacks instances as their PC can handle, and use these to access the game on many different accounts simultaneously. In this sense, you can easily play on several classes at the same time, without having to swap between them on one account. Furthermore, since this game only lets you have three characters per server, you can easily have all seven classes spread among three accounts, and then easily play with three of them at any given moment, without any major hassle.
To use the Instance Manager, you simply need to press Ctrl + Shift + 8 while on BlueStacks, which will bring up the main panel. In this screen, you will find a list of your current instances, where you can launch, edit, close, or delete them. Additionally, by clicking on the “+ Instance” button, you can create as many instances as you want—if your PC is good enough, you can even run all seven at the same time, to play on all classes simultaneously.
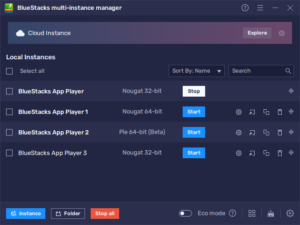
Once your instances are set up and running, you can then install Lost Sanctuary: Eternal Origin on each of them and start playing with a few different classes at the same time. And since this game is mostly automated, you should have no issues at all with progressing on all your accounts.
Enjoy the Best Mouse and Keyboard Controls for Maximum Comfort
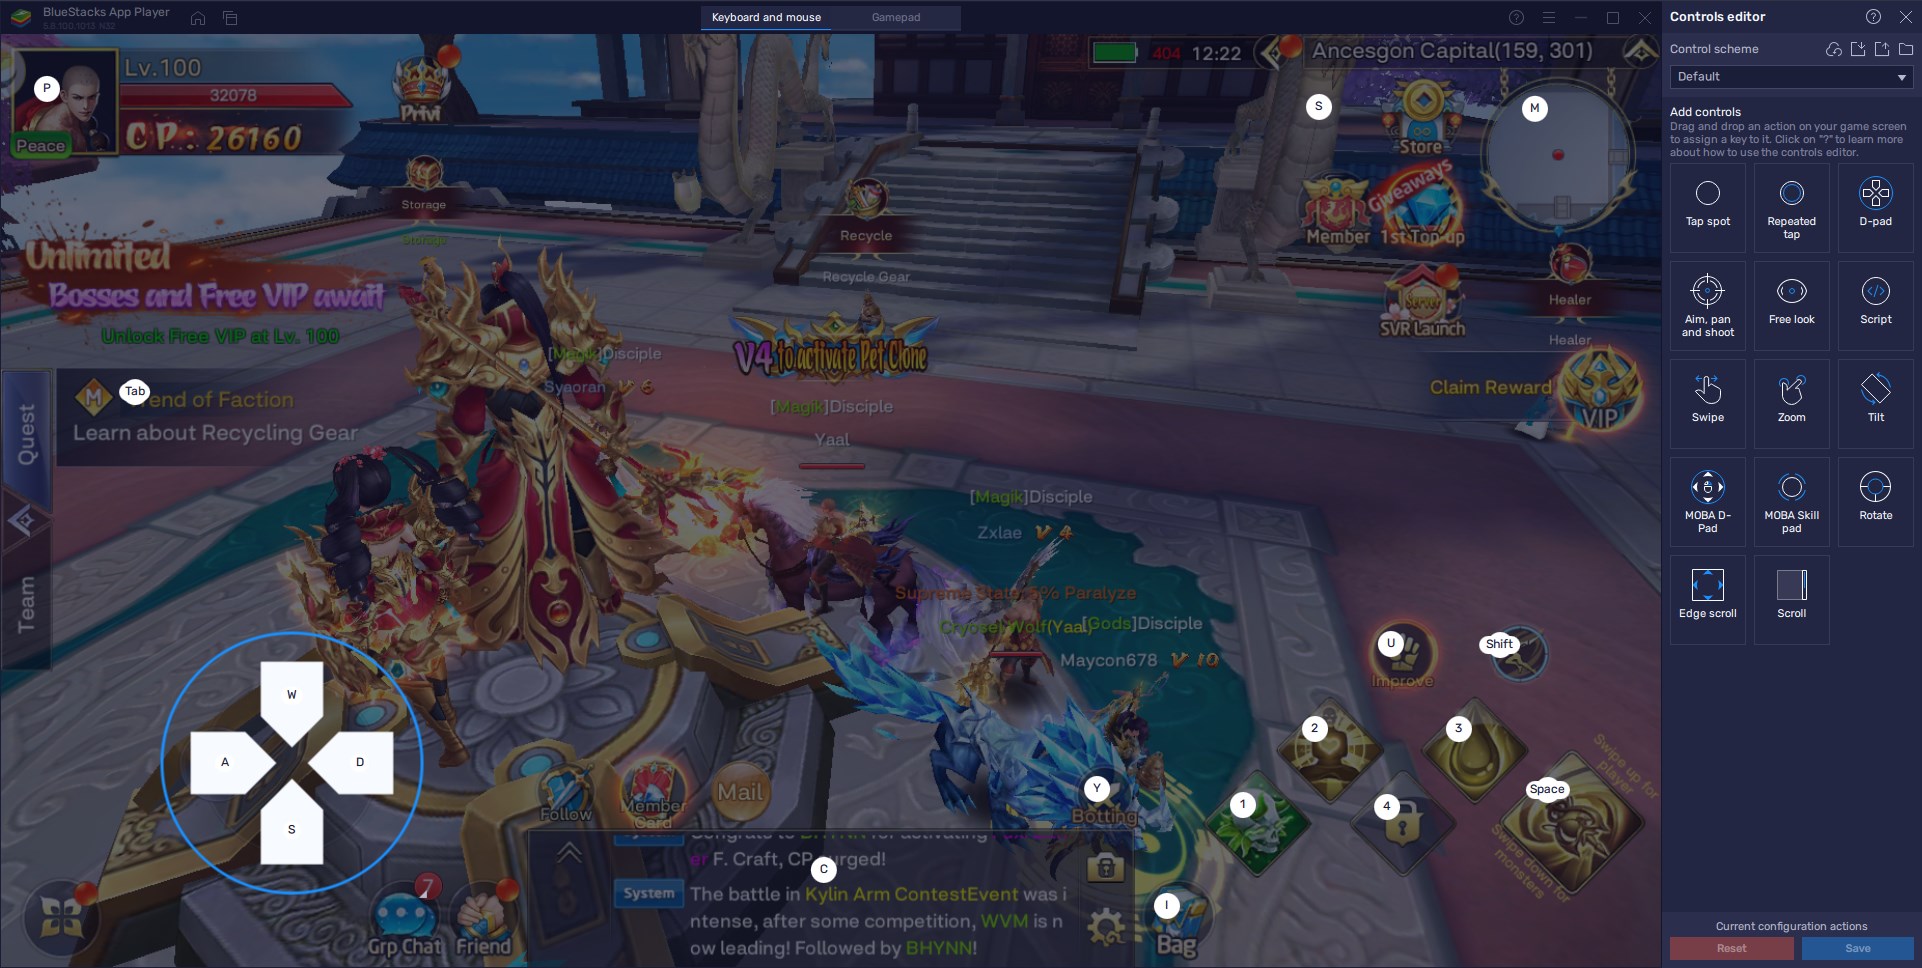
Lost Sanctuary is an MMORPG, and as most MMORPGs out there, the best way to play it is by using your trusty mouse and keyboard. Luckily, this is something that BlueStacks can provide with our Keymapping Tool, which you can access in-game by pressing Ctrl + Shift + A.
By pressing this combination, you will open the Advanced Editor, which lets you visualize all your current controls, edit them by clicking on them, or even add new ones by dragging and dropping them from the panel on the right. And once you’re done, all you have to do is click on “Save changes” on the bottom right, and start enjoying your favorite games with the best controls.
With BlueStacks, you’ll be able to get the best experience with Lost Sanctuary: Eternal Origin on PC. Feel free to leave any questions or comments that you might have, in the section below.


