The Best Puzzle Quest 3 Tips and Tricks For Starting on the Right Track
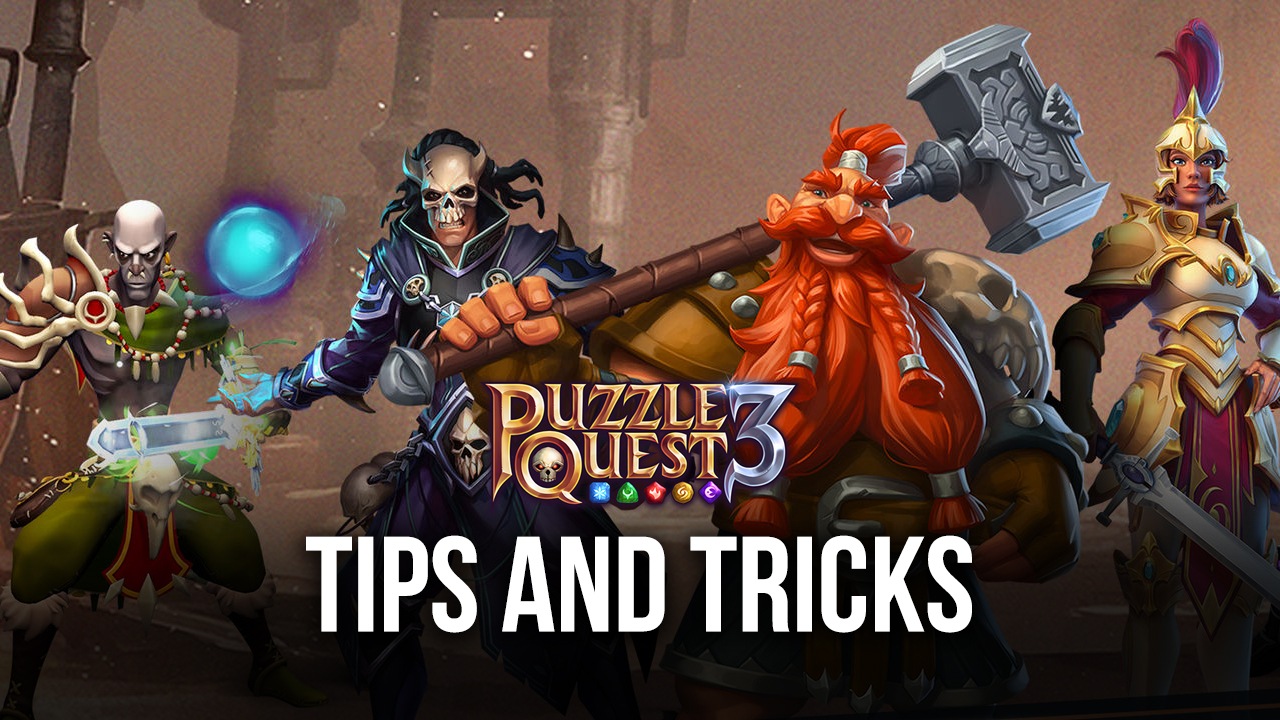
Puzzle Quest 3 is an innovative take on the classic match 3 gameplay formula, giving players access to countless different puzzle levels that play like a typical match of Candy Crush, but with tons of underlying RPG elements and progression systems. And while in the more casual match 3 titles the objective is always to clear a specific number of bricks or tiles on the board, the goal in Puzzle Quest 3 is to defeat the enemies that are standing in your way, which is done by not only matching tiles on the board, but by doing it with proper planning and strategy, in order to inflict the maximum possible damage to the enemy on every turn.
Despite being quite easy to pick up and play, Puzzle Quest 3 is one of the deepest and most intricate match 3 games on the mobile platform, with myriad elements and systems to keep in mind when looking to power up your character and defeat your enemies. In this sense, we’ve decided to share a few tips and tricks on how to get a good start and progress through this game. Alternatively, if you’re completely new to it, we strongly suggest reading our Puzzle Quest 3 beginner’s guide first.
Without further ado, let’s get started!
Play on BlueStacks to Get the Best Graphics and Performance
Match 3 games often have the particularity of featuring very simplistic art styles along with matching graphical fidelities. The results are games that aren’t necessarily ugly, but rely on having a good art style, rather than advanced and realistic graphics. in order to look appealing. Puzzle Quest 3, however, is the exact opposite, as this is one of the best-looking match 3 games we’ve ever played on the mobile platform, and that’s saying a lot!
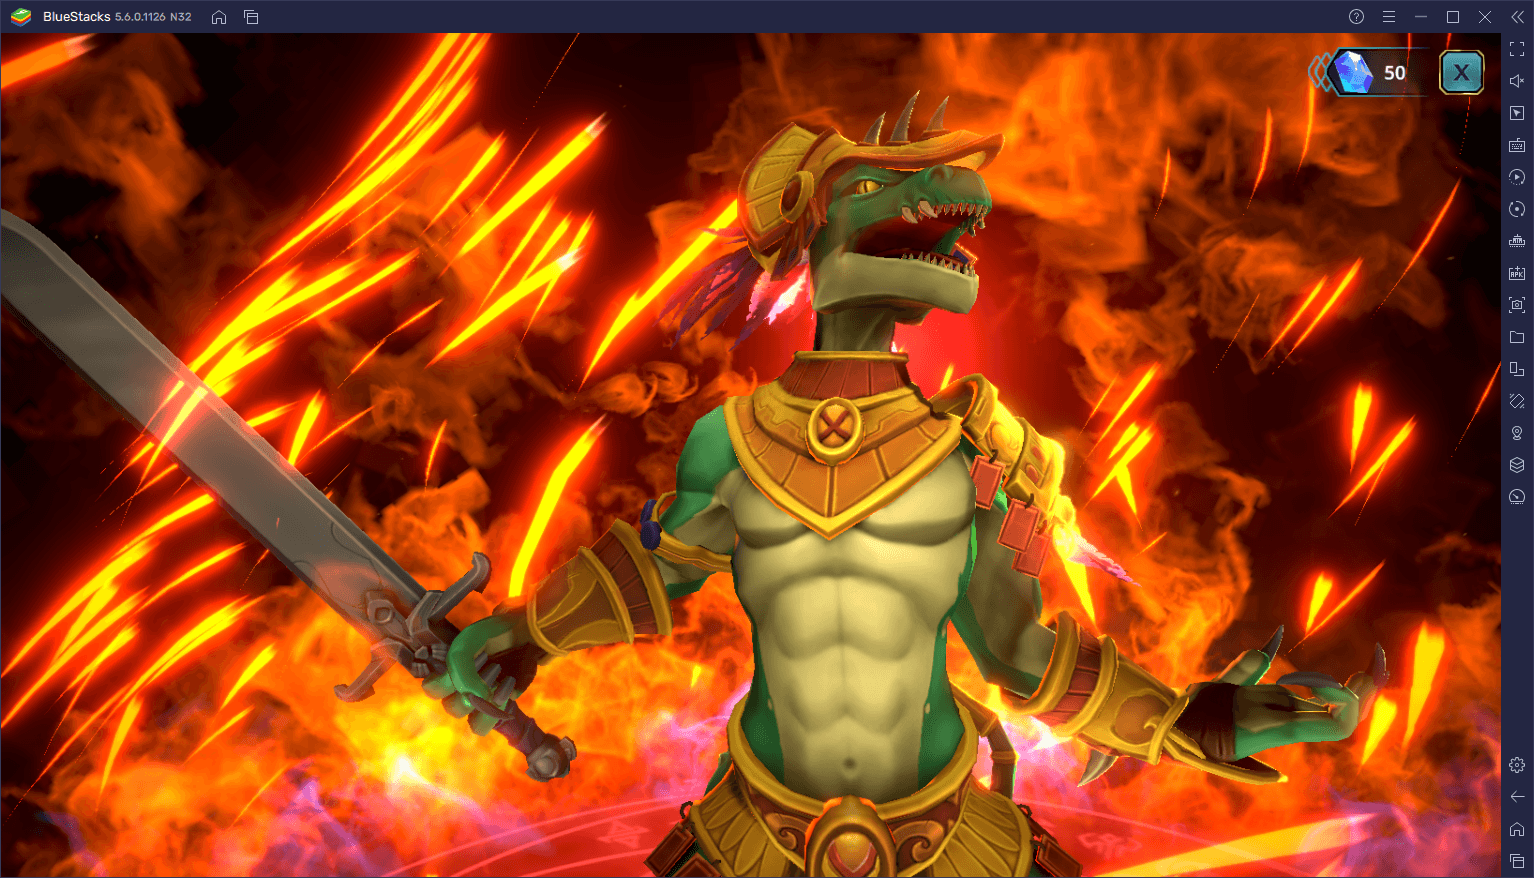
However, in order to fully enjoy the awesome animations and combat effects, we recommend playing Puzzle Quest 3 on PC with BlueStacks, as this will let you appreciate in full detail all of the visual assets in this game, by playing it on your large computer monitor. And this is without mentioning that since our Android App player is much more powerful than even the most expensive phones, you can play with the best performance, without having to break the piggy bank on buying a good phone.
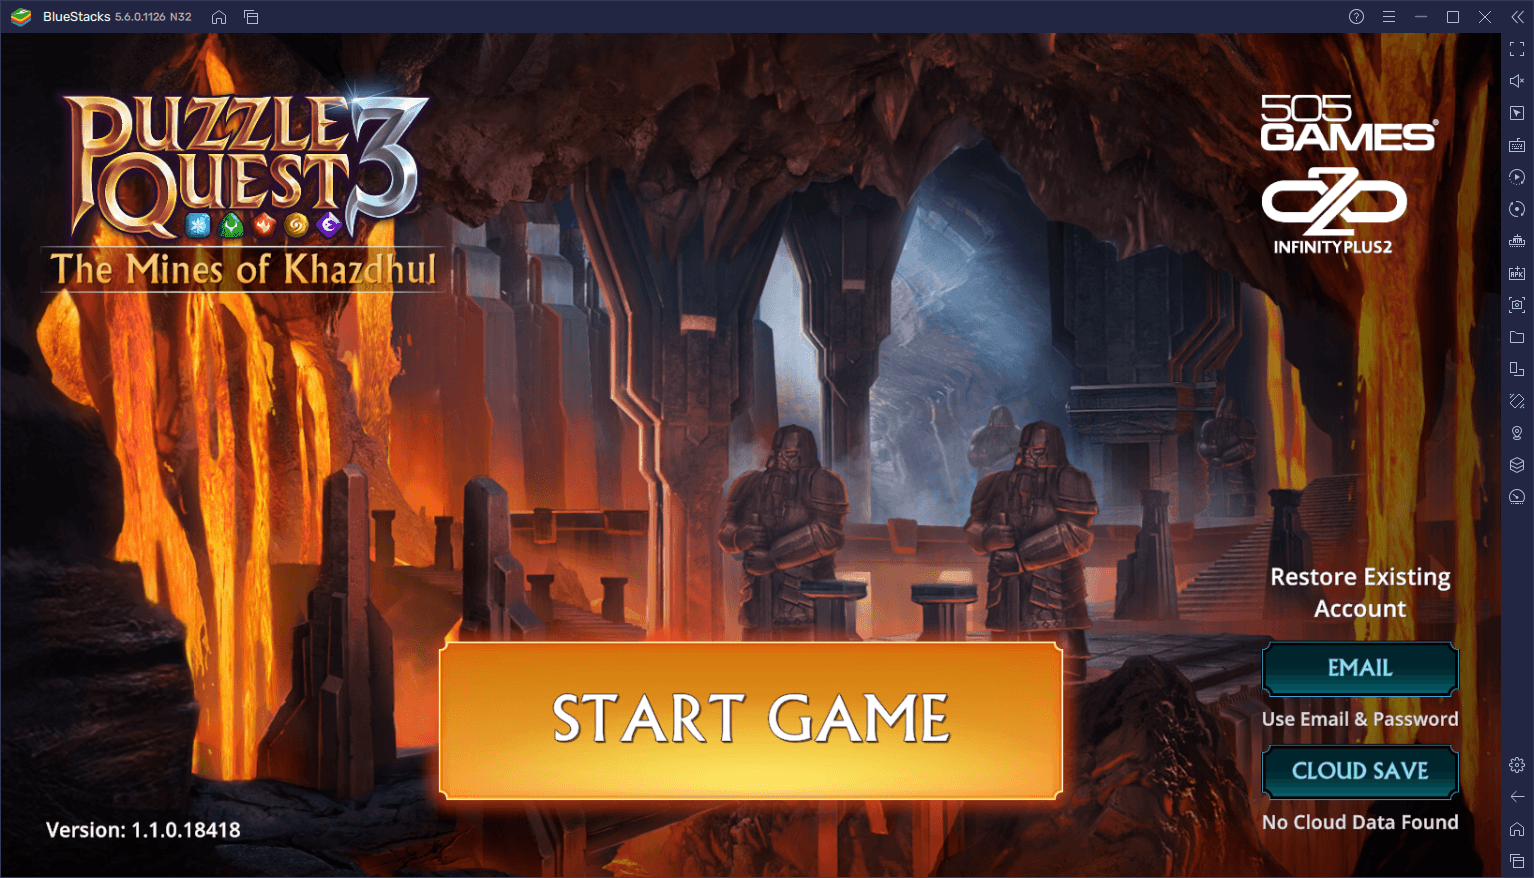
However, in order to maximize your performance and graphics with this game, you’ll need to do a few tweaks both to your emulator as well as in-game. But first, if you haven’t done so already, we strongly suggest reading our PC setup guide for Puzzle Quest 3. Once you have the game up and running on BlueStacks, follow these simple steps to optimize your performance and graphics:
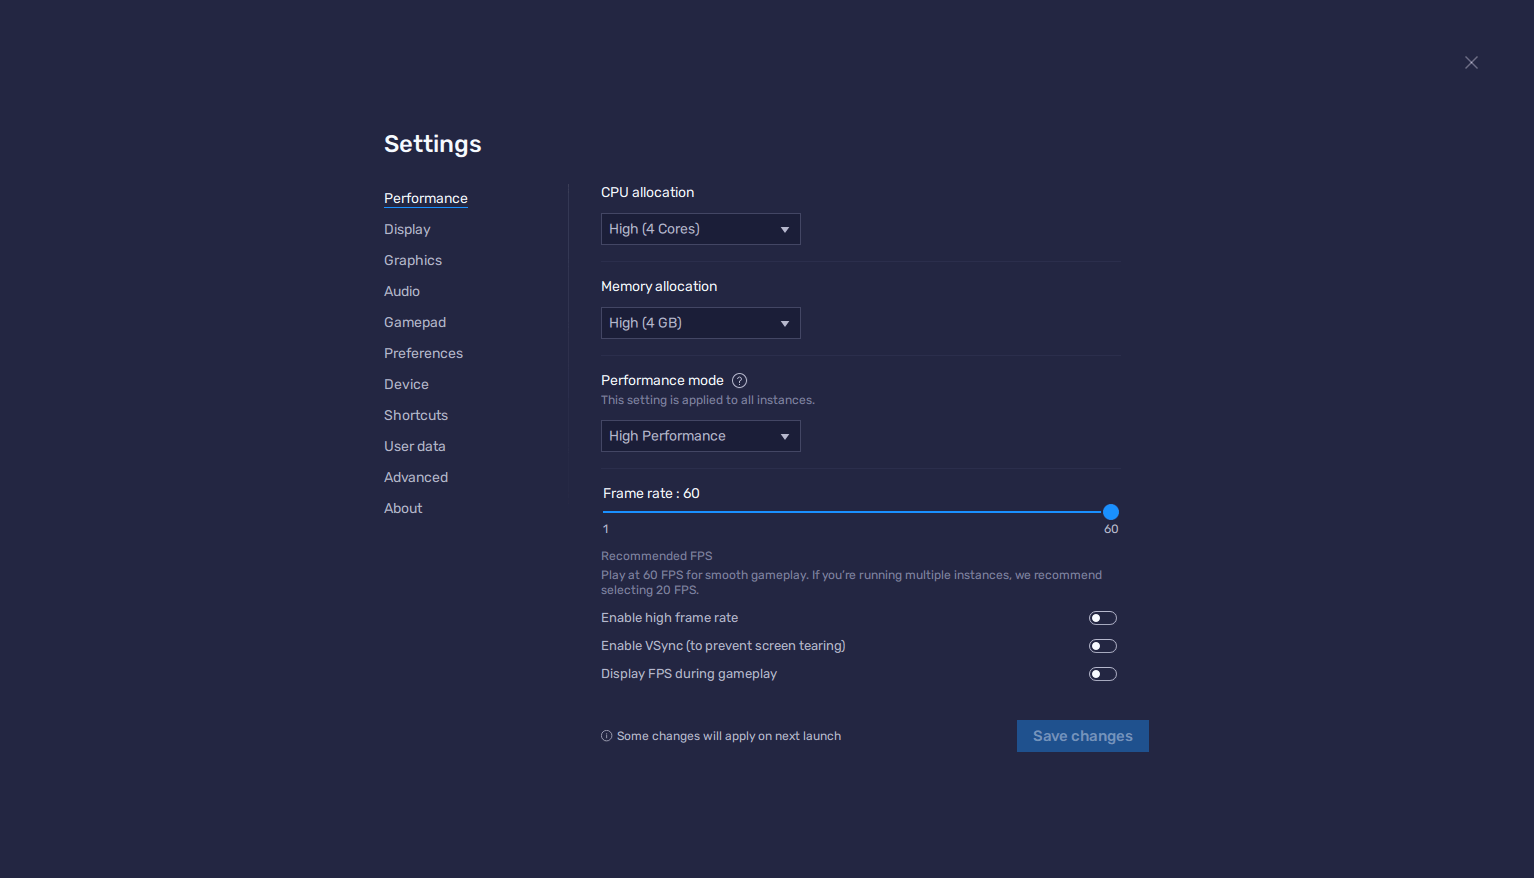
- Go to the BlueStacks settings by clicking on the burger menu on the top right, and navigate to the “Performance” section.
- Assign 4 CPU cores and 4 GB of RAM to the emulator, and make sure that the Performance mode is set to “High performance”. Finally, set the FPS slider below to at least 60 FPS, and finish by clicking on “Save changes”.
- Launch Puzzle Quest 3 and navigate to the in-game settings by clicking on the burger icon on the top left, and then on “Settings”.
- On the “Display” tab, set your Graphics Quality to “Very High”, and your Target FPS to “60 FPS”. Also, disable the Variable FPS feature, set your Resolution Scale to 1.0x, enable High Quality Shadows, and disable the Sustained Performance Mode.
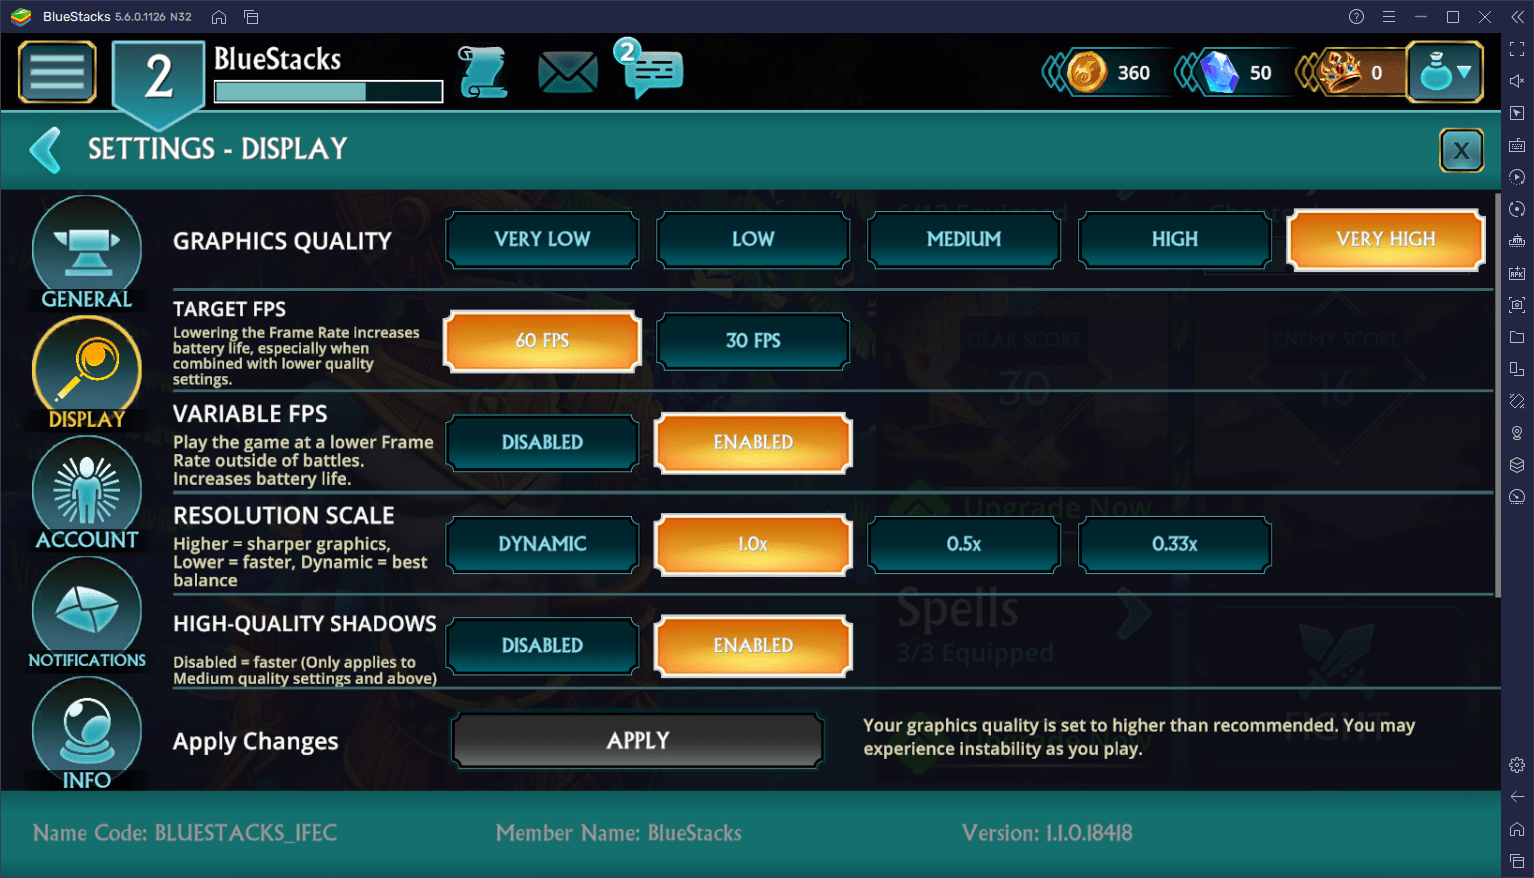
With these settings, you’ll be able to get the absolute best visuals in Puzzle Quest 3 and with the best possible frame rate. Bonus points if you hook your PC to the big living room TV so you can enjoy this game in all its glory and on a very large HD screen.
Combine the Same Color Tiles as Your Equipped Skills
Now that we have our game running on PC and with the optimal settings, let’s go ahead and talk about the combat system for a bit.
For starters, there are a few ways to deal damage to the enemy in this game, with the simplest being combining the skull tiles in order to deal direct physical damage. However, another way to deal slight damage is by combining tiles that are of the same color as your equipped skills. For each of these skills that you have equipped, your character will deal elemental damage to the enemy whenever you create a combo with the tiles of the corresponding colors. In this sense, if you have multiple skills of the same color, you can potentially dish out some decent damage, AND collect lots of mana in the process.
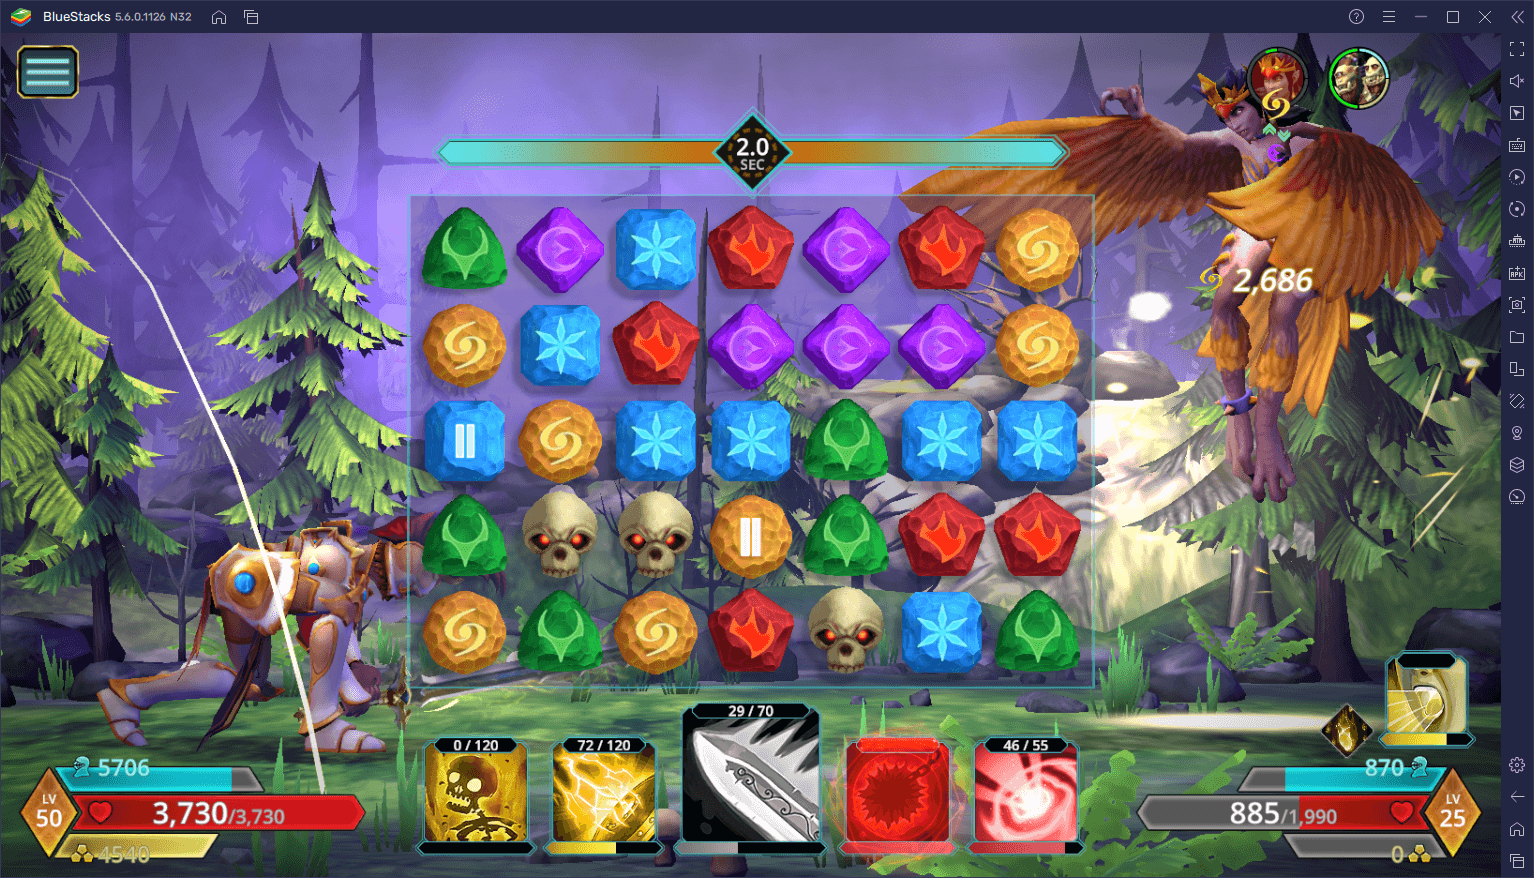
The only disadvantage of rocking a skill setup that focuses on one element is that you will eventually go up against an enemy that is resistant to the said element, making the battle much harder if you don’t switch out your skills for another setup. This brings us to our next point…
Avoid Combining Tiles of the Same Element as the Enemy
While combining the right elements can help you to quickly charge your skills while also dealing some damage to the enemy, combining the wrong ones can actually give your enemy the upper hand. For instance, whenever you combine tiles that are of the same color as the enemy’s base element, you’ll give them extra mana, letting them use their skills much more often.
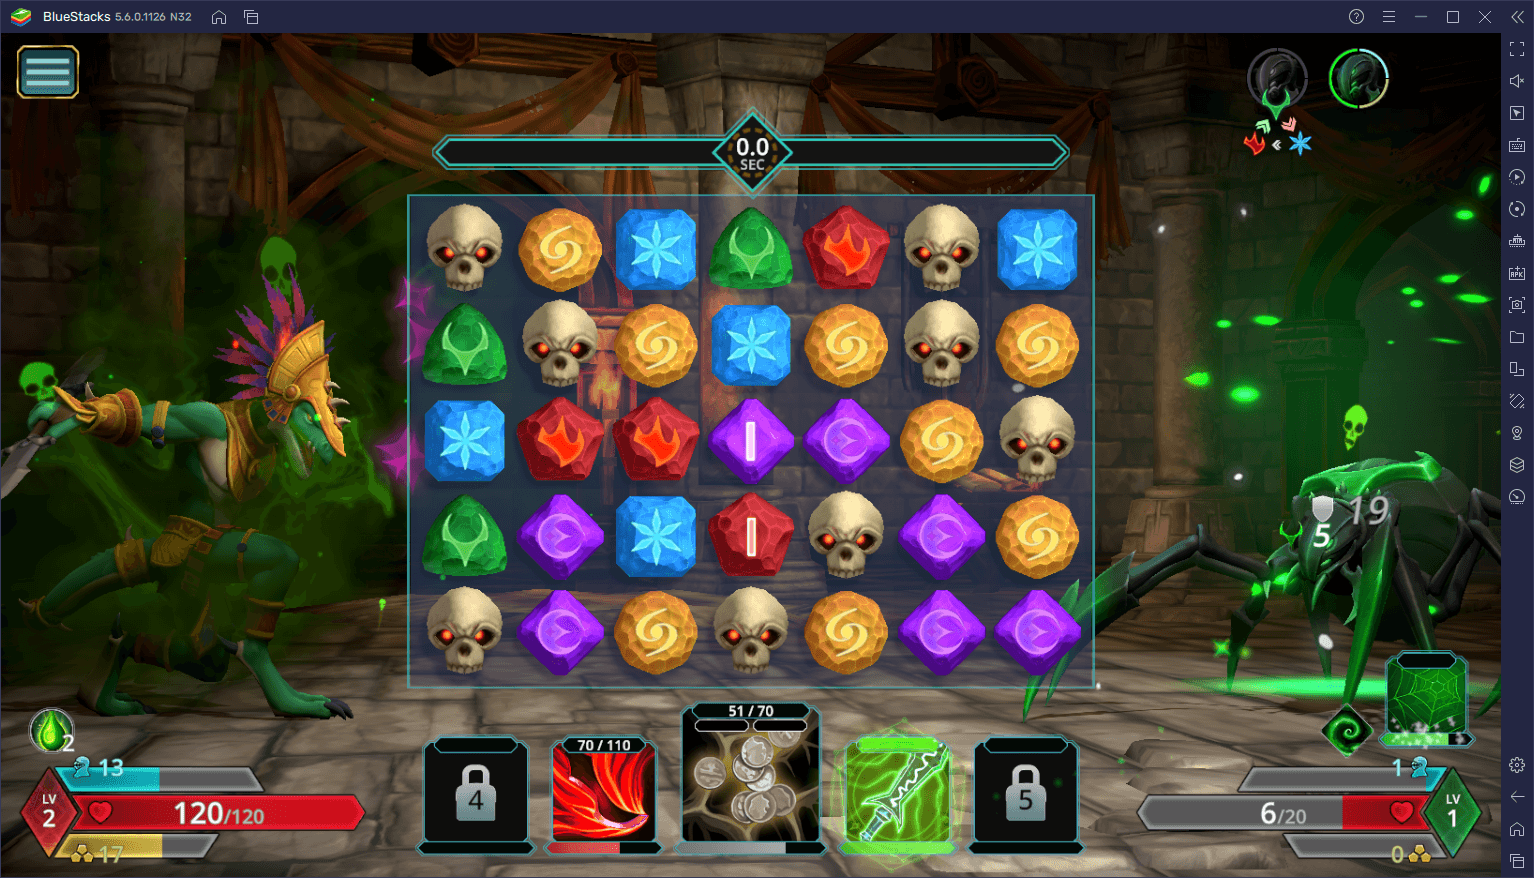
In this sense, not only do you deal less damage by attacking with an element that an enemy resists, but you’ll also potentially give them more mana on every turn if you don’t pay attention to the tiles that you’re combining.
Go For Longer Combos and Special Effects
This pretty much goes without saying, but the longer the combos, the more significant the effects of the pieces that you’re combining. Especially if you’re combining elemental tiles, the longer the combo, not only do you generate more mana for the skills of the same color, but you’ll also generate big gems that, when combined in subsequent turns, will grant more mana than usual. In other words, if you want to charge up your skills as fast as possible, your best bet is to go for long elemental chains.
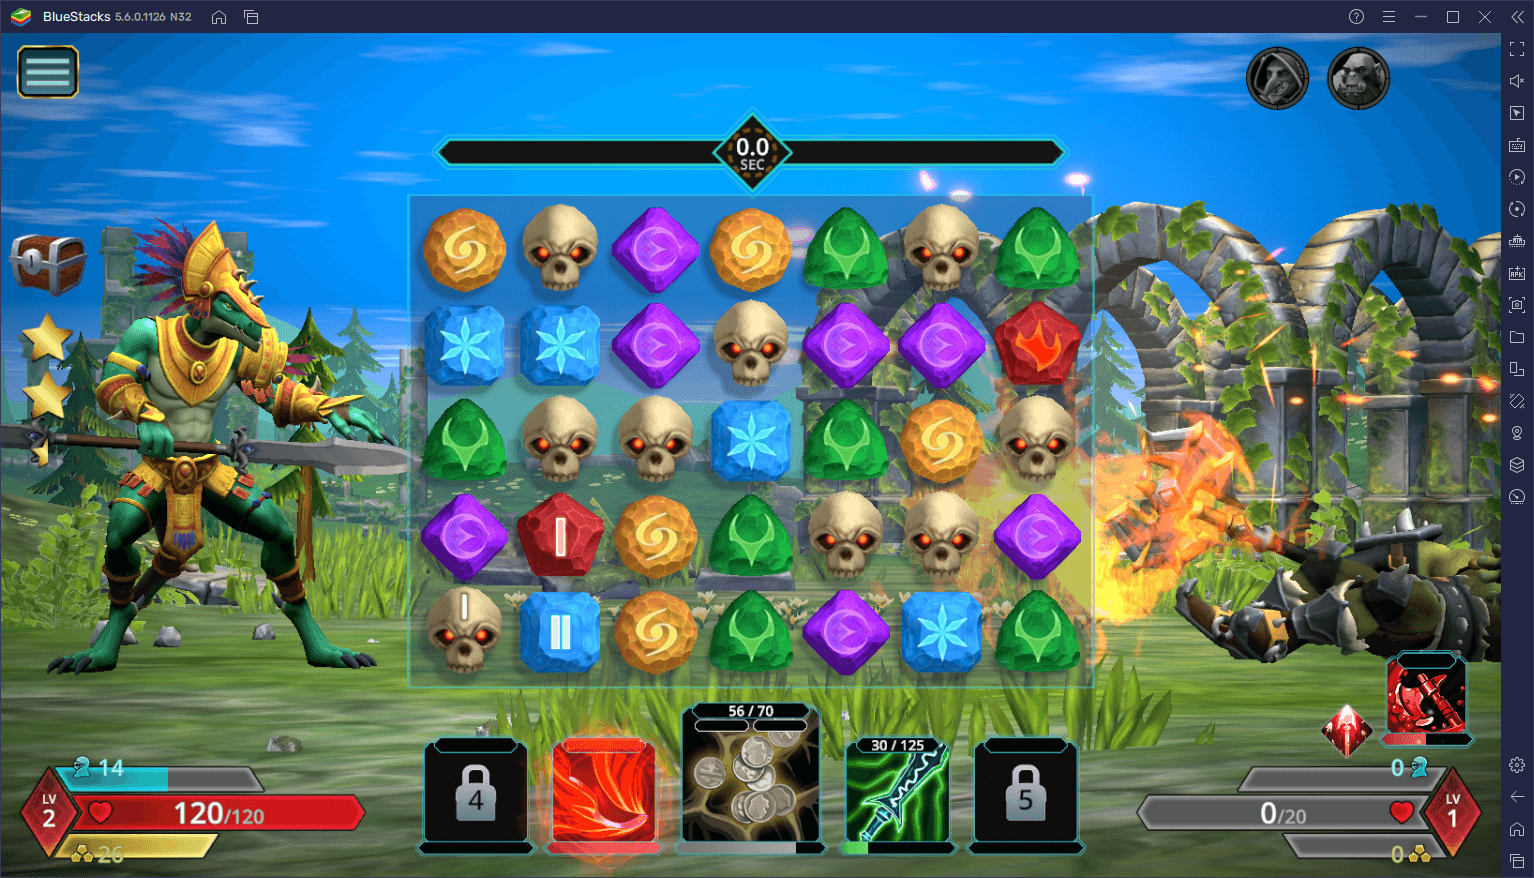
While you can create big gems by creating combos of at least four or more pieces, there are also special combos that are worth keeping in mind, as they can give you the extra push for defeating the stronger enemies. One of these effects is the “Heroic Effort” buff when combining at least 8 pieces in a single chain, which increases all damage dealt by 100% for two turns. Additionally, you can also stun enemies by creating a combo that spans an entire row from end to end.
Time Your Stuns Carefully
When it comes to maximizing your damage output, you should create the longest chains possible, whenever you can. However, the only exception to this would be regarding the Stun special combo we mentioned just now, as this is the only way to block the enemy’s strongest skills whenever you’re at risk of being defeated.
Whenever you stun an enemy, they will skip their next turn, potentially preventing them from unleashing their strongest attacks that can sometimes even one-shot your character. In this sense, we strongly suggest trying to set up a stun combo in advance, and then using it whenever the enemy is about to attack with their strongest skills.
Your Inventory is Shared Between All Your Characters
One thing to keep in mind when it’s time to gear up your characters for combat is that, while you can have various characters on one account, your gear is actually shared between all of them. And since the gear in this game doesn’t have any kind of class restrictions, you can essentially use one good set for all your characters. This makes starting new classes and giving them a head start quite feasible, especially since when you equip a low level class with higher-level gear, these pieces are automatically scaled down temporarily for their level.
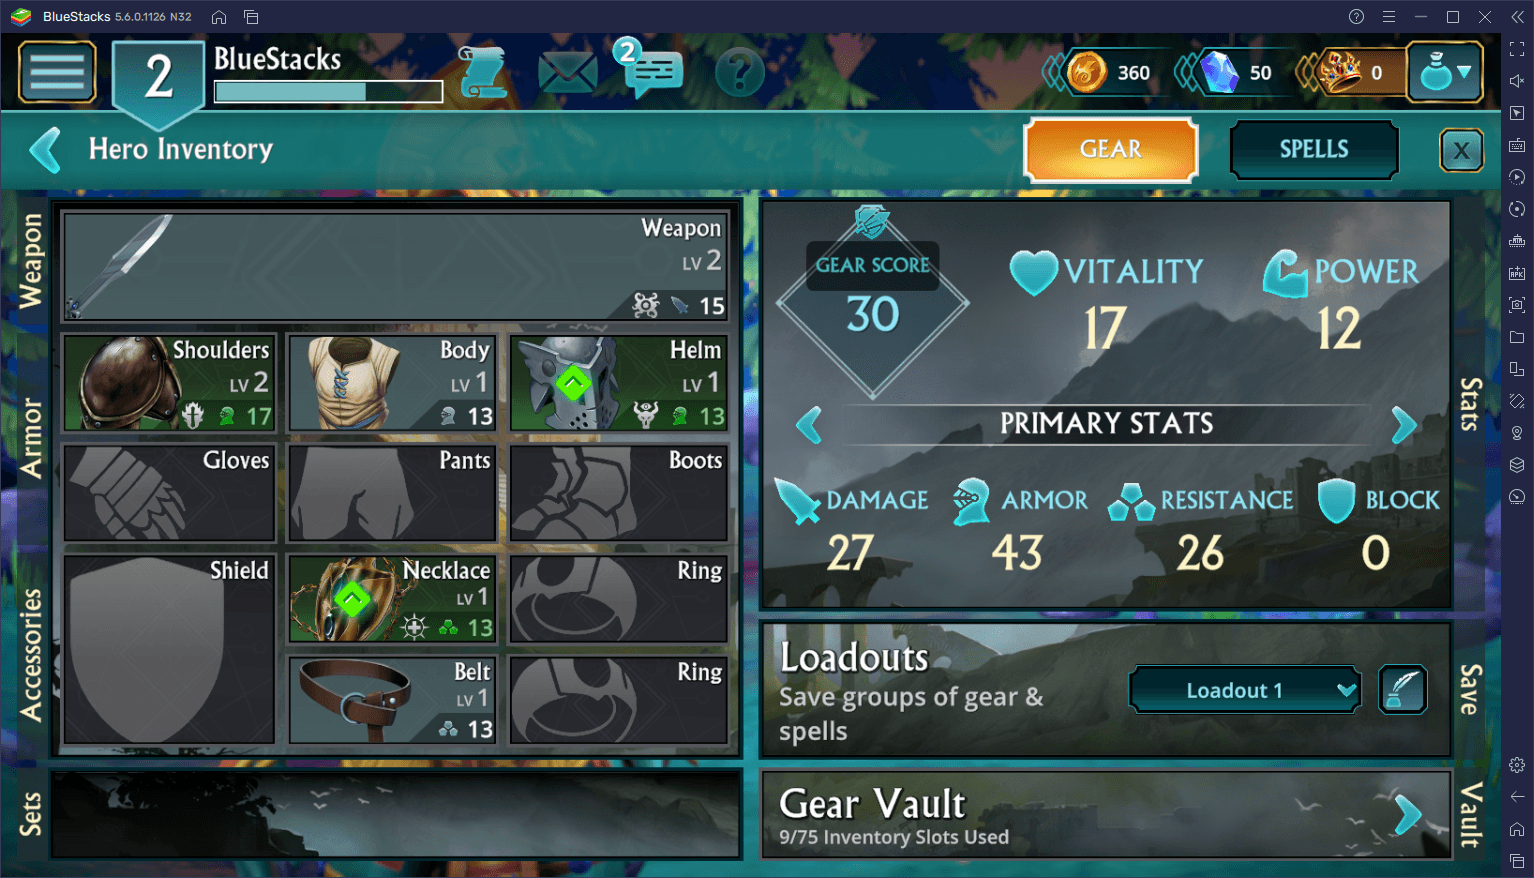
This sharing feature extends to skills as well, which brings us to our next point.
Spend Gems on Character Slots
While sharing gear is a great way to get your newer characters into the fight without having to first grind for countless hours, you can also share your unlocked skills between all your characters. This essentially means that, even if you’re a Berserker, you can create a Necromancer on the same account, and borrow the latter’s skills when using the former. This makes purchasing character slots one of the best investments for your Gems, as it’ll give you access not only to different play styles for when the fancy strikes, but also a variety of different skills that you can mix and match, regardless of the character that you’re playing.
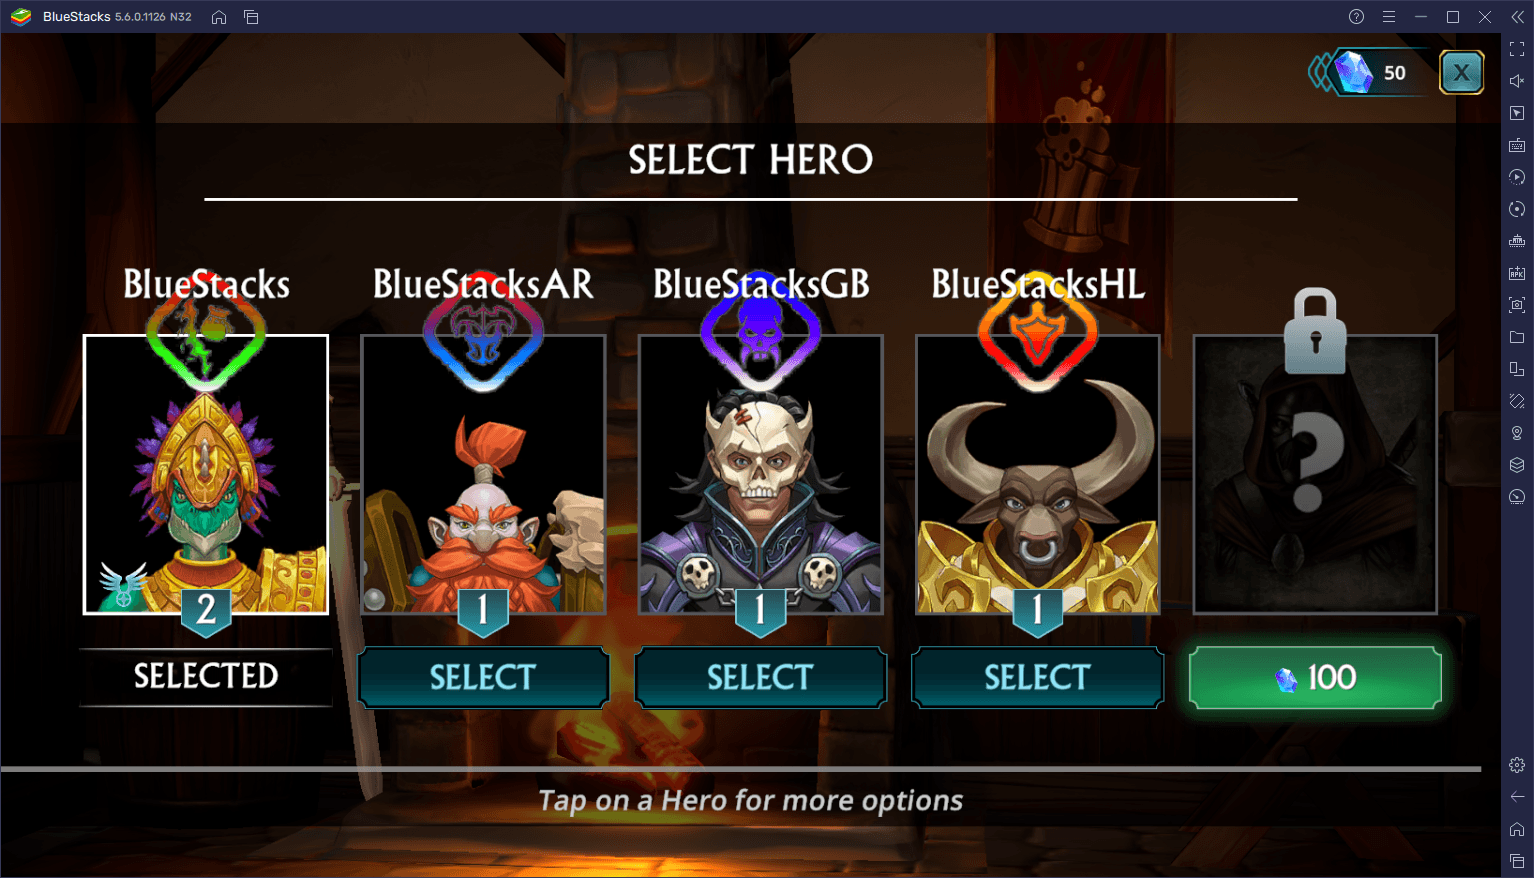
You can create up to three different characters on one account for free, after which you’ll have to pay 100 Gems per additional slot, for a total of 300 Gems if you want to have all classes on the same account. And considering that the smallest amount of Gems that you can purchase is 500 Gems for $4, this is very likely the best value that you can get if you’re looking to spend a bit of money in this game. Alternatively, you can easily obtain this amount of gems simply by playing the game, completing missions, and progressing through the main story, without ever having to open your wallet.
When In Doubt, Use the Pause Menu
Fighting against new enemies in Puzzle Quest 3 can be a bit intimidating, especially if you don’t know what they can do. Luckily, you can always check out their stats and get a generalized idea of their attack power and defenses by using the pause menu.
Whenever you pause the game by clicking on the burger menu on the top left of the combat screen, this will bring up a screen where you can check the most important stats of both the enemy and yourself. And while this will give you an idea of how strong an enemy is, you can also check out the small icon just above the enemy’s HP, resistance, and armor, which indicates the next skill that the enemy will use during their turn. In this sense, you can not only know how strong an enemy is, but you also have the tools to predict their next move, which will let you prepare your strategy accordingly.
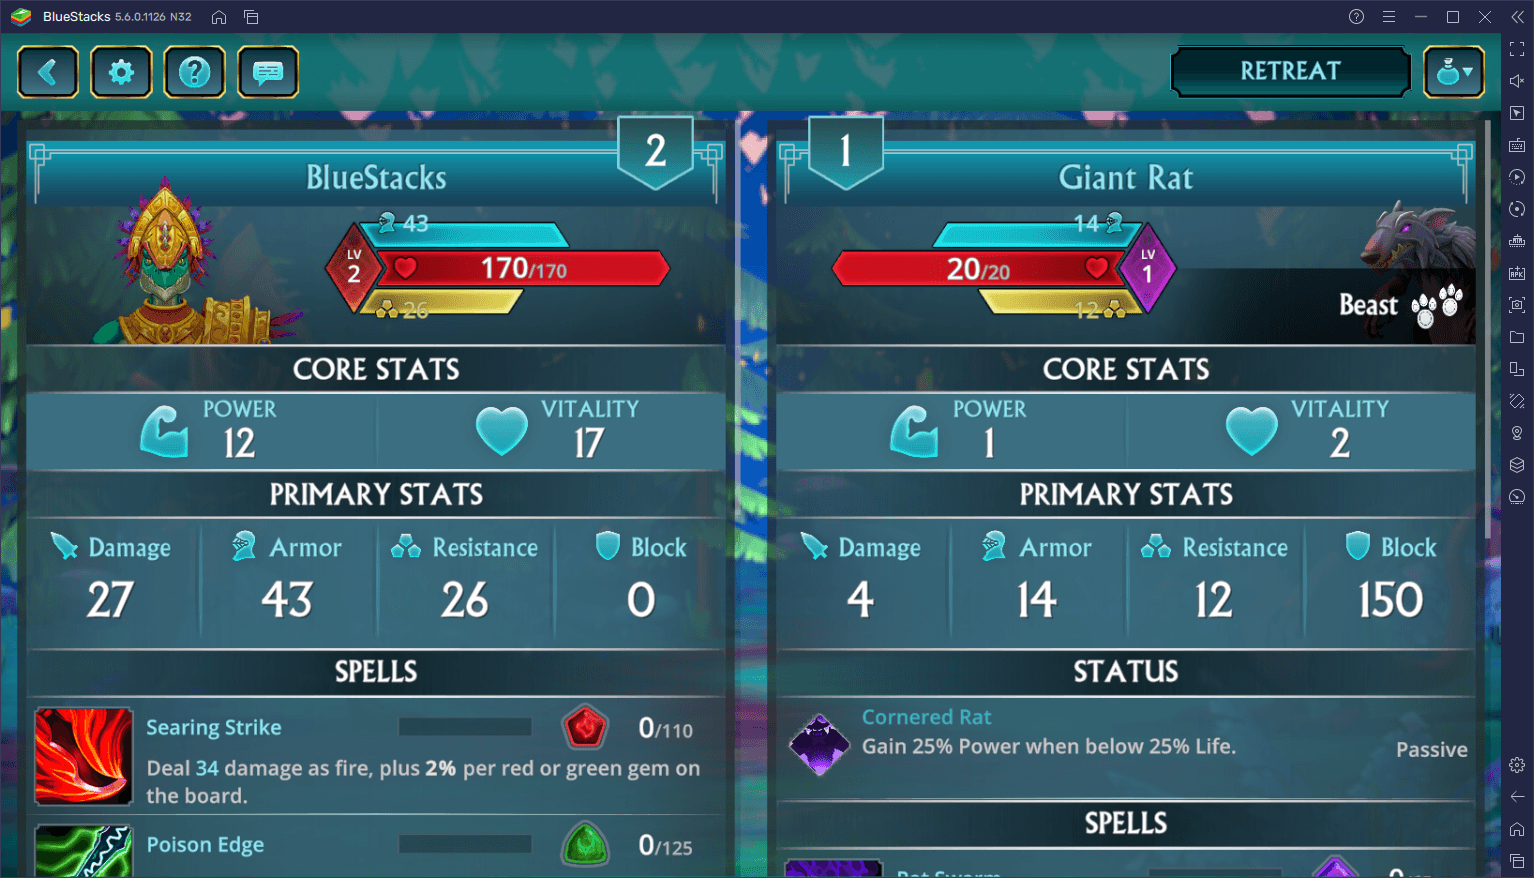
Whether you finish them off quickly with one of your skills in order to avoid a devastating attack, or continue playing defensively and gathering mana in preparation to battle the next enemies, the game gives you all the tools you need in order to build a strategy.
Gear Score Differences Are Important, But Not Determinant
Last but not least, and speaking about getting an idea of the enemy’s power, each stage in Puzzle Quest 3 comes with a recommended gear score. This gear score is simply a representation of your current power, depending on the gear you currently have equipped. However, while the recommended gear score gives you a general idea of the difficulty of the stage, it also directly affects the damage you do and receive.
Specifically, the higher the stage’s recommended gear score in relation to your own, the more damage you will take, and the opposite is true for when your gear score is higher than the recommended level. These damage adjustments function in the following manner:
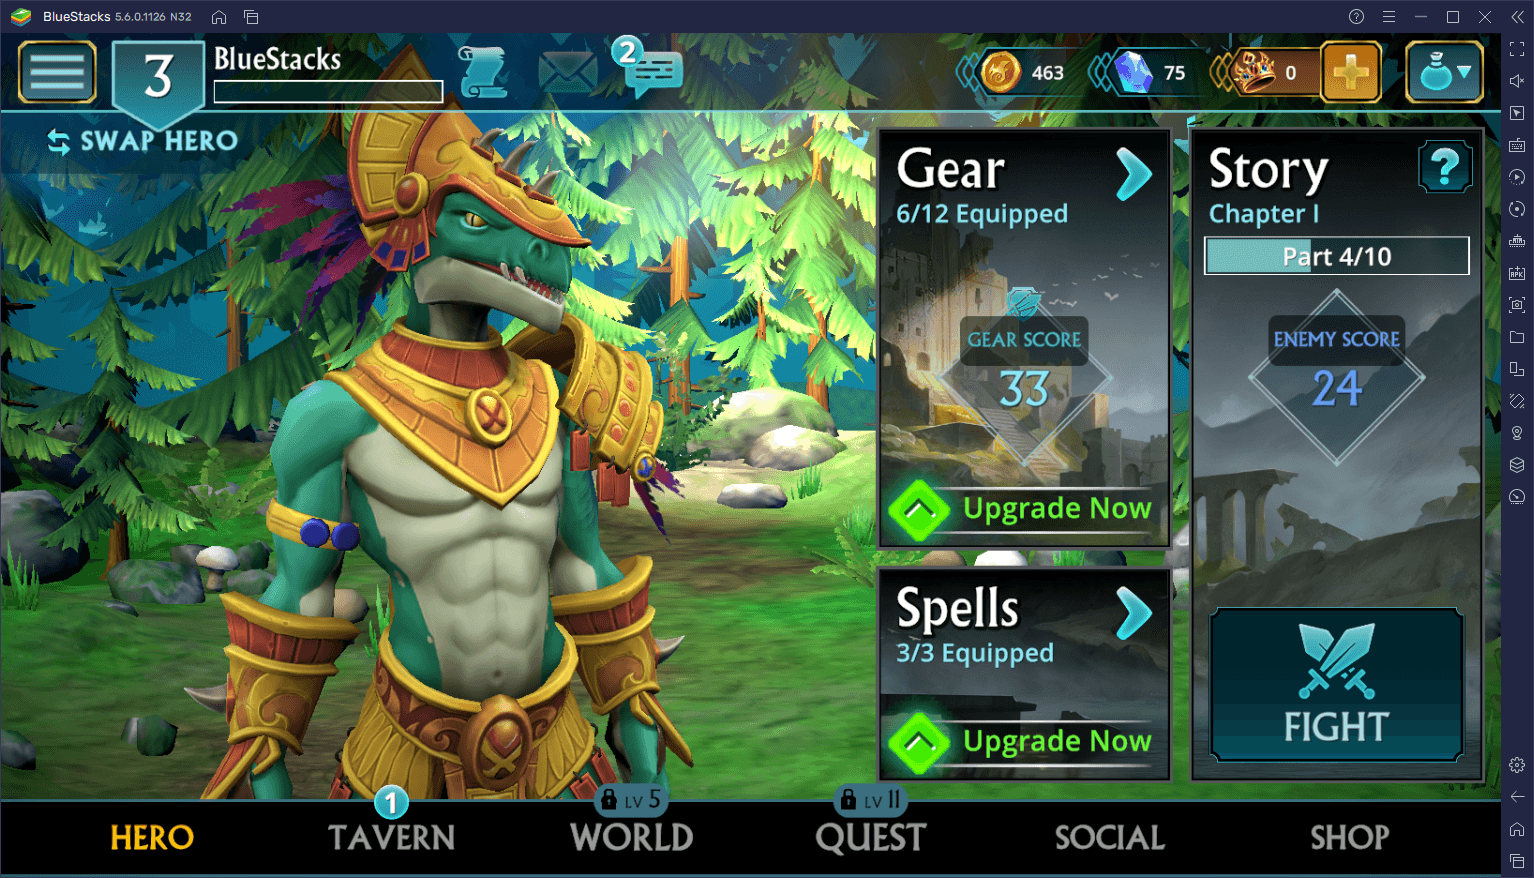
- When Your Gear Score is Higher Than the Recommended Amount: The enemies do 0.05% less damage per point of gear score difference, up to a maximum of -50% damage taken.
- When Your Gear Score is Lower Than the Recommended Amount: The enemies do 0.1% extra damage per point of gear score difference, up to a maximum of +100% damage taken.
It goes without saying that you should always try to be above the recommended gear score of any given stage, or at least as close as you can possibly be with your current gear. Remember always to upgrade your best pieces in order to increase their stats, unlock extra bonuses, and so on.

