Shadow of Naught on PC: How to Capture the Perfect Snapshots
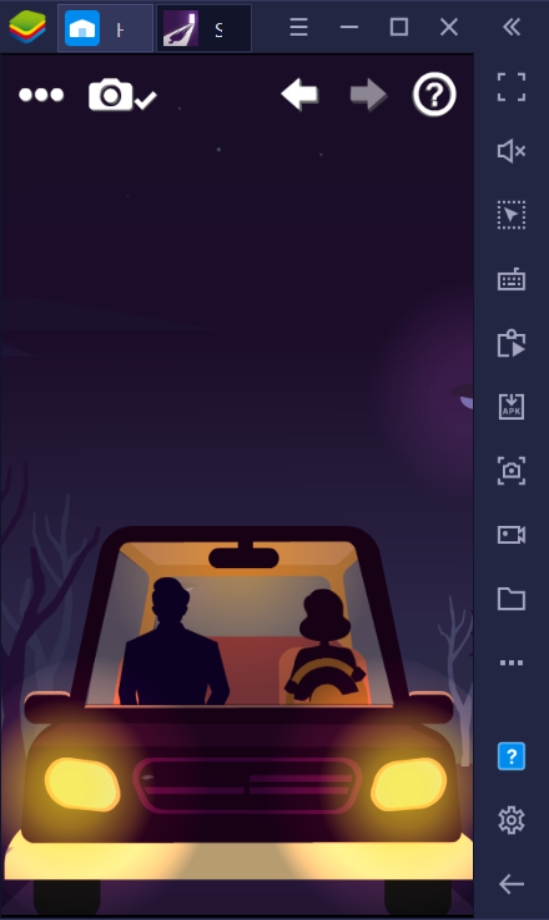
Shadow of Naught contains some breathtaking settings that make playing the game even more memorable. While you’re playing the game, you have the option to take a screenshot of the scenes using a built-in snapshot function that will be saved in a wall gallery on the home screen. Though you may have the freedom to choose whatever screen you want to add to your collection, you can only add one snapshot at a time. Make it count by choosing the best one to complement it!
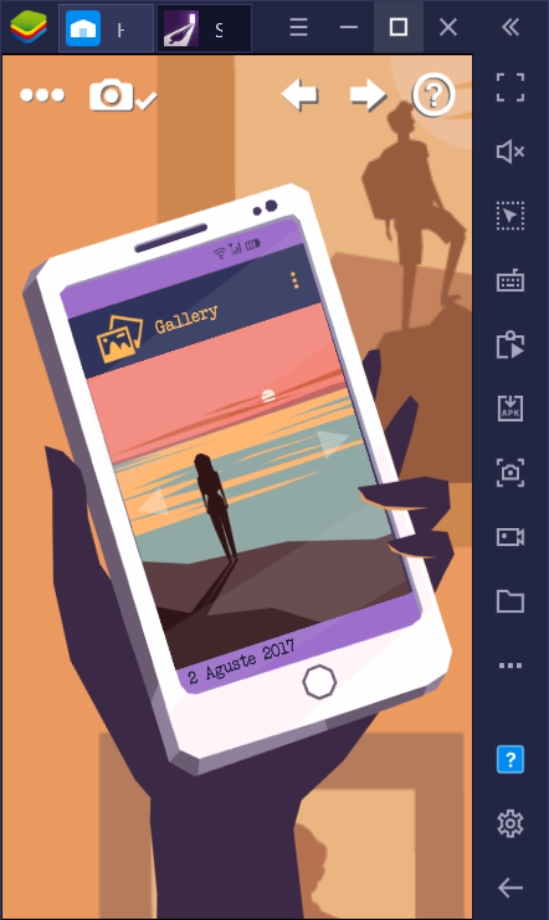
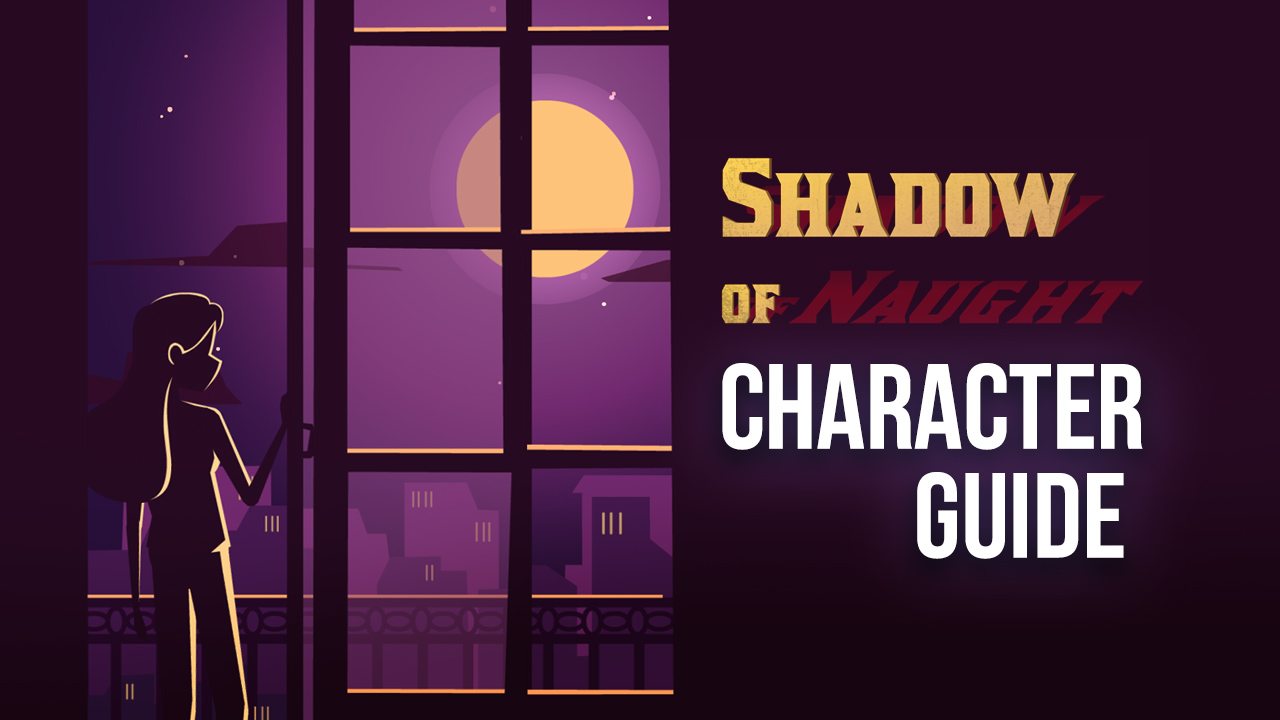
They say that a picture speaks a thousand words; that can’t be more true in Shadow of Naught. Here, the visuals make each moment meaningful for both the characters and the players. Many players appreciate the beautiful scenery when it comes to diving into the game. If you’re such a player, then Shadow of Naught is the game for you. Since there are nearly endless snapshot-worthy frames as you play, the options of images to add in your gallery are endless.
How to Take Snapshots in Shadow of Naught
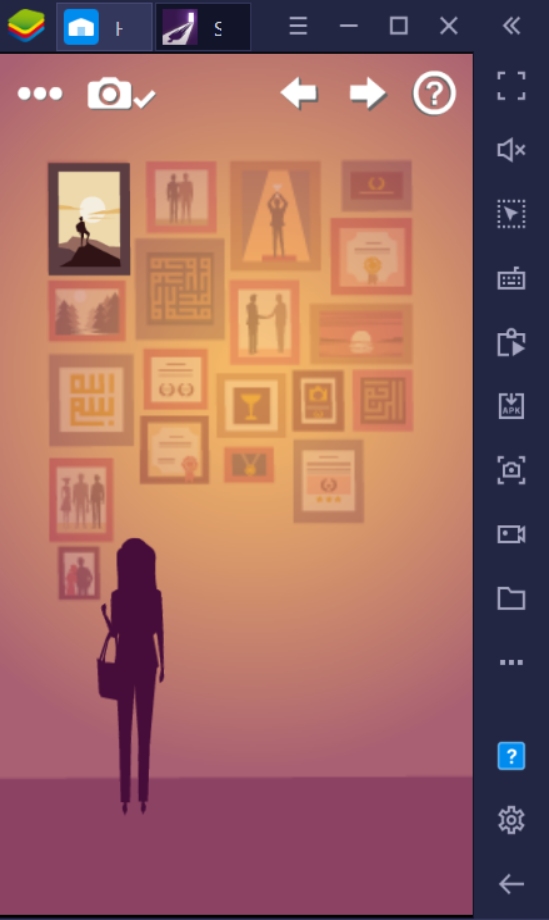
Snapshots in Shadow of Naught are different from your phone’s screenshot function. To take a picture in the game, you need to prepare the camera icon on your game’s screen. You can crop the frames that you want to include, but be careful. Since the snapshot doesn’t pause the game itself, any actions executing in the background will continue running, even if you’re toggling the snapshot function. If you miss a good shot from a situation like this, you can simply redo the stage and time it correctly the second time around.
Choosing the Right Scenes
Aren’t you finding it difficult to choose which frames you want to add to your gallery? You might want to consider a few factors before committing to an image to keep in the game. If you’re a creative type of person, you might have a good sense of how to do this already. There’s never a wrong way to take your snapshot, but there are always the best scenes to get when taking something so important. Here are a few suggestions on how you can complete your snapshot gallery.
- Encapsulate the Chapter’s Main Theme
Each story chapter shows a particular scene that truly encapsulates what the narrative tries to tell in the story. These scenes already speak volumes of what the chapter is about, even if you don’t add dialogue to the image. A recurring feature of these scenes is that they contain quite a few small details that add to how the story is told. Try to find which scenes in the chapters embody the central theme. Remember that you can always redo the chapters if you mess up.

-
Dialogue vs No Dialogue
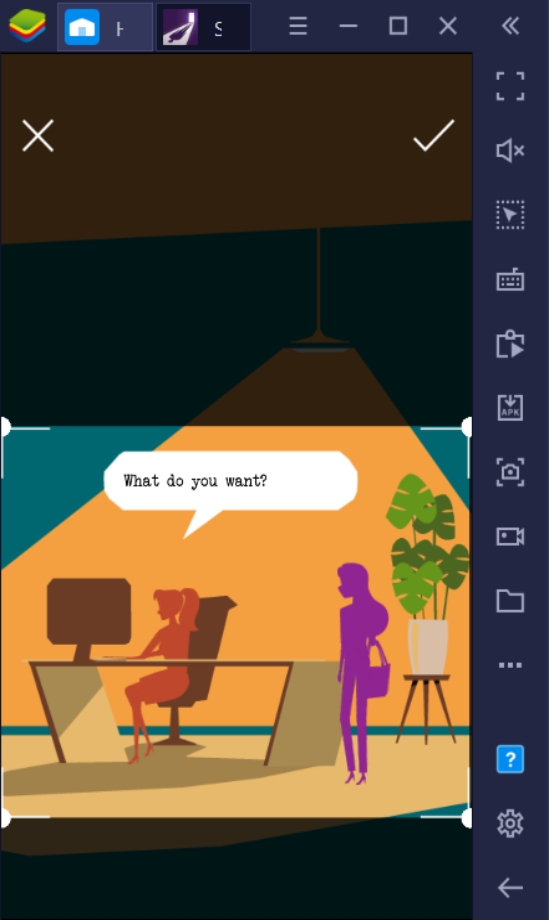
When taking snapshots, the character dialogues are included in the frame you take; some people might find it irritating. Unfortunately, you can’t move the dialogue once your snapshot mode is activated, so it’s stuck where it is until you exit the snapshot and proceed manually. Dialogue doesn’t necessarily remove the value of the image; scenes without dialogue are simply less distracting when you’re not actively trying to read the tiny text.
-
Cropping and Resizing
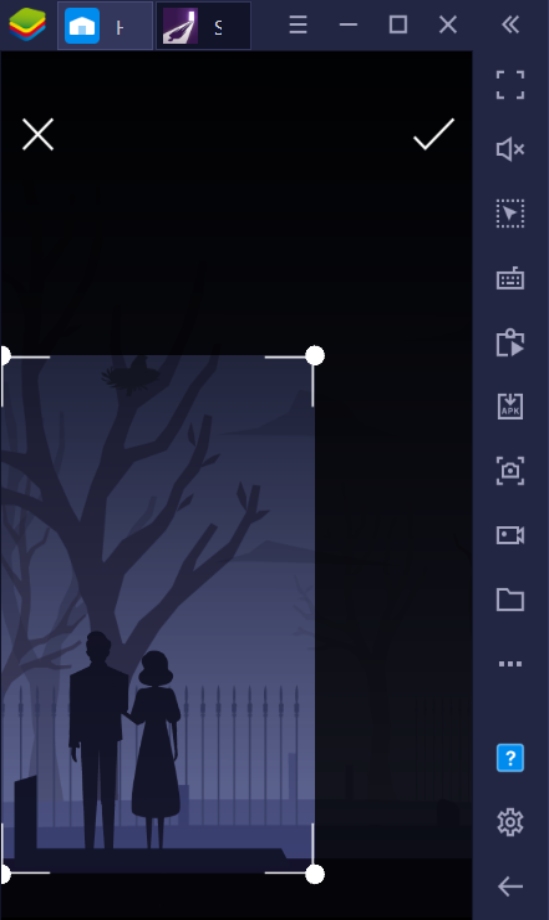
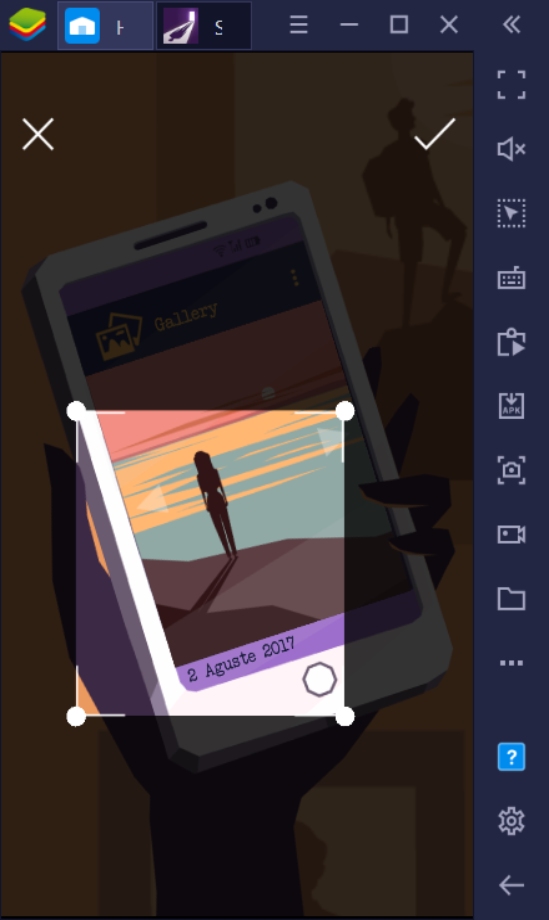
Remember that you have the option to crop and resize your snapshot to fit what parts of the scene you want to include. There are times when the frames are extremely basic, with ample space for the sky or flooring. You can remove the unnecessary parts by adjusting the cropping tool to however small or large you want it to be. The size of the image you save will be reflected in your gallery and saved the same way. Make your gallery creative by having a variety of shapes.
-
Redoing a Snapshot
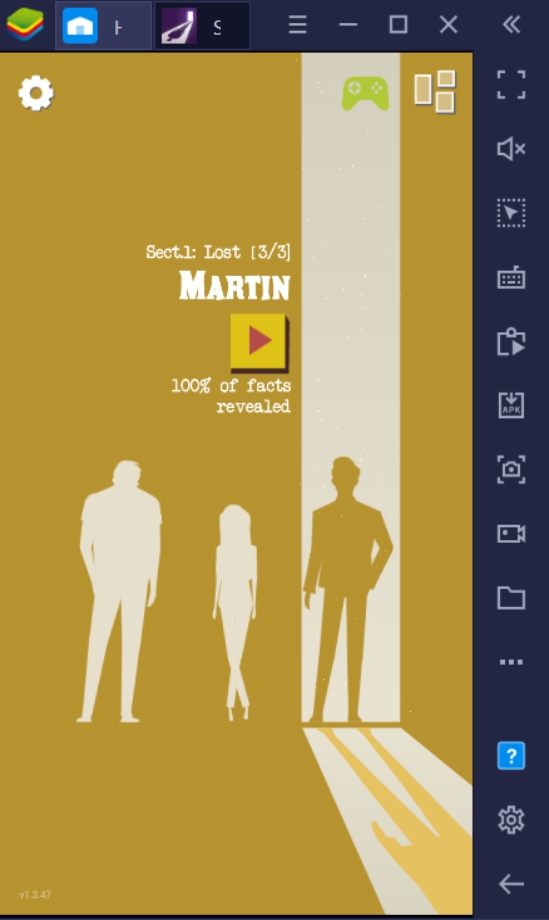
You can redo your snapshot as many times as you want by returning to the chapter and taking another shot. To repeat a chapter, simply click on the chapter again and move through the acts by shifting through the arrows on the top part of your screen so that you don’t have to run through the dialogues again. The last snapshot you took in the chapter you’ve selected will be saved on its corresponding frame; you can’t take more than one snapshot each chapter to save on your gallery.
Designing Your Gallery
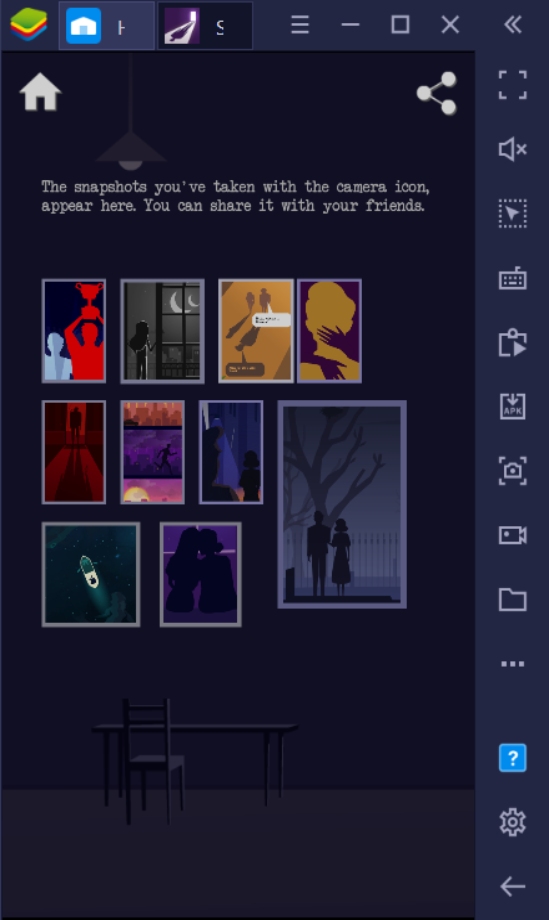
The only downside of the gallery is that the order of chapters is already pre-set. This means that you can move each frame to another location. However, you can highlight specific snapshots one at a time, and this will change the orientation of the images in your gallery. Design your gallery by choosing snapshots that complement each other and tell a story on their own. You can even tell your version of the story by adding snippets of the scenes that work well with each other.
Sharing Your Gallery With Friends
You can save a copy of your gallery that you can share on social media or other sites with your friends or people who follow you. Showcase your creativity and share how much you enjoyed the game so that others can also get the first-hand experience of what makes this game really enjoyable. After all, the best way to play a game is to have people sharing each moment with you, talking about what you enjoyed most about playing it, and of course, how it made you feel in the end.
Enjoy Personalizing Your Gallery
Finishing the story isn’t the end of the game. There are a lot of things that you’ll need to unlock to grasp a better understanding of the story; completing your photo gallery is absolutely one of them. The most important thing about personalizing your gallery is recognizing that you have the ability to express yourself through your snapshot choices. Not everyone will understand what you add to your gallery or why, but deep down, you’ll know exactly what you needed to show the world; honestly, that’s enough. Try to use BlueStacks to personalize your gallery and have a wider perspective and appreciation of the scenes than you ever could on your smart device.

