Township on PC - Using BlueStacks’ Tools to Develop Your Town in Record Time
Township is a fun casual game developed by Playrix, where the goal is to act as the manager of your very own town and help develop it by building new structures, producing goods for selling, and steadily increasing its population. As you continue to build, you’ll also get access to numerous structures that can help boost your max population, and as new residents start to move in, you’ll unlock upgrades that let you produce more goods, which in turn will fortify your economy.
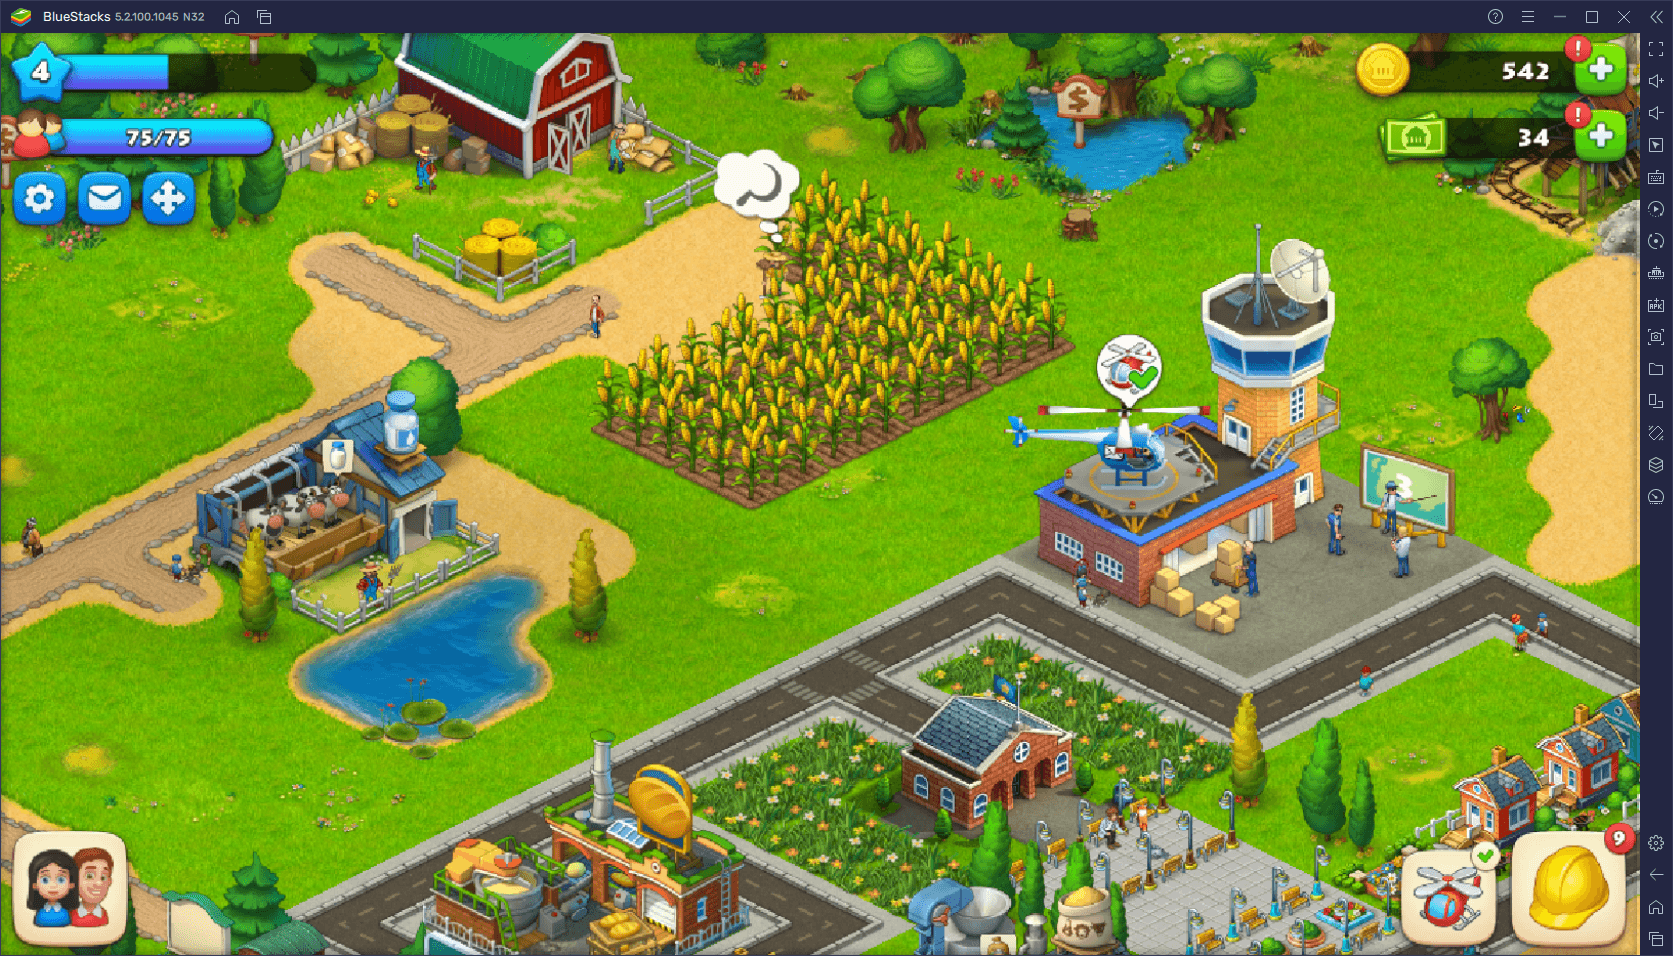
We went into further detail on the basics of developing your town in Township in our handy beginner’s guide. Feel free to check it out if you’re new to the game so you can get an idea on how to begin your journey in this game. However, regardless of your knowledge or approach to the game, the fact still remains that most of you will play this game on your phone, on a small screen, and with awkward controls. Luckily, it’s possible to play Township on your PC with BlueStacks, our Android emulator, which will give you a much better platform on which to enjoy your favorite mobile games.
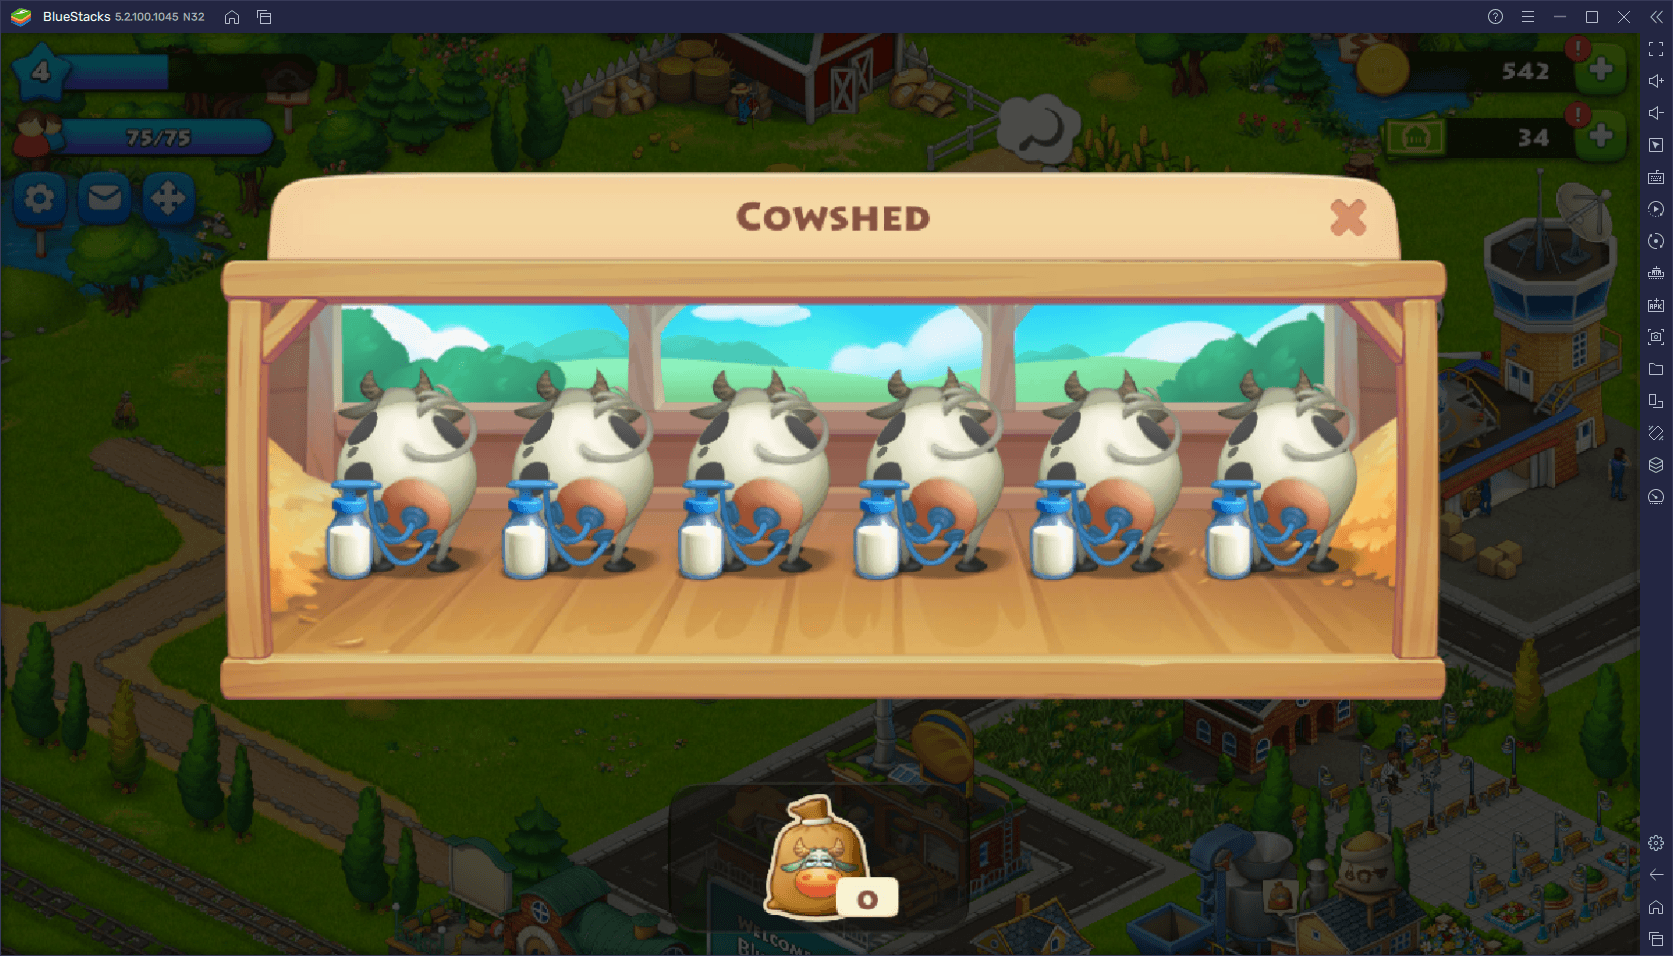
However, aside from letting you play on your large PC monitor and with mouse and keyboard support, BlueStacks also has a variety of other tools that you can use for enhancing your experience with Township. And in this article, we’re going to show you how to use some of these tools to expedite the development of your town and aid you in your mission in this casual mobile game.
Simplify Menu Navigation with Superior Controls
It’s no secret that Township is a very casual and straightforward game, designed for people to play on their phones during commutes or during any downtime on the job or school. However, the fact that a game is simple and easy to play doesn’t mean that it also can’t be uncomfortable, which is what touchscreen controls are.
If you’re playing on your phone while out and about, then there’s really no other way to go about it. However, if you’re at home, there’s really no point to gaming on your phone when you could just play Township on PC with BlueStacks. In this sense, our emulator not only lets you play on a much larger screen as we mentioned above, but it also offers you the Keymapping Tool, a feature with which you can improve your controls dramatically in order to streamline the menu navigation.
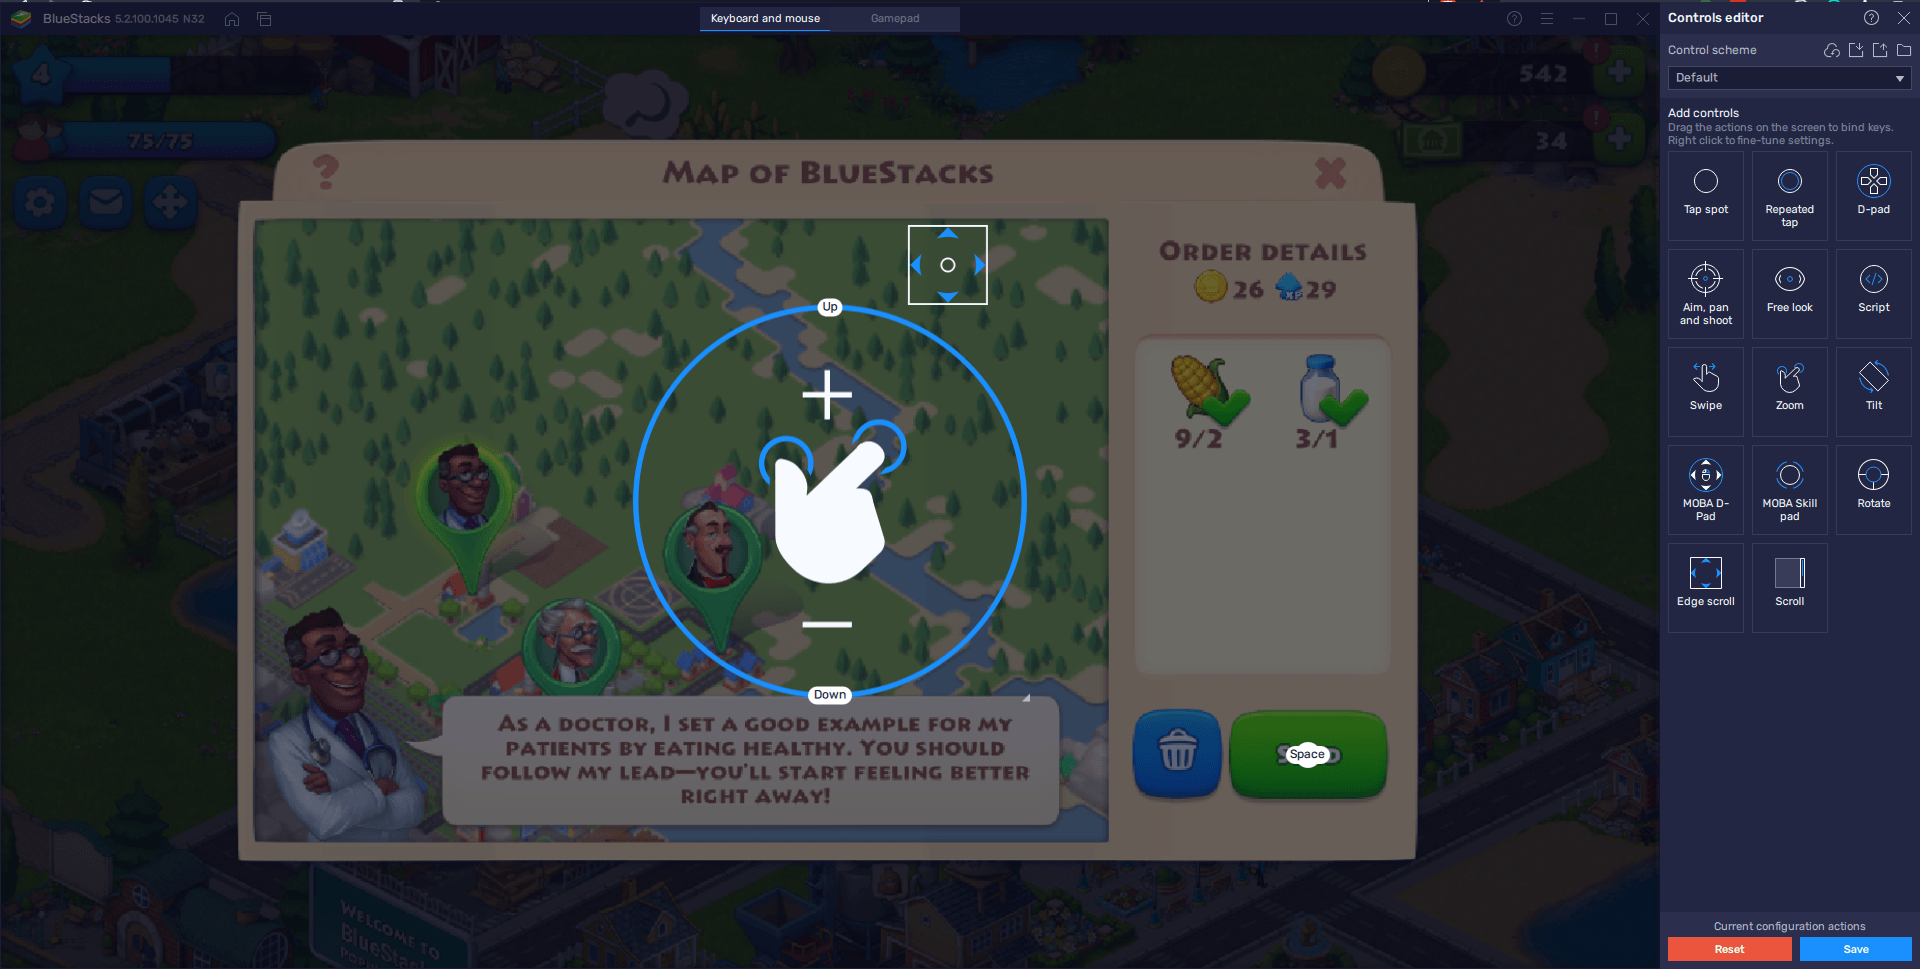
Most of what you do in Township is achieved through menus. Whether you’re opening the build screen to construct new structures, fulfilling requests on the town map, or browsing your friends list to check out a buddy’s town, all of these are achieved through menus. In this sense, the Keymapping Tool lets you add shortcuts to all of these menus so that you can access and navigate them using your keyboard, instead of having to manually click on everything.
You can access this feature by pressing Ctrl + Shift + A while in-game. In this screen, you can add shortcuts to any menu on the screen by dragging the “Tap spot” function to the desired buttons, and then giving these functions a keybinding. Similarly, you can also add shortcuts to the screen that will let you control the camera with your keyboard, or even to allow you to scroll the camera by moving your mouse cursor to the edges of the screen, like you would do in a regular PC strategy game.
The Keymapping Tool works wonders when it comes to streamlining the way you play your favorite mobile games on PC, and Township is not an exception.
Double the Fun with the Instance Manager
As we mentioned above, Township is a fun game to play during downtime. However, for the more committed gamers out there, this limited gameplay might not be enough to placate their ravenous desire for gaming. If you’re as passionate as us, then the BlueStacks Instance Manager will have exactly what you need when it comes to scratching the gaming itch.
The Instance Manager is a tool with which you can create multiple instances of BlueStacks and, by linking unique Google accounts to each, access Township on multiple clients at the same time. The objective of this is simple: to play more Township with less downtime. In this sense, if managing just one town is too easy for you, and you want to play more, then we recommend creating one or two additional accounts and using BlueStacks to play on each of these at the same time. You can even experiment with different town layouts in each and create new designs.
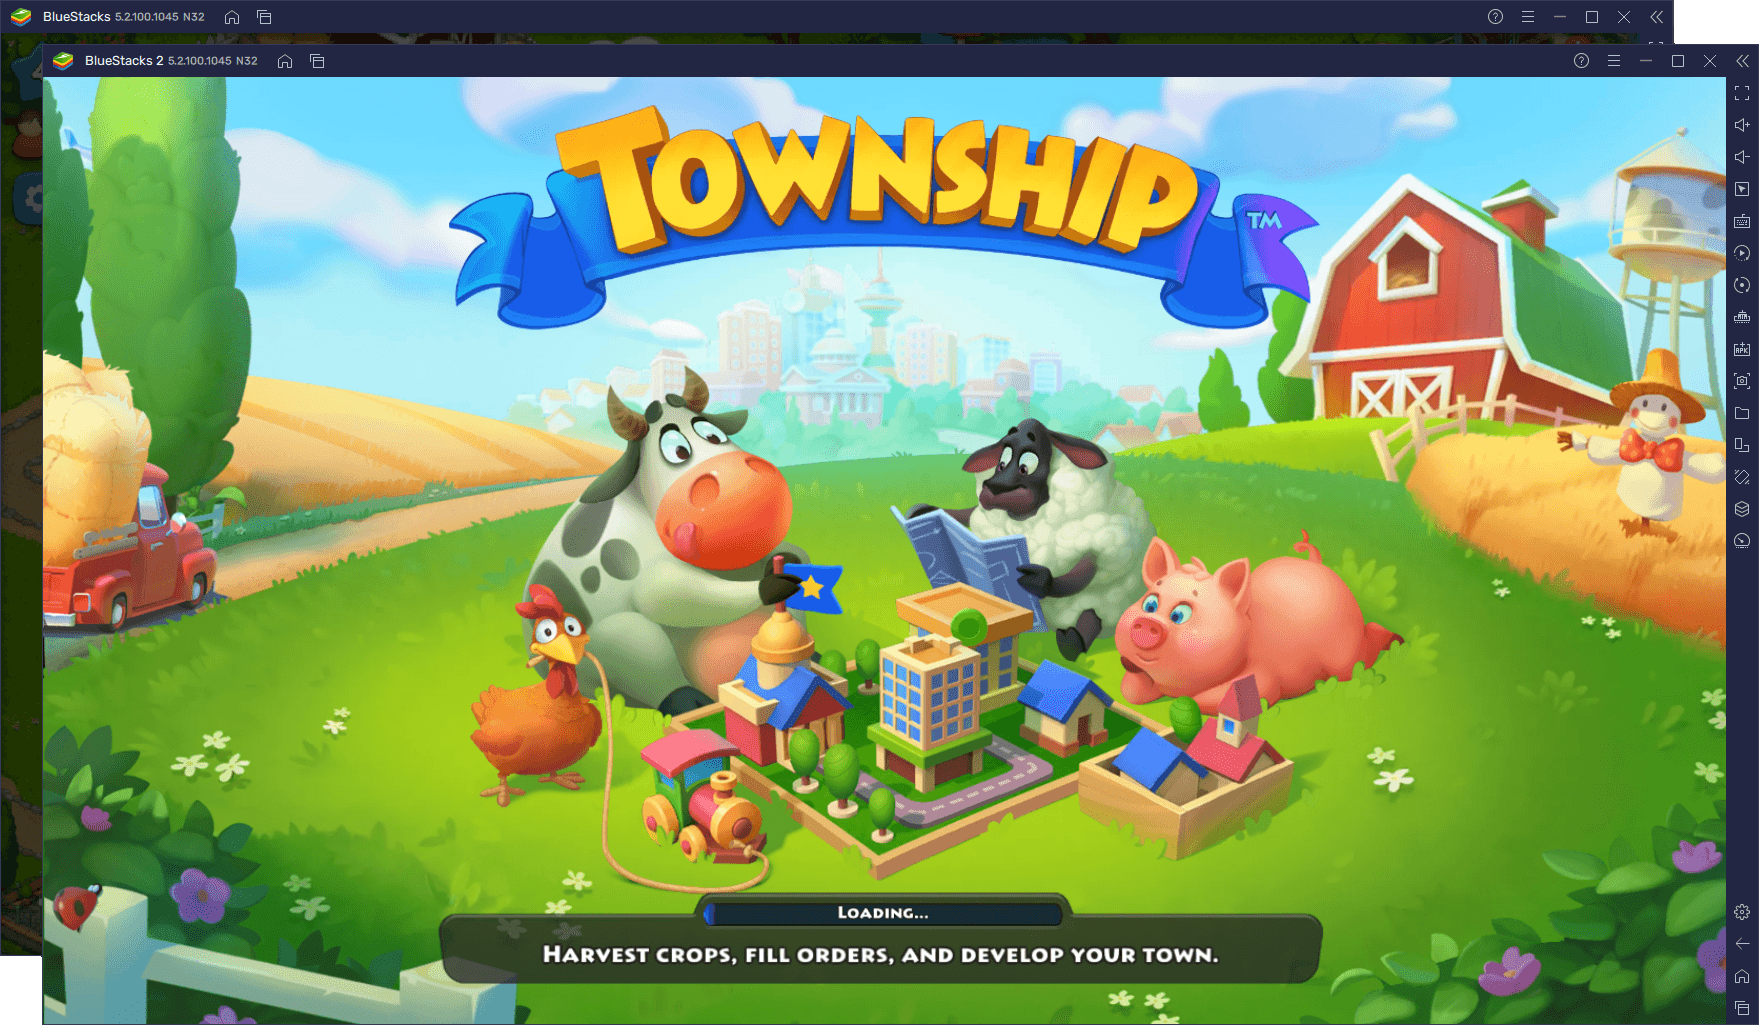
Why limit yourself to just one town when you could have many more? And all it takes to achieve this is just a few clicks. You can access the Instance Manager by pressing Ctrl + Shift + 8, and then use the “New instance” button to create as many new iterations as you want, and then install and access Township on each of them simultaneously.
Automate Certain Parts of Your Town with the Macro Recorder
While it’s always exciting to add new structures to your bustling town, the road to get there is rife with monotony and repetitive tasks. Things like growing new crops, turning produce into goods, turning those goods into other goods, and so on, are all tasks that are completed with a few clicks. However, when you need to repeat these activities thousands of times, the monotony can get overwhelming.
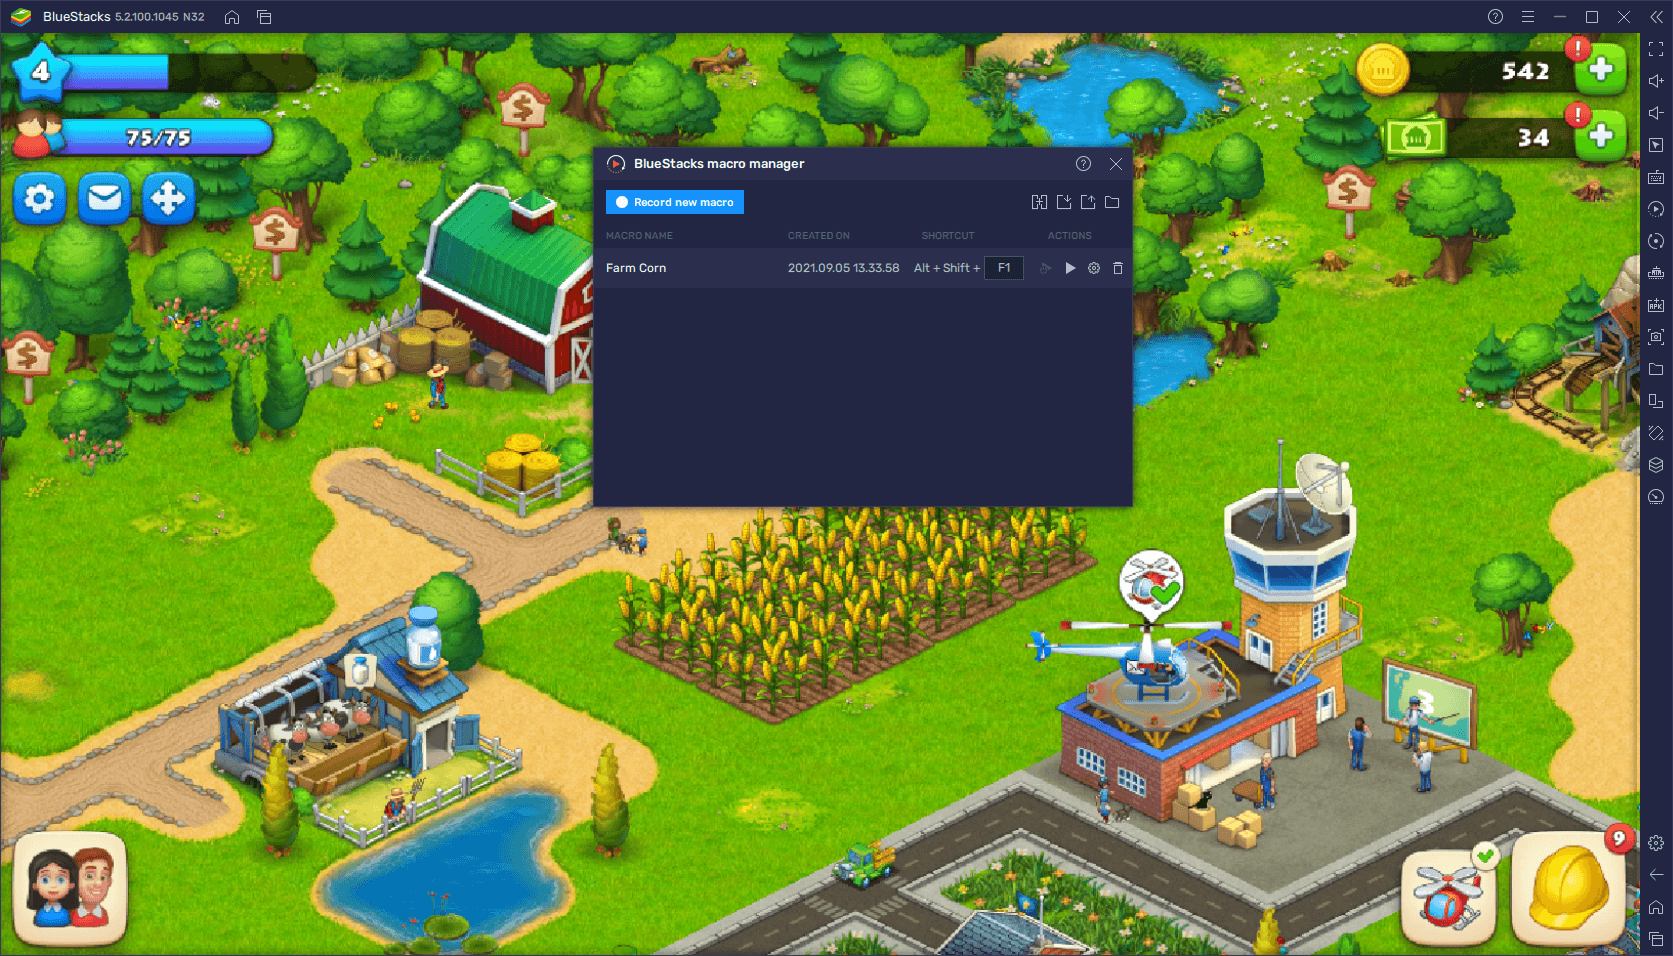
Luckily, with the BlueStacks Macro Recorder, you can automate many of these tasks easily and quickly. By recording yourself doing these activities once, you can then use the resulting macro to automate them in subsequent occasions with the press of a button. Press Ctrl + Shift + 7 to access the Macro Recorder, and then on “Create new macro”, followed by performing the action you wish to automate. Afterward, whenever you press the button you assigned to the macro, BlueStacks will automatically perform the desired function for you. You can even further increase automation by having the macro repeat itself after a certain period, and for as many times as you want.
With BlueStacks, you can significantly streamline your progress in Township on PC. Let us know if you have any questions about any of our tools and features, and we’ll get back to you ASAP.

