Valiant Force 2 on PC - How to Enjoy the Best Gaming Experience With Our BlueStacks Tools

The time has come to dig into Valiant Force 2 as this brand new tactical RPG has been released just a few hours ago today. And what better way to enjoy it than by playing Valiant Force 2 on PC with BlueStacks? Our Android app player offers an assortment of tools and features aimed at improving the gaming experience of all our users, whether by allowing them to automate part of the grind; simplifying rerolling in gacha games, or simply allowing them to create intuitive mouse and keyboard controls. Not to mention that you can play on your large PC monitor and with the best performance and graphics!
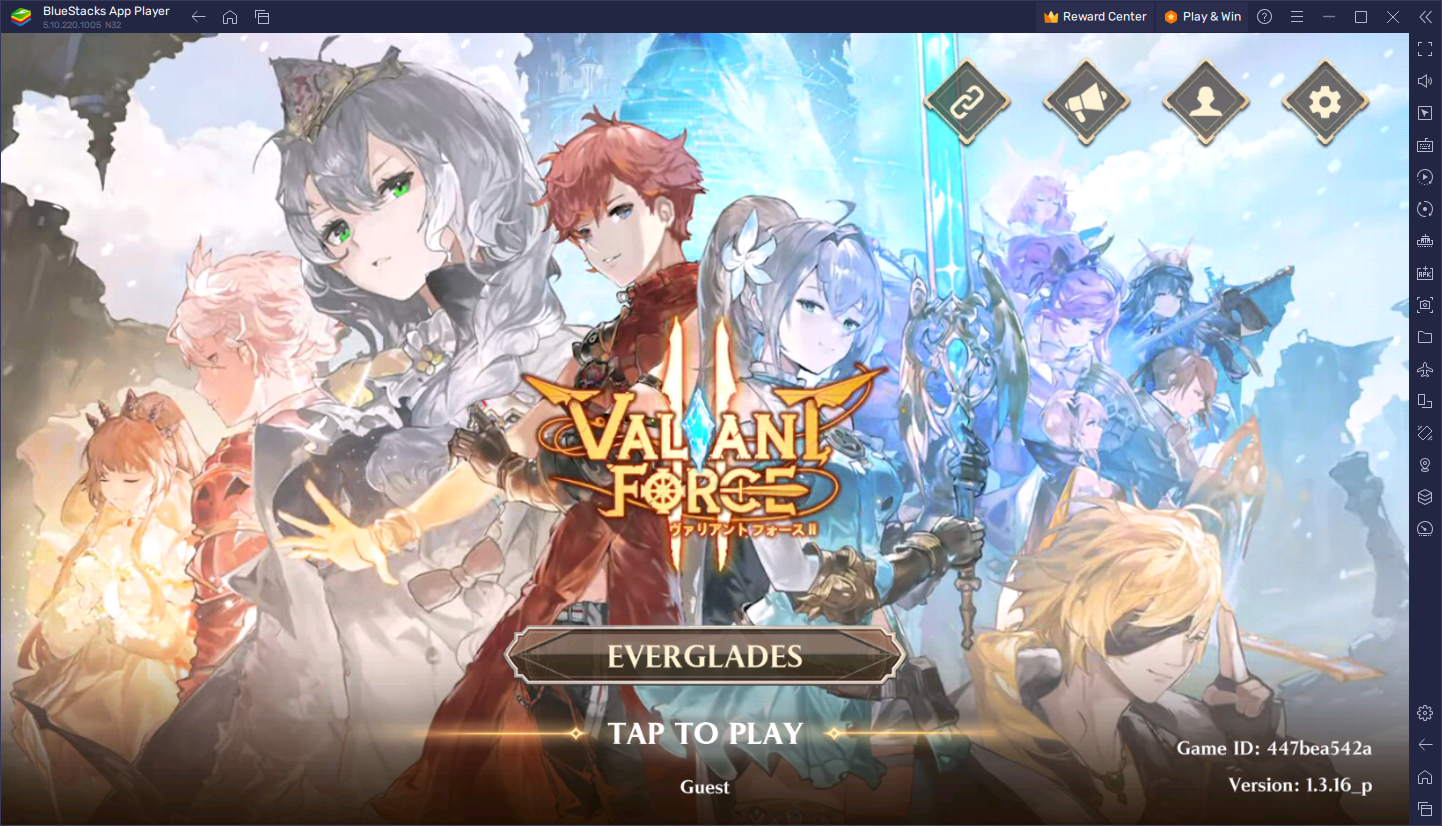
While BlueStacks is designed to significantly improve the gaming experience of our users, some of our tools might require a bit of setup in order to get the most out of them. And in this article, we want to go over some of the most important features for Valiant Force 2, as well as how to configure them properly.
Table of Contents
- Optimize Your Graphics With a Few Clicks
- Enhance Your Controls By Using Your Mouse and Keyboard
- Massively Speed Up Rerolling By Playing on Multiple Accounts
Let’s begin!
Optimize Your Graphics With a Few Clicks
Before we jump into the BlueStacks tools themselves, however, we first need to make a quick detour to explain how to configure your graphical settings to both get the best visuals and the best performance, which is something that you’d struggle to achieve when playing on your phone.
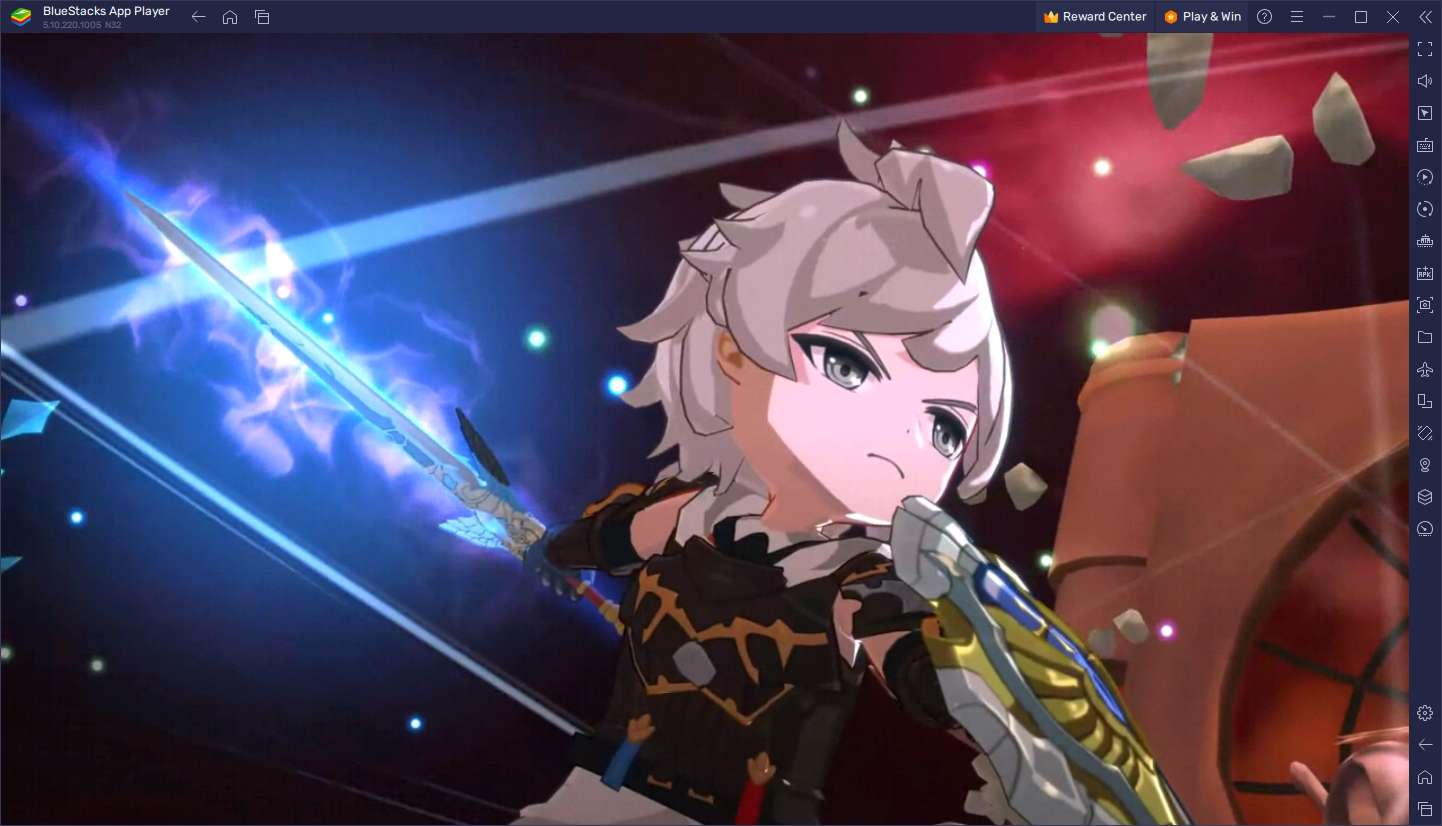
Valiant Force 2 looks absolutely amazing in all its aspects; from the stellar visual design of the UI and hand drawn assets, to the chibi 3D combat models used by all of the characters in the game—everything’s just an absolute joy to look at, as long as you’re running on the highest graphical settings. Luckily, if you’re playing on BlueStacks, you should have no issues achieving this level of quality, as it only takes a few simple tweaks both to your emulator as well as in-game:
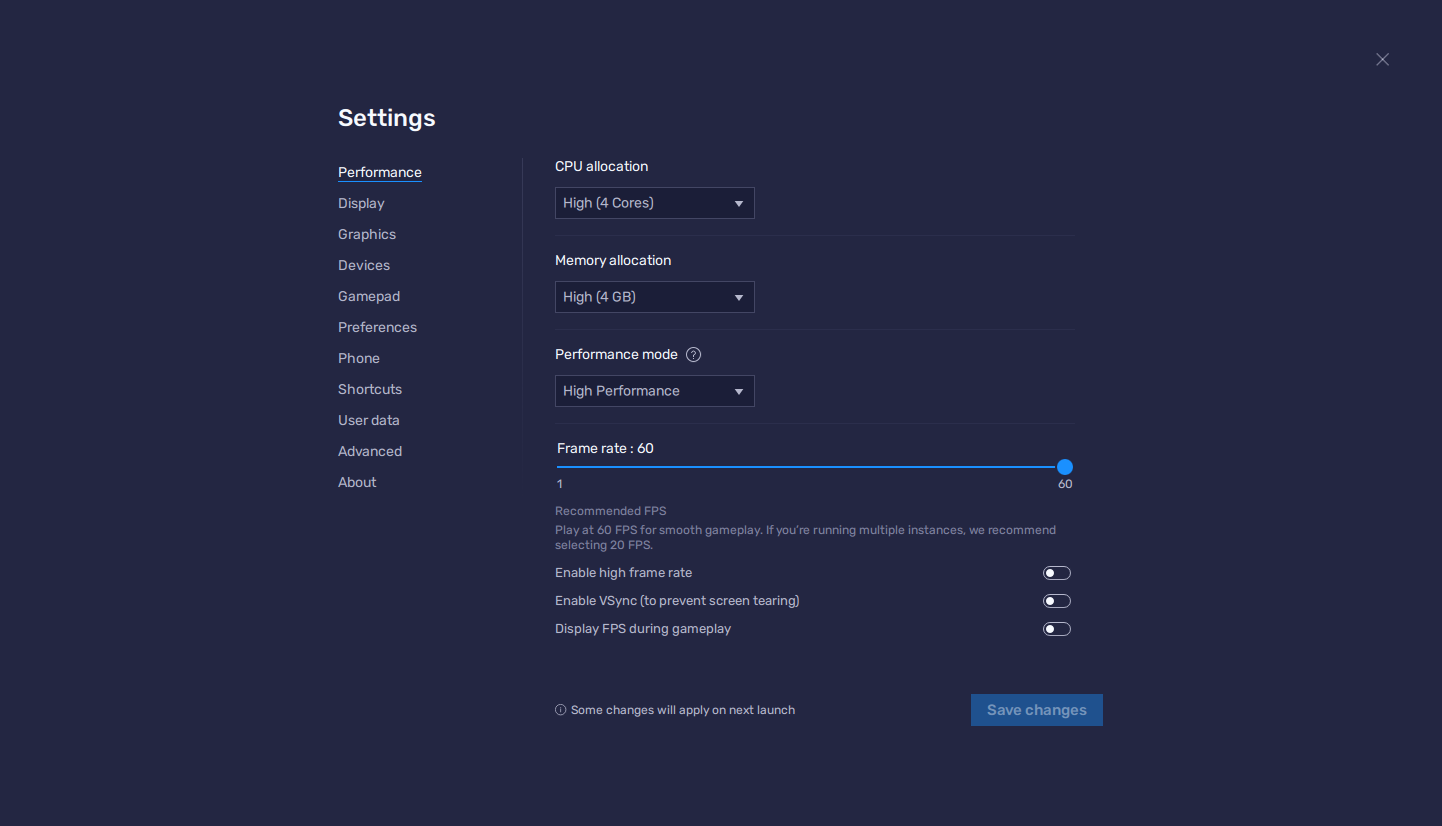
- In the BlueStacks settings, go to the “Performance” tab.
- Check that your emulator is using at least 4 GB of RAM, 4 CPU cores, and that the Performance mode is set to “High performance”.
- Set the FPS slider underneath to at least 60 FPS, and finish by clicking on “Save changes” on the bottom right.
- Launch the game and head to the in-game settings.
- Set your graphical options on the highest settings.
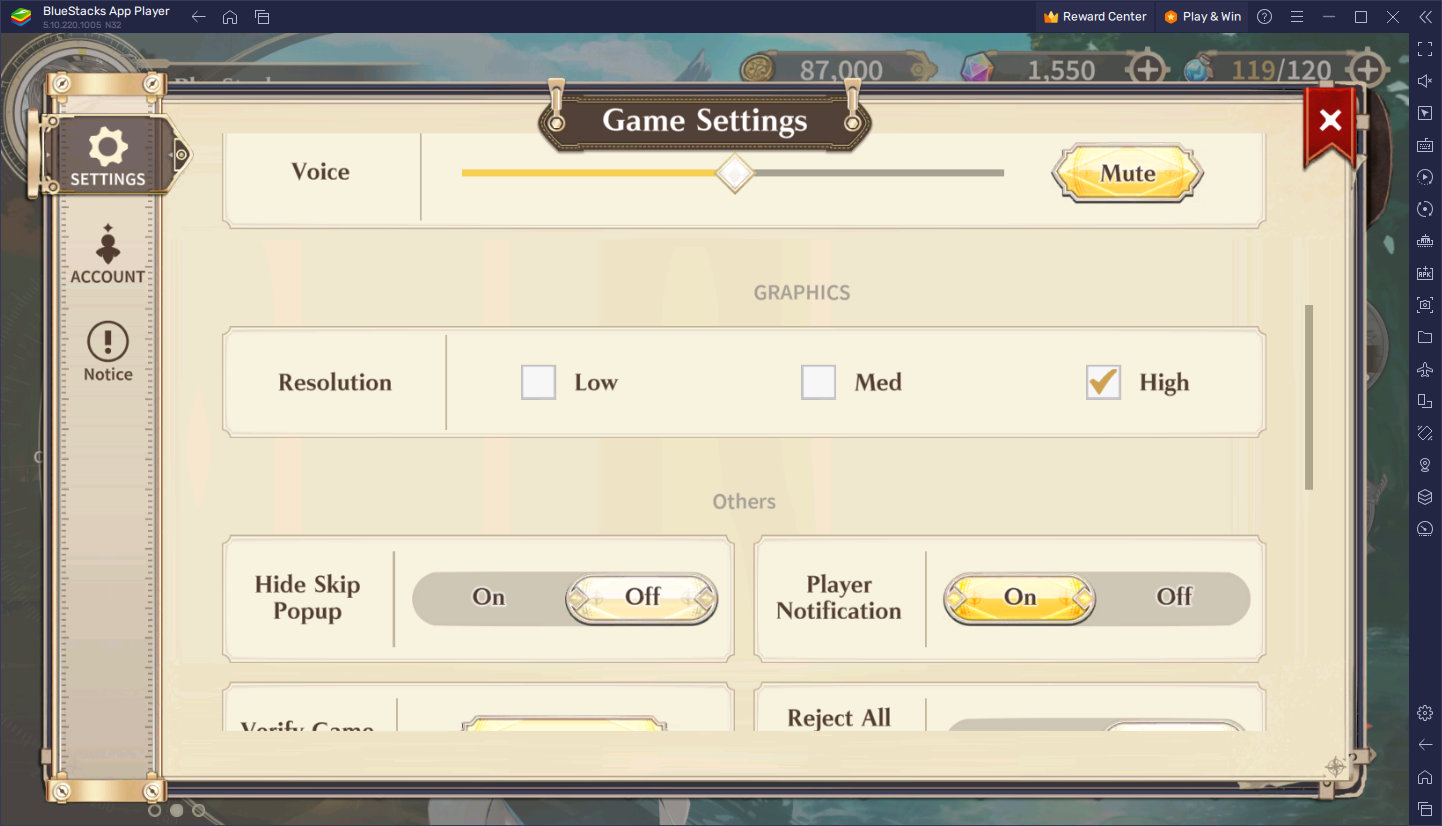
In the case of Valiant Force 2, the only graphical settings here let you tweak the in-game resolution, which at the highest setting will give you a crisp and clear image that will let you appreciate every single detail on-screen. Especially if you’re playing on PC, you can truly immerse yourself in the world by playing on a much larger monitor instead of a cramped phone screen.
Enhance Your Controls By Using Your Mouse and Keyboard
Speaking of phone touchscreens, another disadvantage they have when it comes to gaming is that, since they don’t have physical buttons, gamers have to rely on clunky virtual buttons on-screen, which they have to clumsily tap and swipe in order to control the action. While these types of controls are serviceable, they leave a lot to be desired when it comes to comfort and intuitiveness. With BlueStacks, however, you can use the Keymapping Tool to create versatile control schemes using your mouse and keyboard, which in turn will improve the way you can interact with this game.
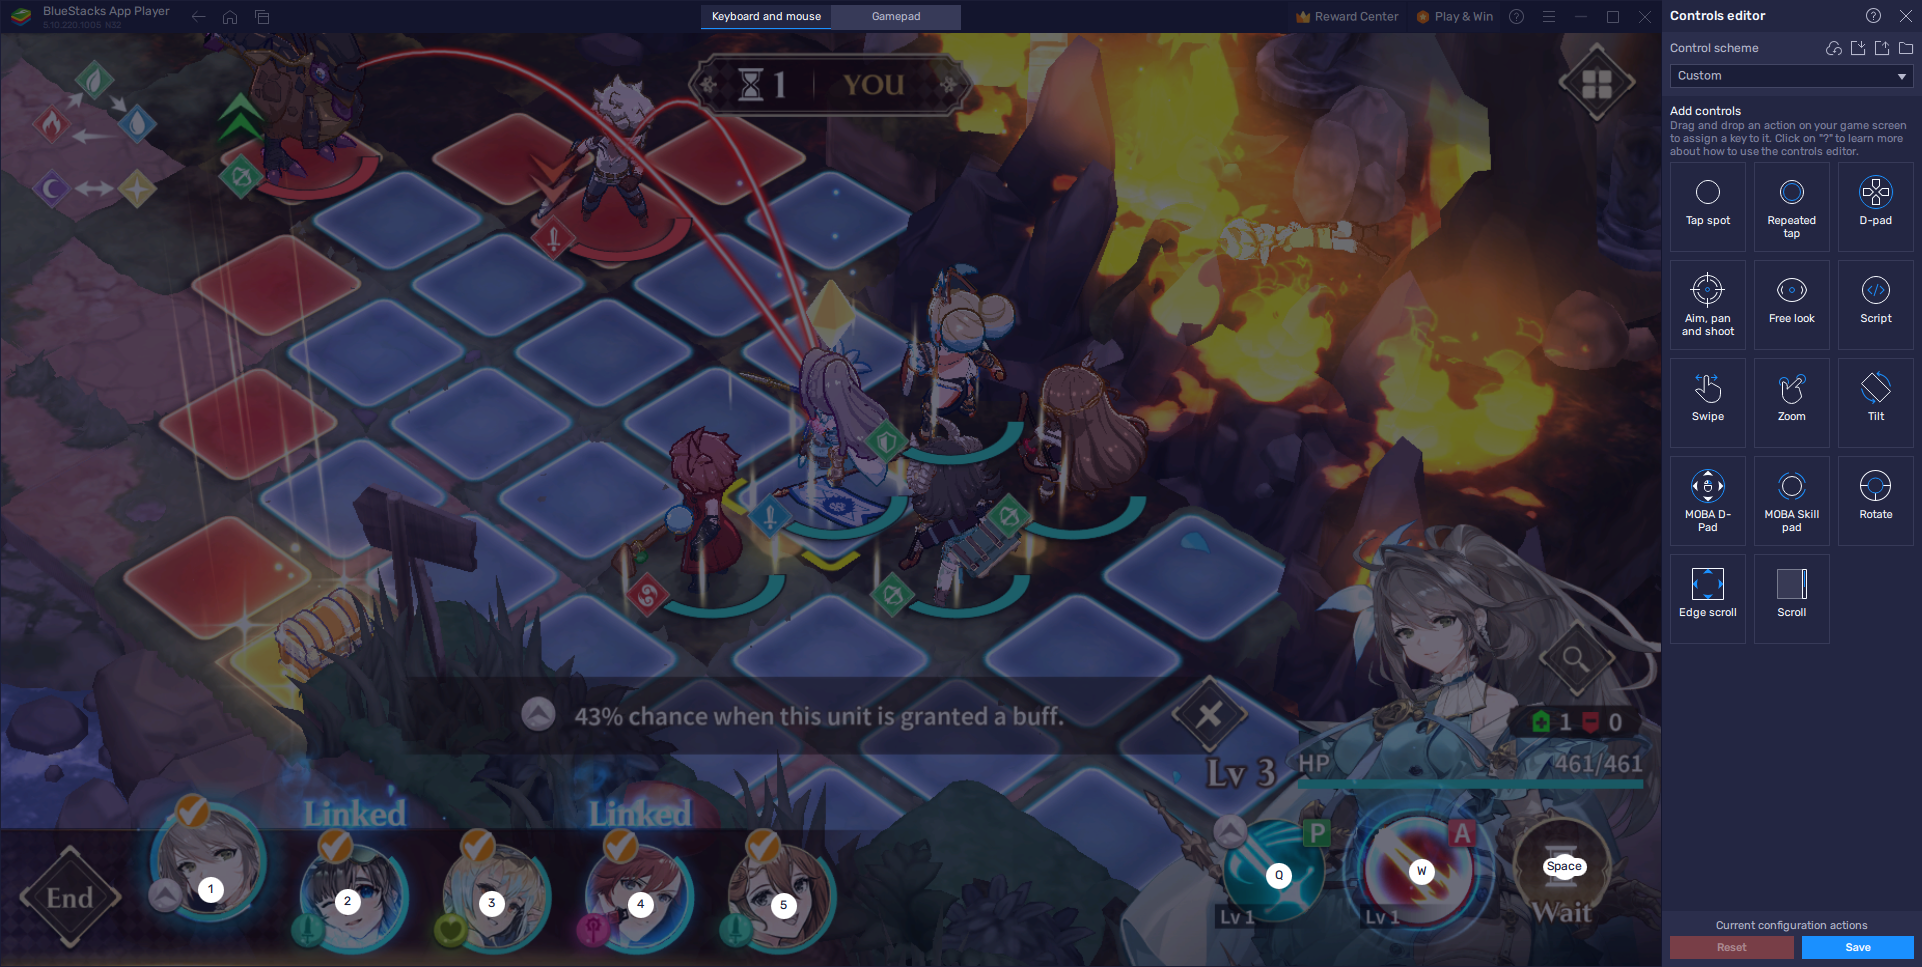
You can access the Keymapping Tool by pressing Ctrl + Shift + A while in-game, or by pressing its button on the BlueStacks side panel, which will bring up the Advanced Editor screen. On this screen, you can check your current controls, as well as modify them by clicking on them followed by pressing the key you wish to replace them with. Moreover, you can also add new controls by dragging and dropping the desired function from the rightmost, followed by giving your new function a binding.
Once you’re done tweaking your controls, please remember to click on “Save” on the bottom right to implement your changes.
Massively Speed Up Rerolling By Playing on Multiple Accounts
While the game offers an awesome and engaging tactical grid-based combat system, Valiant Force 2 is still a gacha RPG, which means that a lot of your effort here will go to farming and grinding for resources that you will use for summoning the best characters in the game. It’s these top tier characters who can easily carry you through the story, and make your progression through its countless levels and battles that much easier and enjoyable.
Regrettably, when it comes to actually summoning top tier Valiant Force 2 heroes, you really have no control over what you get from the gacha, and unlocking the highest tiers of units is always one of the hardest things to achieve in these games. For this reason, most players opt to reroll when it comes to gacha games, a process through which anyone can unlock the best characters in any game from the very start, and Valiant Force 2 is no exception.
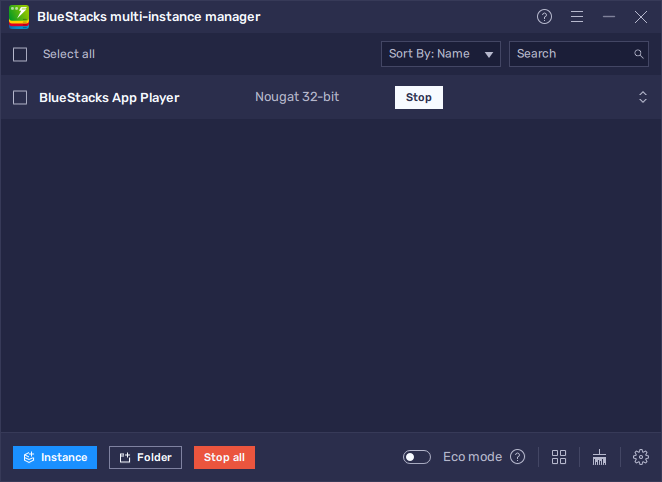
However, even when rerolling, it can still take many attempts to get the characters that you want. Luckily, if you play on PC with BlueStacks, you can use the Instance Manager to create multiple instances of our emulator and reroll on several accounts at the same time.
To use the Instance Manager, you only need to press Ctrl + Shift + 8, or press the corresponding button on the BlueStacks side panel. Afterward, click on the “+ Instance” button on the lower left button to create as many instances as you need. And once all your instances are up and running, all you need to do is download and install Valiant Force 2 on each of them, and start rerolling on all your accounts at the same time.
BlueStacks not only gives you the best gaming experience when it comes to Valiant Force 2 on PC, but it also gives you a variety of tools to help take your gameplay even further. Feel free to leave any questions or suggestions in the comments below!


