Beginner’s Guide for Destiny Child—What do all These Buttons Do?!
It’s always an awesome occasion when a great game is released on the market. With an industry as big as the mobile games business, it’s not rare to see new titles released every day. However, it seems like, as more titles are released, the true hits are buried beneath a sea of monotony and copycats. Luckily, Destiny Child is not one of such copycat, in fact, all the contrary. This game was very famous in the East and received a global launch a few months ago, back in late December.
The relaunching and localization of games is a common practice, especially for the titles that become a hit in their respective countries, and that could stand to turn a profit if exported onto other regions. On the other hand, some games, such as Looney Tunes: World of Mayhem, are already famous during testing and launch in the global market from the very beginning. However, unlike Looney Tunes, Destiny Child is very complex and has many menus and features that could overwhelm any beginner if they don’t know what to expect.
Despite the awesome visuals of this game, Destiny Child has many aspects that could seem confusing at first, which is a shame since it’s a very good title, and definitely one of our top picks for best gacha games. For this reason, we’ve taken it upon ourselves to make a guide explaining what each and every button of the main menu does so that you can understand which tasks are important early on, and which are better left for later.

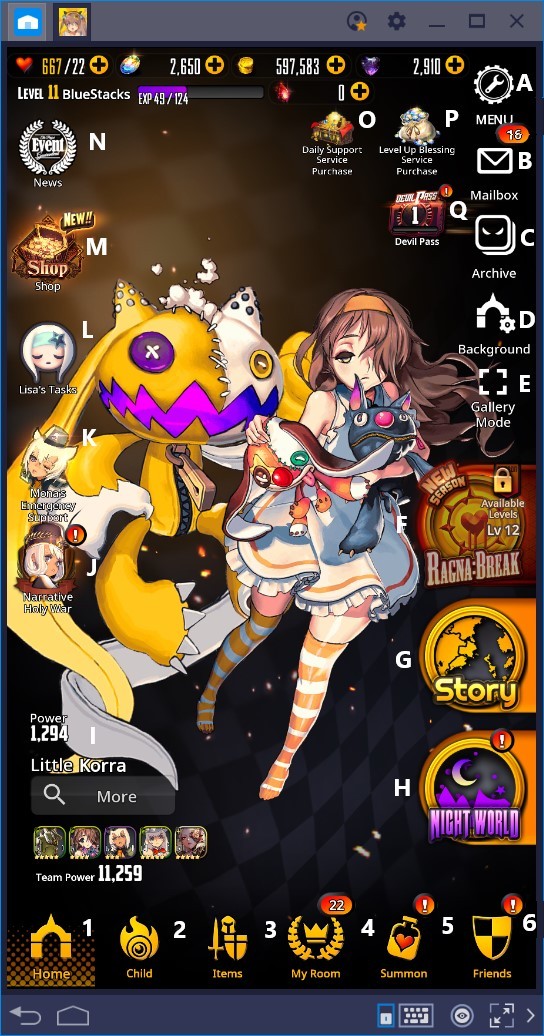
Let’s begin by logging on and hopping onto the main menu screen. This screen is divided into two parts: the main menu, and the lower panel.
- Main Menu
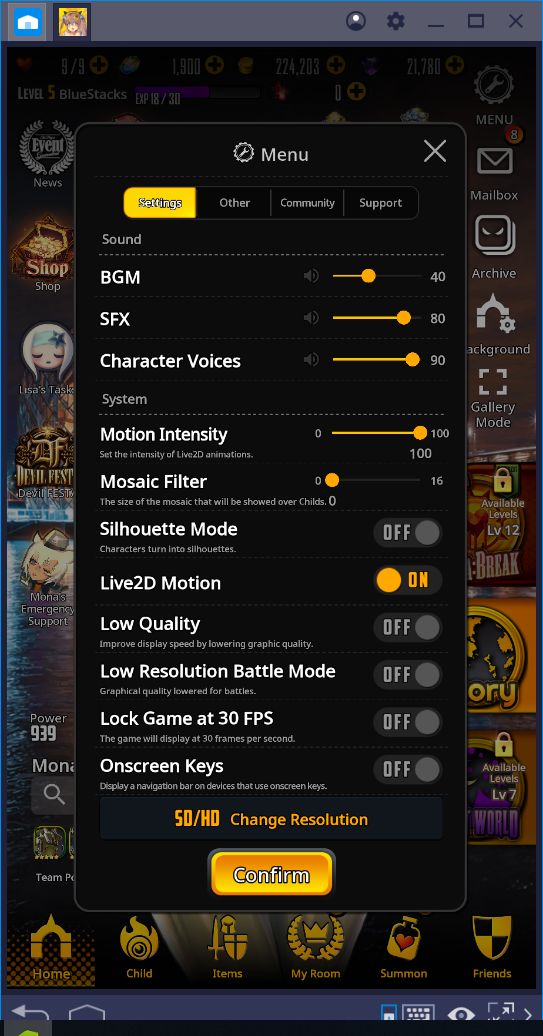
- A – Menu: Unlike most games, Destiny Child is highly customizable. This menu lets you adjust a wide variety of settings including managing volume, as well as several visual aspects such as the intensity of the Live 2D animations. Furthermore, in other tabs, you can toggle push notifications, change your nickname and greeting, link your account to your social media, or even reset your progress (awesome for when you want to delete your account for rerolling to get the best characters)
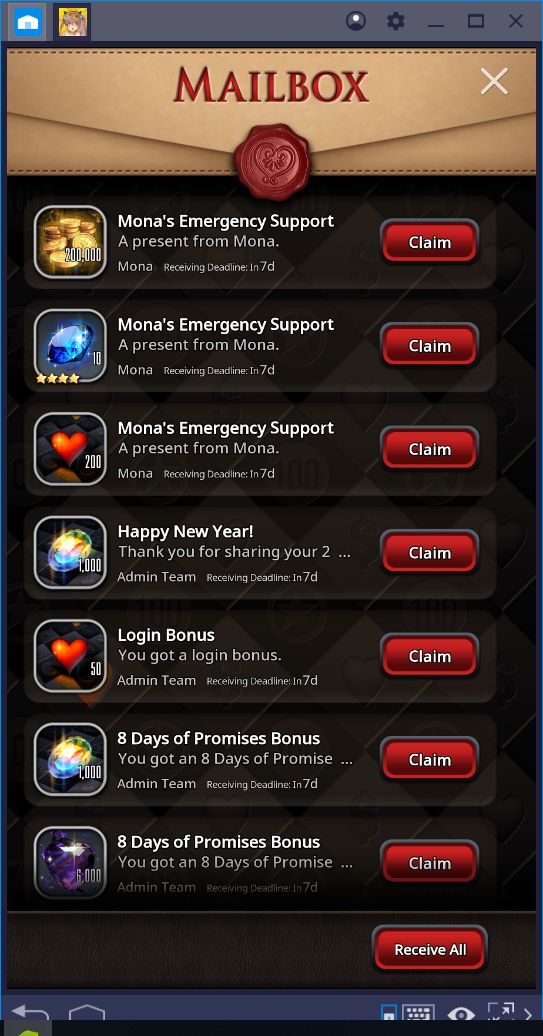
- B – Mailbox: This is where you’ll find all your rewards for your exploits in the world of Destiny Child.
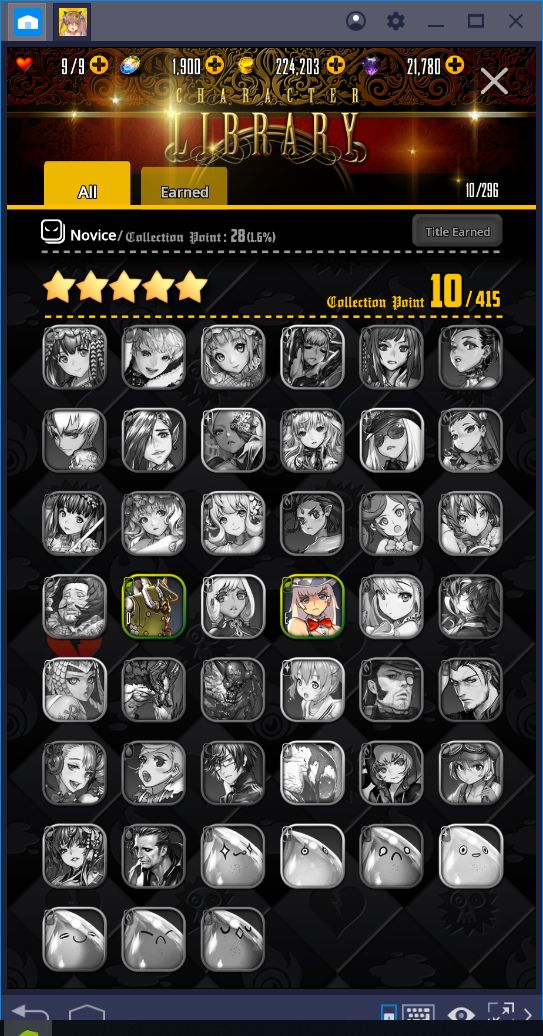
- C – Archive: A menu where you can view all the characters in the game, including background info, skills, and their artwork.
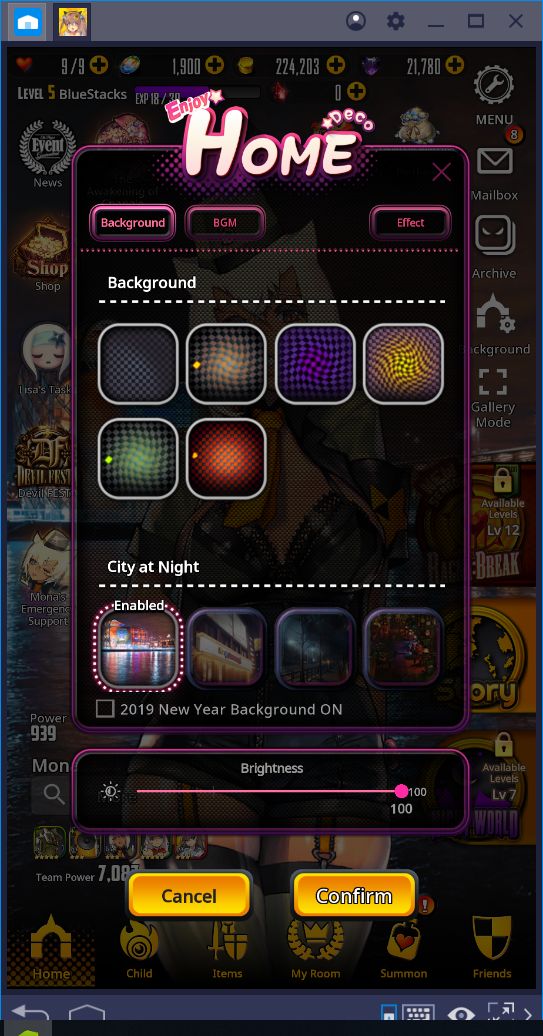
- D – Background: In this section, you can switch the background, music, and sound effects of the main menu. This is great for taking screenshots of your favorite characters.
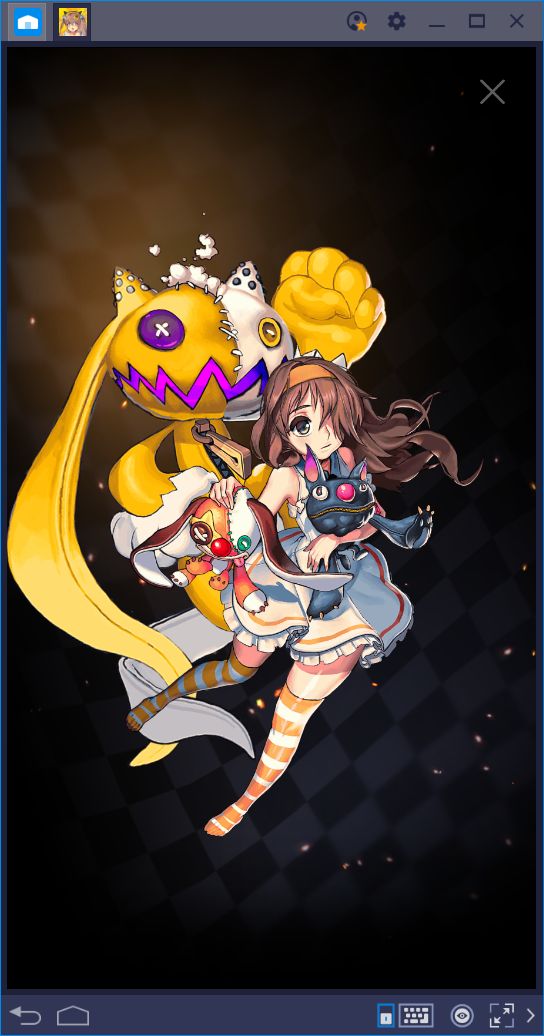
- E – Gallery Mode: Removes all the elements of the screen so that you can take captures of your characters. This function goes hand in hand with the background tool that we mentioned above.
- F – Ragna Break: A game mode that revolves around seasonal events. By participating in this mode, you may receive limited rewards that you won’t find anywhere else. But you’ll have to be quick about it since the prizes change constantly.
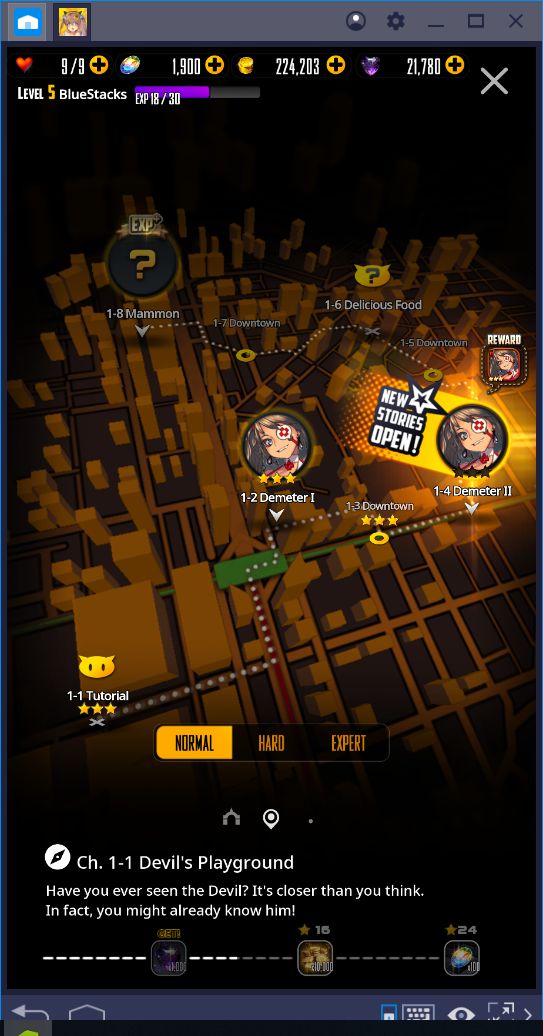
- G – Story: The main campaign of the game that follows the adventures of the Young Master as he trains to become the next demon lord.
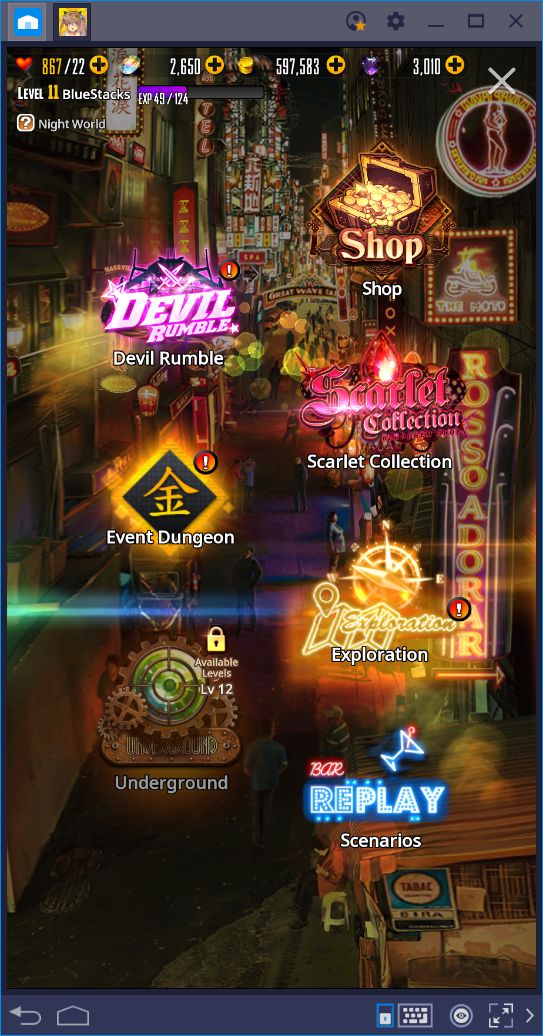
- H – Night World: In the Night World, you will gain access to several game modes, including the Devil Rumble (PvP), as well as other aspects that you can enjoy without using energy.
- I – Squad Panel: A small informative panel in which you can view the members of your current squad, as well as the squad’s total power. Furthermore, you can alternate between the Child featured in the main menu by clicking on their portrait in this panel.
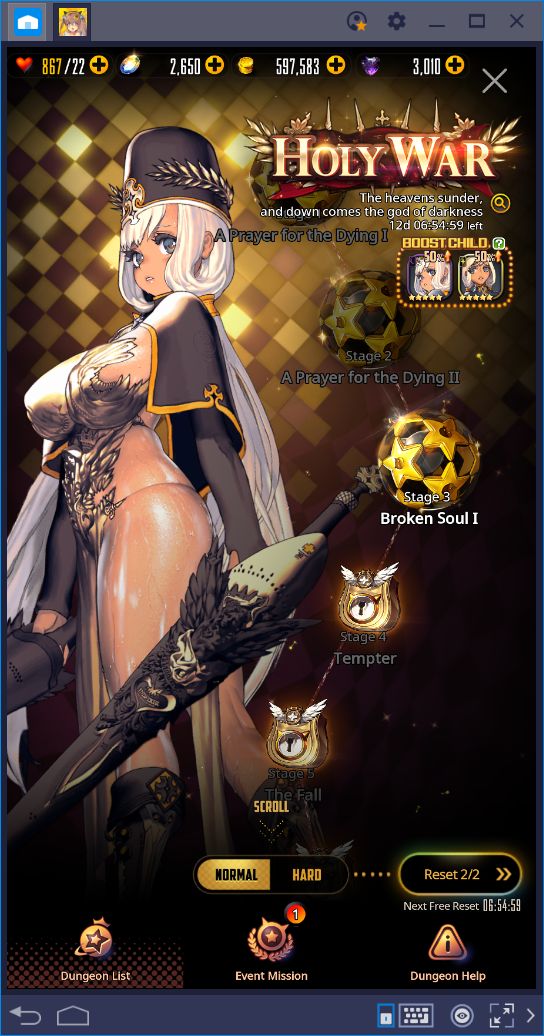
- J – Narrative Holy War: A limited dungeon mode that shows you the story of Lost Maat as she struggles with her beliefs. This mode consists of several stages that ultimately may reward you with a rare character.
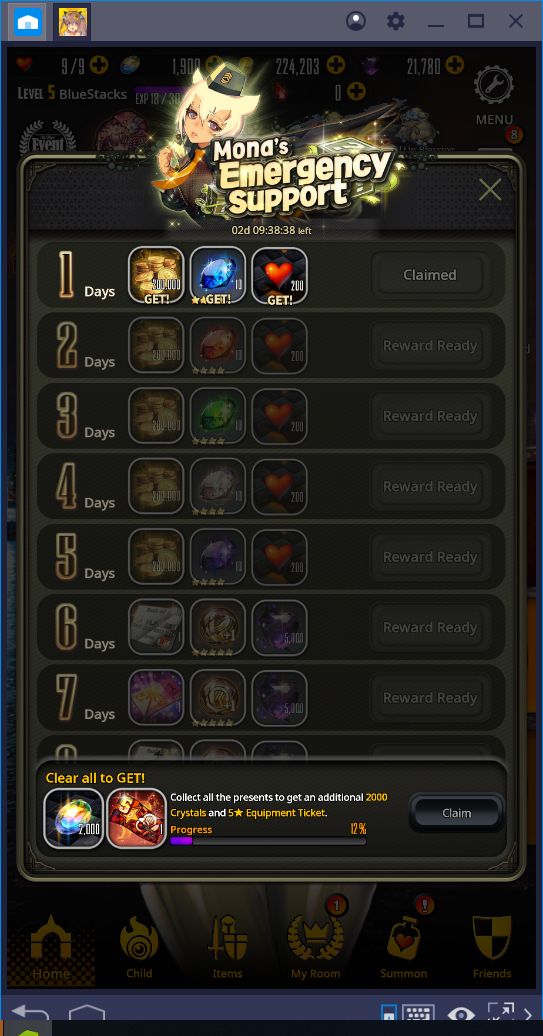
- K – Mona’s Emergency Support: Once a while, Mona will give you prizes to help you out in your mission to become the demon lord. You can claim your items in this menu, and will also receive additional support once you have received all the items.
Play Destiny Child on BlueStacks 4
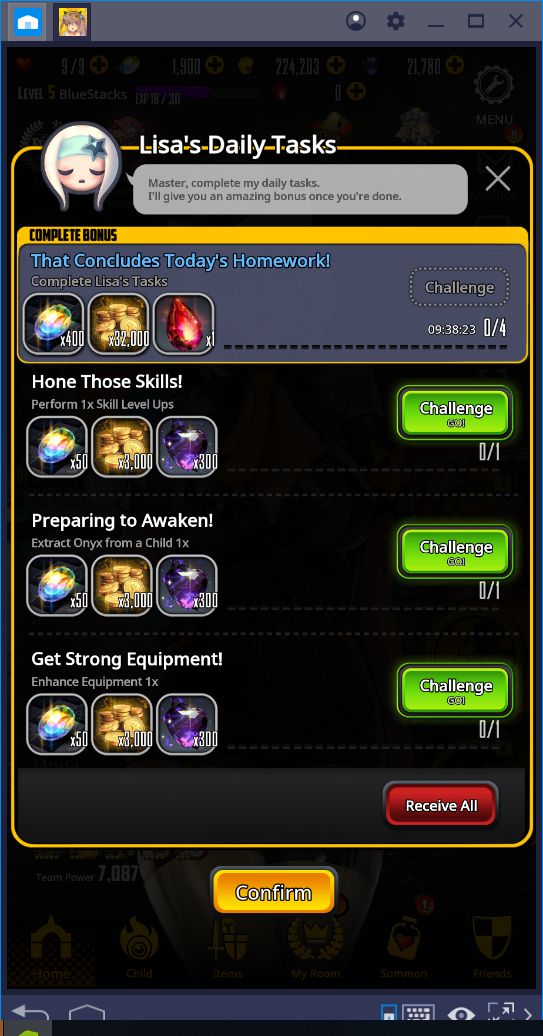
- L – Lisa’s Tasks: A list of daily tasks that you can complete to receive awesome prizes, including crystals. These assignments refresh every day, so be sure to visit often!
- M – Shop: Like any other mobile game, Destiny Child has its own store in which you can purchase useful items with real money.
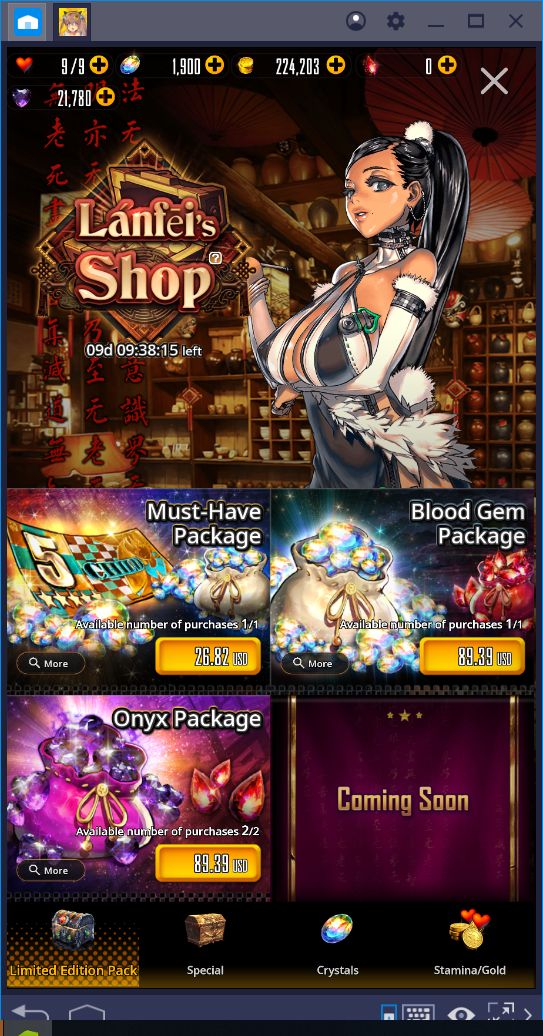
- N – News: You can consult the currently-active events in this menu, as well as the conditions for receiving unique and limited prizes.
- O – Daily Support Service: If you’ve purchased anything in this game, and need assistance with claiming your prizes, you may find help in this menu.
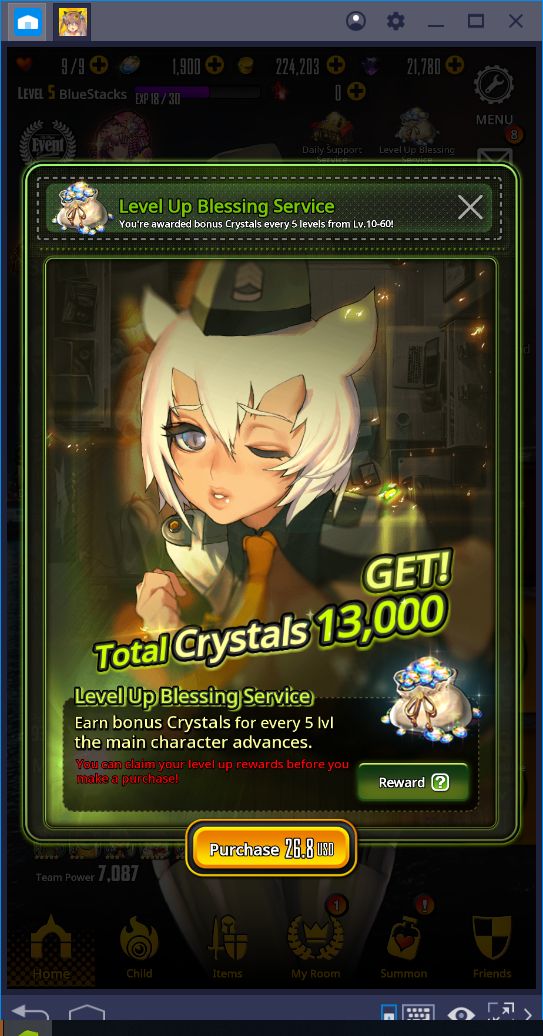
- P – Level Up Blessing: By purchasing this service (with real money), you will receive a large number of crystals every 5 levels. If you want the best bang for your buck when purchasing crystals, this is the way to go.
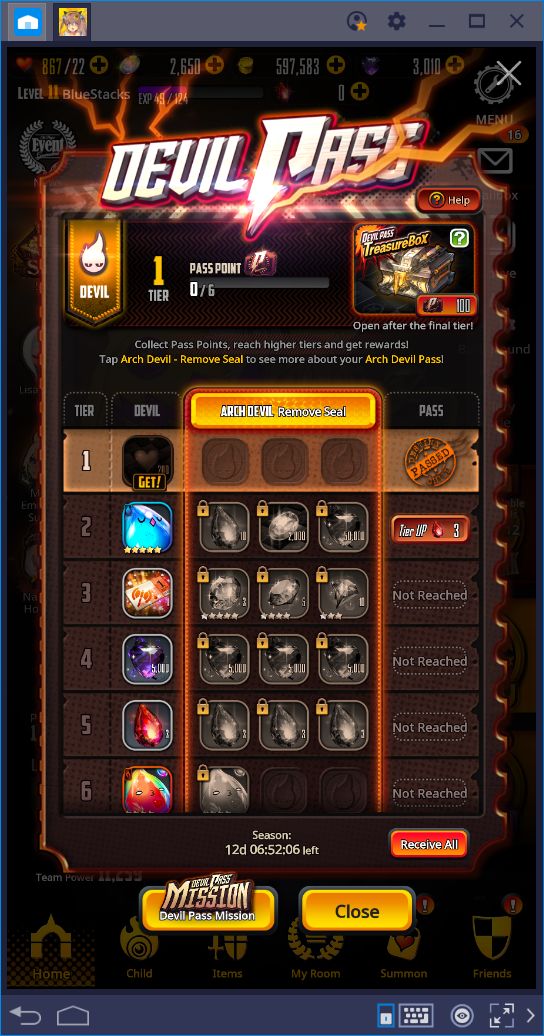
- Q – Devil Pass: A seasonal game mode that consists of collecting devil pass points, and trading these points for awesome prizes, which you may consult in this menu. Free players can gain access to many rewards, but premium players are the ones that can make the best use of this feature.
- Lower Panel
- 1 – Home: Click on this button at any time to return to the main menu screen.
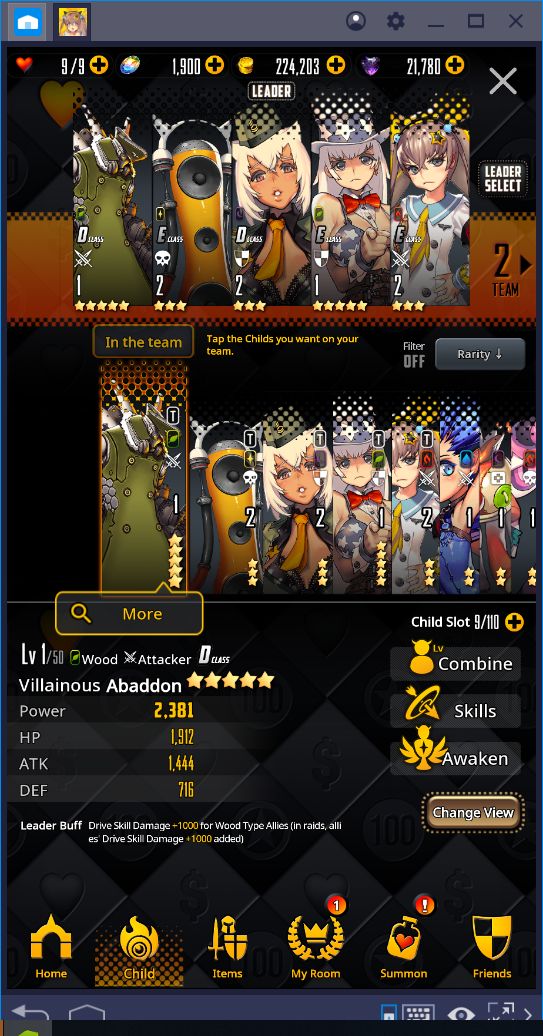
- 2 – Child: In this menu, you may view your Childs and create teams with them. Furthermore, you may also upgrade them, if you have the necessary materials, in this menu.
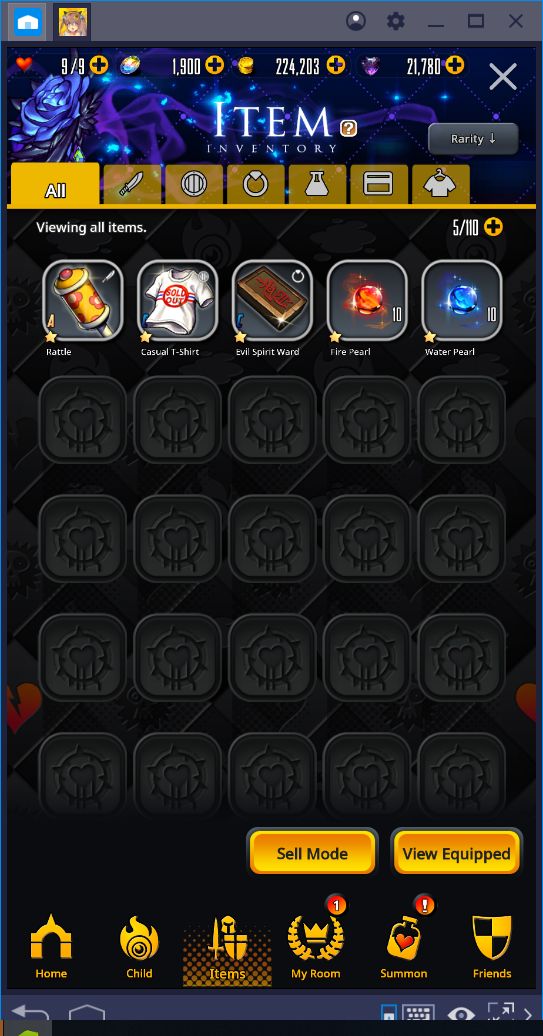
- 3 – Items: This is your inventory where you may find all the items that you have acquired throughout your adventure.
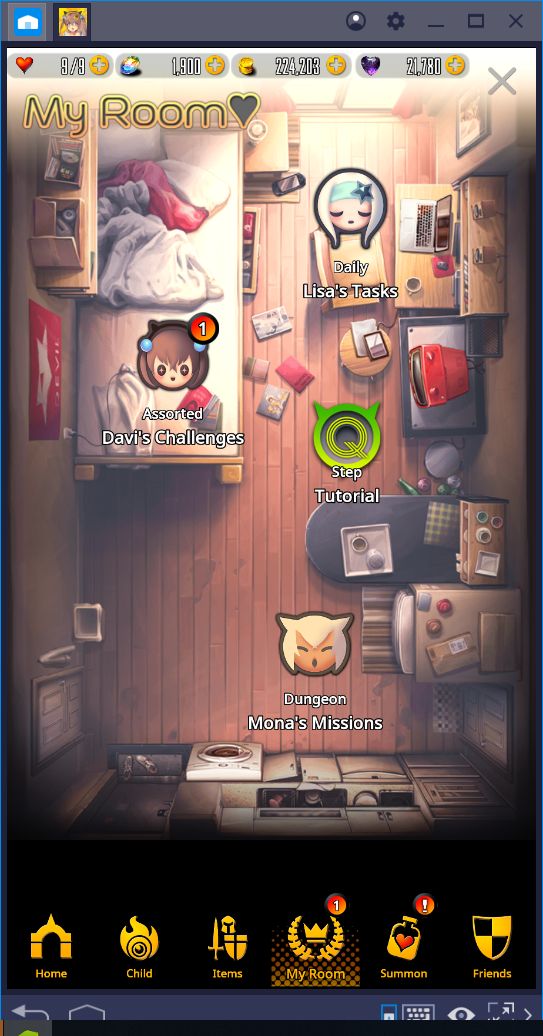
- 4 – My Room: A menu where you may find some important missions, as well as your daily tasks, all conveniently packed into one place.
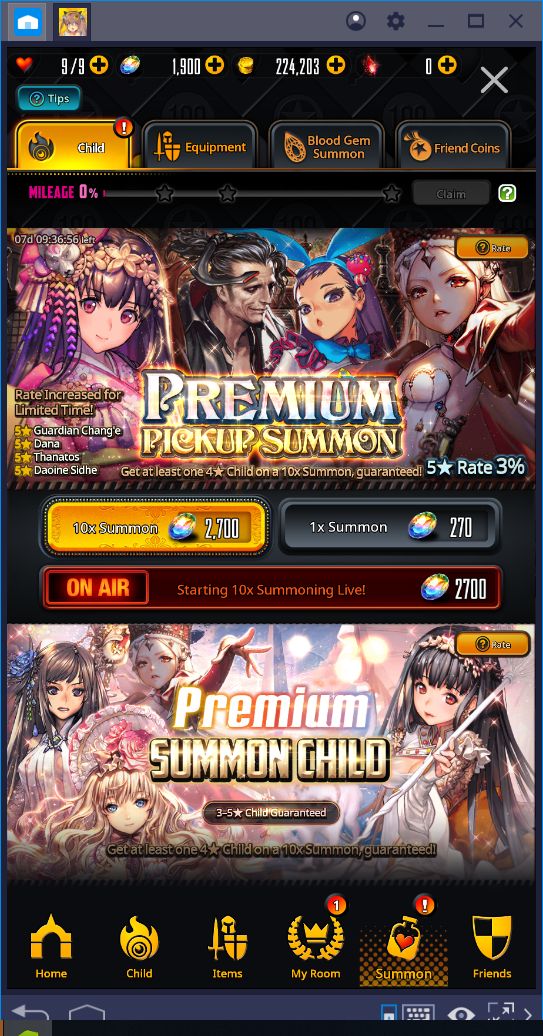
- 5 – Summon: There’s no need to explain what the summoning system is in a gacha game!
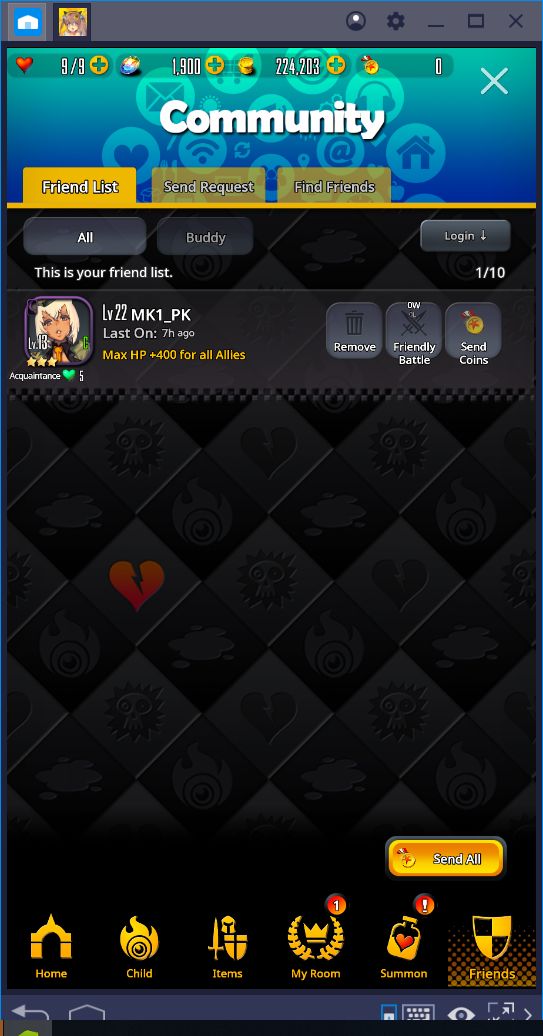
- 6 – Friends: The friend system plays an important role in this game. For now, the best thing we can recommend here is to add as many people as you can to your friend list. You’ll thank us later.
It’s awesome every time a game packs tons of features in their main menu; there’s something about having so much to do that really tickles our fancy in these games. However, we understand that it can seem like too much to take in at first. Luckily, with the information we’ve prepared in this guide, you’re now ready to enjoy everything that the game has to offer.
Now get out there and start collecting some demons!

