How to Upgrade Your Character in Ragnarok X: Rise of Taekwon
As you progress the regions of Midgard, you begin to encounter stronger and more intimidating enemies. To anticipate those instances, you must upgrade your character through multiple methods that the game offers.
This guide will cover the methods of making your character in Ragnarok X stronger. The first point of discussion is increasing your character’s core stats in order permanently upgrade their overall power.
Spending Stat Points
Before moving further, we need to recall the six core stats that your Ragnarok character has:
| Stat Name | Substats |
| Strength (STR) | Melee Physical Attack (P.ATK), Weight Limit |
| Agility (AGI) | Attack Speed (ASPD), Dodge (Flee) |
| Vitality (VIT) | Max HP, Physical Defense (DEF) |
| Intelligence (INT) | Max SP, Magic Attack (M.ATK), Magic Defense (M.DEF) |
| Dexterity (DEX) | Ranged Physical Attack, Haste, Hit |
| Luck (LUK) | Physical Attack (P.ATK), Crit, Anti-crit |
Expending stat points to a certain stat upgrade will also affect the substats associated with it. For example, spending points on Strength (STR) will increase the value of P.ATK (weapon damage dealt to enemies) and Weight Limit (total amount of items that can be carried) respectively.
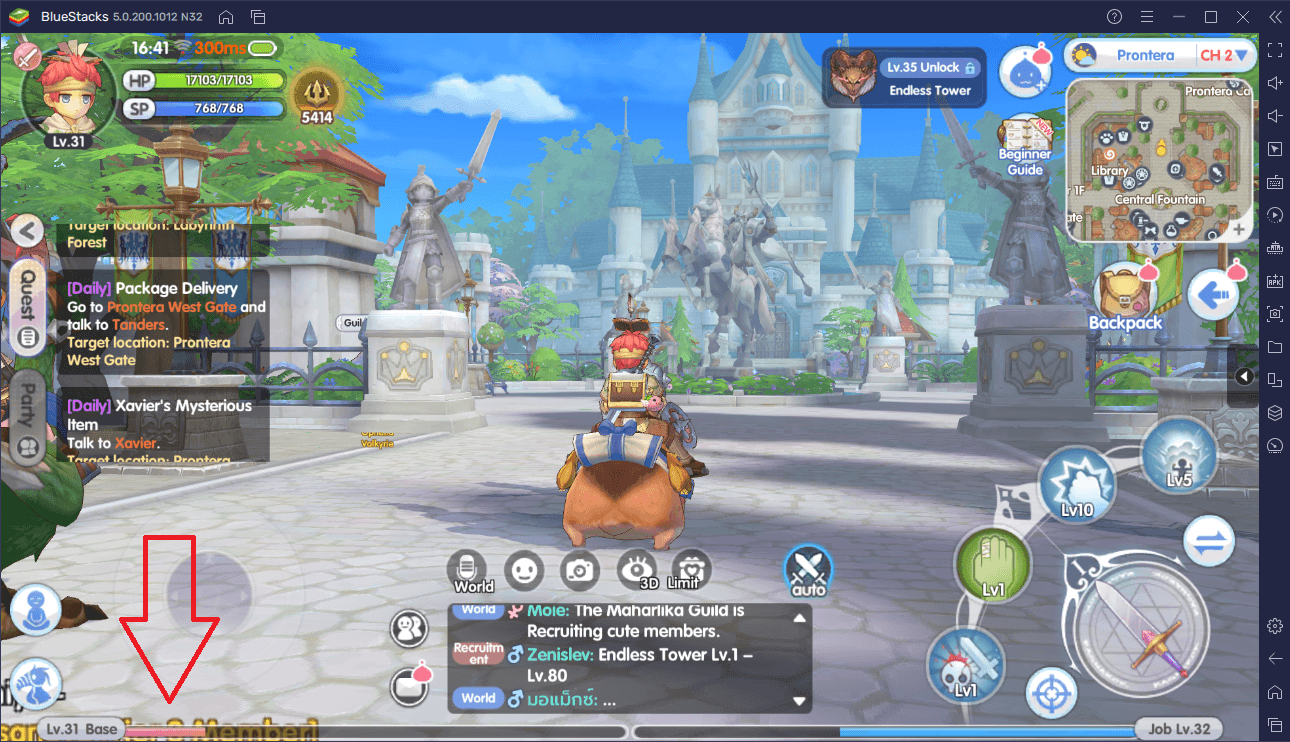
Stat points can be earned by levelling up your character’s base level. Base level is indicated by the red bar on the bottom-left of the screen. It is important to note that Base Level is different from Job Level (indicated by the blue bar besides the Base Level bar). EXP for increasing Base Level can be primarily earned by completing quests or doing daily activities; on the other hand, EXP for increasing Job Level comes from eliminating monsters.
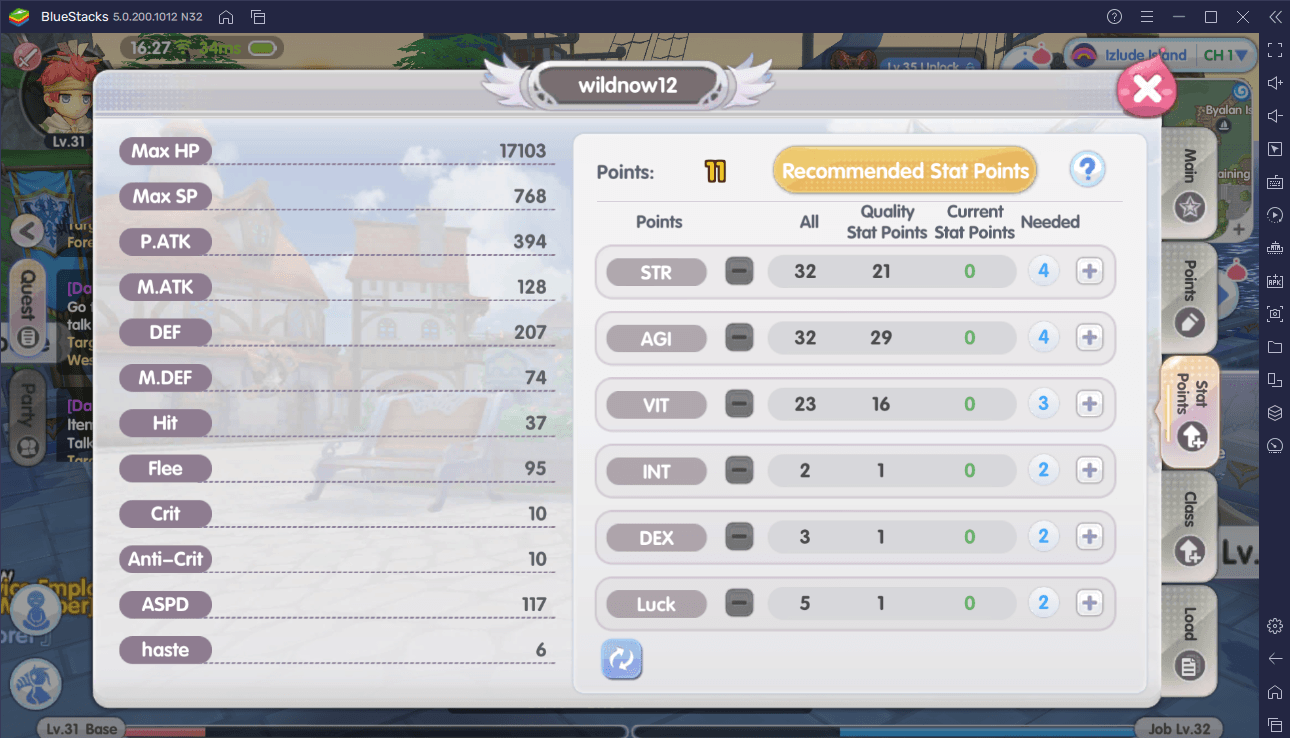
There are four columns of data on the menu:
- All – refers to the total number of stat points spent on that particular stat.
- Quality Stat Points – refers to the total amount of times that stat points were spent. The total amount of transactions
- Current stat points – refers to the number of stat points allocated to the stat before finally being spent.
- Needed – refers to the number of stat points required to upgrade the stat.
Click the “-“ sign to deplete the allocated stat points and “+” to add more. If you are having a tough time deciding which stat should receive the most and least points, you can refer to Recommended Stat Points.
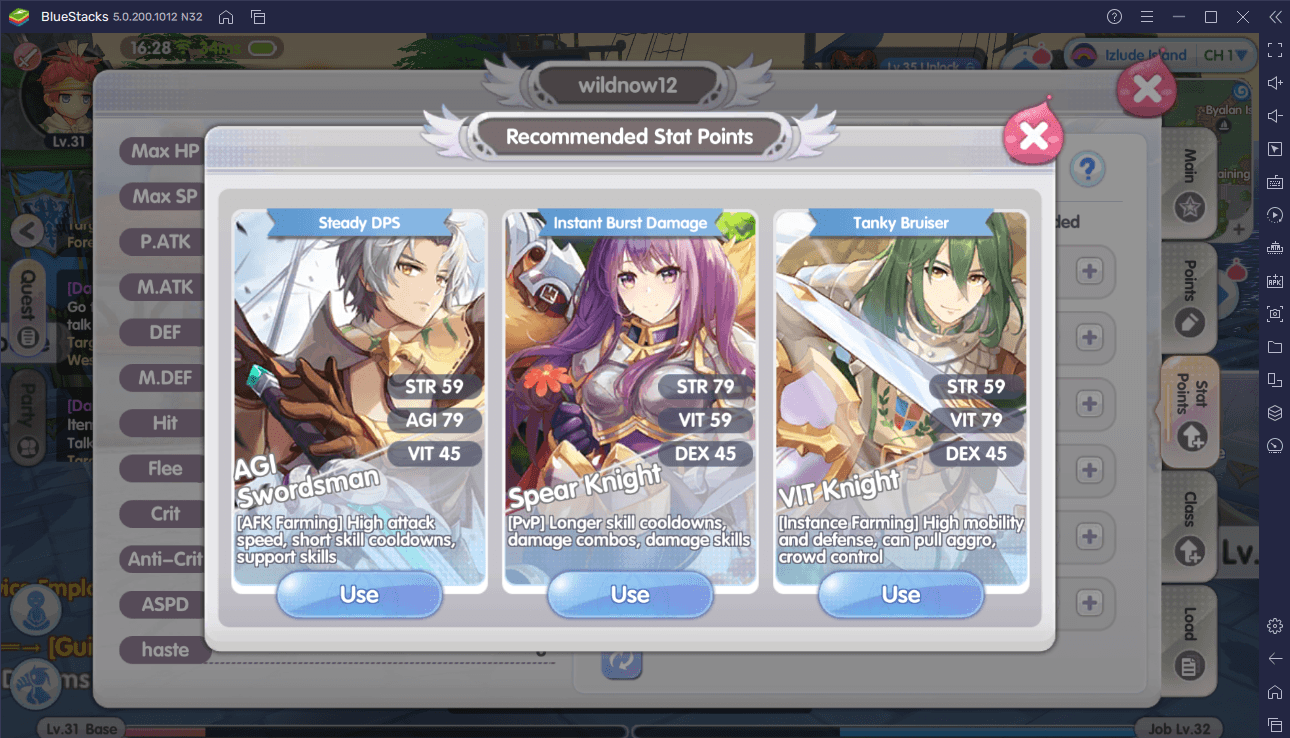
The Recommended Stat Points menu presents you with preset allocations for the stat points. Each allocation pertains to one of three playstyles that each class has. Recall the playstyles of each class:
| Class Name | Play Styles |
| Swordsman | VIT Knight – High mobility, good defense and crowd control, and has aggro abilities
AGI Swordsman – High attack speed, short cooldown time of skills, good as support, ideal for AFK situations Spear Knight – Long cooldowns, can do damage combos, good for DPS (damage-per-second) builds, ideal for PvP situations |
| Mage | Ice, Lightning – Capable of crowd controlling and unleashing damage combos.
Earth, Fire – Slow, output berketrusan, ideal for AFK situations Fire, Ghost – Short channeling time but capable of self-defense |
| Acolyte | Exorcist – Has dispels and inflicts, can debuff enemies
Force – Focused on melee damage, good defense, and has health regeneration capabilities Praise – Casts various buff effects which can be very useful for groups/parties |
| Archer | Trap – Sets multiple traps for enemies, can kite
Ranged Attack – Short channeling time, stable DPS, ideal for AFK situations Falcon – Additional hawk damage and instant boosted damage, ideal for PvP situations |
| Thief | Crit Assassin – Relies on basic attack crits and skill combos to deal burst damage
Poison Assassin – Uses poison to continuously deal damage, ideal for AFK situations Stealth Assassin – Gets close to the enemy using stealth and then deals instant damage, ideal for PvP situations |
| Merchant | Flexible – Relies on the pushcart to deal damage, has high flexibility
Berserker – High attack and is focused on support skills, ideal for AFK situations Zeny – Powerful and can deal high damage within a short span of time, ideal for PvP situations |
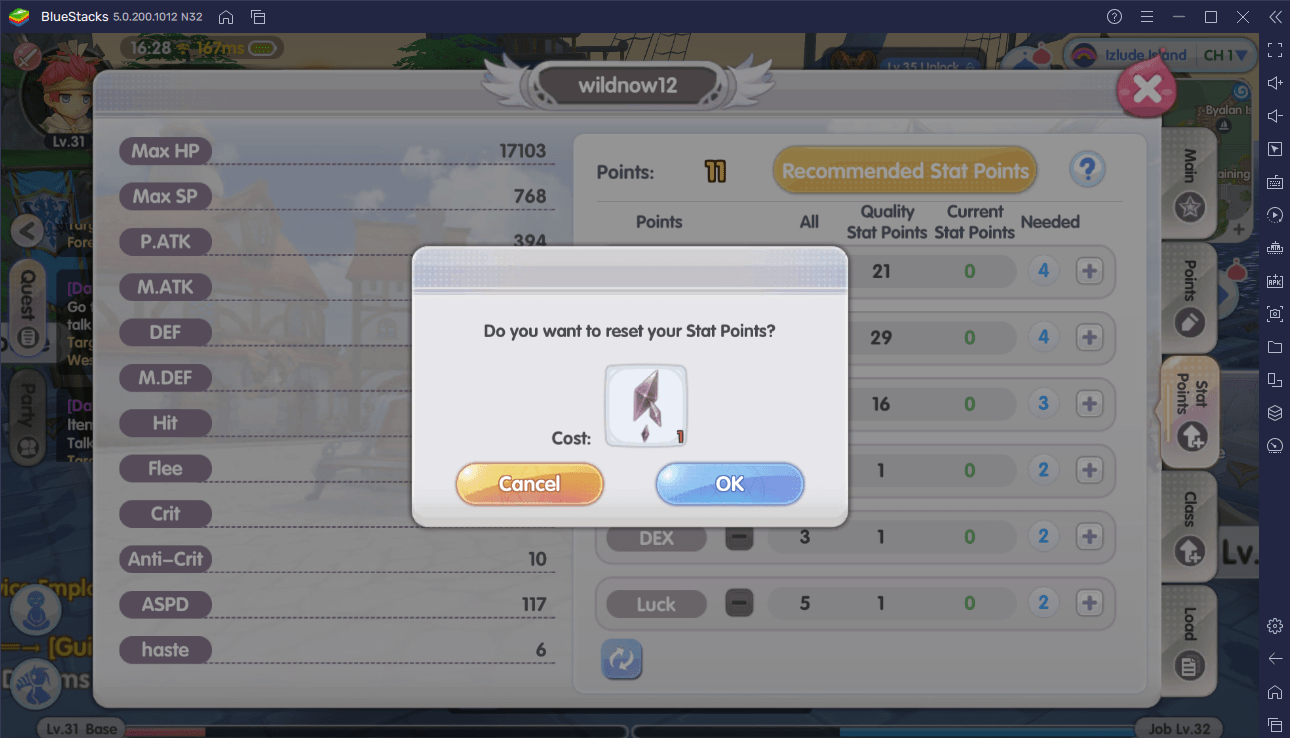
Your stat points can be completely reset if you use an item called a Magical Stone. More of the stones can be bought from the Crystal Shop located in Alberta.
Upgrading Class Skills
Skills in Ragnarok X are special and strong moves that your character can use during combat. The skills that you can use depend on your character’s class but regardless of which one you select, they can be upgraded. Upgrading your character’s skills can increase the combat efficacy of that skill which will allow you to eliminate strong enemies faster.
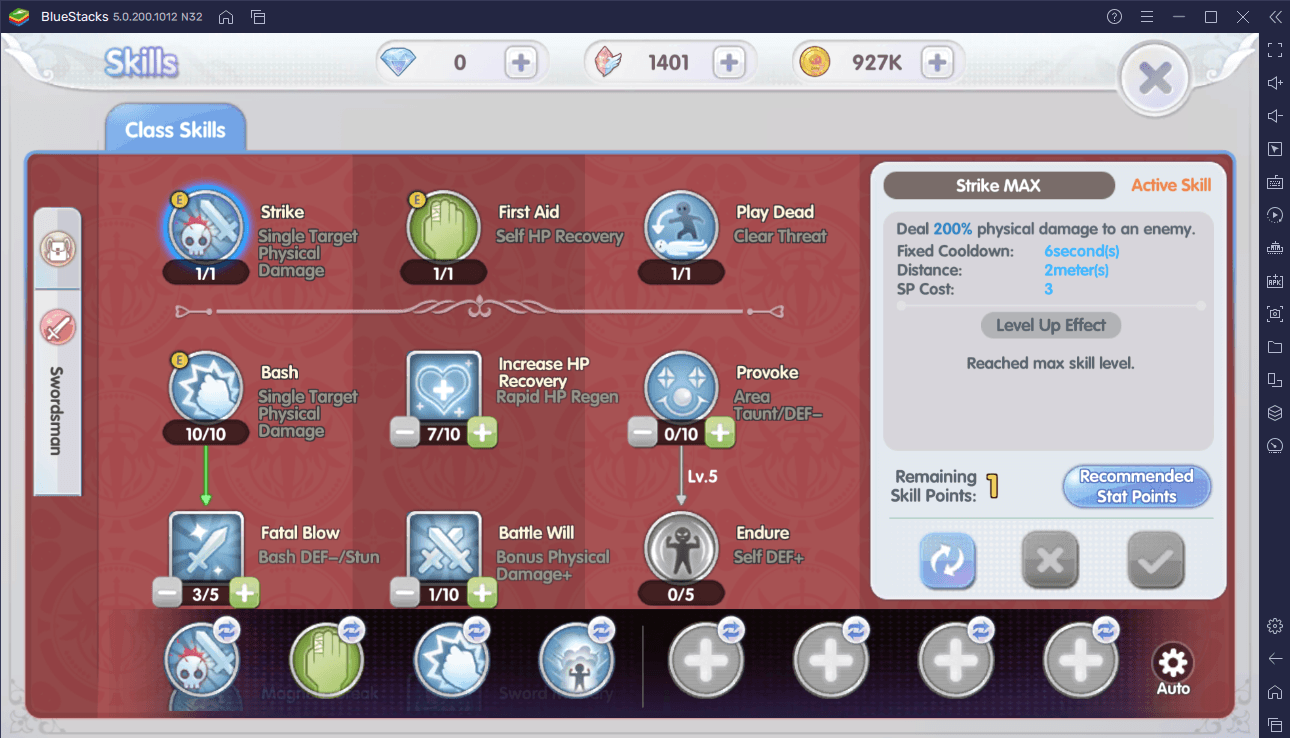
Expending skill points will upgrade a skill. Each skill can be upgraded up to a maximum of either Level 5 or Level 10. Some skills will require that the previous skill should be set to a particular level.
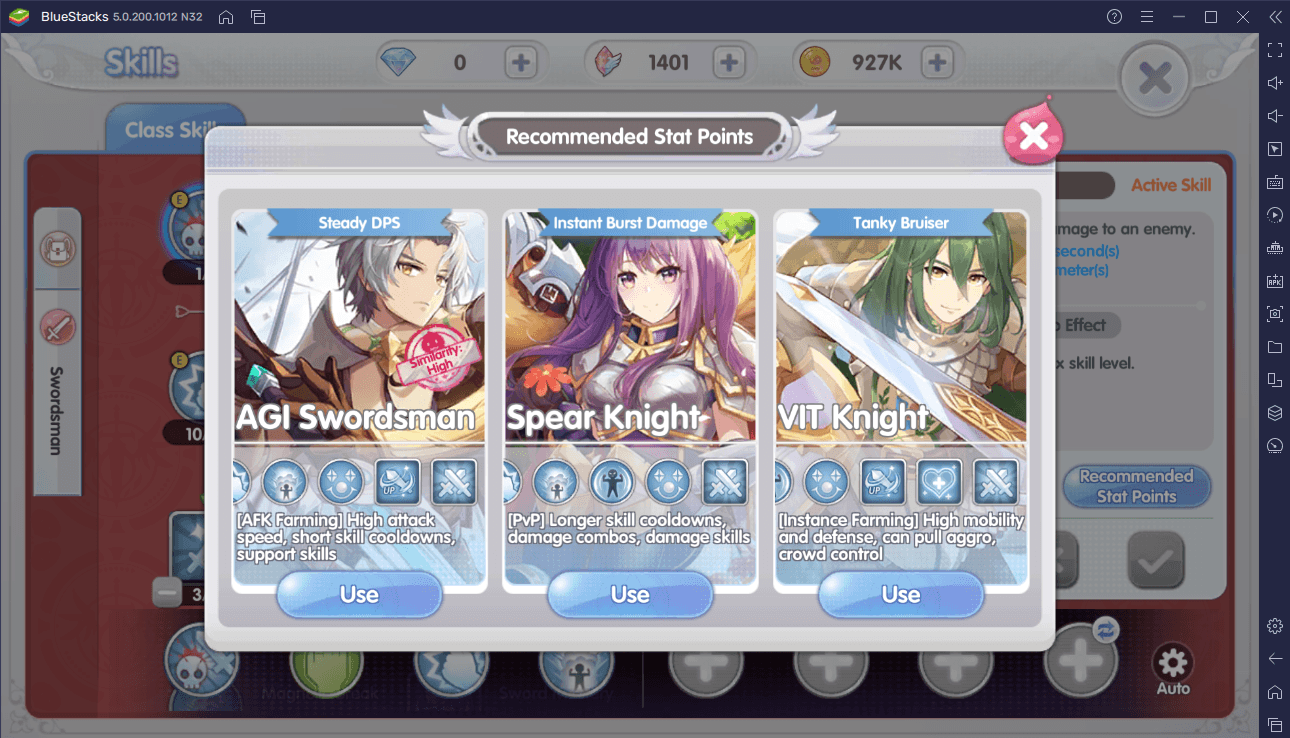
Like stat points, you can also use preset allocations for skill points based on the playstyle of your chosen class by clicking “Recommend Stat Points”.
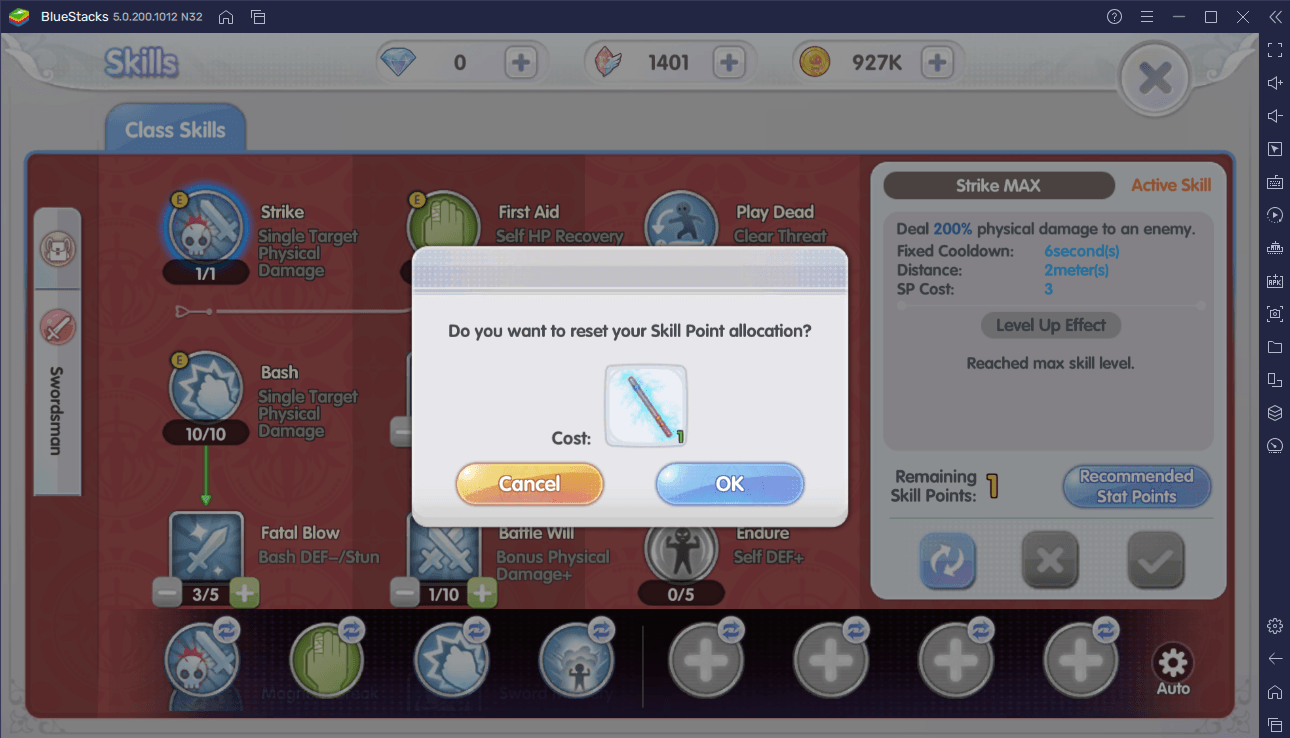
You can reset your skill points with a Neuralizer and more can be bought from the Crystal Shop in Alberta too.
Obtaining Better Gear
Gear is a special part of your character’s power that works hand-in-hand with their core stats and class skills. Even if your character’s stats and skills are fully upgraded, if their equipment is feeble then they can still be easily defeated by enemies. There is great incentive to invest in better gear and here are some ways to obtain them.
Crafting
Prontera has three crafters that can craft weapons, armor, or accessories.
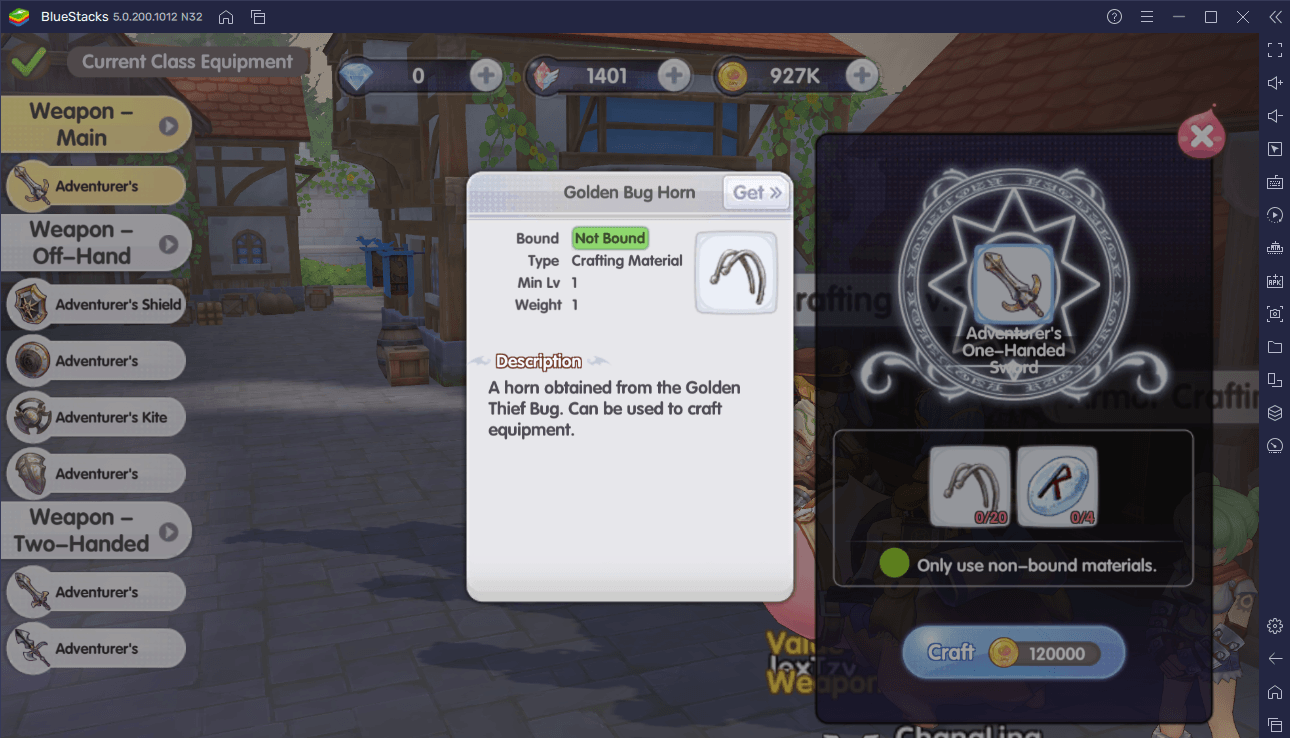
You will need to have the sufficient materials in order to craft the equipment that you want. You can automatically travel to the area where the materials can be obtained by clicking on “Get>>”. Doing so will enable the game’s pathfinding system which means that the game will automatically lead your character to the material’s location.
Vending Machine
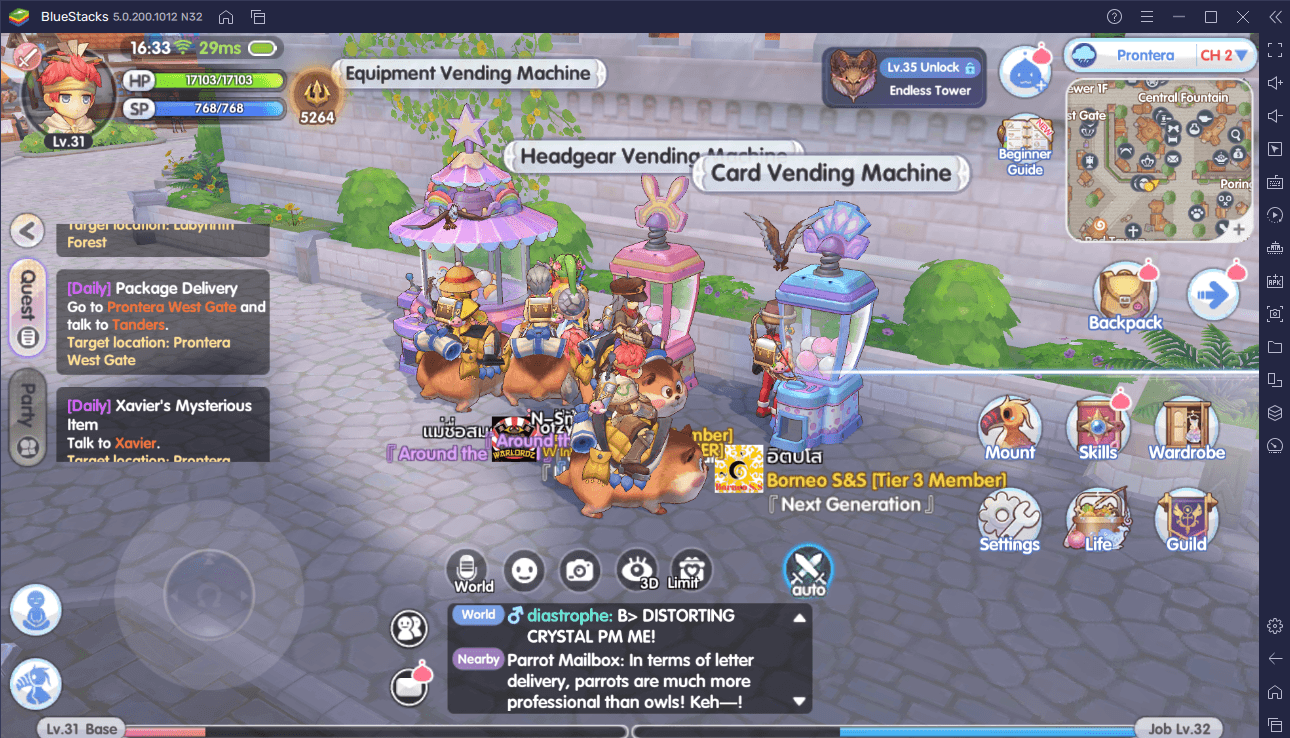
Additionally, you can also obtain gear from vending machines located in Prontera. These machines can accept gacha coins. There are three different types of gacha coins, each pertaining to headgear, equipment, or cards.
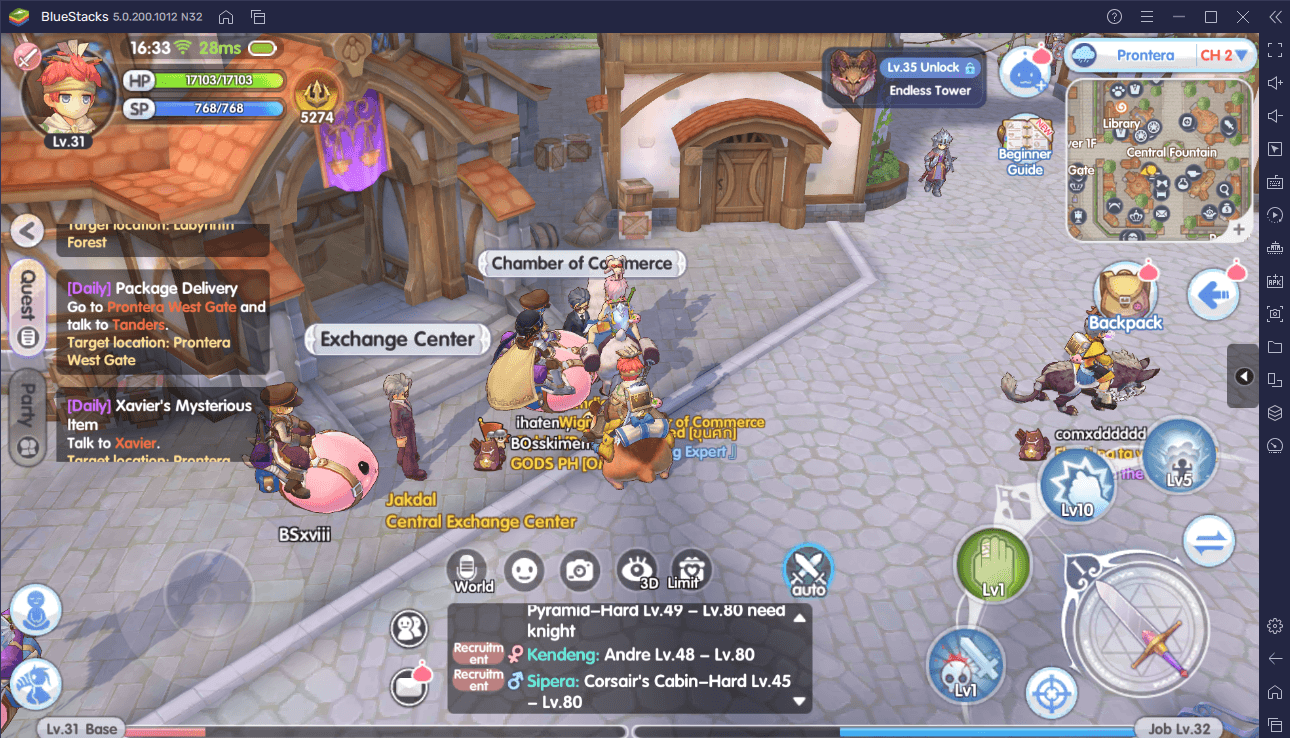
Gacha coins can be obtained by completing COC (Chamber of Commerice) missions. These missions can be started when you approach the COC employee, a man wearing a suit, in Prontera.
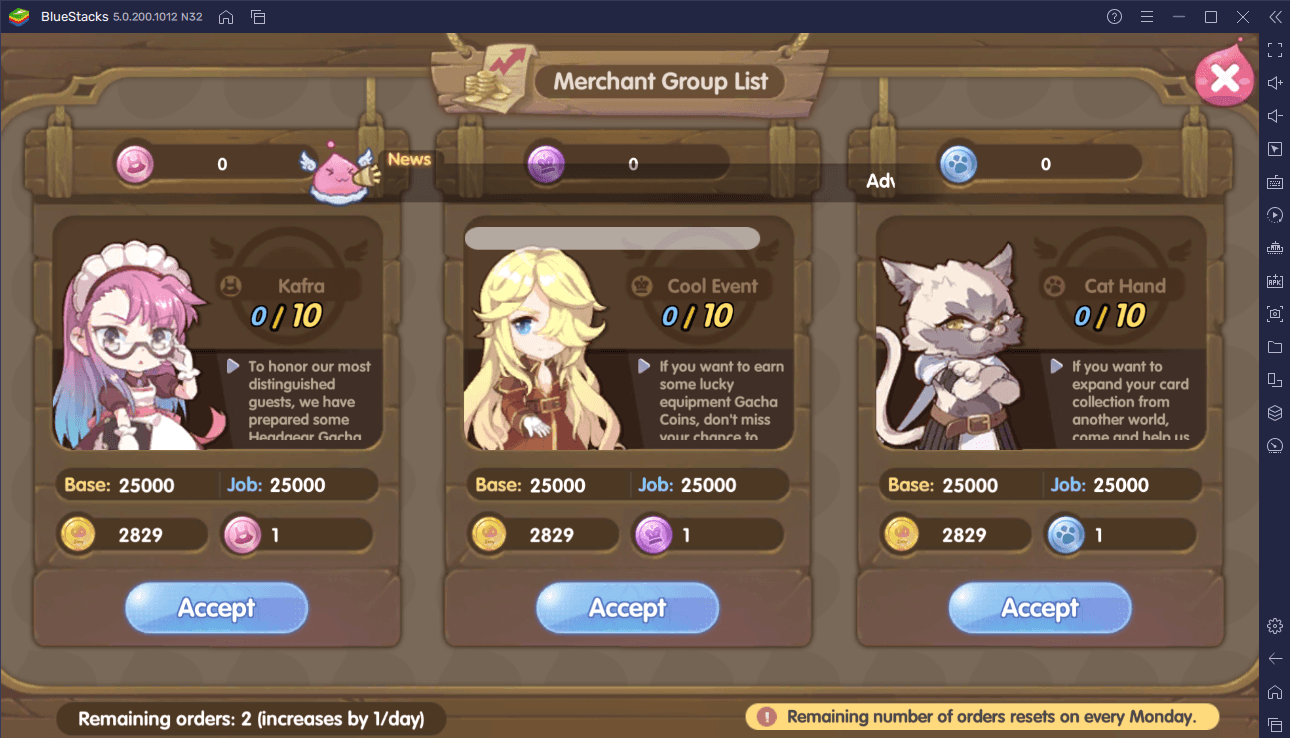
There are three different missions for gacha coins.
- Kafra missions to receive headgear gacha coins.
- Cool Event missions to receive equipment gacha coins.
- Cat hand missions to receive card gacha coins.
Upgrading Gear
You can upgrade your character’s existing gear through three methods. Note that all of these upgrades can be done in Prontera.
Upgrade
Hollgrehen is Prontera’s resident blacksmith who is responsible for giving basic upgrades to your equipment. Upgrading Material as well as Zeny (the main currency) are required to upgrade equipment. Upgrading Material can be mind in the Mjolnir Mountains.
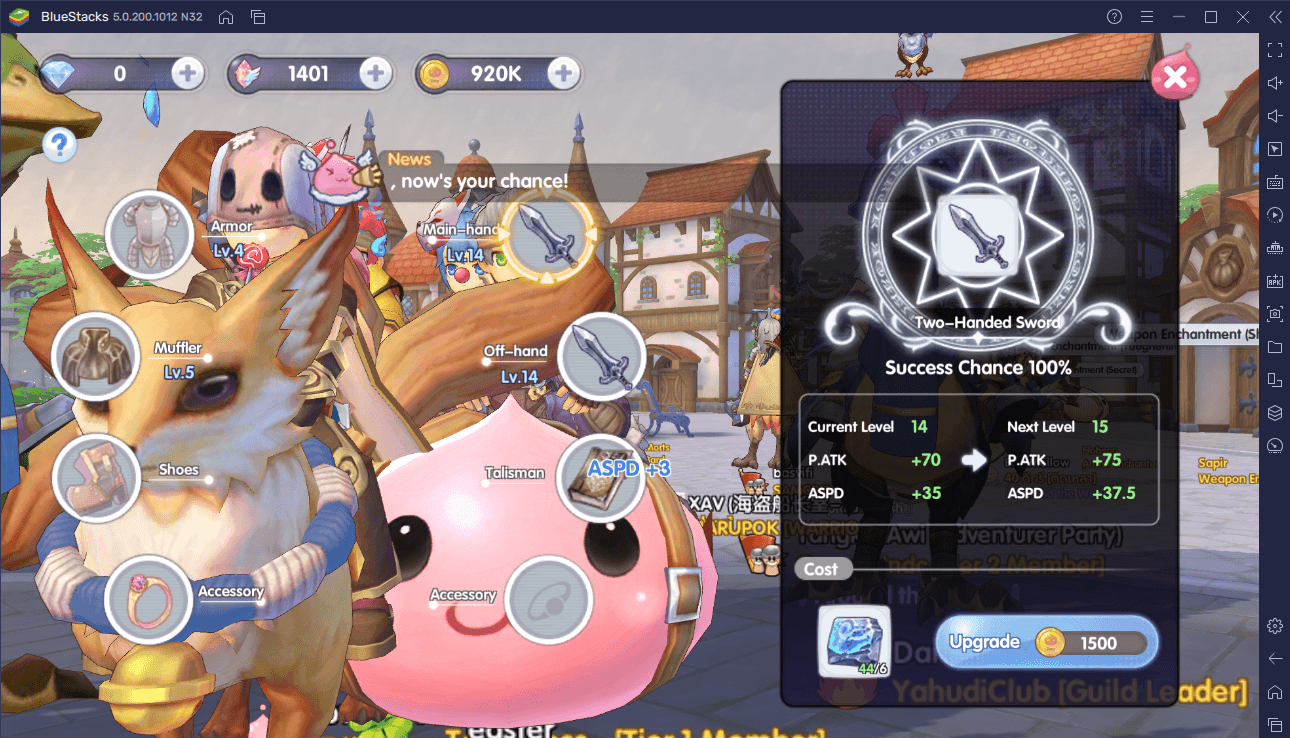
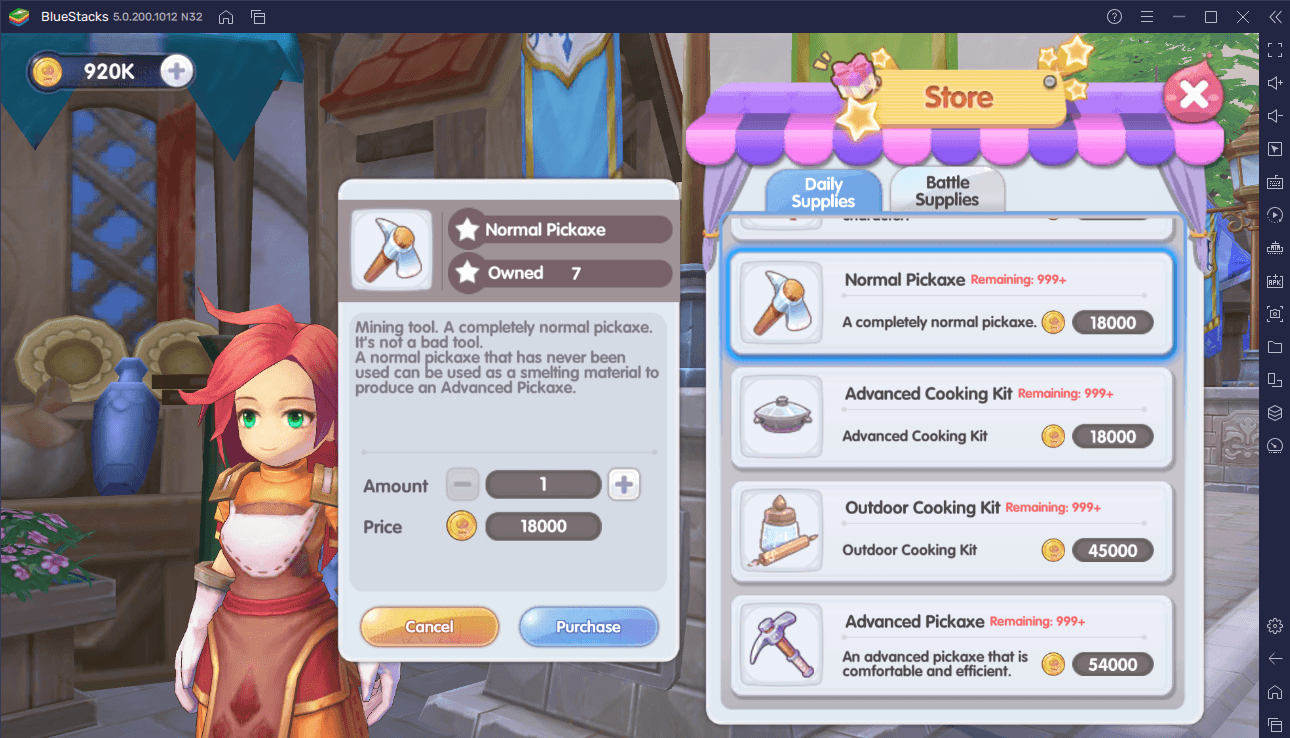
But before venturing there, you first need to purchase a pickaxe from the Sundries Stores. There are two different pickaxes: normal and advanced. The main difference between the two is their effectivity. The advanced pickaxe can mine resources faster than the normal one but is also more expensive. Note that the pickaxes have limited durability so at some point, you will have to buy new ones when your existing ones inevitably break.
Embed
Equipment such as your weapons and armor can be embedded with cards. Cards give bonus stat boosts to the embedded item. It can randomly be acquired by eliminating enemies around Midgard.
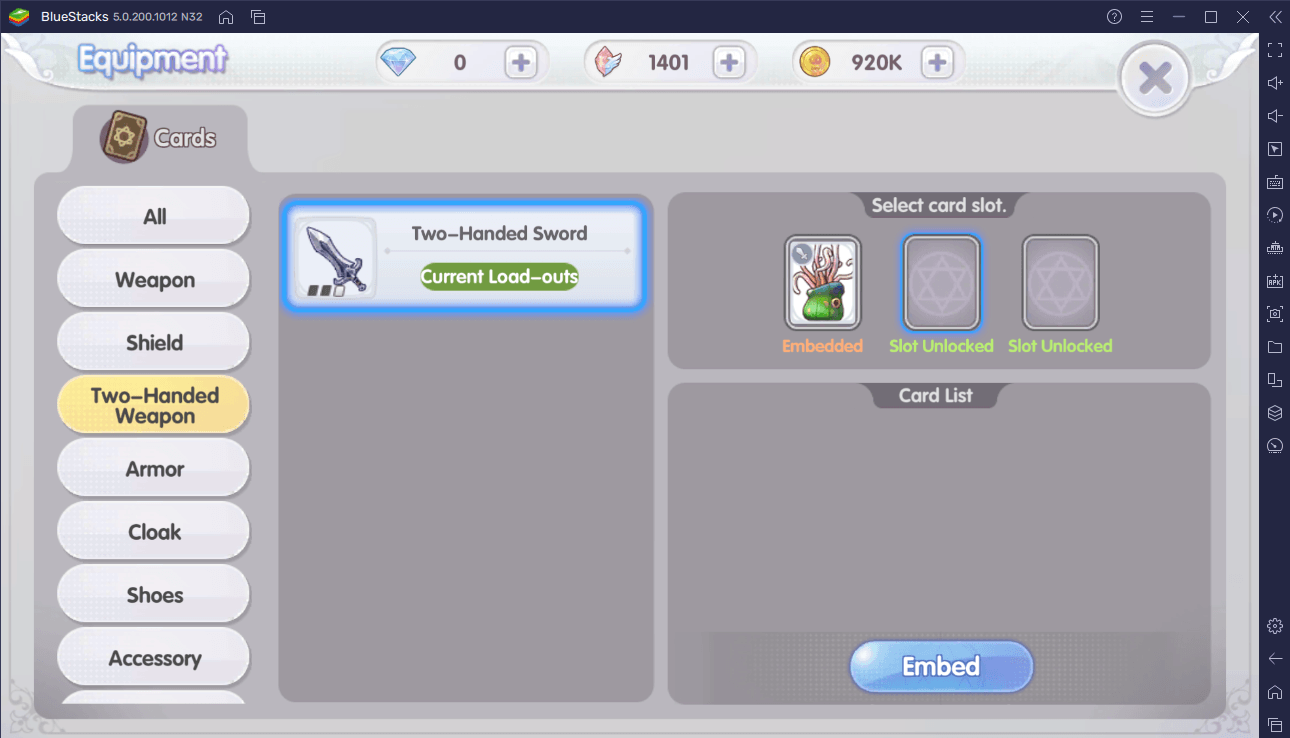
Moreover, it can also be obtained by completing Cat Hand quests for the COC employee. Completing these quests earns you coins which you can then use for the Card Vending Machine.
Enchant
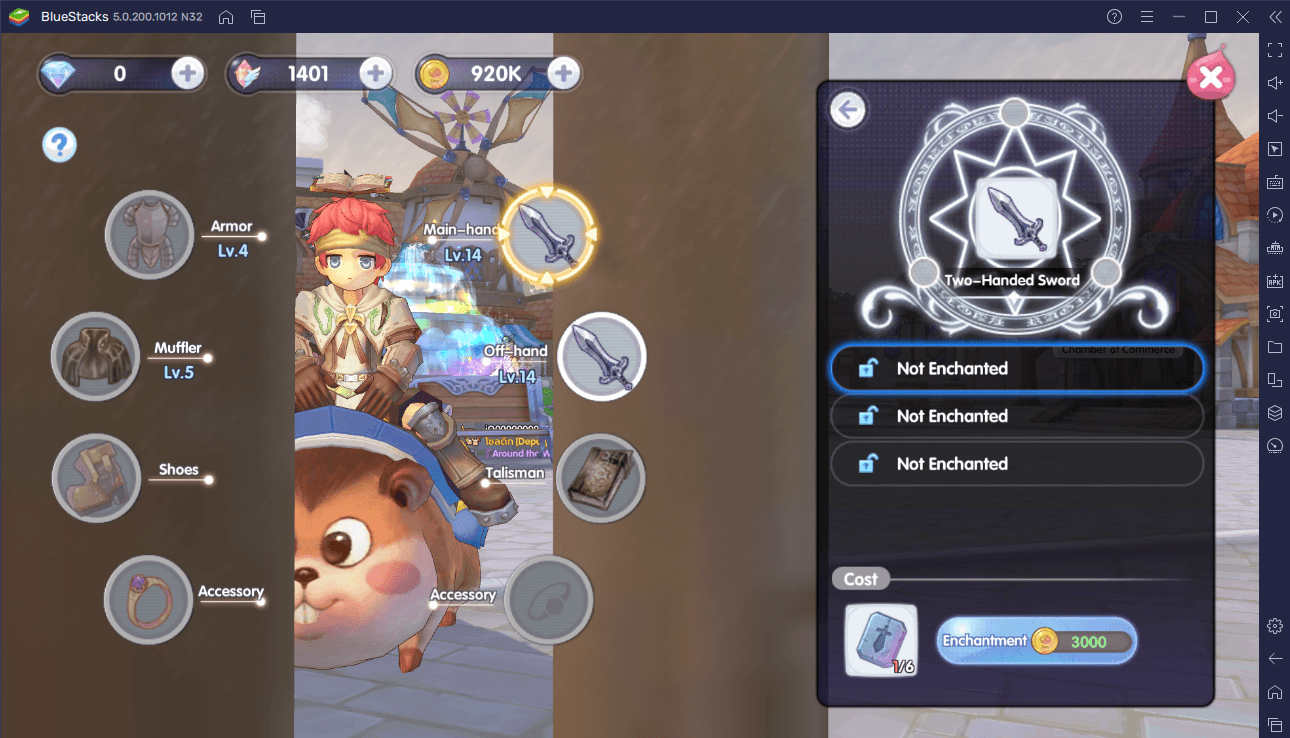
There are three separate characters for enchanting weapons, armor, and accessories. Enchantment stones are required to enchant your gear and note that there is a different stone for each gear.
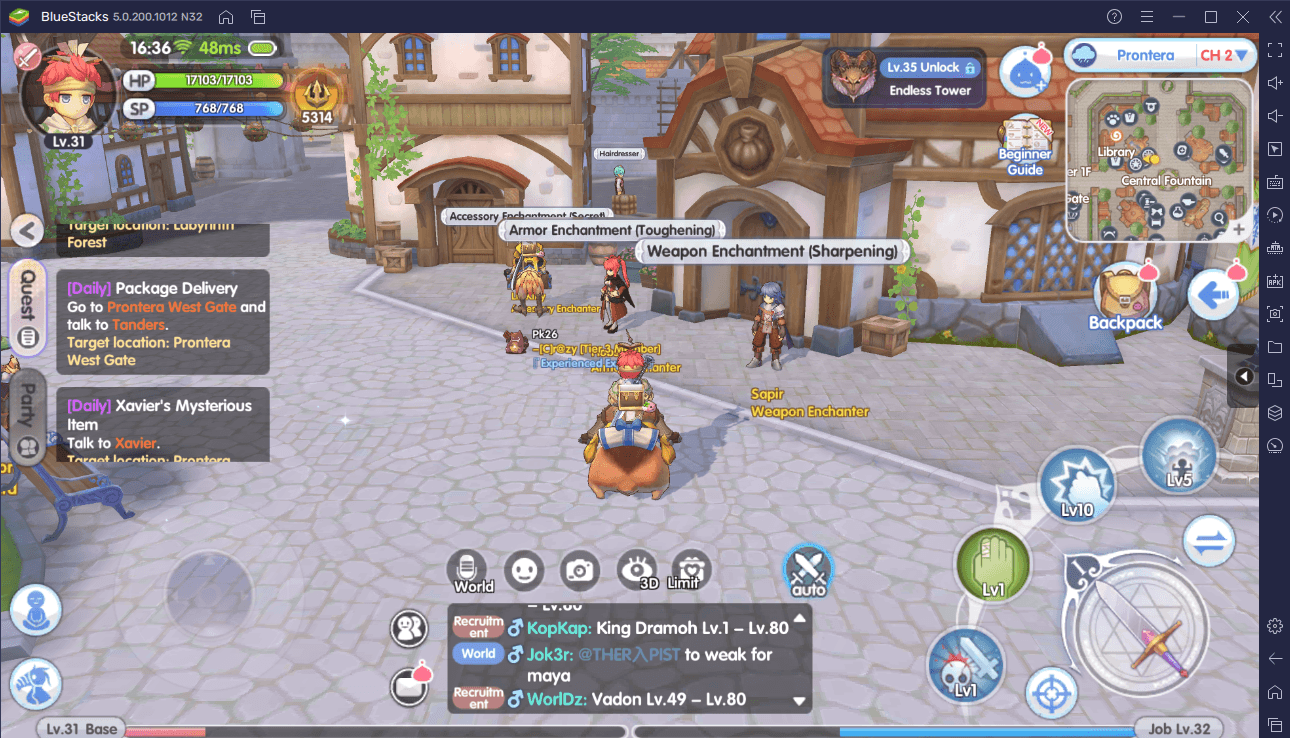
The stones can be crafted with specific materials. Oftentimes, one of these materials can be acquired from mining while the other one can be acquired by gardening. Like crafting materials, click on “Get>>” to quickly know the source of the needed material. From there, you can use the game’s pathfinding feature to let your character automatically travel there.
