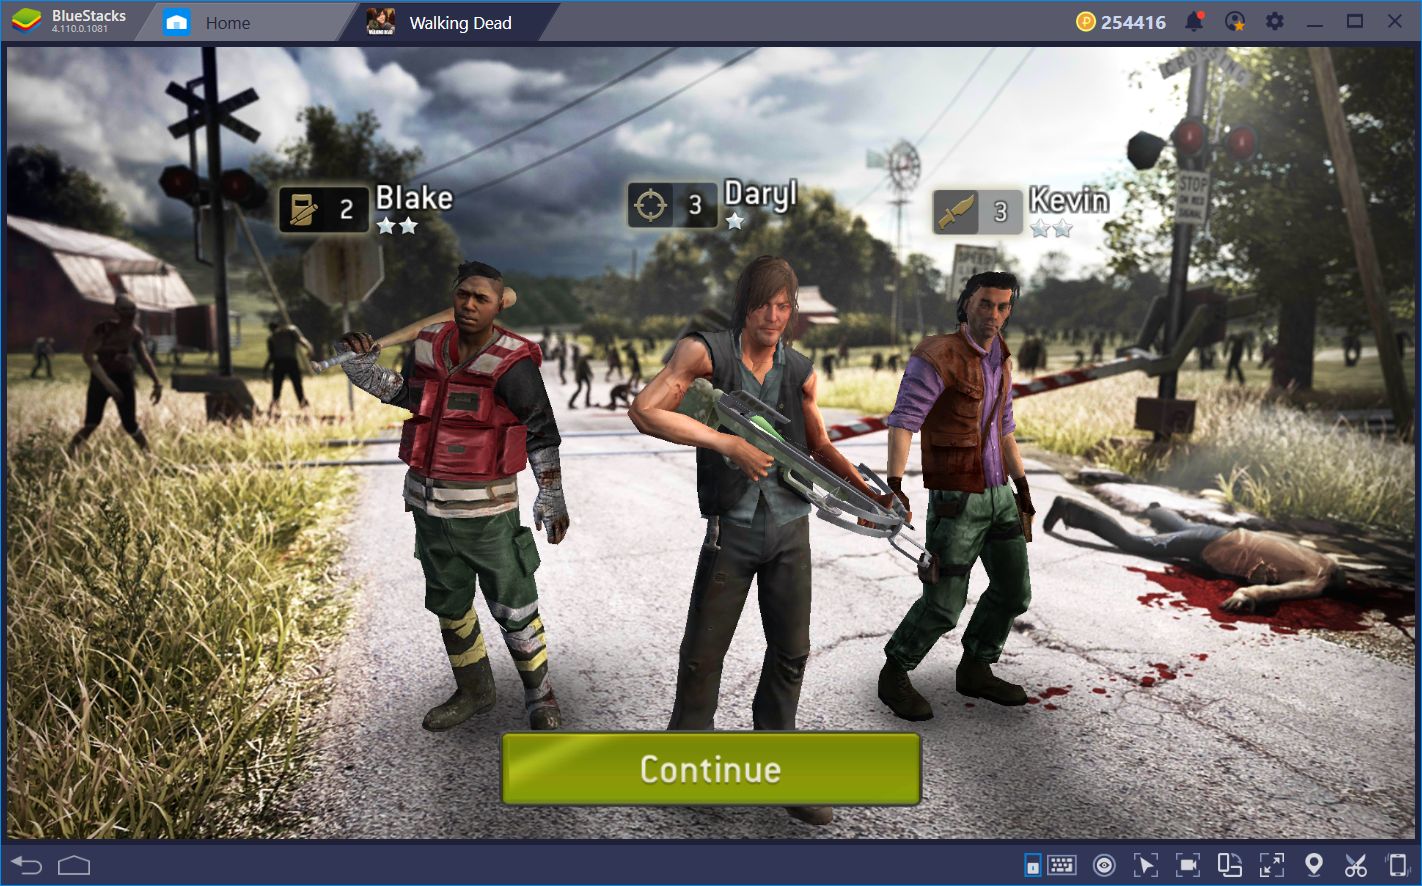
The Walking Dead No Man’s Land—Combat and Building Guide
The Walking Dead No Man’s Land is a hybrid game featuring a fully fleshed out combat system rife with intricacies and unit types, and a more peaceful base-building aspect. The latter is among the most important features since it’s where you’ll be obtaining the vast majority of the resources required for just about anything in this game. In this sense, without proper investments in your camp, you’d probably be straight out of luck when it comes to killing Zombies.
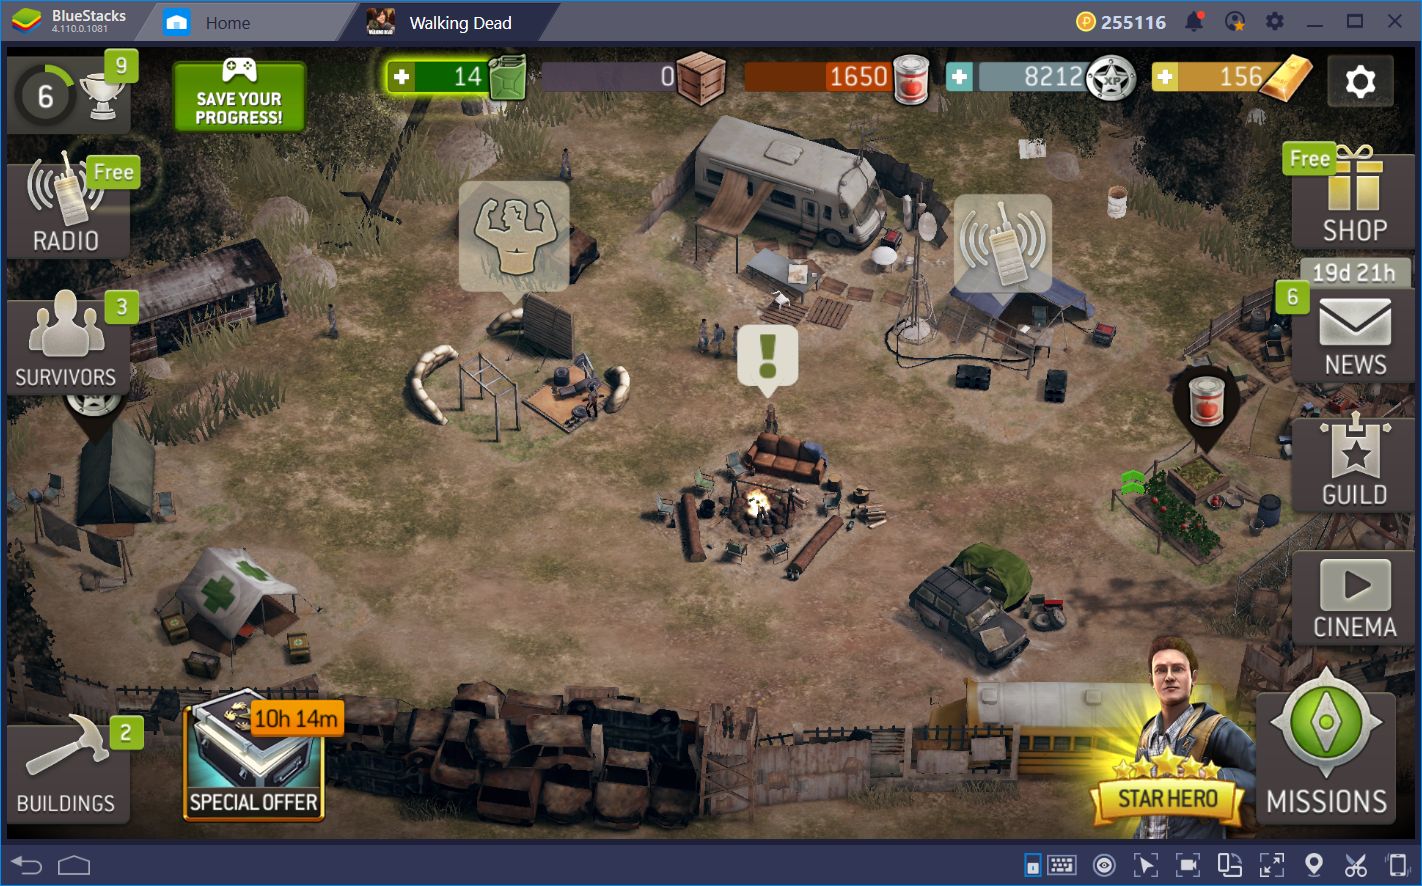
However, if you manage to get all the resources you’ll ever need, these are utterly useless if you don’t invest them properly. After all, what good are your materials if they’re just sitting there in your warehouses; that’s just begging for you to be turned into zombie chow!
If you want to brave dangers and progress consistently in No Man’s Land, you’ll need to become both a smart combat strategist, and a capable camp commander. Luckily, if you’re a veteran gamer, the latter is pretty much a given for you. However, the combat in this game, while very familiar, is nuanced and will require some getting used to if you wish to survive the walker threat. Luckily, this is where BlueStacks comes in as you’ll find the best tips to optimize both your building, and your combat efforts, in the following paragraphs.
The Importance of Overwatch
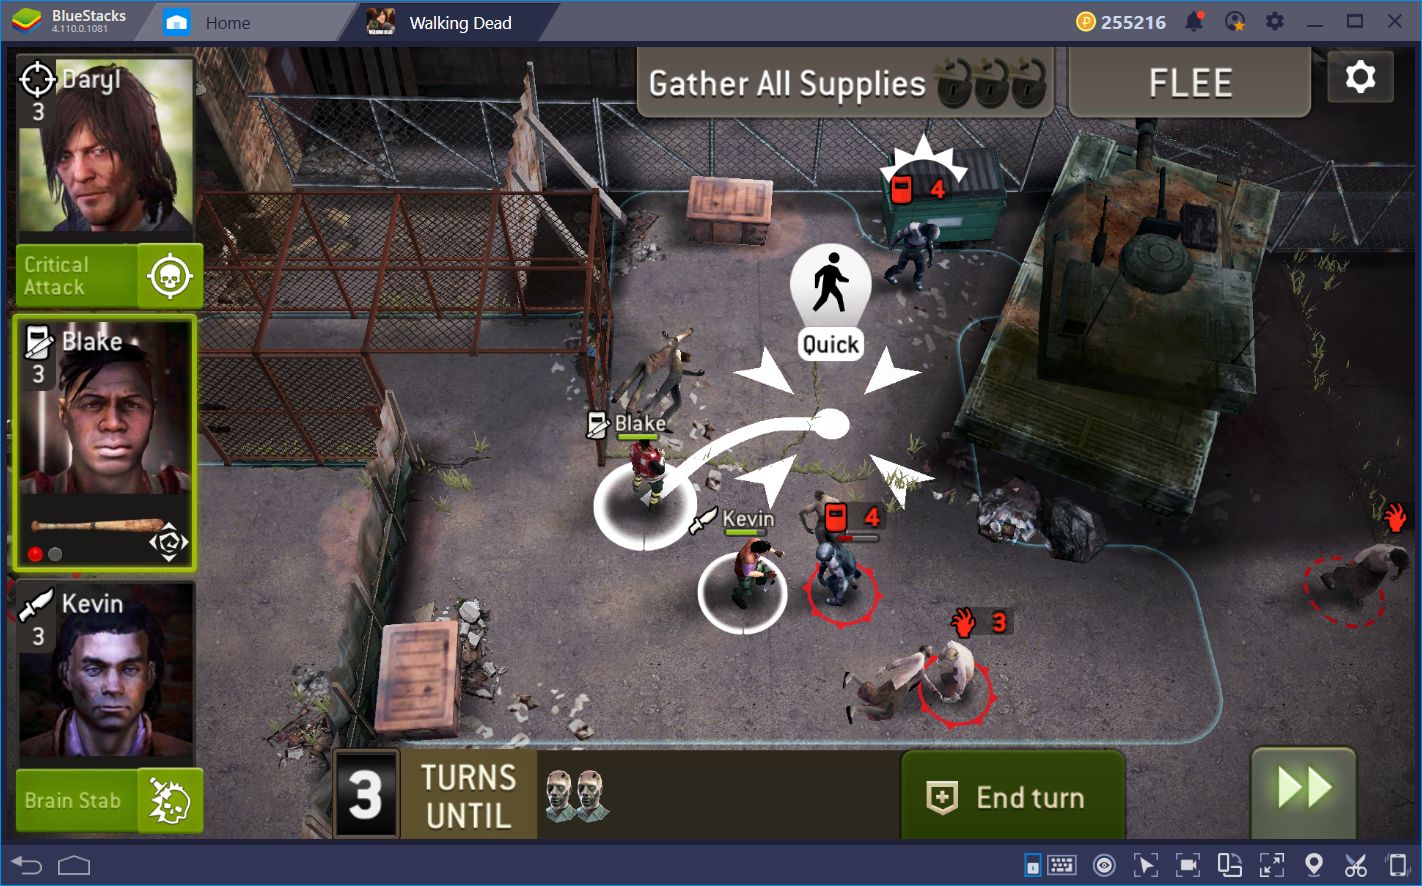
In a nutshell, the combat in The Walking Dead No Man’s Land takes place in turns. Each team has a chance to move all their characters before passing the turn to the other group. This back and forth goes on for as long as there are units remaining in each squad, or when you manage to complete the objectives of the stage.
So far, this is all pretty much familiar if you’ve ever played a strategy RPG before. However, the nuances come in when we consider the half-turn and overwatch mechanics.

Whenever it’s your turn, you can move a short distance (determined by the type of the unit in question), and still have a half-turn available to continue acting. This mechanic is especially important when combined with the overwatch system. This will be pretty familiar to you if you’ve ever played an XCOM game before. However, for those who haven’t, the overwatch system functions like a “guard” mechanic of sorts. Whenever you end your turn with a half-turn left, your unit will enter overwatch, and will attack any enemy that wanders into range.
In No Man’s Land, every single enemy unit moves when it’s the PC’s turn. In this sense, it’s easy to get overwhelmed by the enemy if you rush into the stage. Luckily, the overwatch mechanic not only allows you to keep your distance, but it’s also a good way to damage and kill the enemy without suffering the attacks of other walkers. Furthermore, overwatch is also excellent for ranged units as enemies killed via an overwatch attack don’t increase your threat even if the walker was killed by a firearm.
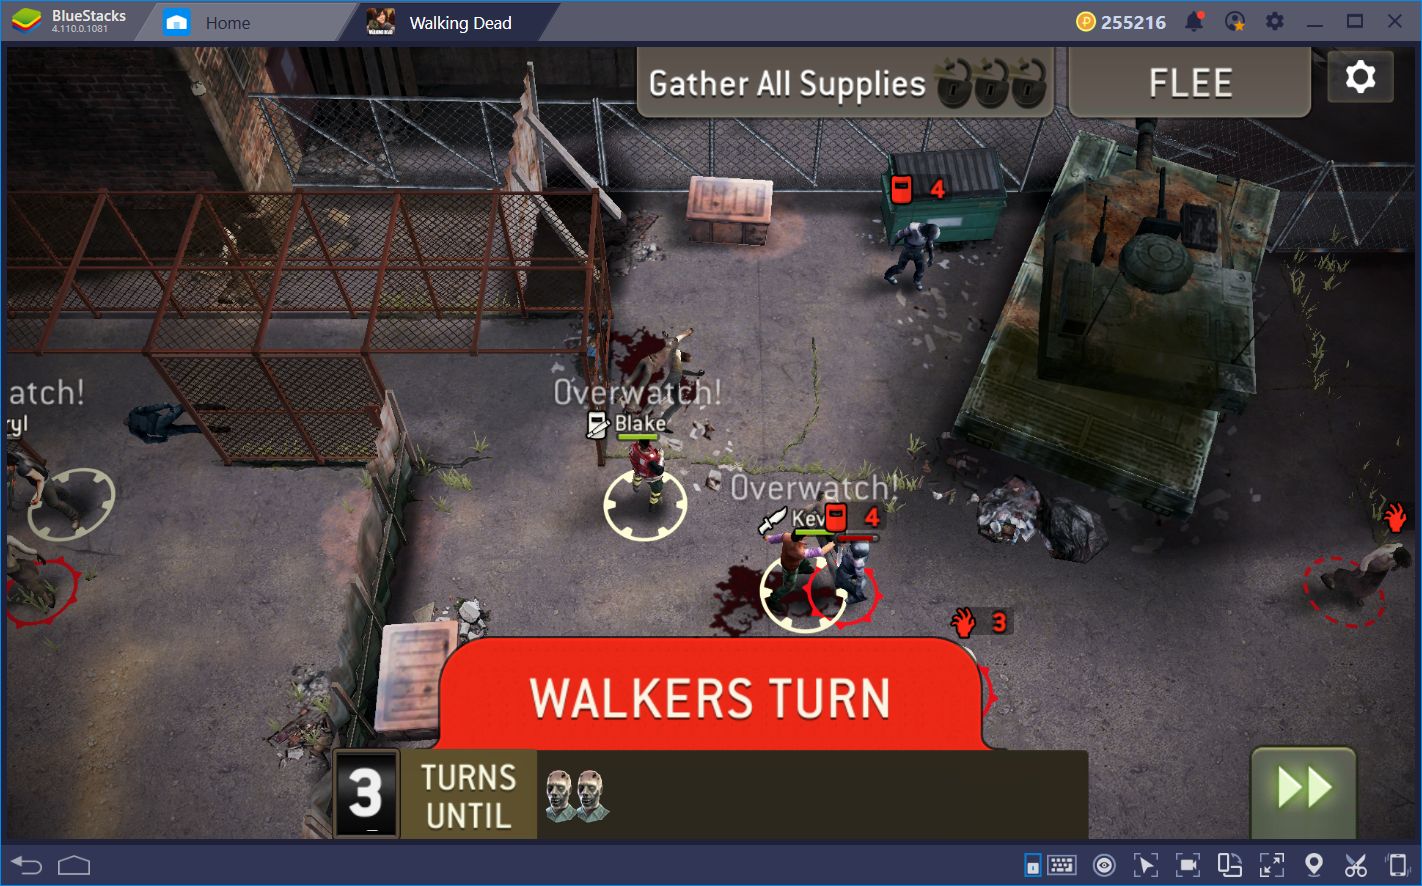
Learning and mastering the intricacies of overwatch will get you very far in The Walking Dead No Man’s Land. It’s a great way to stay on the defensive while also damaging your enemy. However, keep in mind that, if you don’t kill the enemy with a single overwatch hit, you’ll suffer damage equal to a regular melee strike. Also, remember that your enemies can also enter overwatch mode, so keep that in mind whenever you wander too close to a walker.
A Note on Stunning
There are many types of units in No Man’s Land, each with their own strengths and weaknesses. One of the weakest types in terms of offensive potential is the bruiser. These characters have massive HP pools and many defensive traits, but don’t hit for much with every hit. However, they’re a pivotal part of your team as bruisers can stun walker for one turn with every hit.
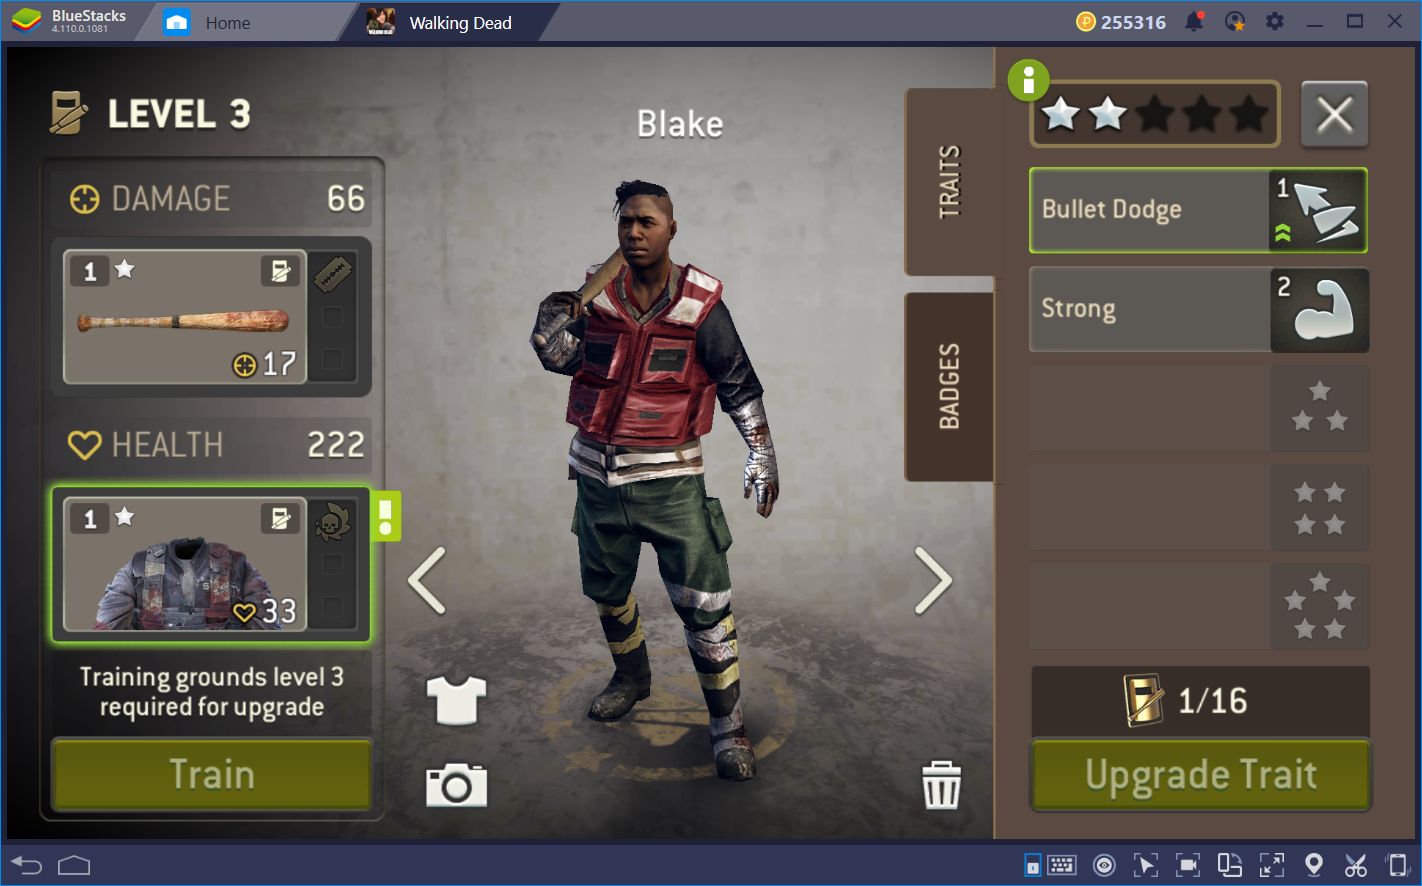
While some enemies are immune to stun effects in No Man’s Land, many are also vulnerable to it. In this sense, bruisers can help shutdown a powerful tank or other dangerous foes while the rest of your squad gangs up on it and takes it down quickly. In this game, many hands make short work of any task.
Building Priorities
The base-building system in this game is just like what you’d expect: You construct buildings, which perform certain functions, and then you can upgrade the said buildings to improve their effectiveness. However, like in any other game, you must consider the functions of every structure before creating a system of priorities.
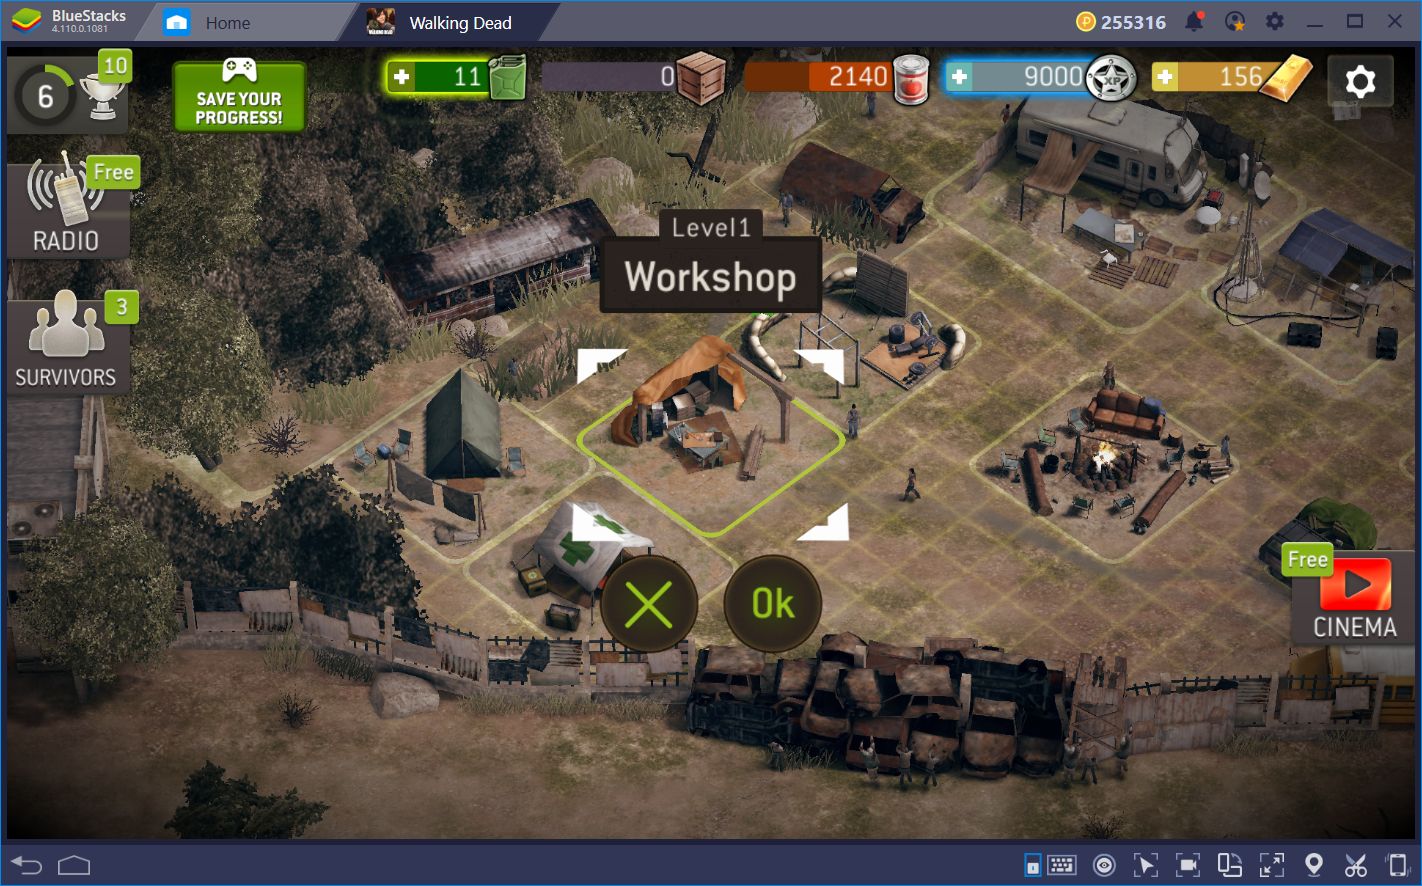
Every construction project requires time and, above all, resources. This fact is important since, unless you’re a whale, you won’t have enough of either to upgrade your base in a timely manner. On the contrary, you will likely want to focus on a single structure to get it as high as you can, and then move onto other structures. This process can take days, or even weeks per building.
With that being said, if you want to prioritize your building order, consider the following:
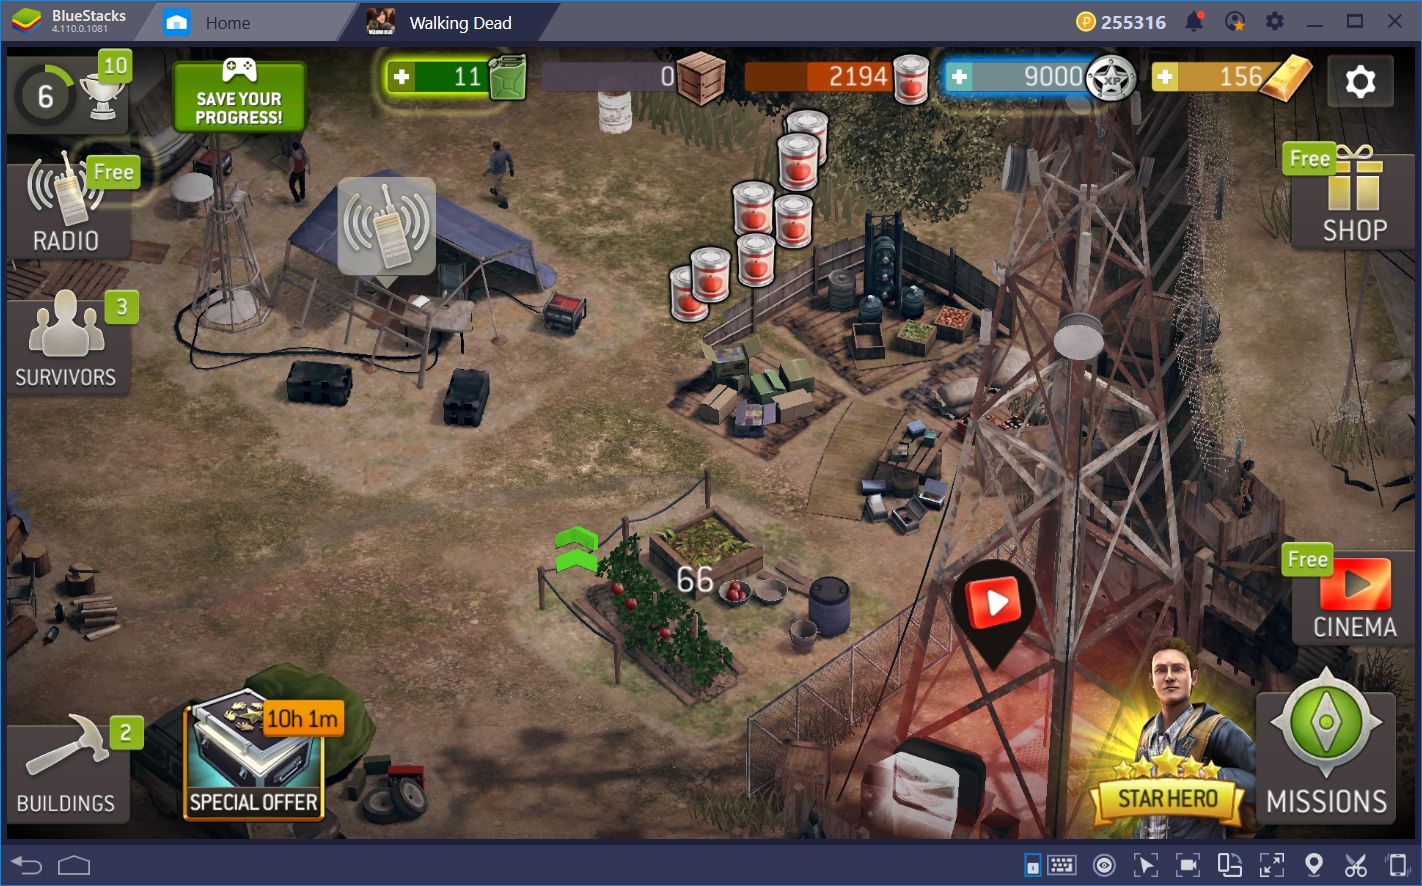
–The Council is your main building. By upgrading this structure, you’ll unlock other structures as well as increase the maximum level of every other building in your camp. Whenever you’re not upgrading your food production, you should always be upgrading your Council.
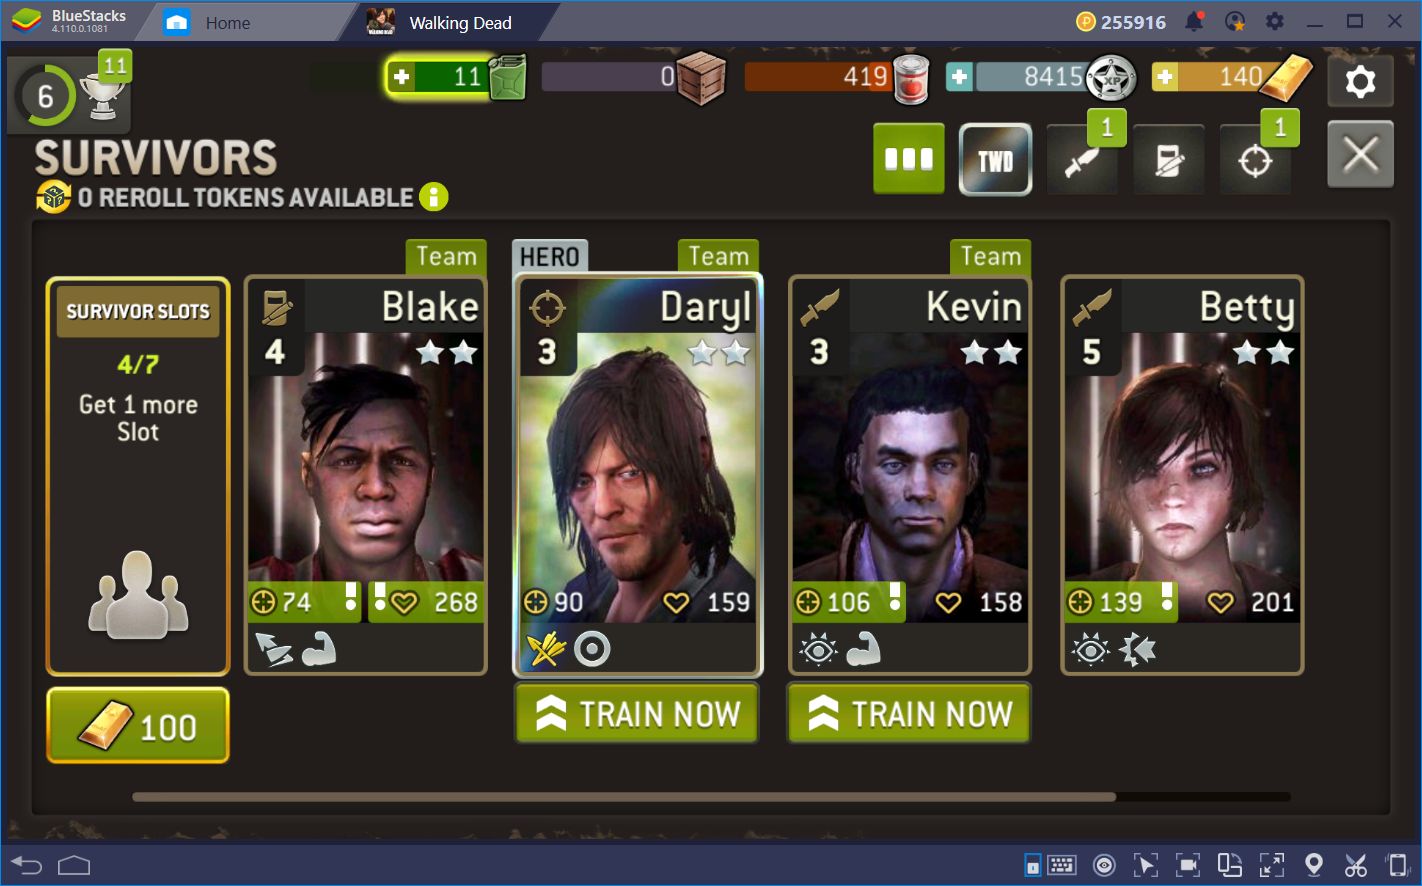
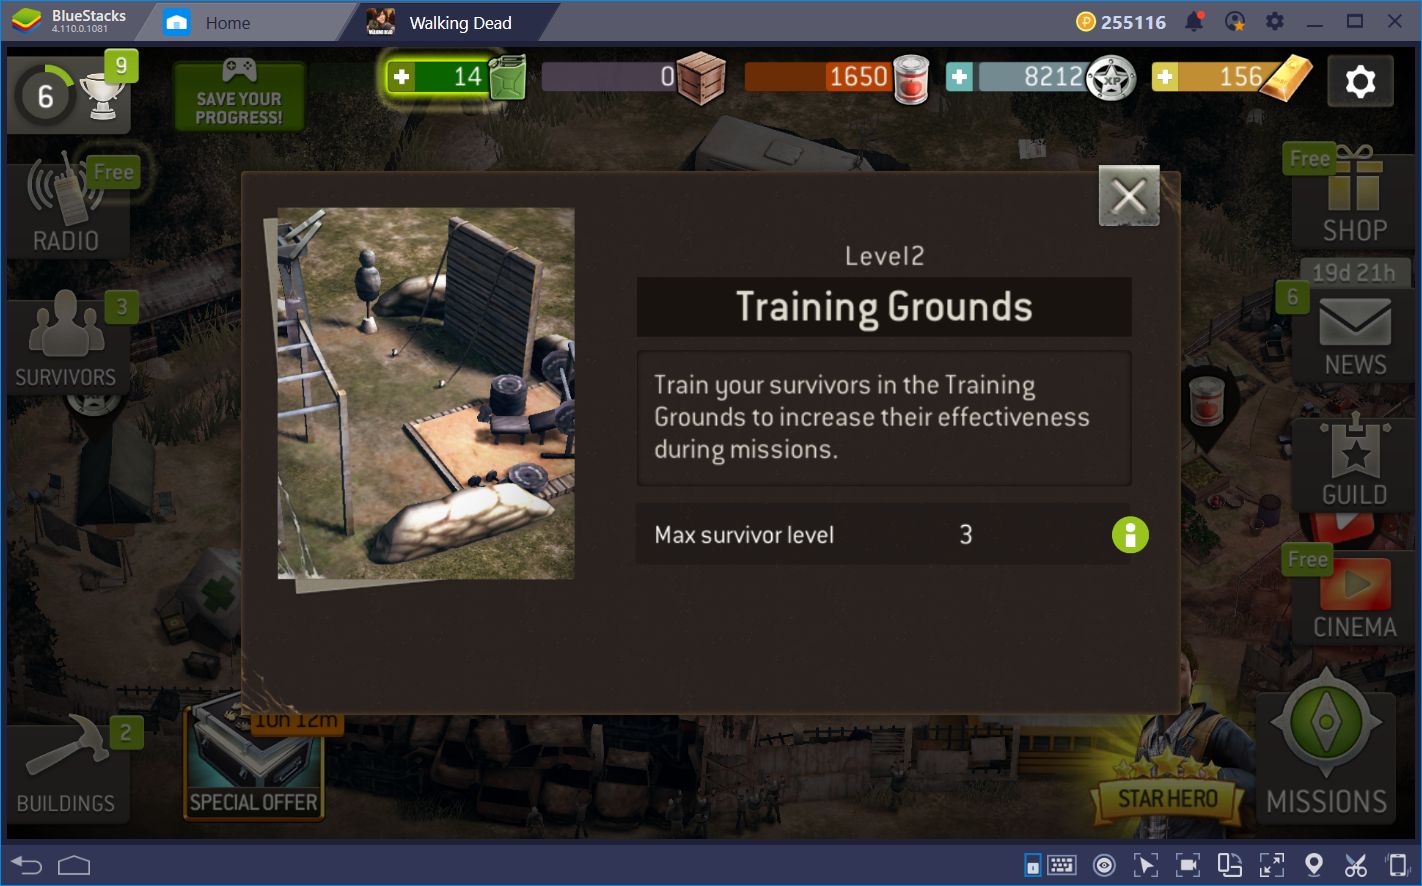
-The third in your priority list should be the Training Grounds. This structure is where you’ll use your accumulated XP to increase the level of your units. However, your units can’t go higher than the building’s current level. In this sense, if you want to beef up your crew, you’ll need to upgrade these facilities.
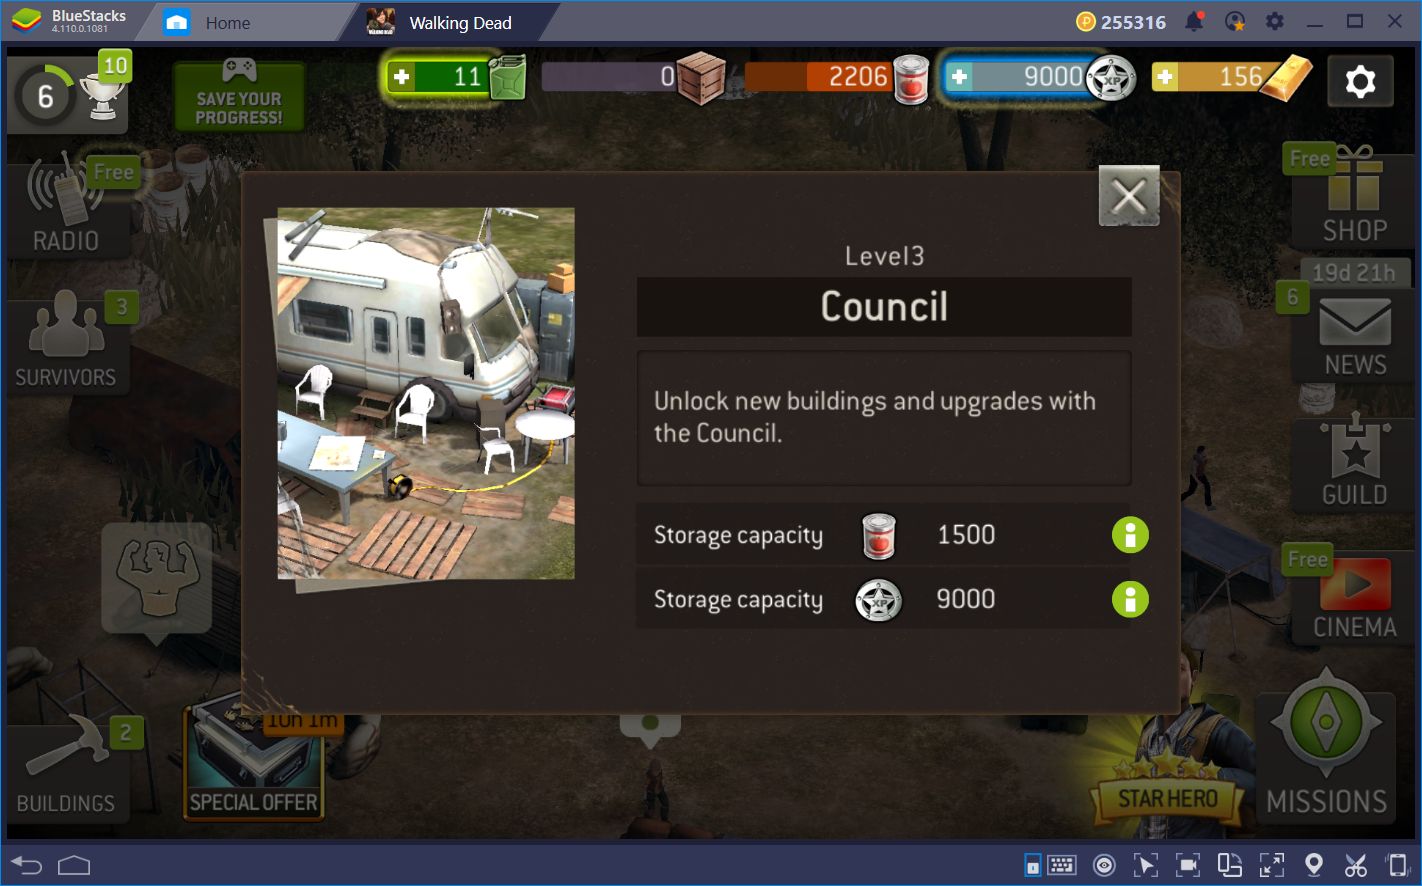
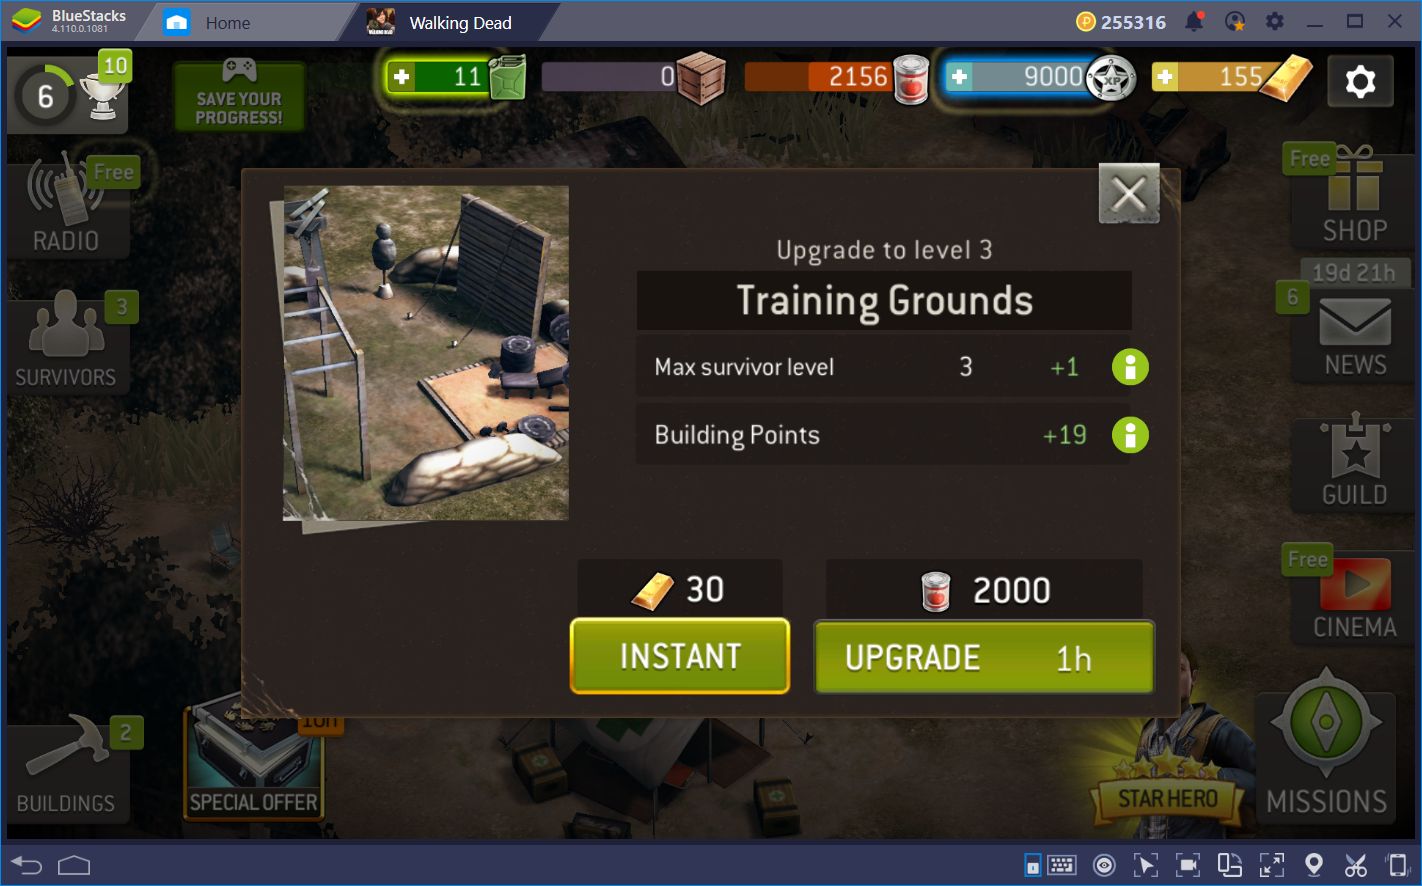
In terms of base priorities, it’ll always be “Food > Council > Training.” By adhering to this formula, you’ll not only secure the production necessary to constantly improve your camp, but you’ll also gain tougher units, as well as access to all the other structures in the game.

