Top War on PC - How to Optimize Your Experience with BlueStacks
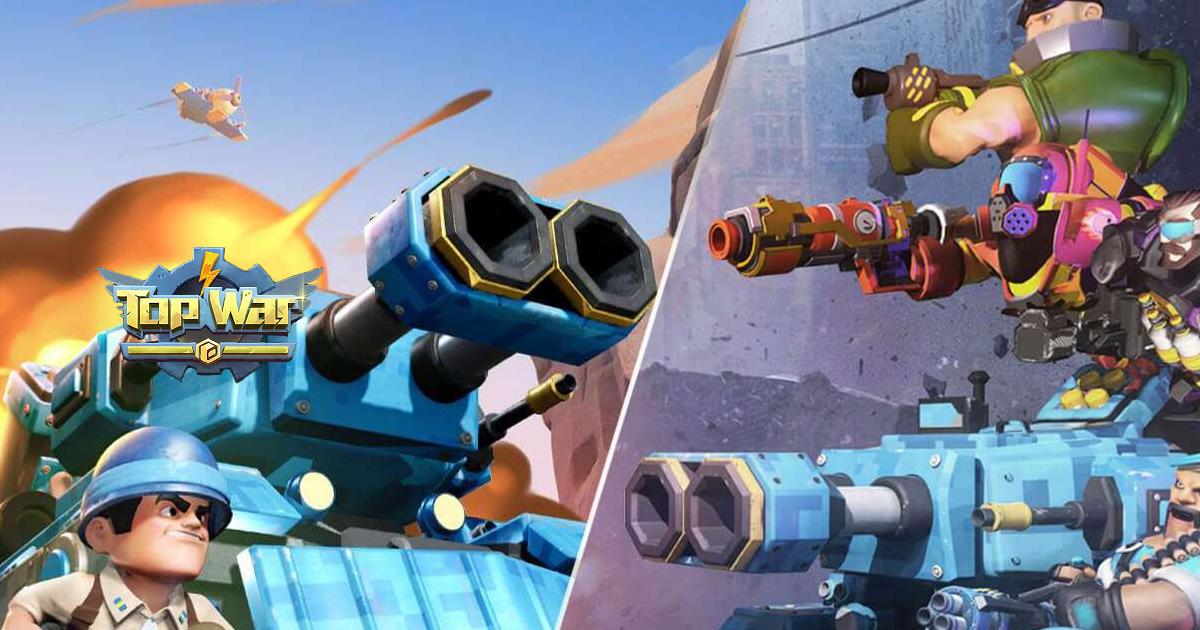
Top War is a very simplistic game where the objective is to develop your base camp by constructing new buildings, researching new technologies, training new troops, and conquering your enemies to expand your territory. In this regard, the game is quite similar to other conquest titles in the genre, though this one has an important distinction: it revolves around merge-based gameplay. In other words, while you’ll be constructing tons of buildings and training lots of troops, the best way to increase your power is often merging two elements of the same level to create another of a higher level.
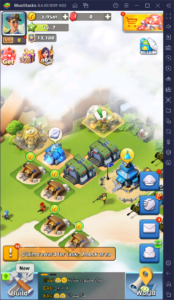
With a gameplay loop as simple as this, Top War feels very much at home when playing it on a phone. However, this doesn’t mean that we can’t get a better experience by playing it on other platforms. After all, even if you have the best phone on the market, you’ll still be stuck playing on a small screen and with touchscreen controls that leave a lot to be desired. And once your base gets large enough, you’ll find that combining your buildings and troops with precision becomes an increasingly large hassle.
For these and many other reasons, you might opt to play Top War on PC with BlueStacks, our Android app player that not only lets you enjoy your favorite mobile games on your large computer monitor and with keyboard and mouse controls, but also with a variety of different tools and features to optimize your experience with this game.
In this article, we’ll be talking about the different tools that BlueStacks offers, and which can be used specifically to improve your experience with Top War.
Setting Up Your Keyboard and Mouse Controls
As we mentioned a few seconds ago, one of the best parts of playing on PC with BlueStacks is that you can enjoy all your games using your mouse and keyboard peripherals, to get the full computer gaming experience, and Top War is no exception. Even though most of the gameplay in this game consists of dragging and dropping elements (which is made significantly better on BlueStacks since you can use your mouse instead of your fingers), there are still quite a lot of menus you’ll need to navigate to purchase upgrades and to interact with all the elements in your base.
With that being said, playing Top War on PC with BlueStacks will give you access to the Keymapping Tool, a feature that lets you create your own control schemes involving your mouse and keyboard. These schemes are completely customizable at all times and have a wide variety of predefined functions to give the user maximum versatility in all situations.
To access the Keymapping Tool, you must press Ctrl + Shift + A while in-game, upon which you’ll be presented with the advanced editor. At a glance, you’ll notice that this game already has a control scheme installed by default. This setup was created by the team at BlueStacks and covers some of the most basic aspects of the game. However, you can modify these existing bindings simply by clicking on them, followed by pressing the new keys you wish to replace them with. Alternatively, you can add new bindings by dragging and dropping the functions on the rightmost panel to anywhere you want on the screen.
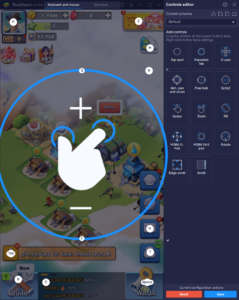
Once you’re done, remember to click on “Save changes” to implement your additions.
Use Edge Scrolling for Easier Navigation
Another feature of the Keymapping Tool that we feel requires its own section is the “Edge Scrolling” element. This aspect significantly improves navigating and monitoring your base as it expands, by letting you scroll and pan the camera by moving your cursor to the edge of the screen, as you would do in a PC RTS game. In this sense, instead of clicking and dragging the camera, you can easily keep an eye on all your affairs by moving your mouse cursor across the screen.
To activate this feature, you must simply open the Keymapping Tool, and drop the “Edge Scroll” element anywhere on the screen. Afterward, when you press Ctrl + Shift + F8 to lock your mouse cursor to the game window, you can simply place it on the edges of the screen to make the camera scroll in the corresponding direction.
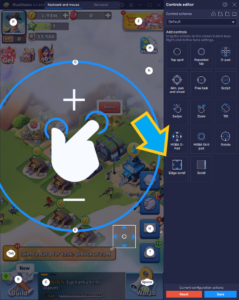
Though not essential for your gameplay, the Edge Scroll aspect can make things much easier for you in the long run, and we wouldn’t play Top War without it at this point.
Play on Multiple Accounts and Develop Several Bases Simultaneously
As we’ve mentioned previously, Top War is a pretty simple game, and it won’t be long until you run out of things to do before having to wait for timers to count down. Alternatively, you might find that the tasks in a single camp are easy and quick to complete, and you might be looking for more gameplay to pass the time. Well, what better way to do so than by playing on multiple accounts at the same time?
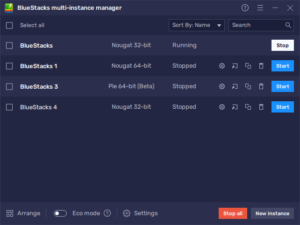
With BlueStacks, you can use the Instance Manager to create several iterations of our Android emulator. Afterward, by linking unique Google accounts to each instance, you can download and install Top War on each of them, allowing you to play the game on several clients at the same time, and on one screen.
To open the Instance Manager, you only need to press Ctrl + Shift + 8 while on BlueStacks. In this new window, you’ll find the list of all your currently active instances. If you’ve just installed BlueStacks for the first time, you should only have one instance here, though you can start creating new iterations by clicking on the “New instance” button on the lower right. You can create as many instances as your PC can handle, though please consider that, when running multiple (3 or more) of these at the same time, you could start to experience performance issues, depending on your hardware specifications.
By creating multiple instances, you can build and develop several bases in Top War by yourself. In fact, you can even group up with your different accounts and create a one-person clan, which will let you access all the group content in the game by yourself, without ever having to rely on any other players.

