World of War Machines on PC - How to Use BlueStacks Tools to Conquer Your Enemies

The most entertaining aspect of strategy war games like World of War Machines, for us, is the freedom to choose however we want to crush our enemies. Whether we’re diplomats and like to establish alliances to keep each other safe and attack tougher foes, or we’re loners that simply want to destroy everyone on our turf, the choice is always ours. However, regardless of your playstyle, all gamers have one thing in common; we all have to struggle with touchscreen controls and cramped phone screens to enjoy our favorite Android games…
…Or do we?
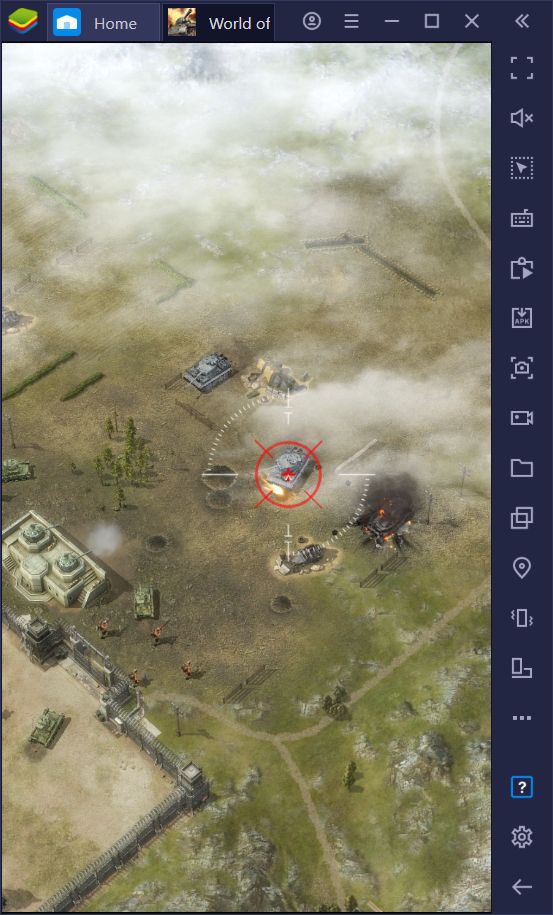
With BlueStacks, we can install and play World of War Machines on PC, with just a few simple steps. However, while playing this strategy game on your large computer monitor and using a mouse and keyboard will vastly improve your experience, this is only scratching the surface in terms of what BlueStacks has to offer.
Our Android emulator also puts a wide variety of tools at your disposal, which you can readily use to enhance, streamline, and even automate your gameplay. And in this article, we’re going to show you exactly how to use these BlueStacks tools to your advantage when playing World of War Machines on PC.
Farm on Multiple Accounts Simultaneously
One of the particularities of strategy war games on the mobile platform is that, more often than not, will need to be farming and grinding in order to keep up with the resource demands of your bases, and World of War Machines is no exception. While the beginning can be quite hectic and fast, with plenty of buildings and upgrades to complete, it won’t be long before you’re stuck waiting for hours in order to perform a single project.
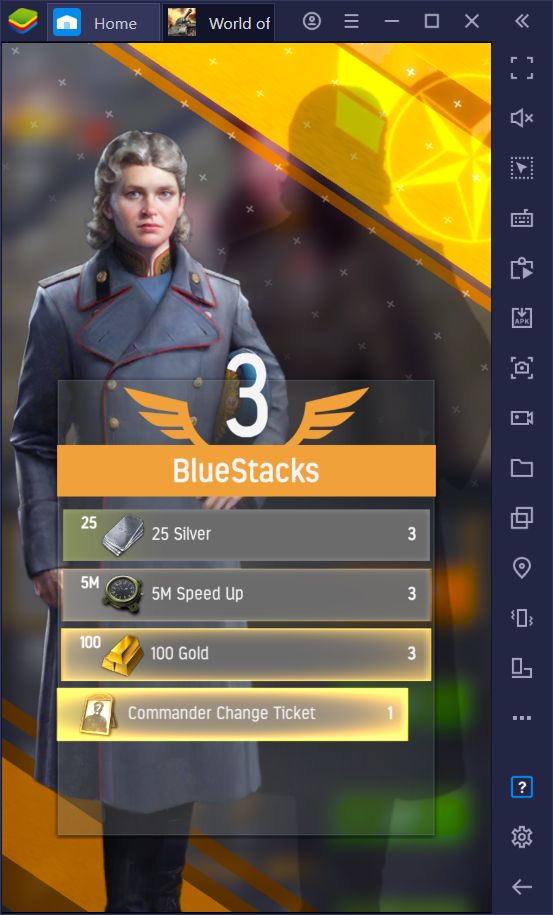
However, while some of these time sinks are due to long construction, training, and research timers, there will be occasions when you’re stuck waiting until you have enough resources to actually issue the orders. This problem can eventually get so bad that most players opt to open a second or third account just to use their new bases as farming accounts to supplement the production of their main base.
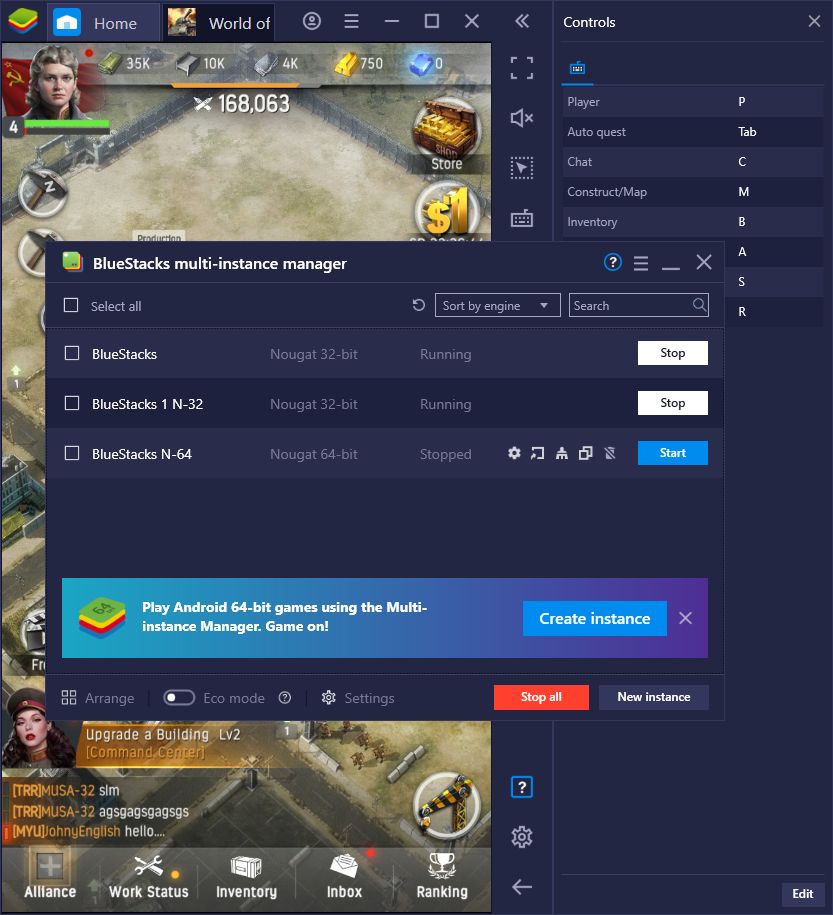
Unfortunately, maintaining multiple accounts can be quite cumbersome—even one account can be pretty hectic if you’re a newcomer to these types of games! Fortunately, BlueStacks can help simplify this task via the Instance Manager. This feature allows you to create multiple instances of our emulator and, by using unique Google accounts in each, access the same game on multiple clients simultaneously. In this sense, you can have several bases on screen at any given moment, and develop them all without ever having to switch accounts or jump through any hoops.
Manage Multiple Accounts Without the Extra Effort
However, one of the drawbacks of playing on multiple accounts is that you’ll often have to spend double or triple the time to get anywhere in the game, considering that you’ll have to complete the same missions on all your accounts, which can get quite tiresome after a while. However, the BlueStacks Multi-Instance Sync feature was designed to address this issue by allowing you to control ALL your active instances, simply by playing on your main account.
The way this tool works is that, whenever you have more than one instance running, you can open the Sync feature through the BlueStacks burger menu, and choose which instances you want to synchronize to your main account. Once activated, every single click, swipe, or button press you perform on your main window will be replicated on every other active instance, effectively allowing you to control all your games without any extra effort.
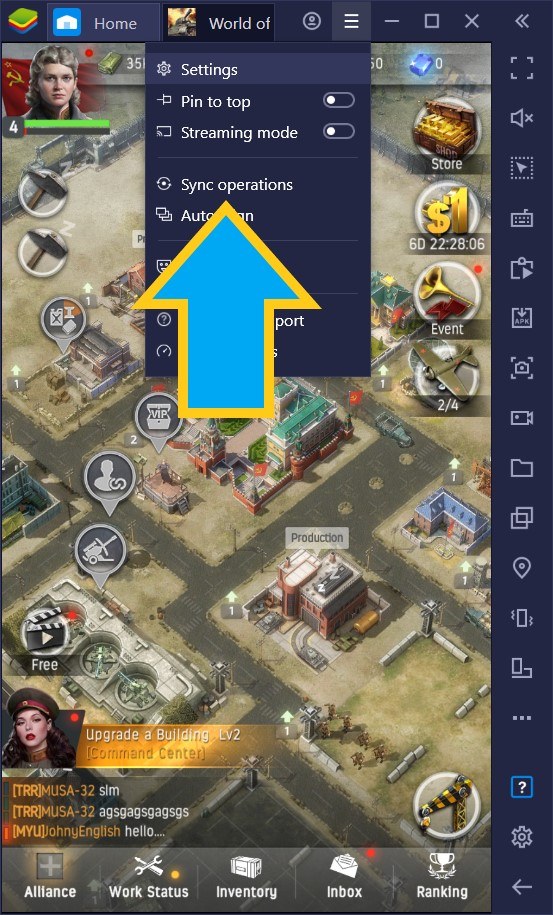
When used correctly, the Multi-Instance Sync feature lets you start the game with multiple accounts, and develop all your bases and grow your armies, without all the extra effort. In this sense, you can even maintain multiple powerful bases and create a guild using your multiple accounts to dominate the server, without ever having to rely on other players.
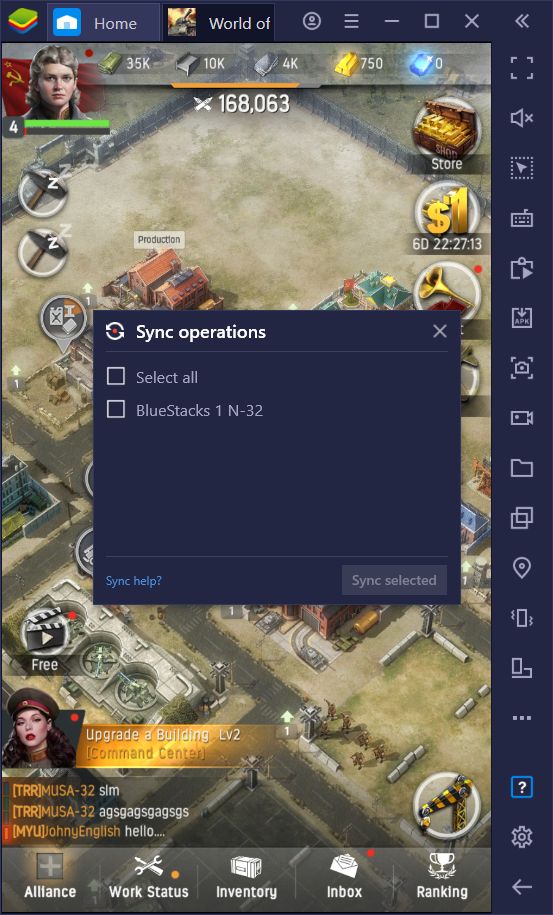
With BlueStacks, becoming a one-person army has never been this easy.
Boost Your Performance and Create Even MORE Accounts
Emulating games on PC is a burdensome task, even for the best PCs. Even if your computer meets the recommended requirements to run BlueStacks, you will still need lots of extra resources and a powerful CPU if you’re thinking about multi-boxing with 5 or more accounts simultaneously. This was true for emulating most mobile games on PC, at least until we developed and implemented Eco Mode to BlueStacks, allowing you to multibox with as many accounts as you want with nearly no resource cost and without any performance loss on your main account.
By switching Eco Mode on, you will significantly reduce the resources required to run additional instances by lowering their performance. While your alternate accounts will be unplayable while Eco Mode is activated—since they’re running at about 1 FPS—you will still be able to develop several bases simultaneously by using the Multi-Instance Sync feature to replicate your actions across all active instances.
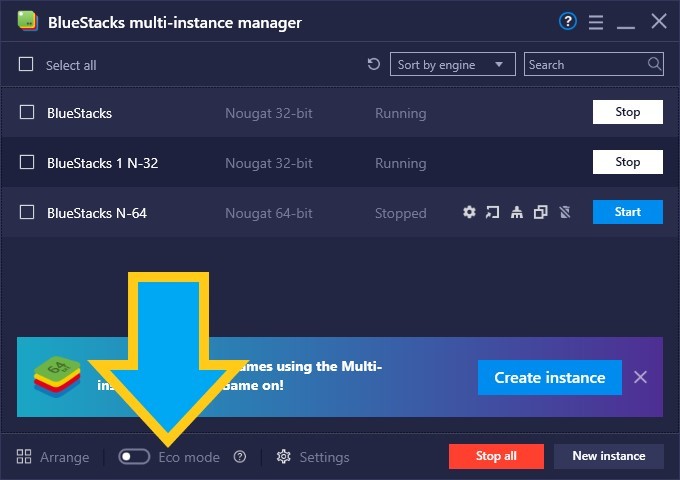
Even if you don’t have a high-end PC, you can still multi-box just like the pros can, and without having to break the bank on expensive components. When used correctly, our BlueStacks tools will make even the whales tremble before your might!
And that’s just a sample of what three of our BlueStacks tools can help you achieve in World of War Machines. Your creativity will be the ultimate limit of what you can do by playing this strategy game on PC with our Android emulator. If you have any other awesome ways to use our features, feel free to share them in the comments below!


